Friday, June 29, 2018

A Stenciled Galvanized Bin


This project will only take about 15 minutes to complete !
 
Most of that time used will be cleaning the brush and stencil after you are finished.
 
I found this little trash can at the Thrift Shop, but you can use any bucket or pot.
 
 
I wiped it down with a little soap and water.
 
I bought this stencil online from istencils.com


I decided where I wanted to put the stencil and used Painters Tape to
 
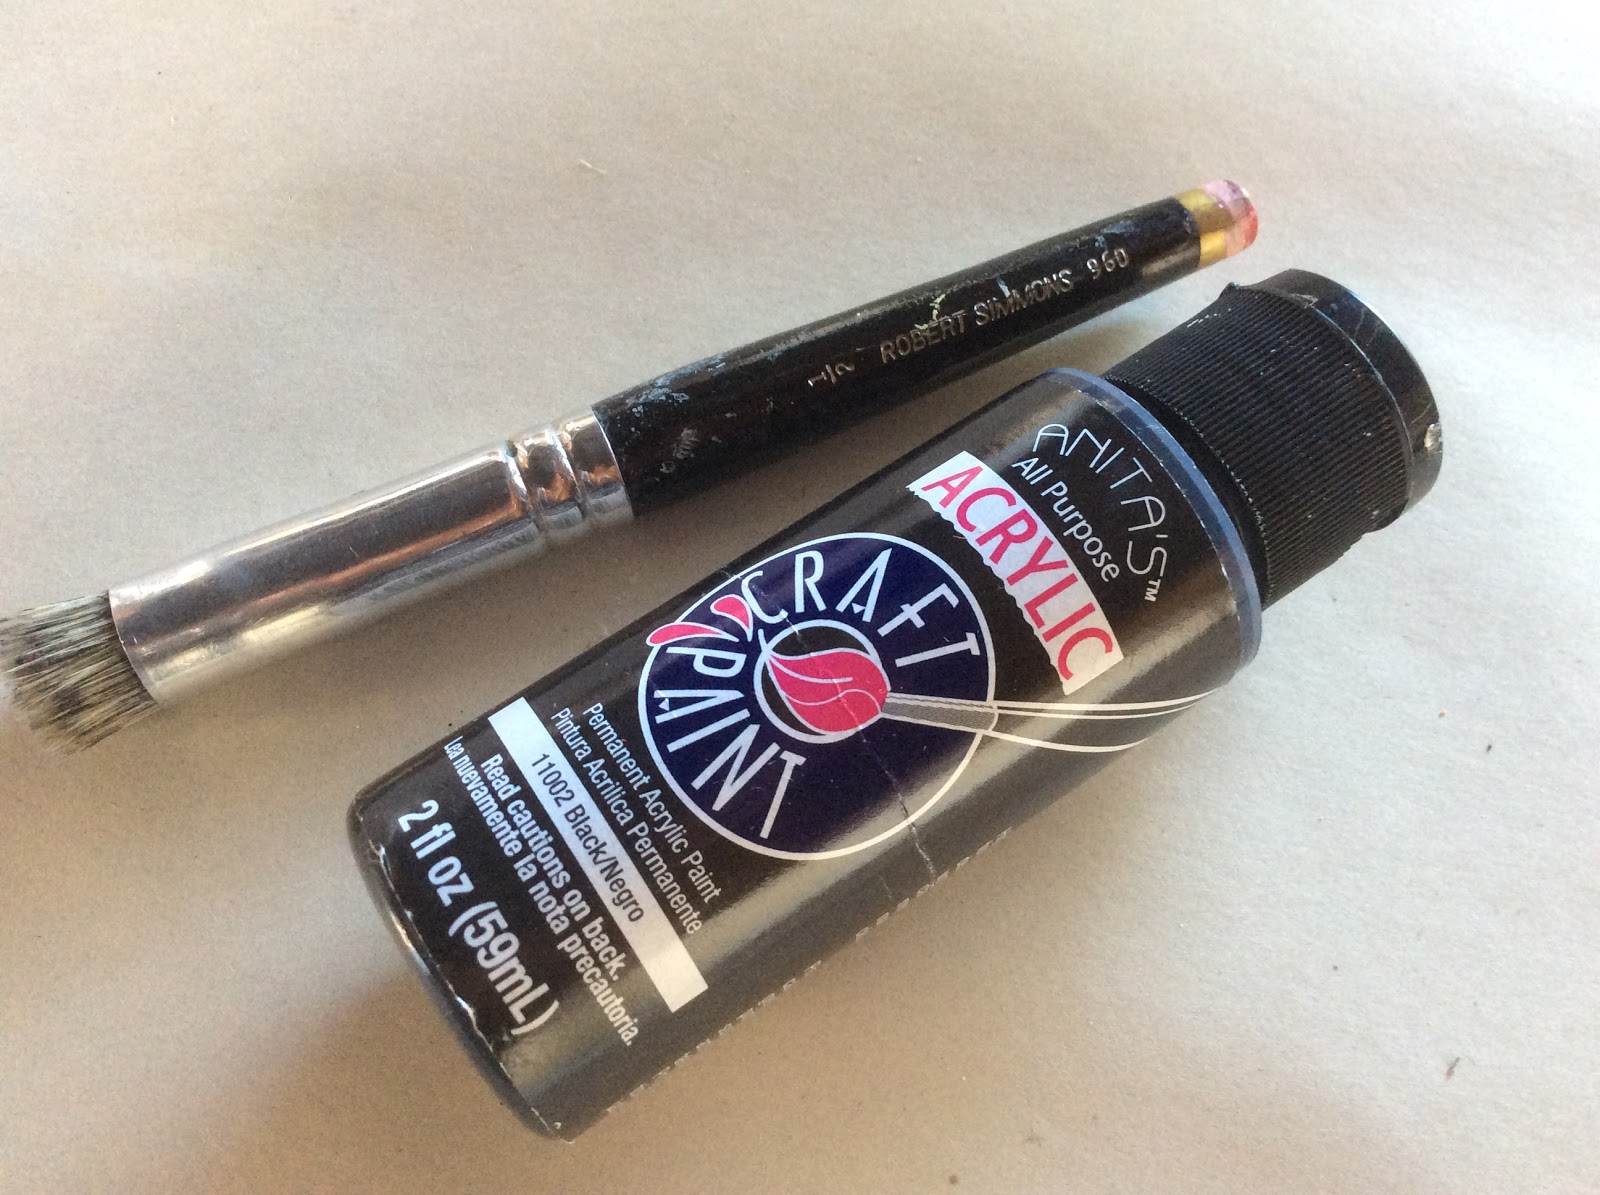
attach  stencil to bin. I used black Acrylic paint and a stencil brush.


According to the stencil directions, they recommend using a
 
spray adhesive to the back side of stencil to keep in place and to keep clean edges.
 
I do not use this step. I have found that the istencils are thick not flimsy
 
definitely a superior product, so this step is optional.
 
 If you are new to stenciling you may want to use this technique.
 
The bin I used had ridges, but it will not matter because you will
 
be using a dry brush method ( dip and wipe off excess ) with up and down motion.
 
 
Use your free hand ( the hand without the brush ) to hold down the stencil as you move around
 
your pattern. The paint dries very quickly. Remove stencil and wash with warm water and soap.
 
Wash brush with soap and water.


I used a Matte Spray Sealer to protect the finish.

 
My Husband and Son surprised me with this POTTING BENCH that they made
 
a few years ago and I just love it!
 
The window is attached and the bottom shelf is removable.
 
They also added industrial wheels on the legs so I can easily move it around the patio.
 
Sometimes I clear everything off and use as a serving table.


I like the idea of disguising my trash, but I plan to use it
 
on my potting bench to hold potting mix.
 
Thank you for visiting today!
 
xo Lisa S


Tuesday, June 26, 2018

DIY Galvanized Tray / Ice Bucket with Rope Handles


Your local FEED STORE

 may be the best place to look for your
 
FARMHOUSE DECOR

                     I was able to get this Tray at my local TRACTOR SUPPLY COMPANY for $3.50

Check with  www.tractorsupply.com


Behrens
 
3 gallon Galvanized Steel Livestock Feed Tray


Remove Label


 Measure and mark for your holes.

 
I bought my Rope at the Dollar Tree.


My holes were 3/8'' because of the size rope I was using.
 
I drilled my holes 6'' apart.
 
Please wear heavy duty gloves and protective eye wear! 

 
 You can clean up the holes by rolling pliers
 
                                           inside the hole. This will smooth out the rough spots.

 
 Measure 20 " length for each handle.
 
You will trim later, but you need the room to tie your knots.

 
Tape ends and cut in the middle to keep both sides from unraveling.


Pull the rope through the holes,
 
make your knots and decide on the length you prefer.


Trim the extra length at knots.
 
                                         I went with 18 '' handles after I trimmed at the knots.


 My HUSBAND decided to use it when he picked lemons!

Well, now we know the tray is strong enough to carry about 10 lbs.

Let's make

 LEMONADE :

1 CUP Fresh Squeezed Lemon Juice

TO

1 CUP Sugar

(one to one ratio)

Mix well in 1 gallon pitcher, fill with water and ice


That's our family recipe

It's almost the Fourth of July !

This is how I plan to use the tray on the weekend.


The Dollar Tree has round placemats in every color

and the placemats fit inside this tray perfectly!


I also found theses paper straws- 8 for a dollar
 
The pin wheels are plastic and clipped on so I am thinking
 
I can save them and use again.


The tray can also hold ice! So it can be a table top ice bucket!


Hang to dry or when not in use.

Enjoy the weekend, maybe have a BBQ !


Thank you for hanging out with me, now I let's
  
have some Lemonade. Doesn't that sound good right now?
 
xo Lisa S


Tuesday, June 19, 2018

How To Make An Altered Book - Gardening File


This Better Homes and Garden Book is the perfect size for this project.
 
The Book measures 10'' H x 8'' W x 2 1/2'' D.
 
It is the one with the notebook binder center.
 
There are other books in this series, a Cookbook and a DIY Handbook.

These are very common at used book sales and thrift shops if you are looking for one.


An accordion style file -6 1/2'' H x 9 3/4''W x 2 1/2'' D
 
I found mine at the Thrift Store, but I see them online and at some
 
stationery stores.
 
 
I used Dollar Tree Washi Tape to cover edges and areas that were warn.
 
Optional Stickers- mine were from Dollar Tree
 
You need about 24'' of Ribbon  scrap or Dollar Tree
 
I used TACKY GLUE also from Dollar Tree in 3 oz.


You will be removing the binder !
 
 I GLUED IT IN SO FAST THAT I FORGOT
 
TO TAKE A PICTURE OF THAT STEP!
 
 
Cover the edges and binding of the book with your Washi Tape for a finished look.
 
Glue the ribbon to the outside center of the file first.
 
Then glue the file inside the book cover, do not glue the bottom of the
 
file to the binding. You will want it to open and bend freely.
 
Add your stickers if you like.
 
 
Make sure it is centered.
 
Close the book and stack a few books on top for added weight,
 
and allow to dry.


Your file will be a good way
 
 to save gardening information, future DIY projects,
 
veggie recipes, favorite garden pictures,
 
seed packets or gardening month to month TO-DO lists.


It can lay flat.


It can stand on its' side


or it can sit flat.


I love the bright and cheery artwork cover on this vintage book.


On the shelf it just looks like a book. The ribbon will
 
keep it closed, nice, neat and organized.
 
I hope you liked this project.
 
xo Lisa S


Sunday, June 17, 2018

Vintage Patriotic Postcards


                                     I wanted to share these beautiful examples of Artist


Ellen H. Clapsaddle (1865-1934)
 

   Ellen was an American illustrator/ commercial artist from New York,
 
 in the late 19th and early 20th centuries.
 
  Her style is easily recognizable and greatly admired.
 
           She is known as the most prolific souvenir/postcard and greeting card artist of her era.

My favorites include the adorable children's faces that are in

most of the illustrations.    


  *If you like these postcards I have more Holiday cards to share in my
 
sidebar under- PRINTABLES 


These Post Cards can be saved to your computer and used for craft projects.
 
You can print these on card stock,and trim them to size.
 
 Save a used TEA BAG,
 
squeeze most of the liquid out of the bag and gently rub around the edges to AGE your card.
 
 
 How to make wire holders for your vintage salt shakers:


Any shakers you may have around the house

 
some wire and cutters 


 Twist and loop twice at top to hold card or photo.
 
Cut to desired height.


 Use a postcard.


And you can add this to any Holiday Display!


I hope you enjoy these Patriotic Printables.
 

Have a wonderful Holiday! xo Lisa S


Faux Tin Tile Bunny

Hello My Friends!  Most of the Craft and Dollar Stores have some chunky cut outs for Spring! There are so many ways to decorate these. I use...