Monday, June 20, 2022

Patriotic Holiday Assemblage in Vintage Tin


Hi Friend!

I wanted to make a small addition to my

patriotic decorations and

I was inspired by 

Tami@creativegirlvintage


I started with a vintage tin,

 I had in my collection.


Do you remember Sucrets ?

I liked the cherry !


An ALTOID Tin would work just fine!


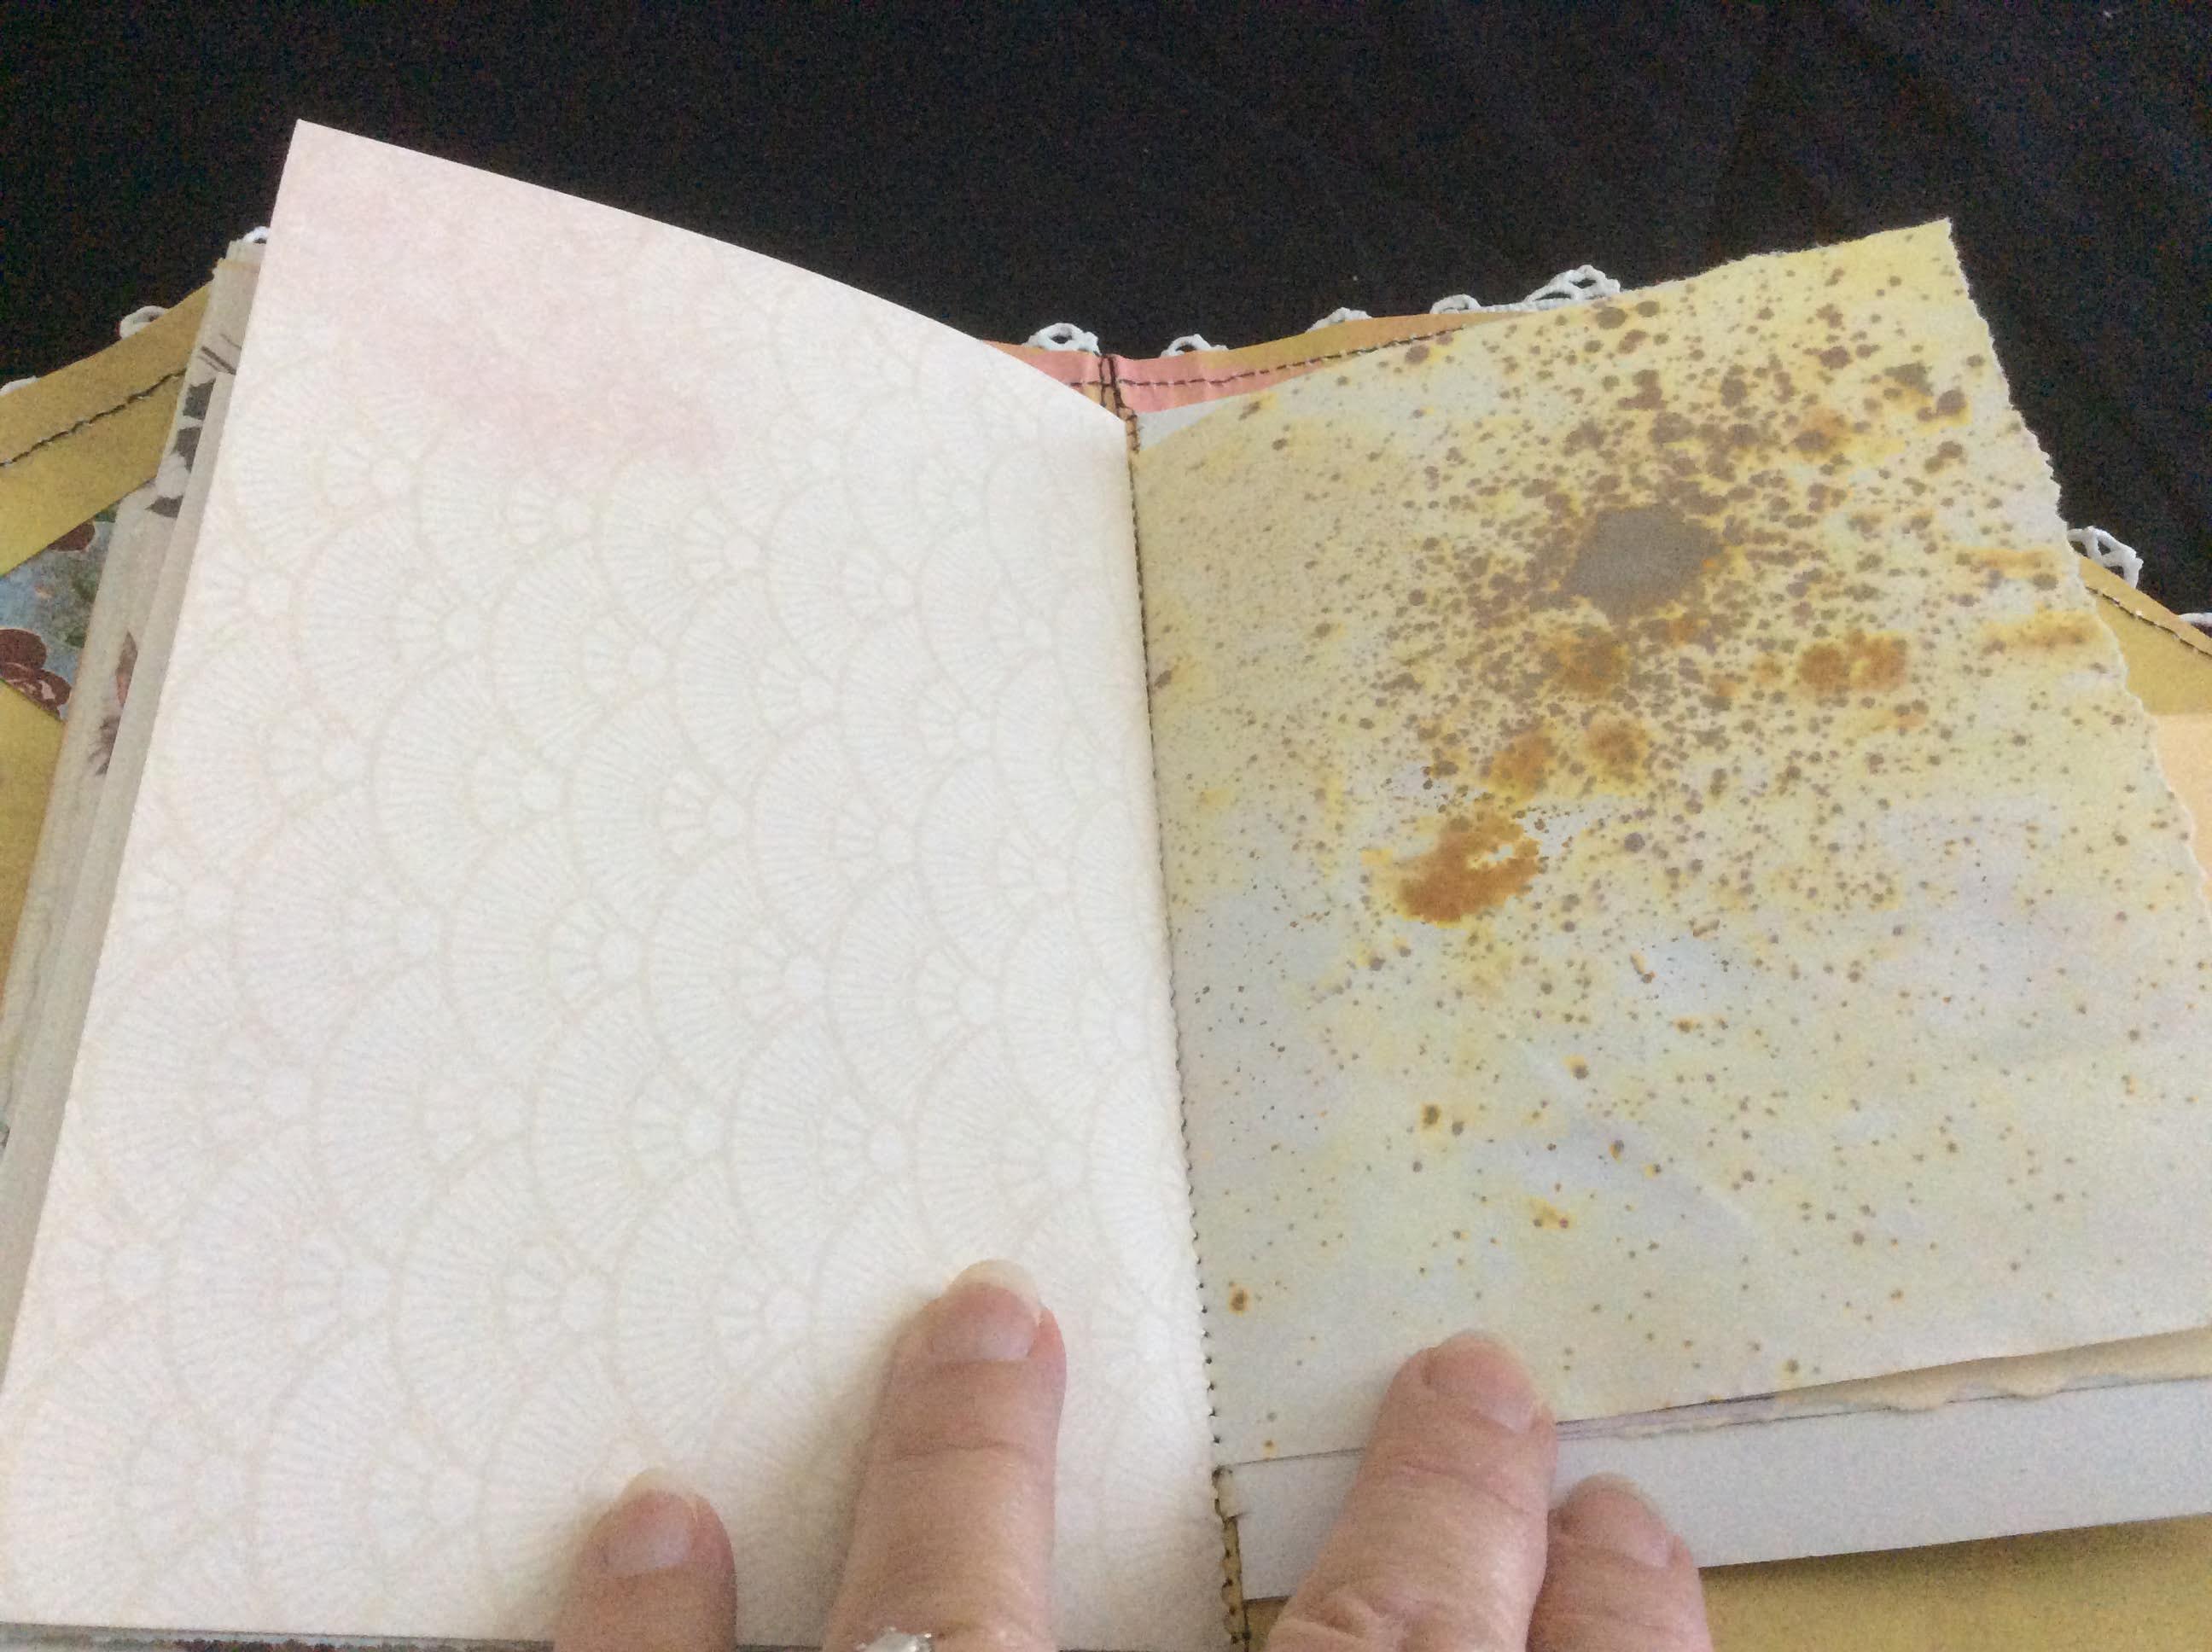
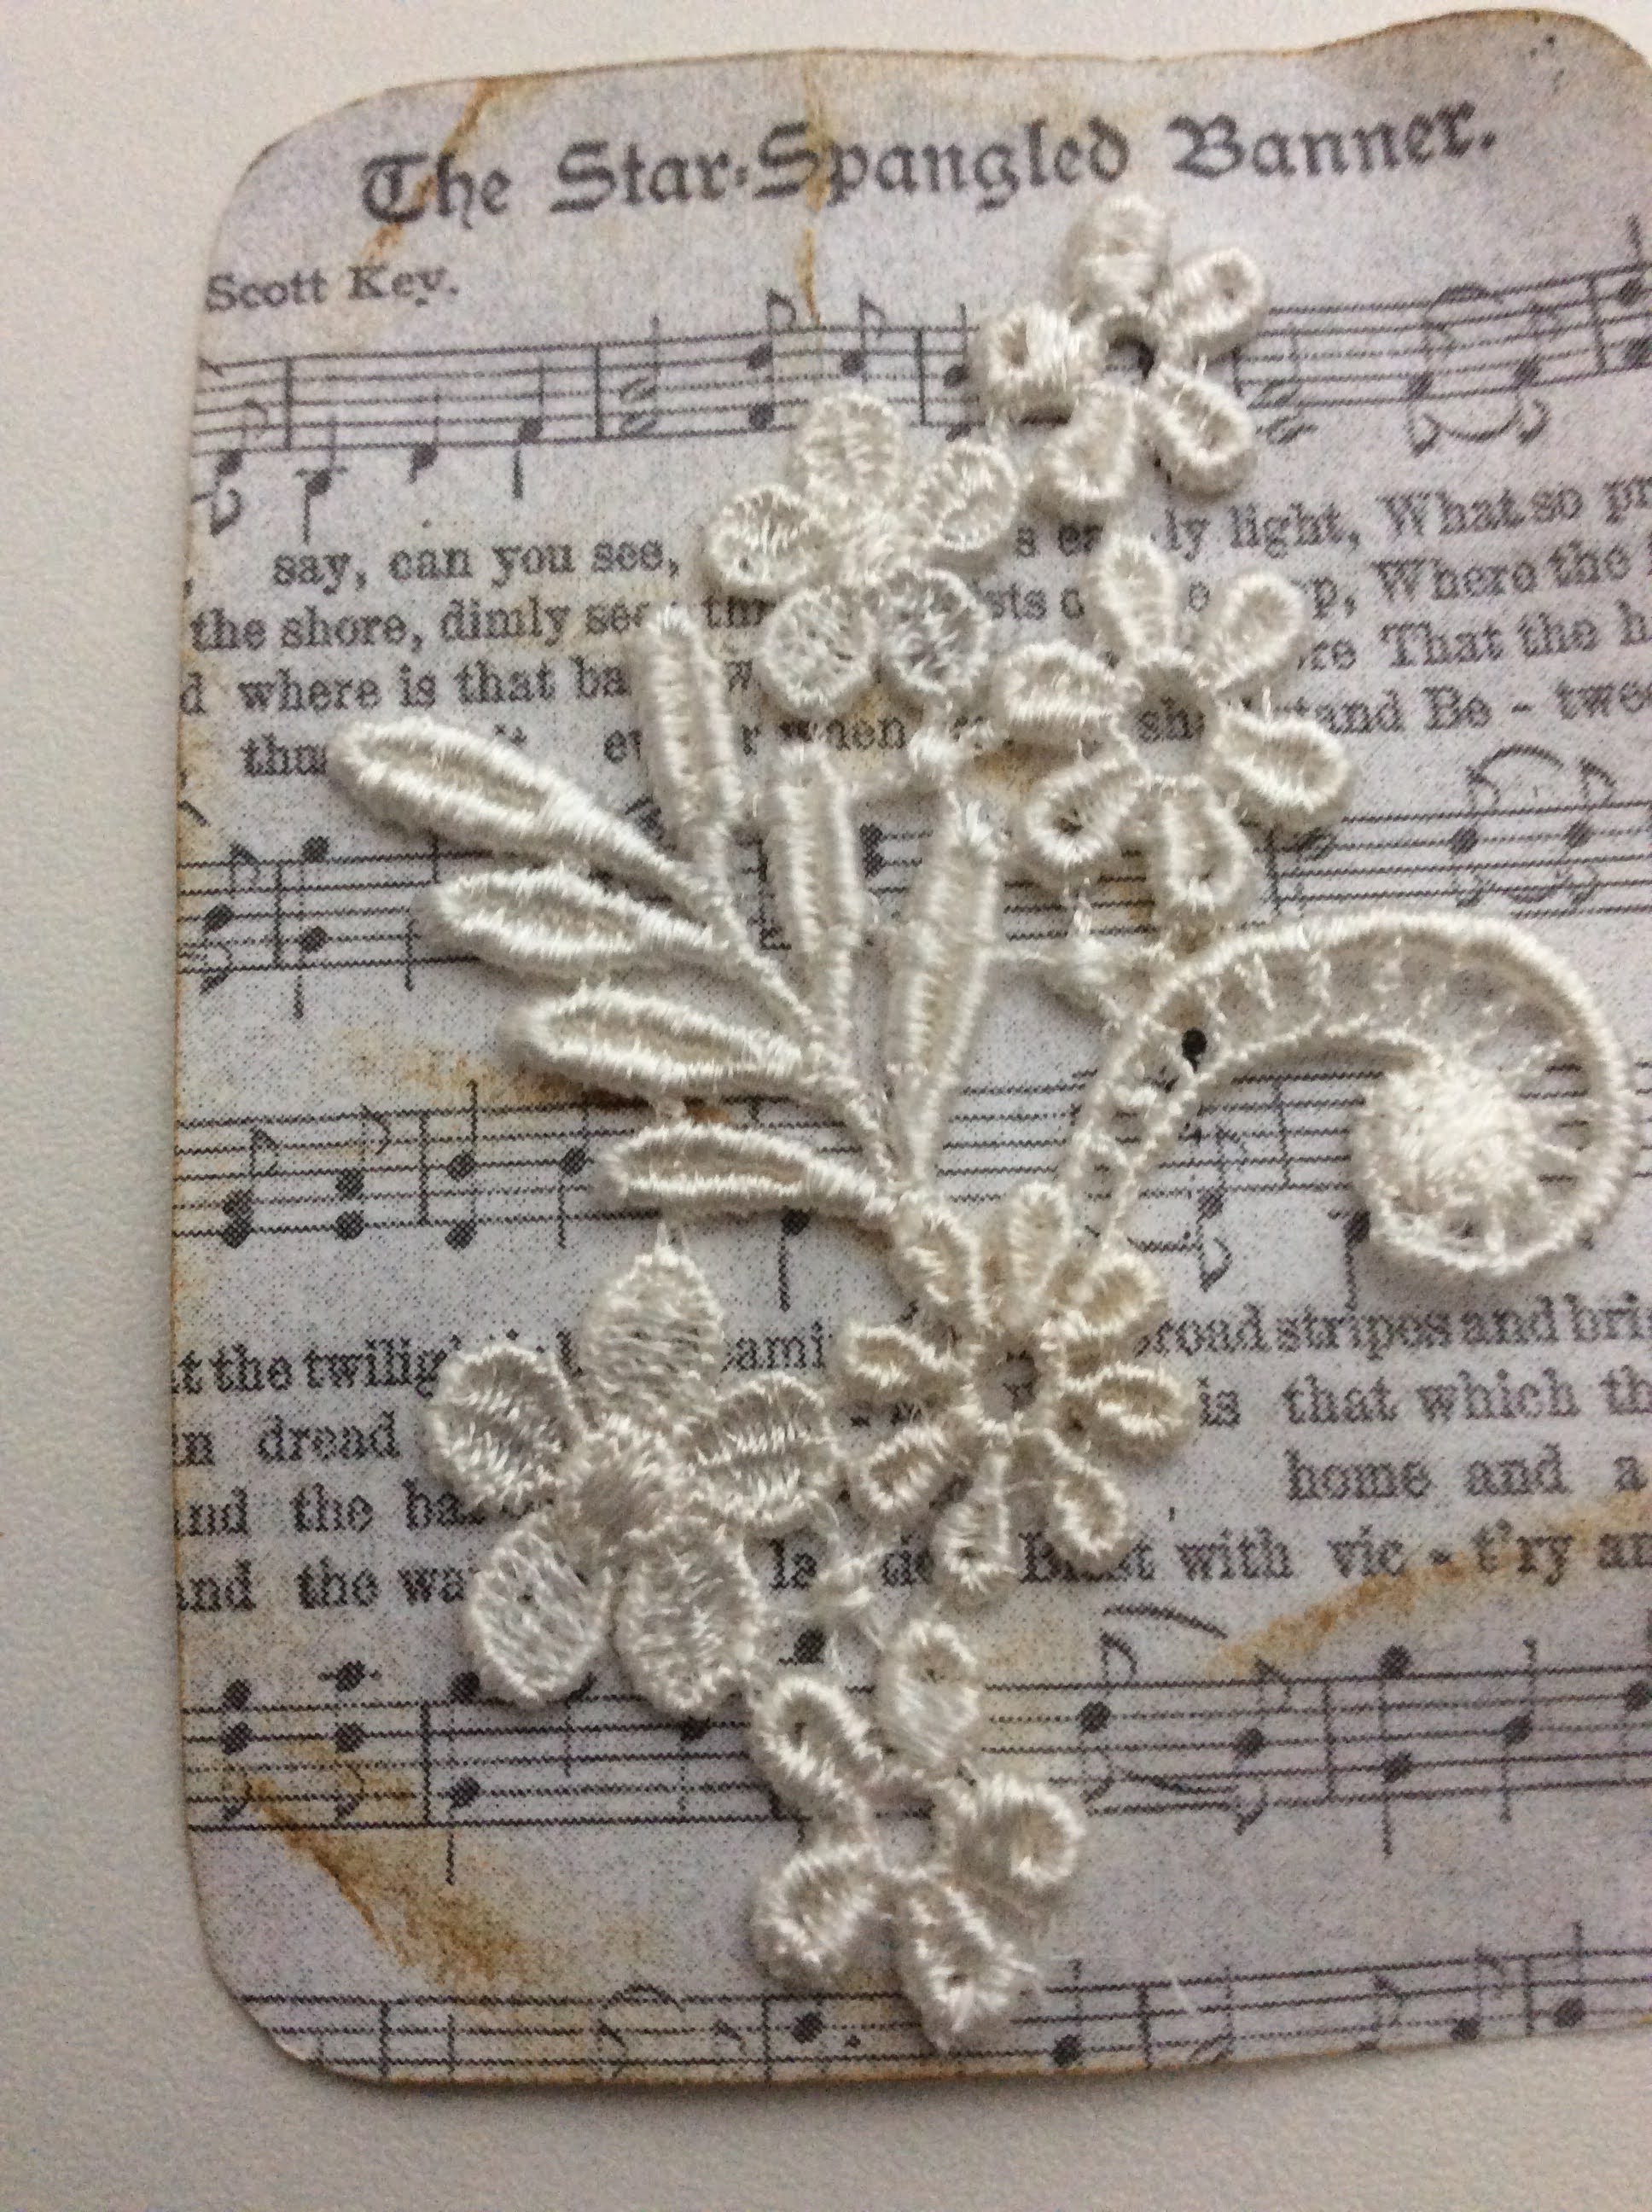
I  found a Patriotic songbook.

Picked a song and

I used my printer to shrink it to size.

Made a pattern by tracing the outside of the tin.


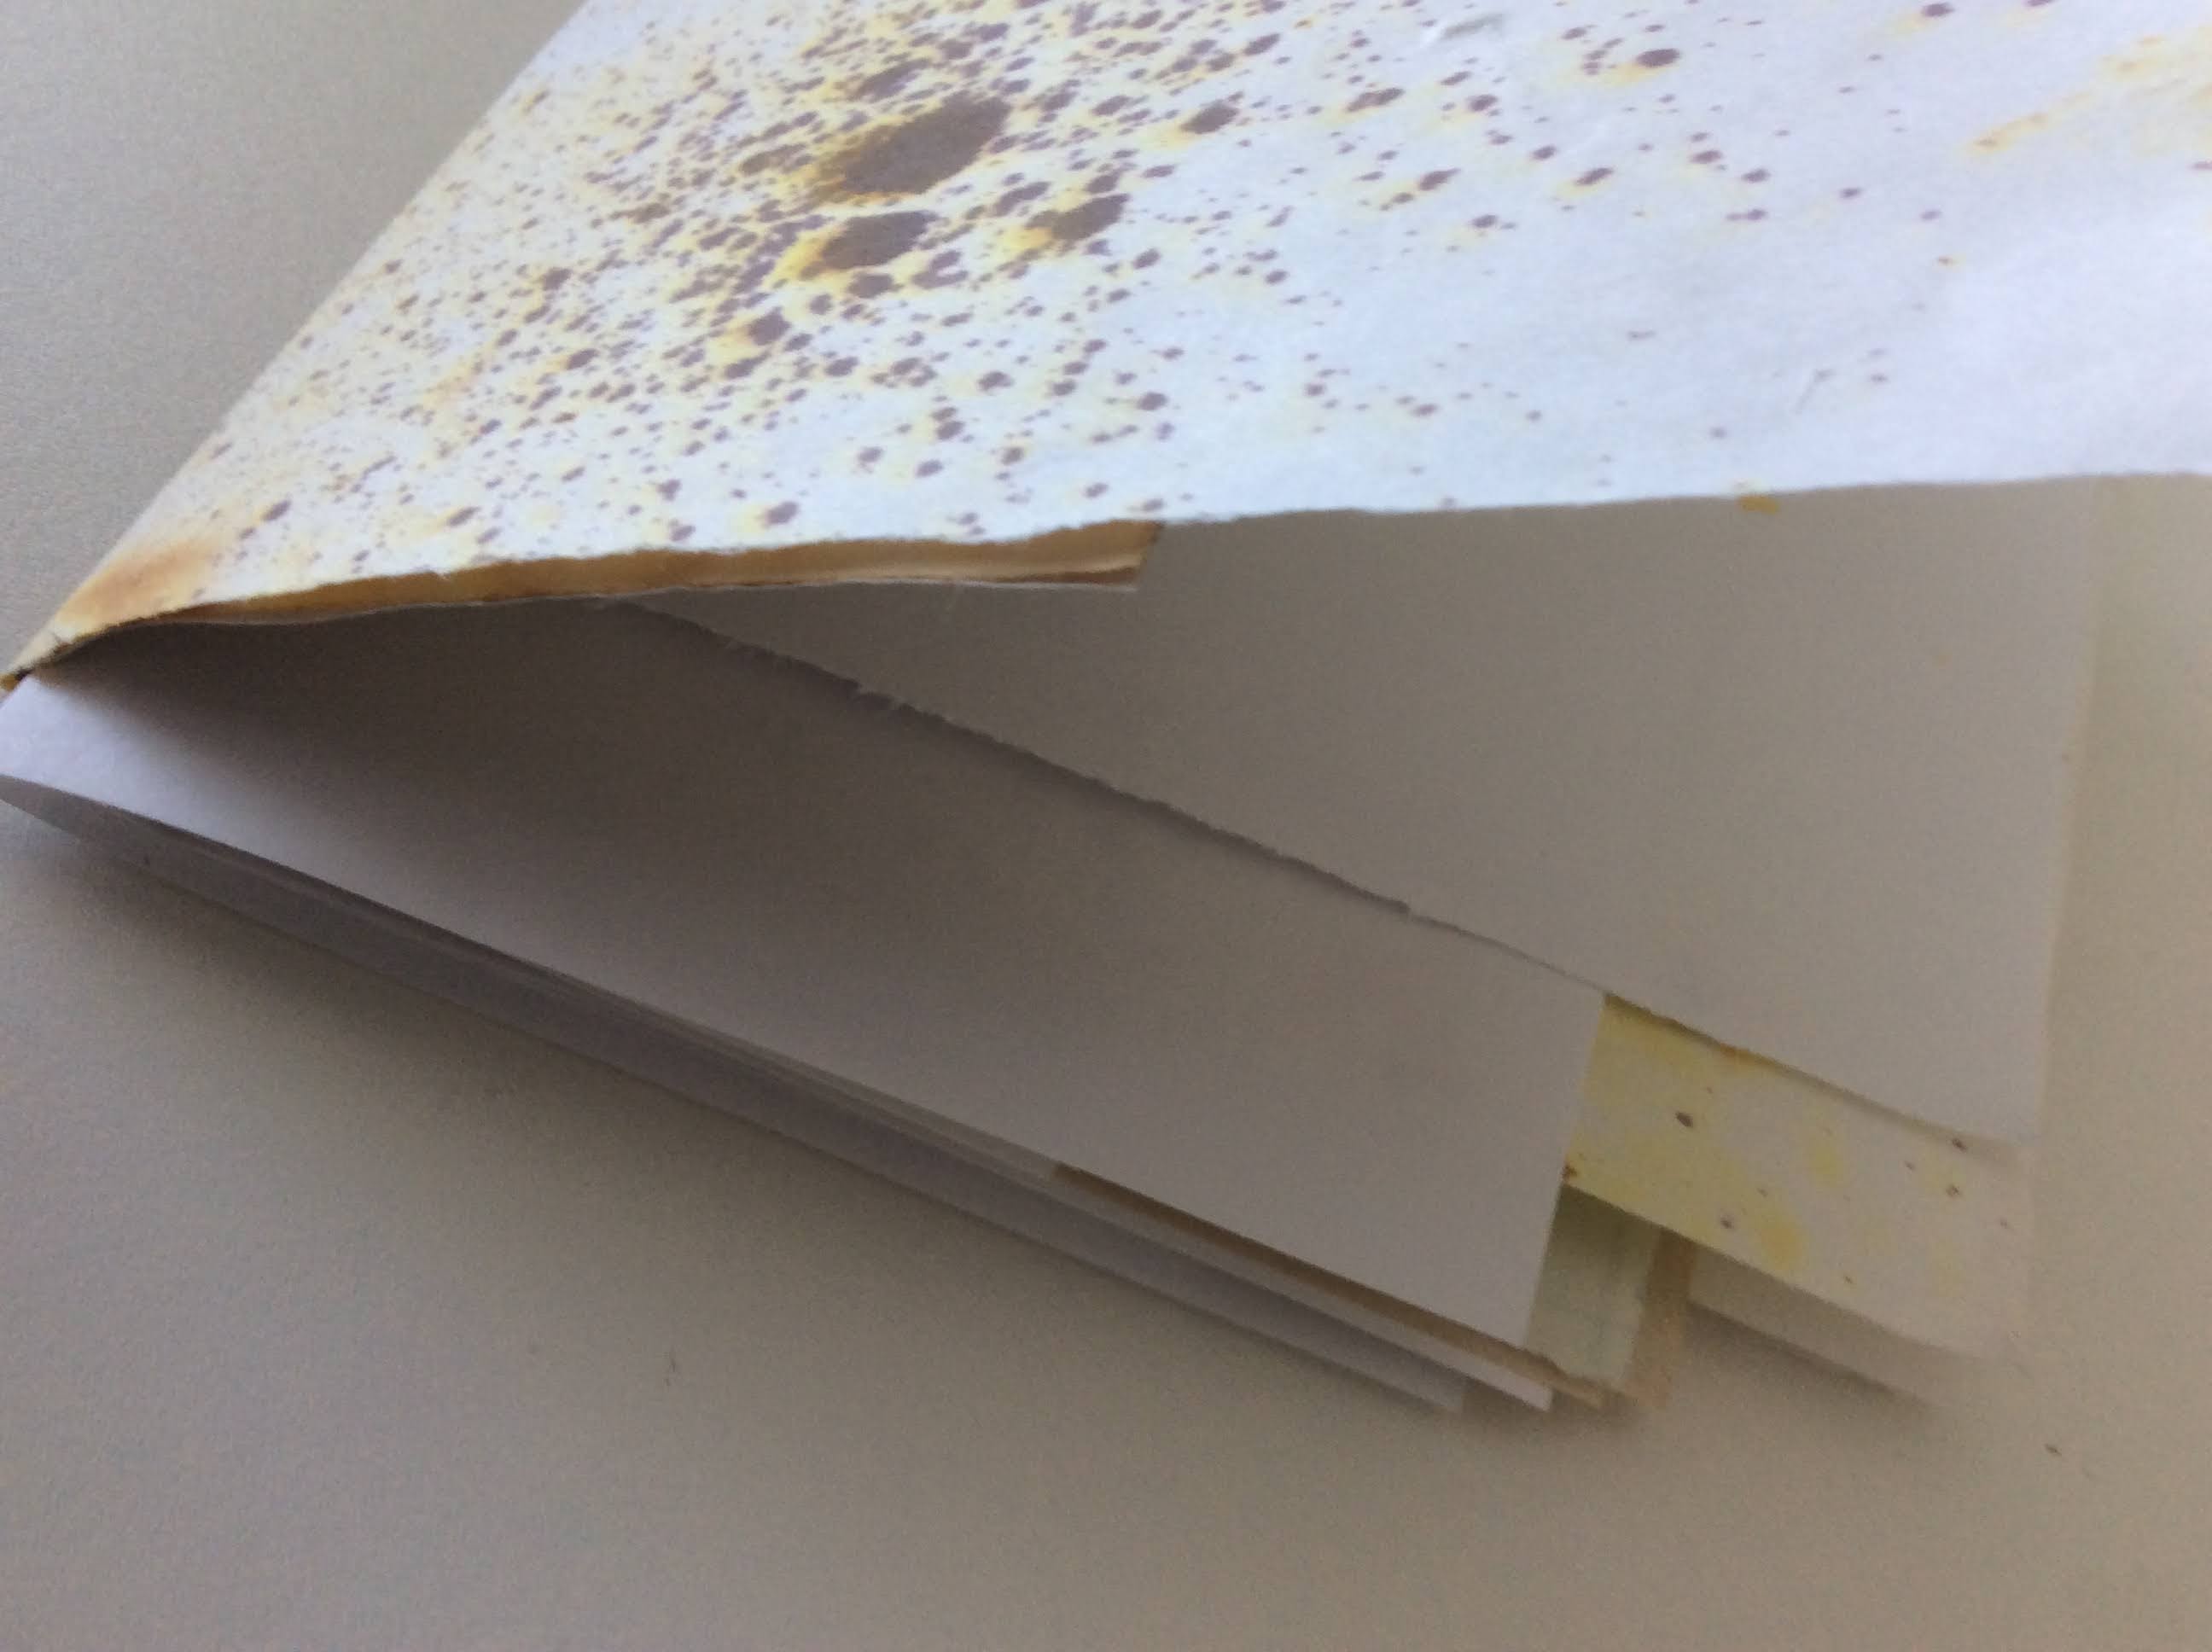
I glued the song sheet to cardstock.

Then crinkled and folded and inked up the edges.


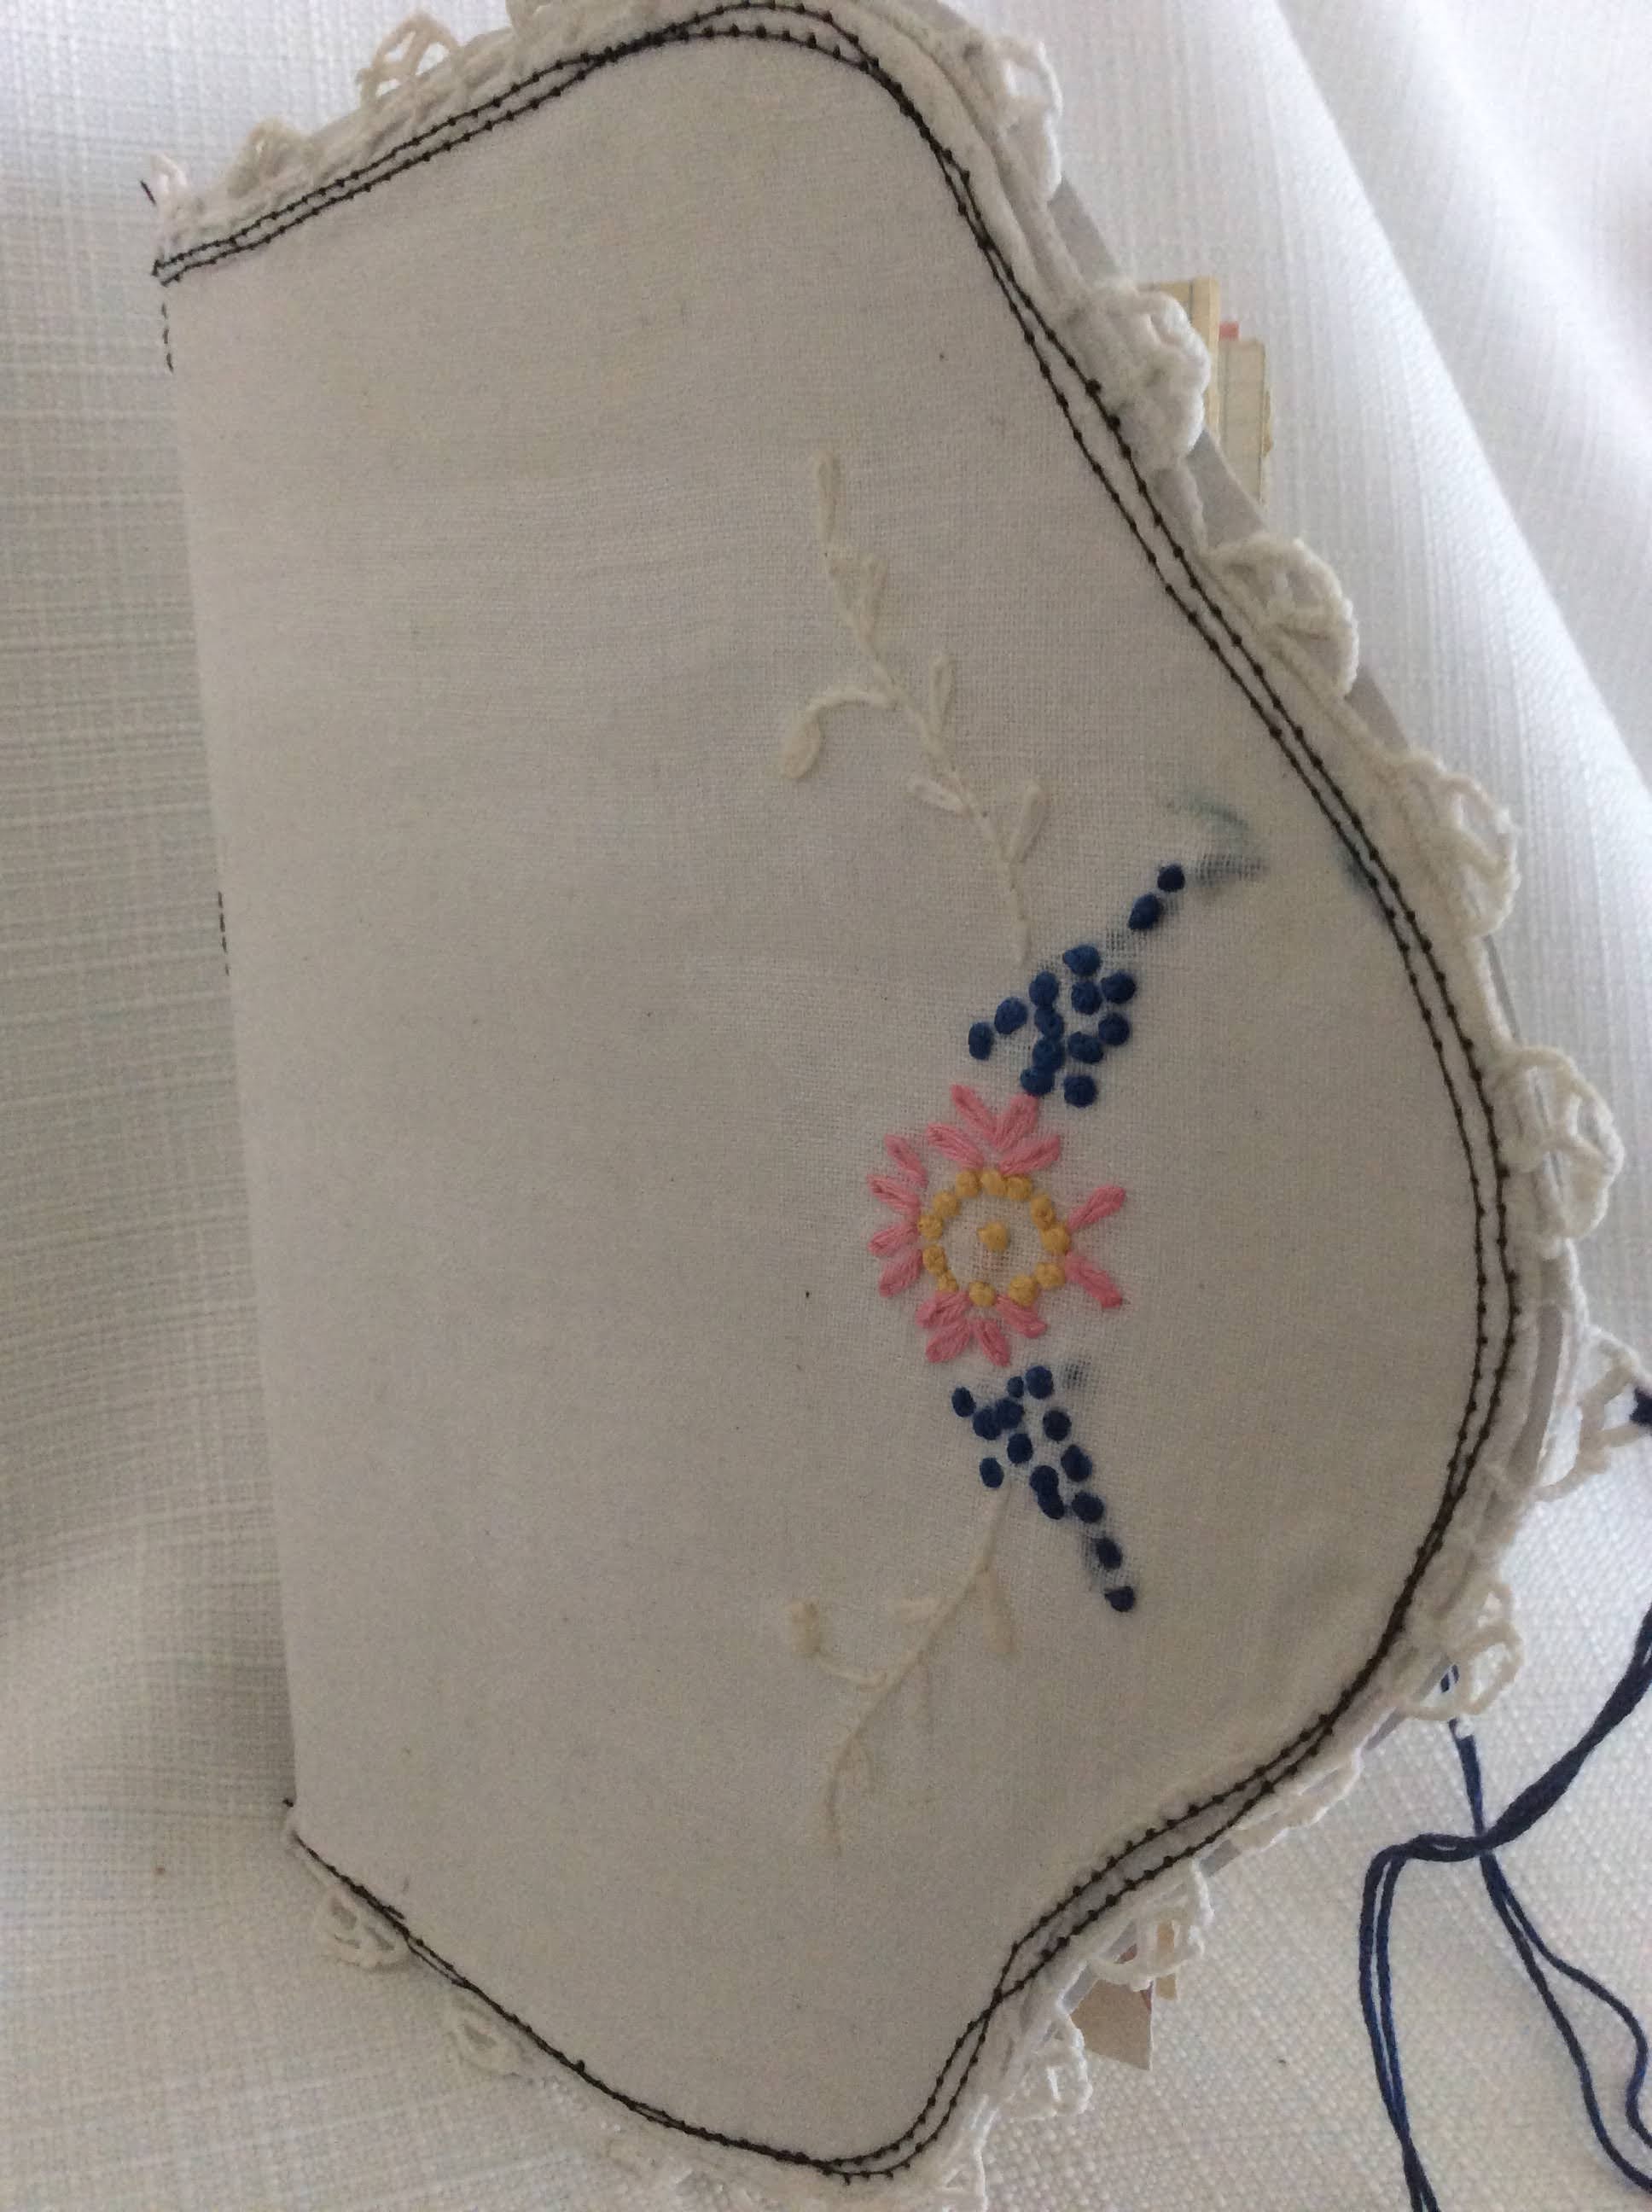
I had a lace applique that I glued on top of the song sheet.


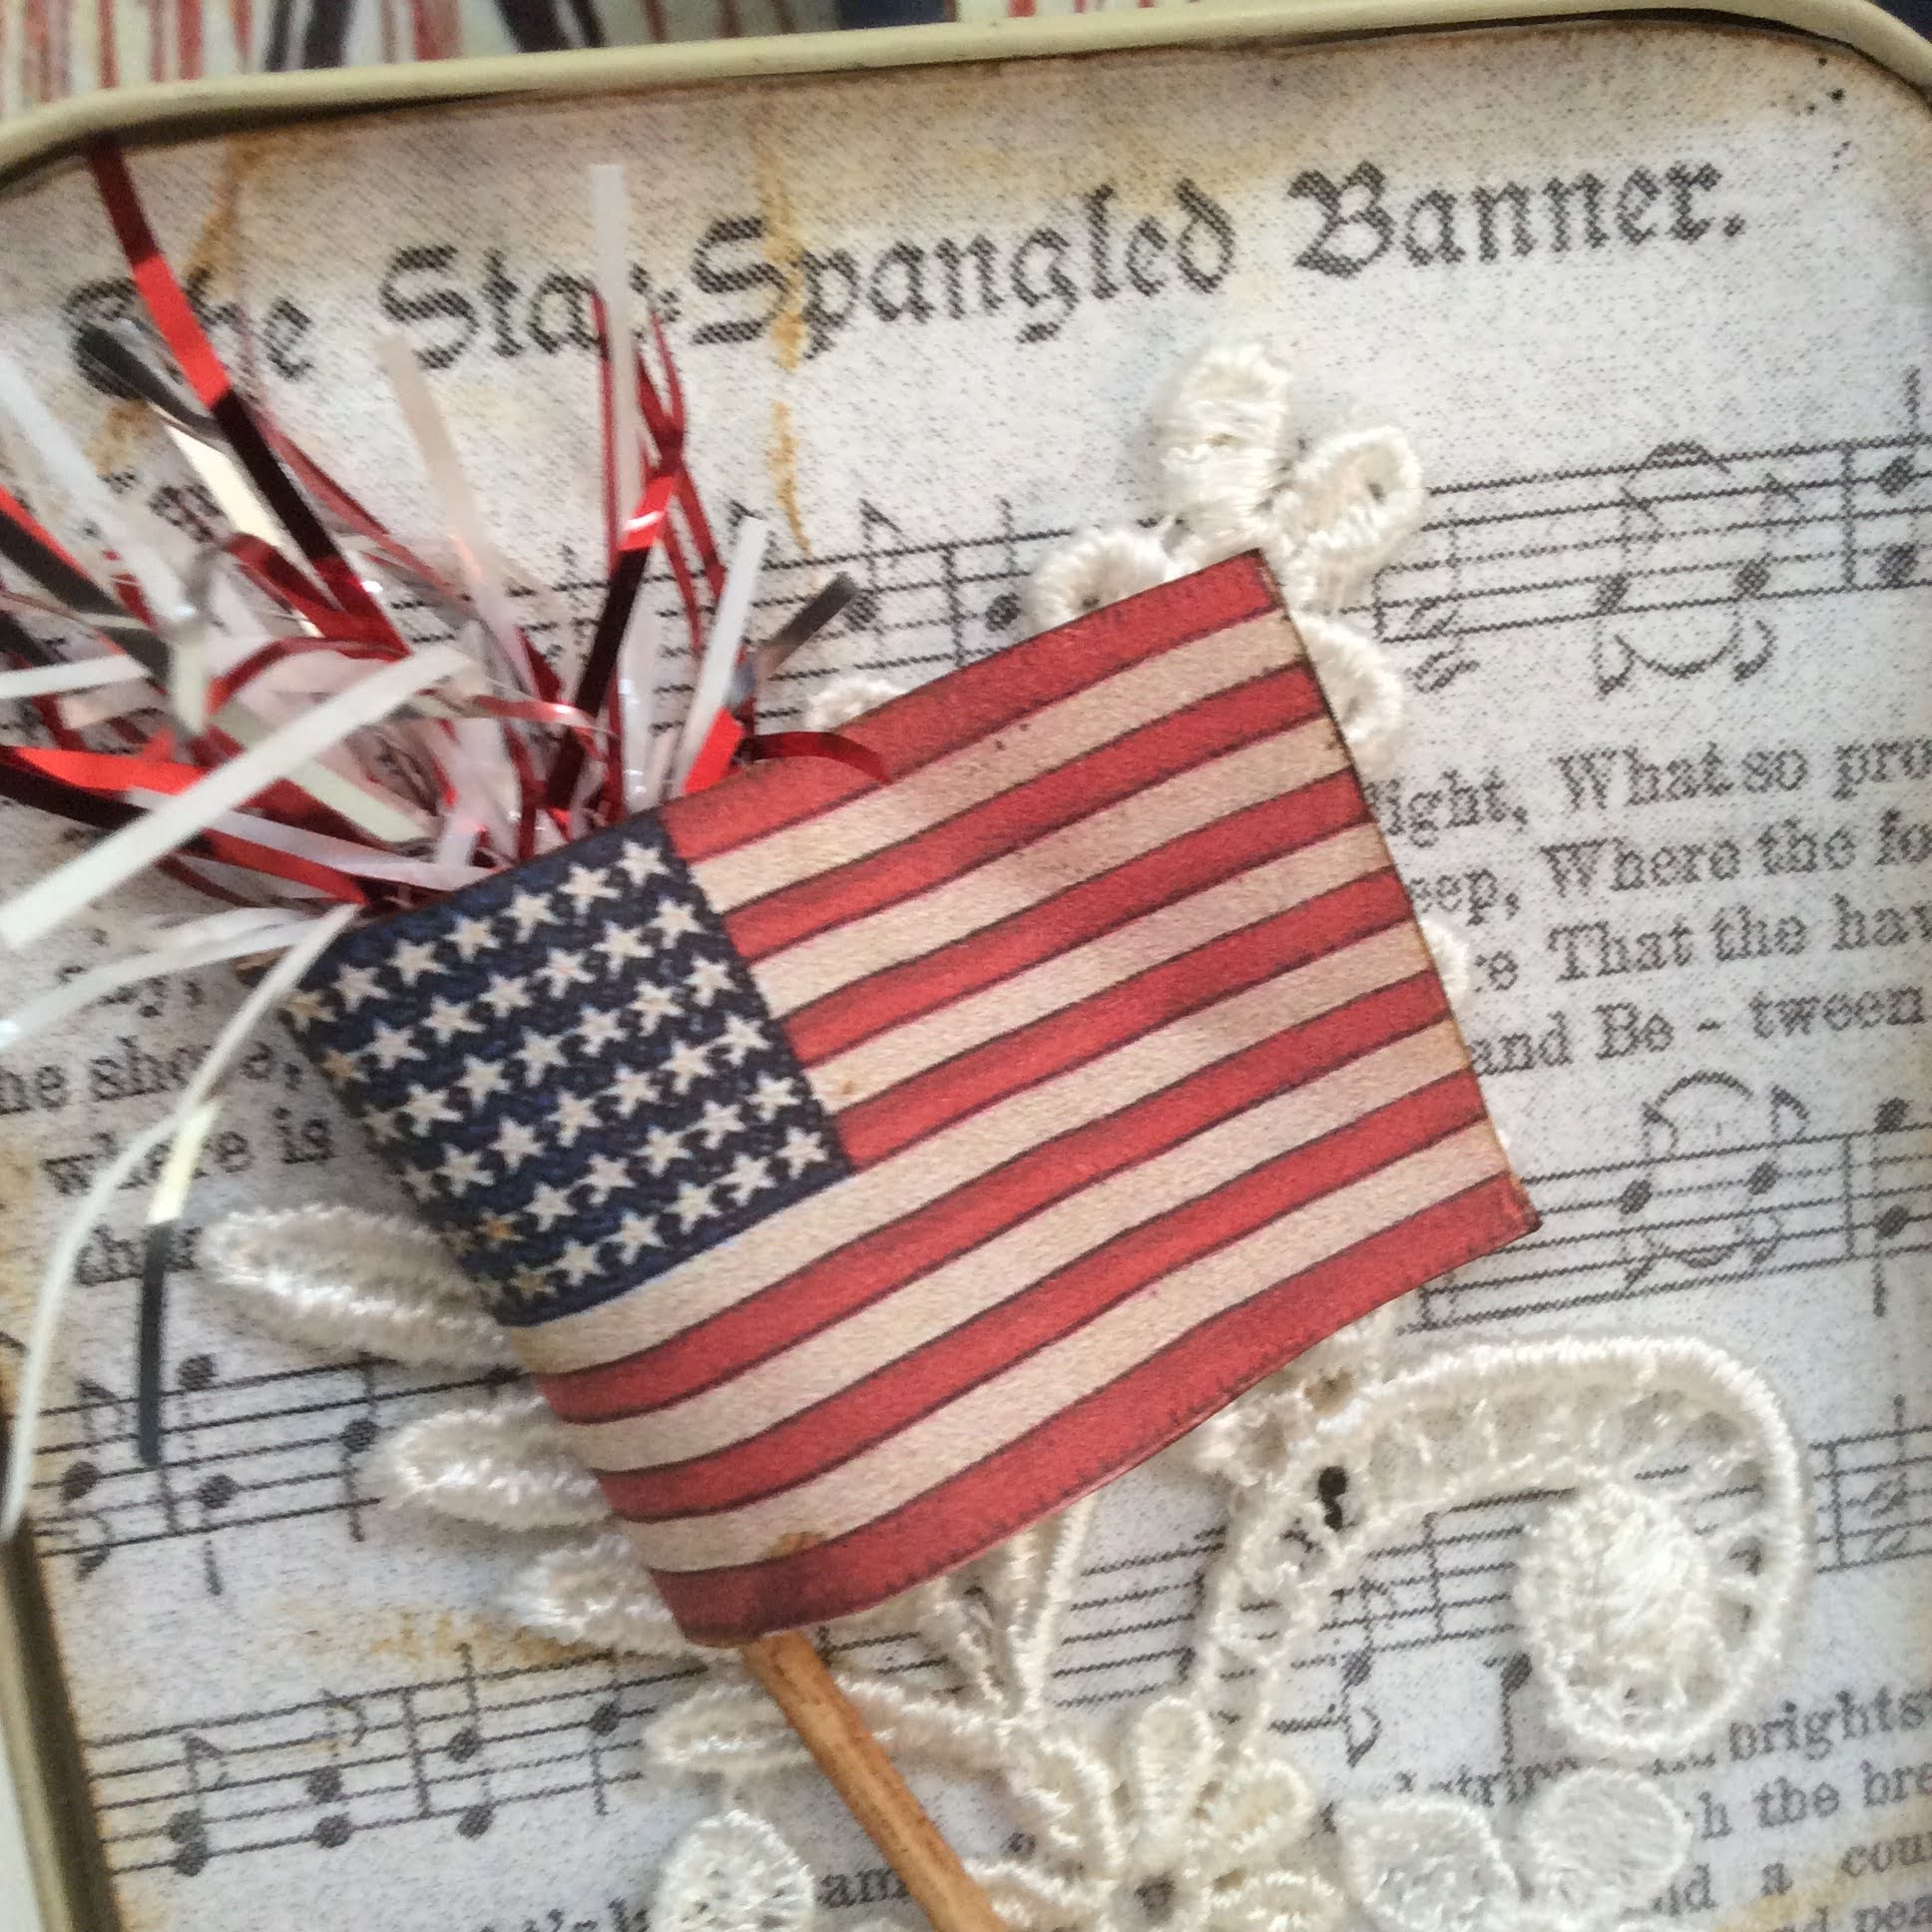
Print 1 copy of pins and flag below


I used the flag above and a toothpick, but you may have

a cupcake flag


I used brown ink on the 'flagpole' and rolled and crinkled

the flag before gluing in place.

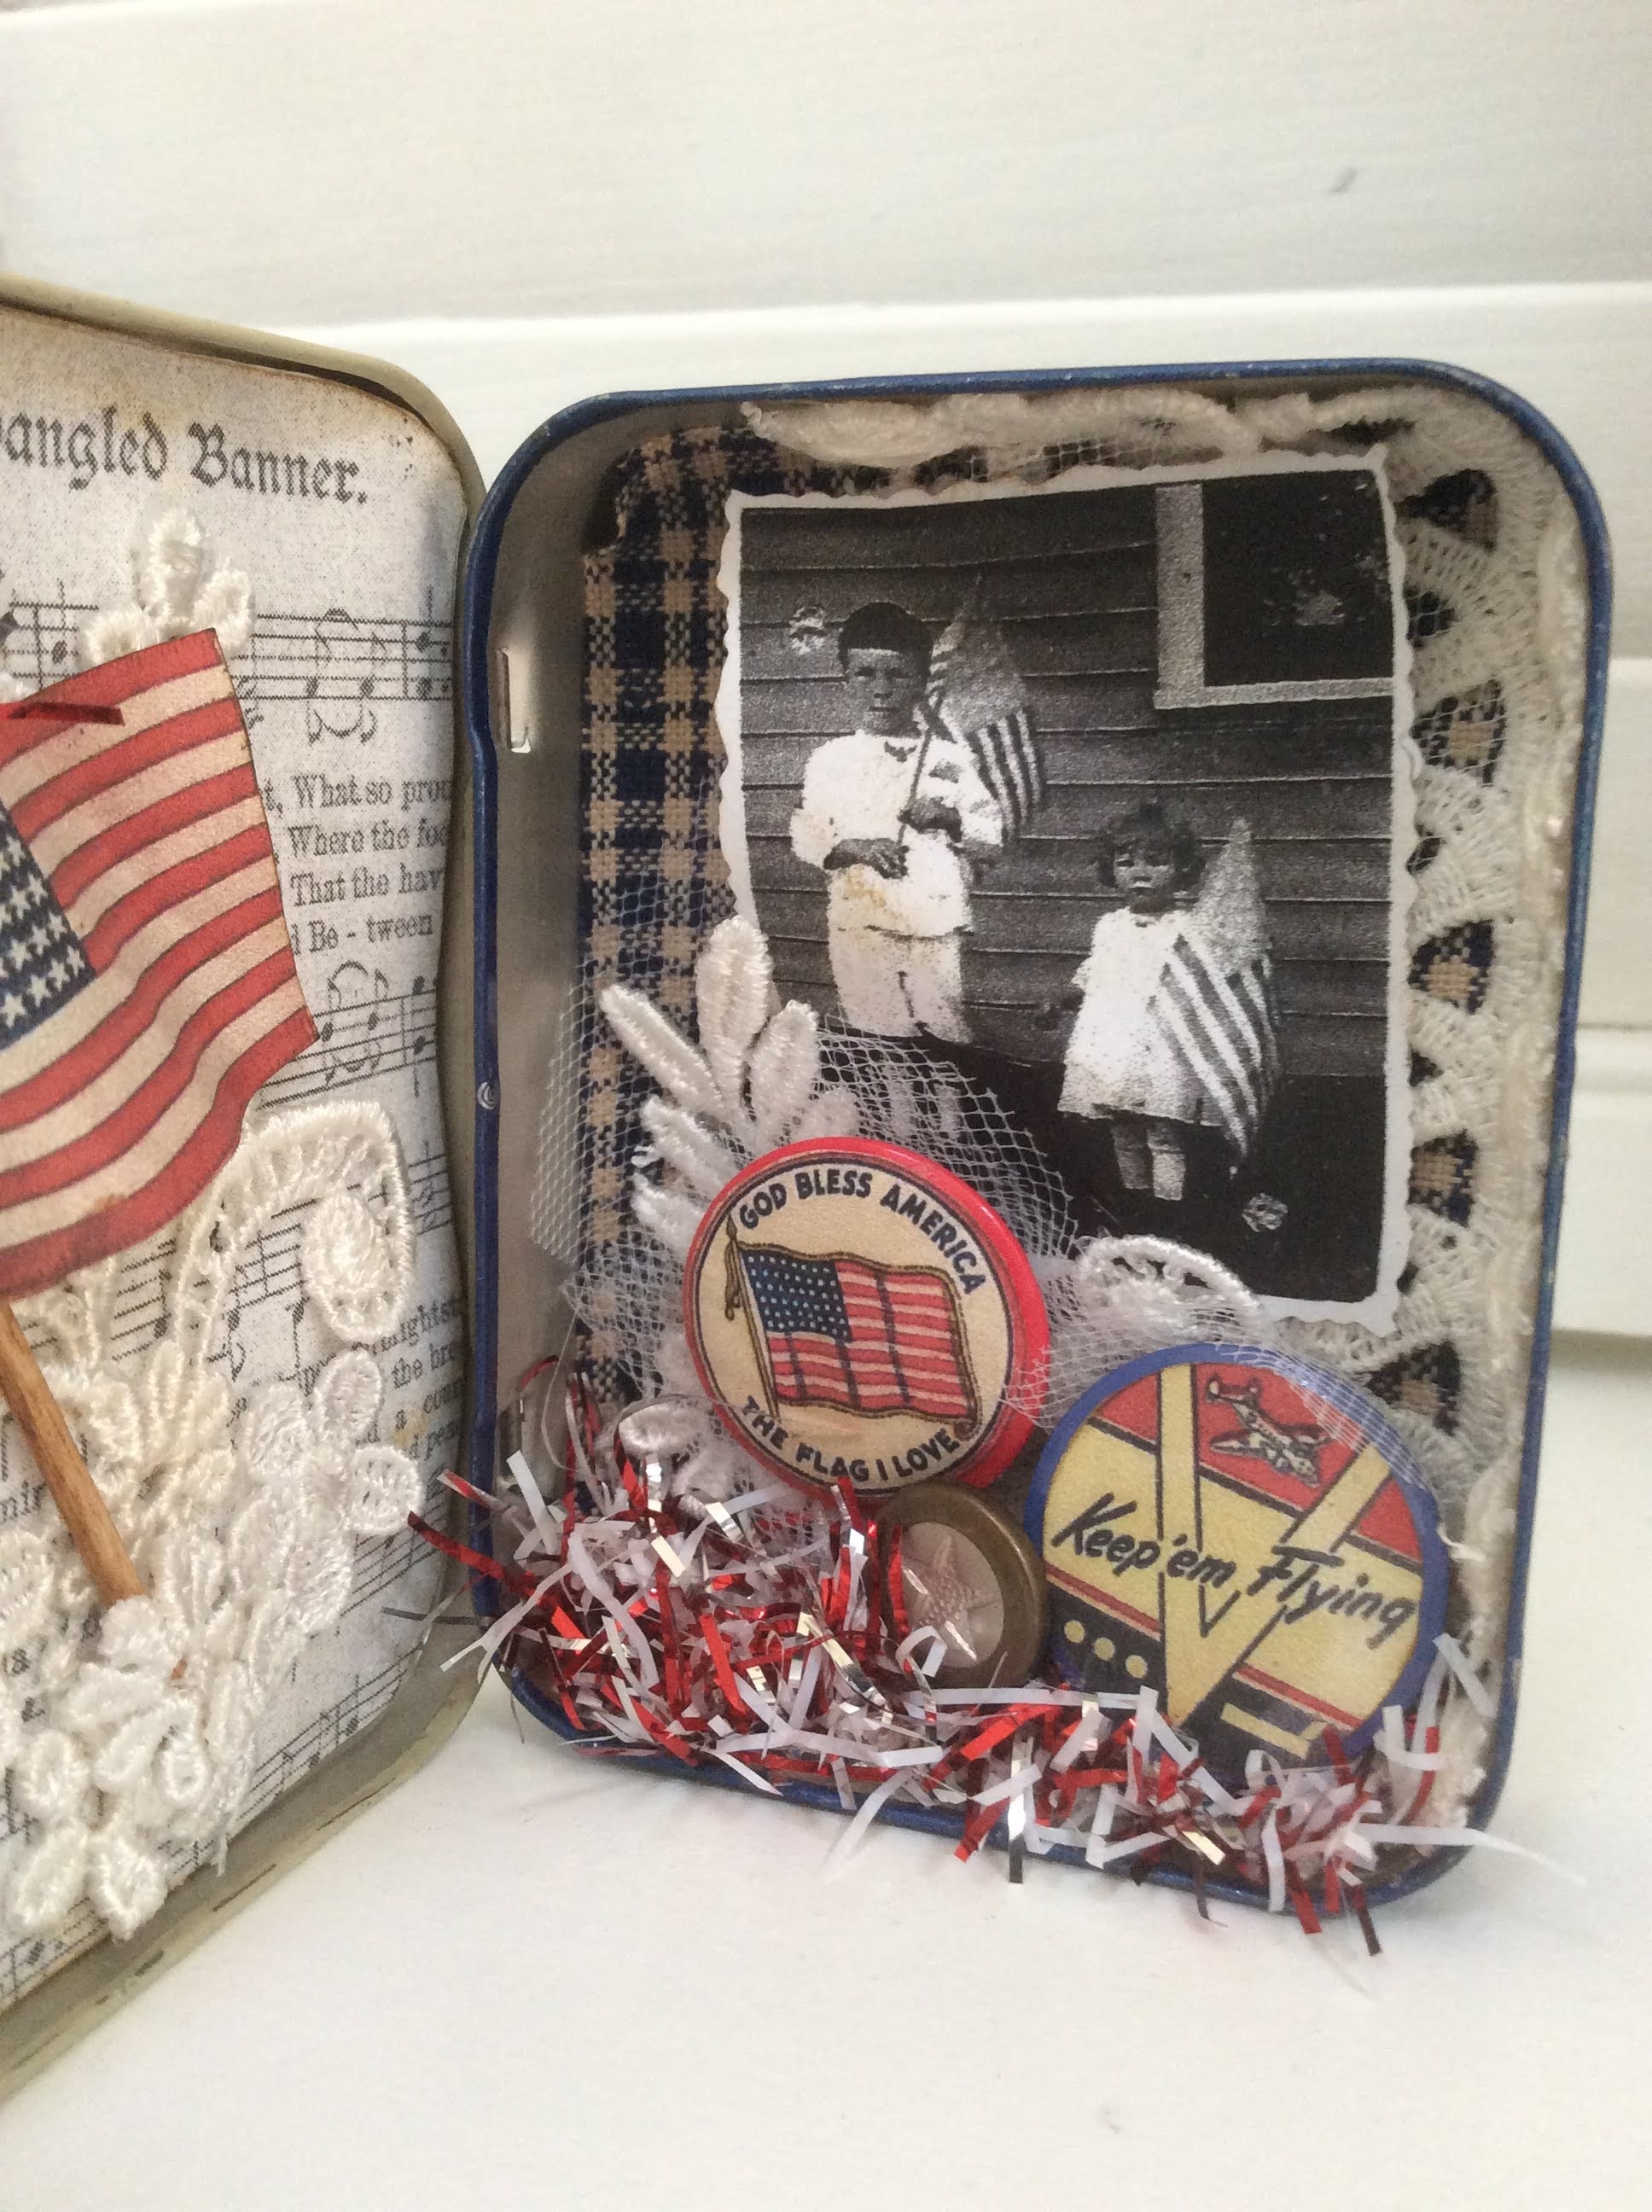
To make my 'vintage pins', 

I used white glue to adhere to pins.


Do not Mod Podge- The ink will smear!


If you don't have a pin, you could use a bottle cap or

another item to give it some dimension.

Even these cork pieces were the right size.


I helped an older friend down size

and move into an assisted living facility last summer.

I was surprised she and her family had no problem

getting rid of her possessions!

When it came to family photos, I had to ask if I could save them.


This adorable photo below was one I found.

It was my friends mother and her uncle.


Print and shrink to size


I used my printer to shrink my photo to wallet size.


I have some scissors that cut a 'vintage photo' edge.


For the background, 


I glued a scrap of navy homespun fabric


and some vintage lace


I glued the photo on the cloth.


The pins are pinned to another 


scrap of lace applique and glued 


under the photo.

I found a star button and glued it in place.


Lastly I added a scrap of garland at the bottom.


I wanted the tin to be able to close- 


so I kept checking.


I can close it up and

 put it away after the 4Th of July :)


I hope you are having a wonderful summer!

xo, Lisa S

Monday, June 13, 2022

Vintage Doily Junk Journal


Hello my friends!

I want to share with you

 this little journal I was working on this week.

It started with this doily below-

When I folded it in half, I thought it would be a lovely

cover for a small journal.


I used Mod Podge to adhere the cloth to a piece of card stock 

and then flipped over and glued a piece of printed paper 

to what would be the inside of the book.

When the back was dry, I used a brush to Mod Podge the front side.


After the Mod Podge was dry, I trimmed the paper 

to the shape of the doily letting the lace trim hang over

the edge.

I took it to my sewing machine

 and stitched along the outer edge twice.

Not perfect! I tried to be a bit messy with my stitch.

Then folded the doily in half.


I used a ruler to get an idea of the size

 scraps I would need for the center pages.


I put together a group of about 10 papers, folded inside each other.


Opened up the papers, clipped the fold line up against

the inside cover fold line.

Then stitched across on the sewing machine.


Then removed clips.

Made another group of folded papers referred to as a 'signature'


Then clipped it inside booklet,

right up against the first 'signature'.


On the front side  you can see the stitch lines-


Then I added the third 'signature' on the other

 side of the first and center.


To make a center pocket or envelope like below-

 Cut the center sheet to have a flap on one side and glue down

the two outside pieces.


I glued a couple of postcards to the inside 

flaps to make a pocket.


I had scraps of coffee stained paper.


I used a vellum envelope with the side left open for a pocket.


The back flap has another pocket.


I added a piece of embroidery thread to the

lace edge.


It can be put on the shelf with your other books.


Thank you for stopping by today!

xo Lisa S


Seed Packet Junk Journal

  Hi friends! Spring is here and I can't wait to be in the garden! After planting I saved the empty seed packets. I made these mini jour...