Hi my friends,
I have been turning old books into all sorts of things for years.
I never get tired of the surprised faces when
someone looks inside.
It's fun to match a book to someone's own special likes or hobbies.
It can be a great personal gift.
It's one of those 'crafty' items I like to sell at the
Flea Market and Craft Shows.
This version is the easiest of all !
To start you will need a soft cover Calendar or Day Planner.
I like to get mine at the Dollar Tree.
The size that I used was 7'' by 5''
I remove the plastic cover and this time I also removed
the cardboard cover.
You also need-
An old book approximately 7'' by 5'' with a 3/4'' wide spine.
This book was only .25- at my public library
The cover was great but some one named Miss Kimberly Ann Donovan
wanted to share her love of the color red with the world.
And pages were falling out-
You will need-
A piece of round elastic double the height of the book,
about 15 ''
You will need-
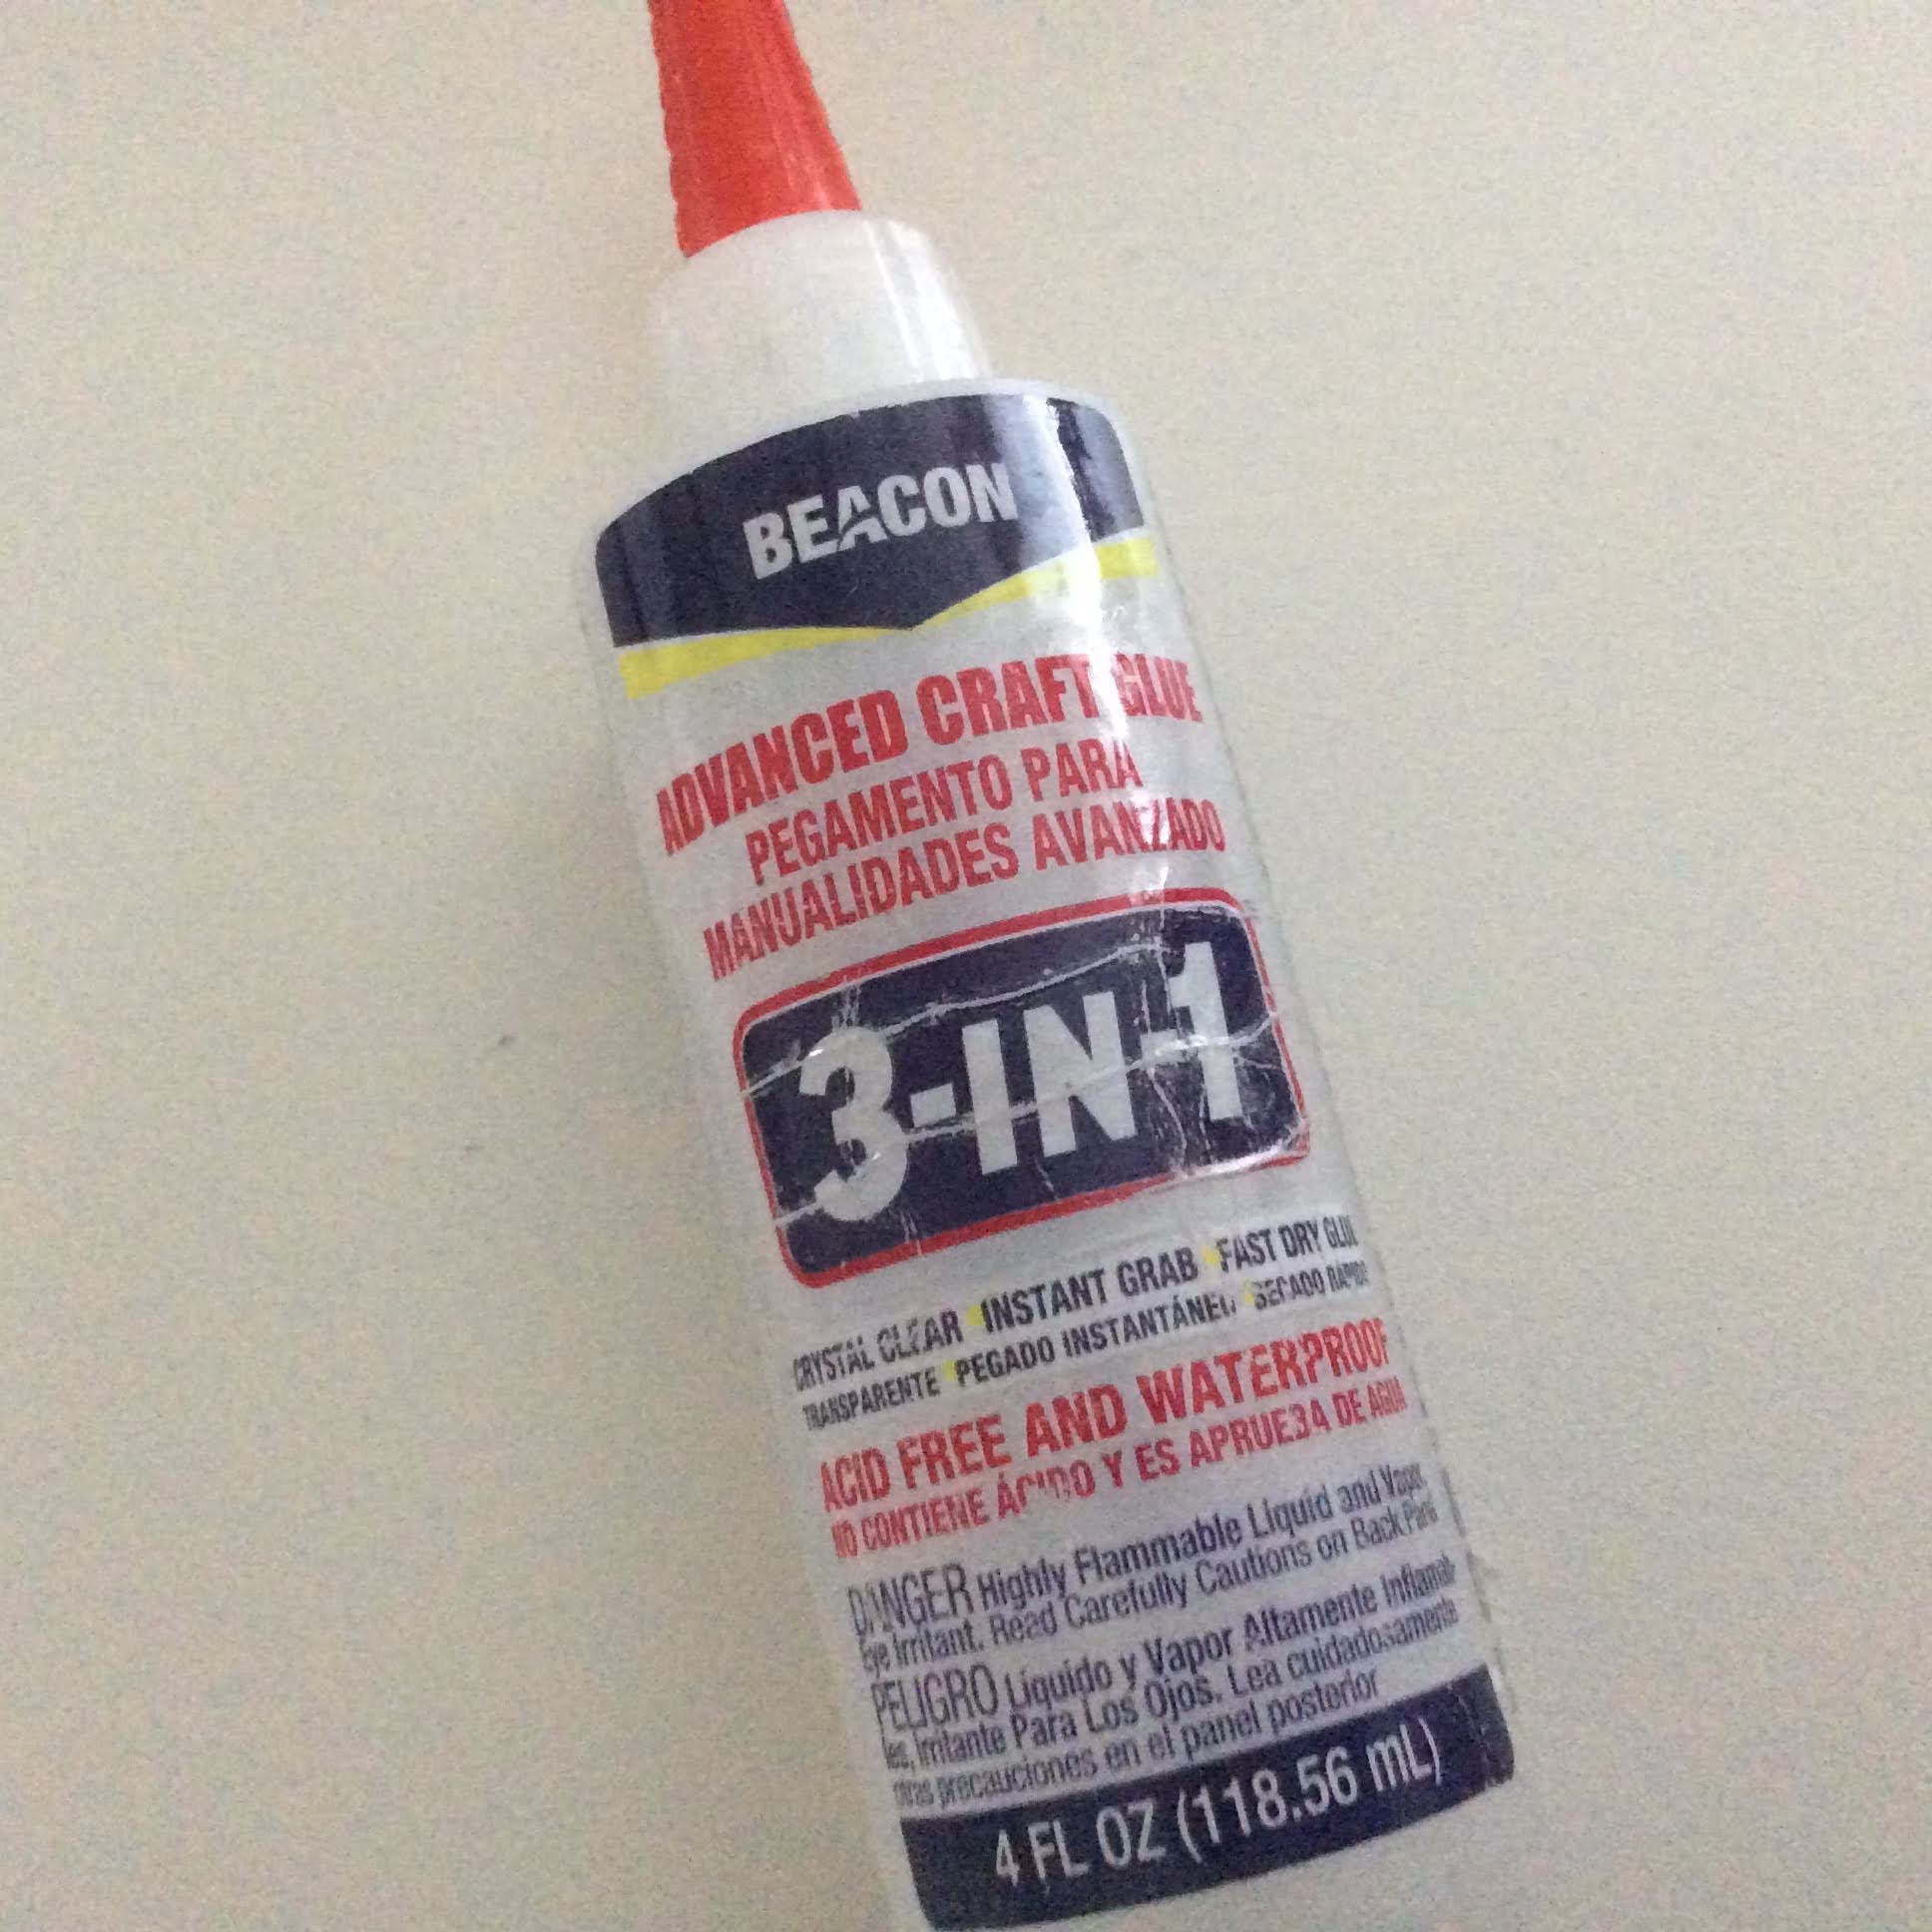
Glue
And you will need-
Scrap paper to cover inside,
To start-
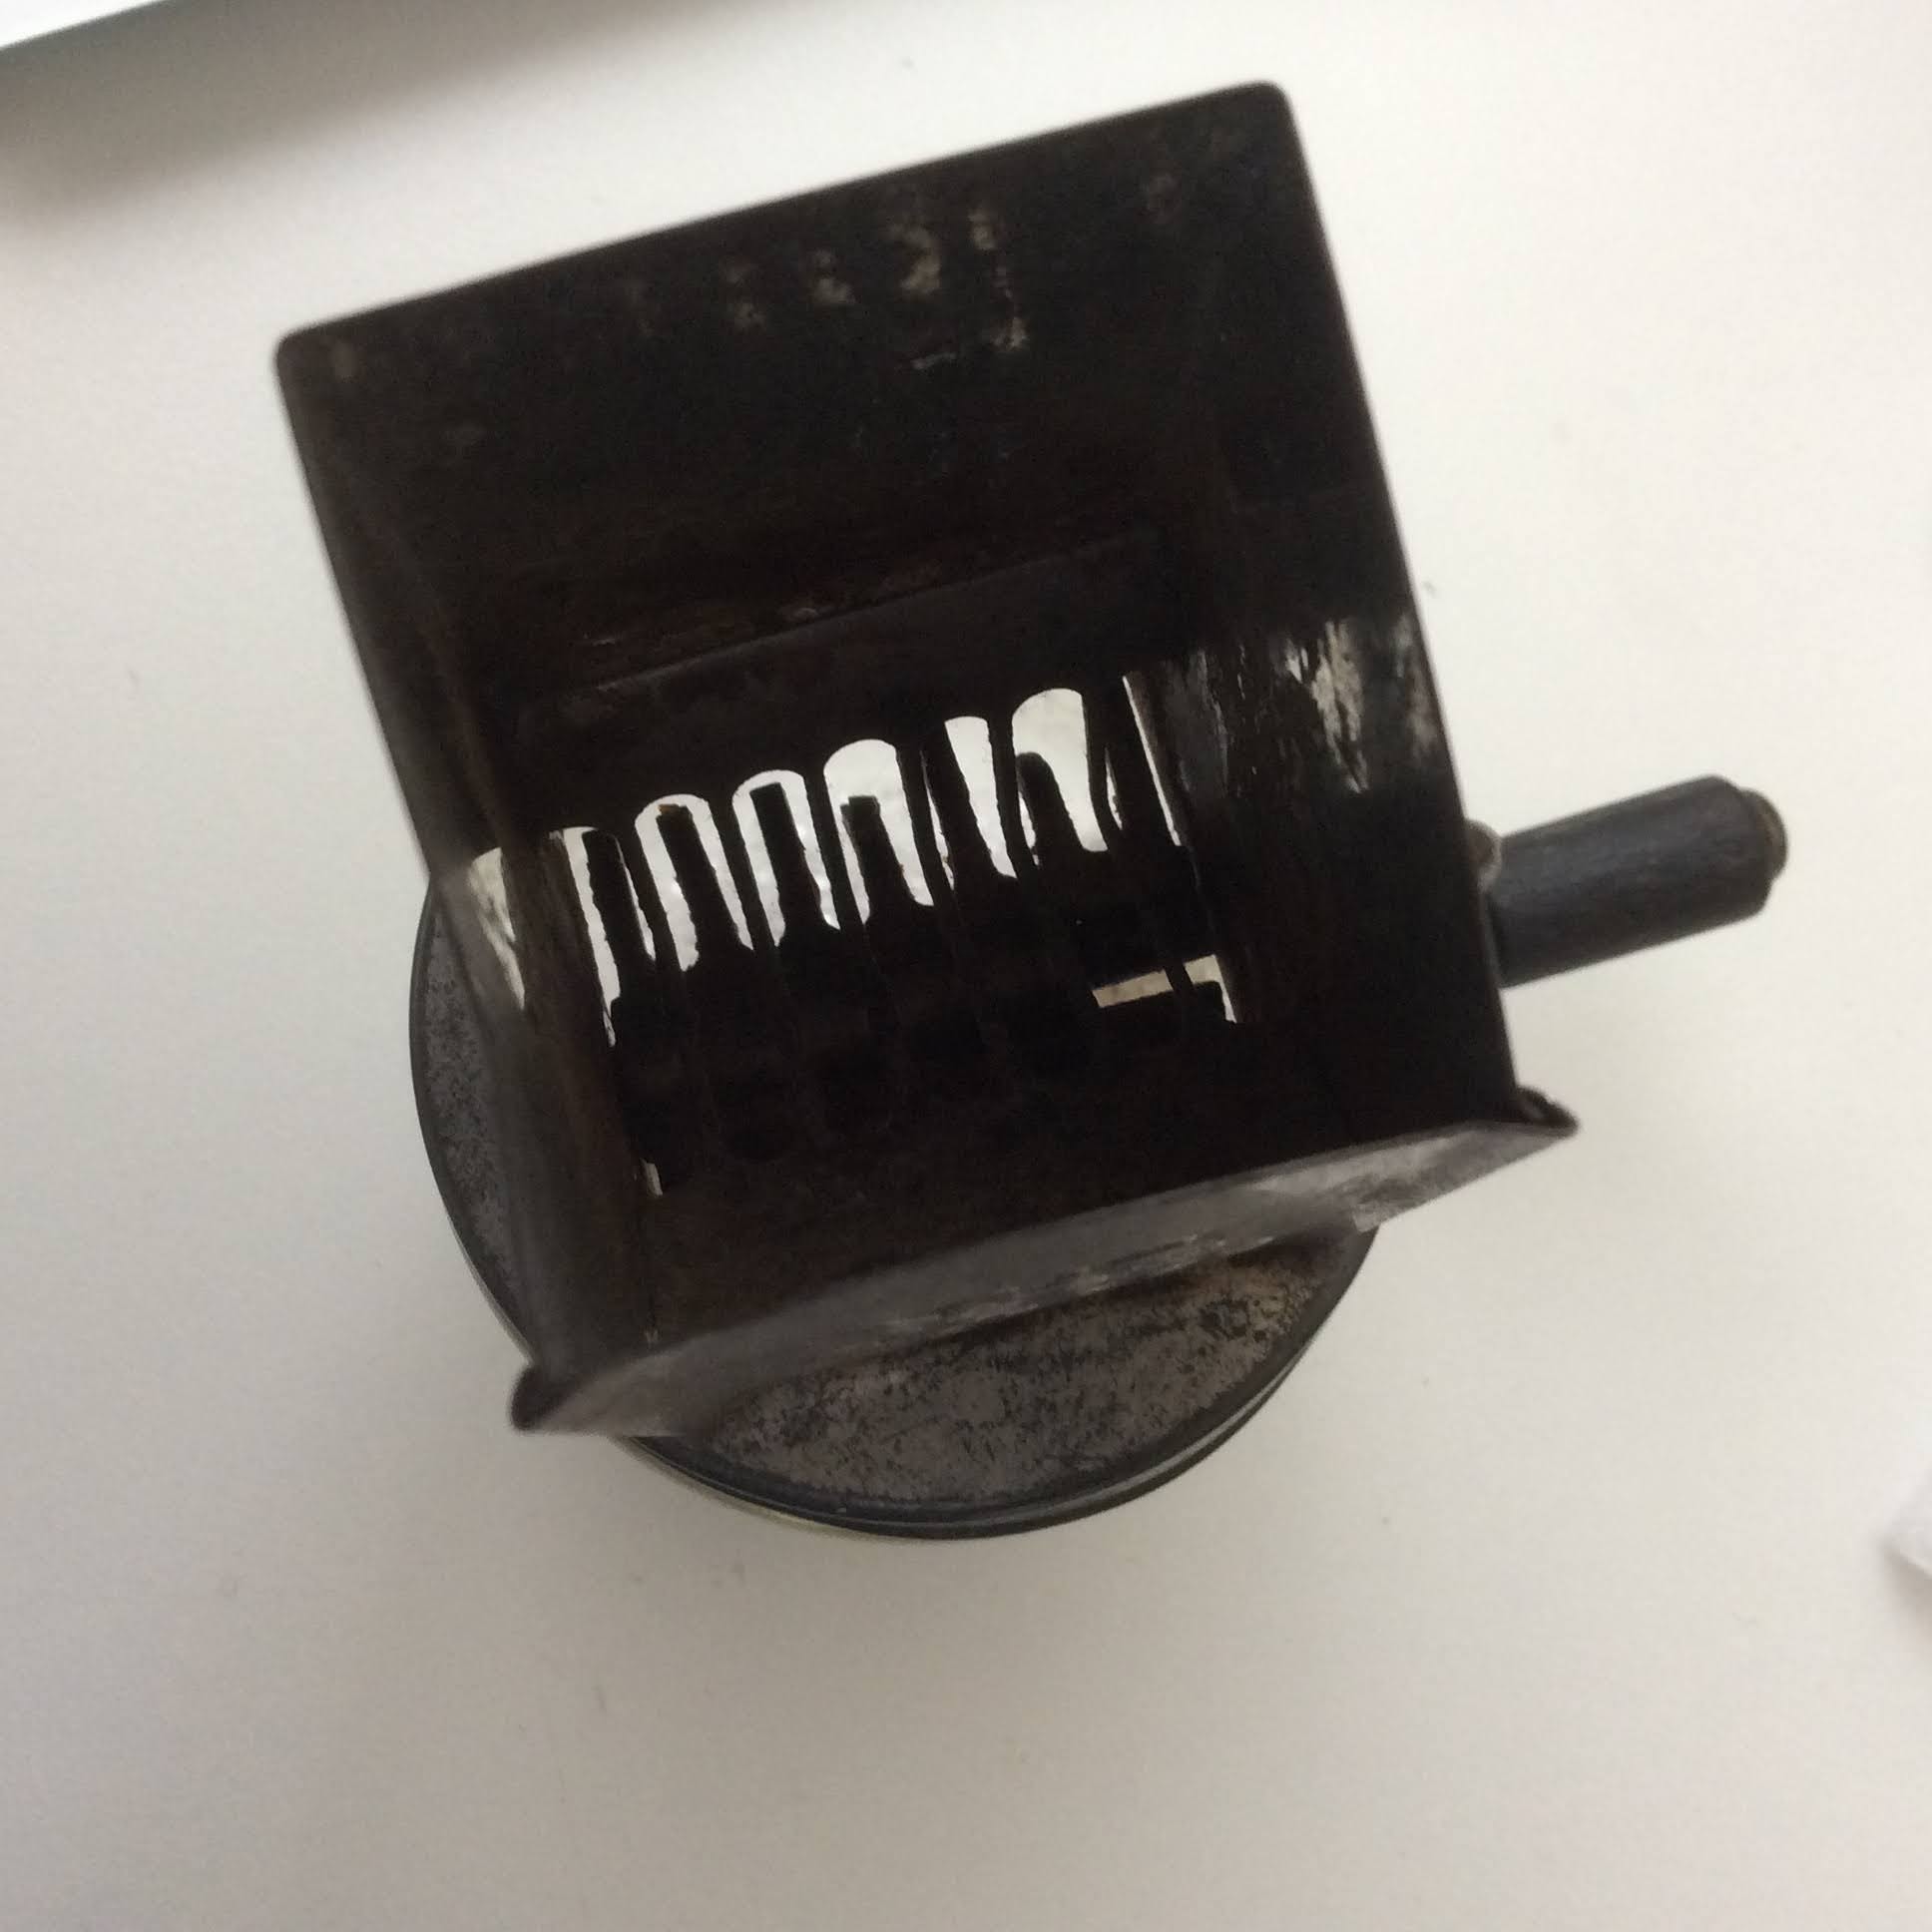
I removed the pages carefully.
I saved the lining pages.
I was able to use the lining page to cover the spine
and make a pocket.
I cut the elastic and tied a center knot.

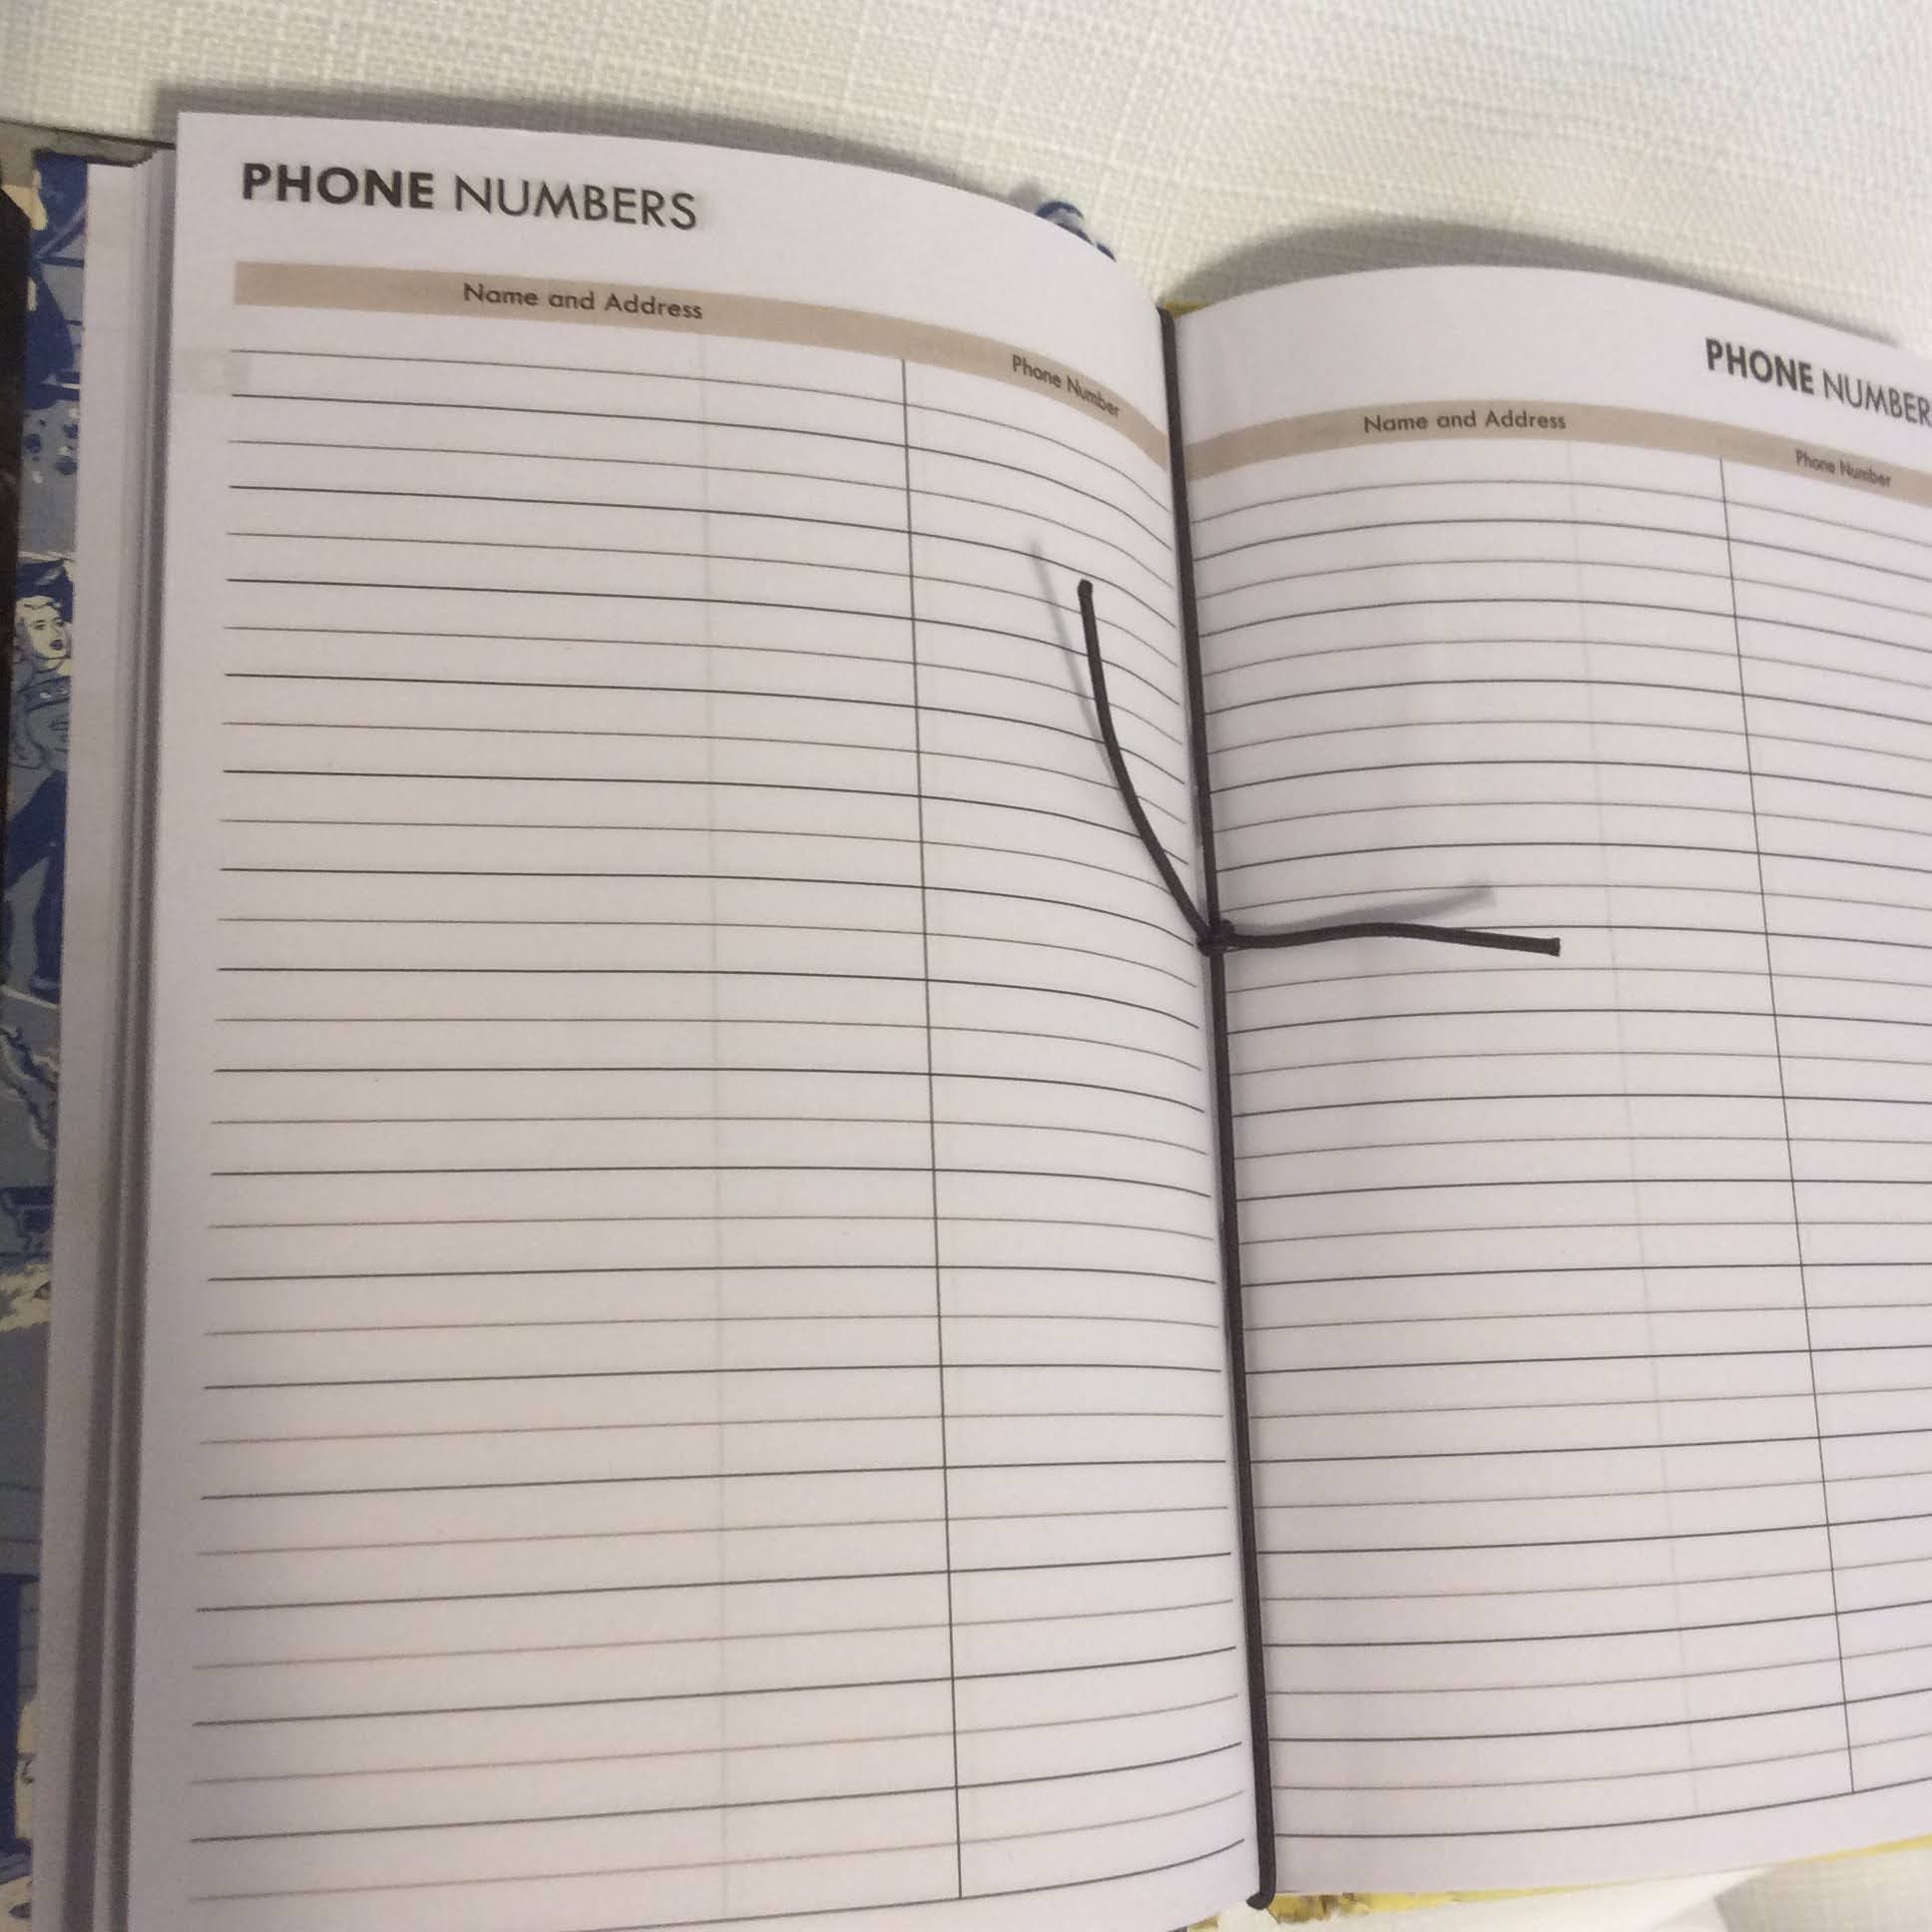
Open the Planner and find the middle.
These planners were stapled in the center-
Just slide through the band.
That's just how easy it is !
The back cover has a pocket.
I had enough of the lining paper left over to make a book mark.
Top view-
I cut small v- shapes at top and bottom center spine
to keep the band centered.
The other planner I was working on was this book,
Toward Pleasant Shores....what a lovely thought !
It had water damage on the inside.
I was able to repair the spine with paper tape
Going with the adventure theme, I covered the inside
with a page from an old Atlas.
Added the elastic band and slipped the calendar inside.
The knot is at the center.
Finding a replacement planner
for the following year should be easy-
just slip the old one out and the new one in.
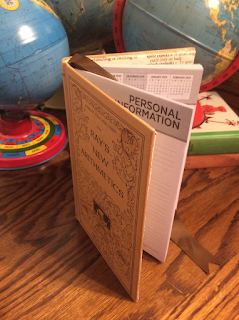
I plan to give the one below as a gift.
I tied a piece of old seam binding around the middle.
This version here is a bit more complicated.
You can see how I made pockets to slide the calendar inside.
This version here was stitched into the spine of the book.
The easiest way-
Update: Sold
I hope you enjoyed this idea and are inspired
to make one for a gift or for yourself.
Thank you so much for visiting!
XO Lisa S