Monday, October 30, 2023

Sharing Some Repurposed Vintage Planters

Hello there!

It's fun to challenge yourself to use

 something in an unusual way.

I love to go thrifting and

 sometimes you can find things

that can be repurposed. 

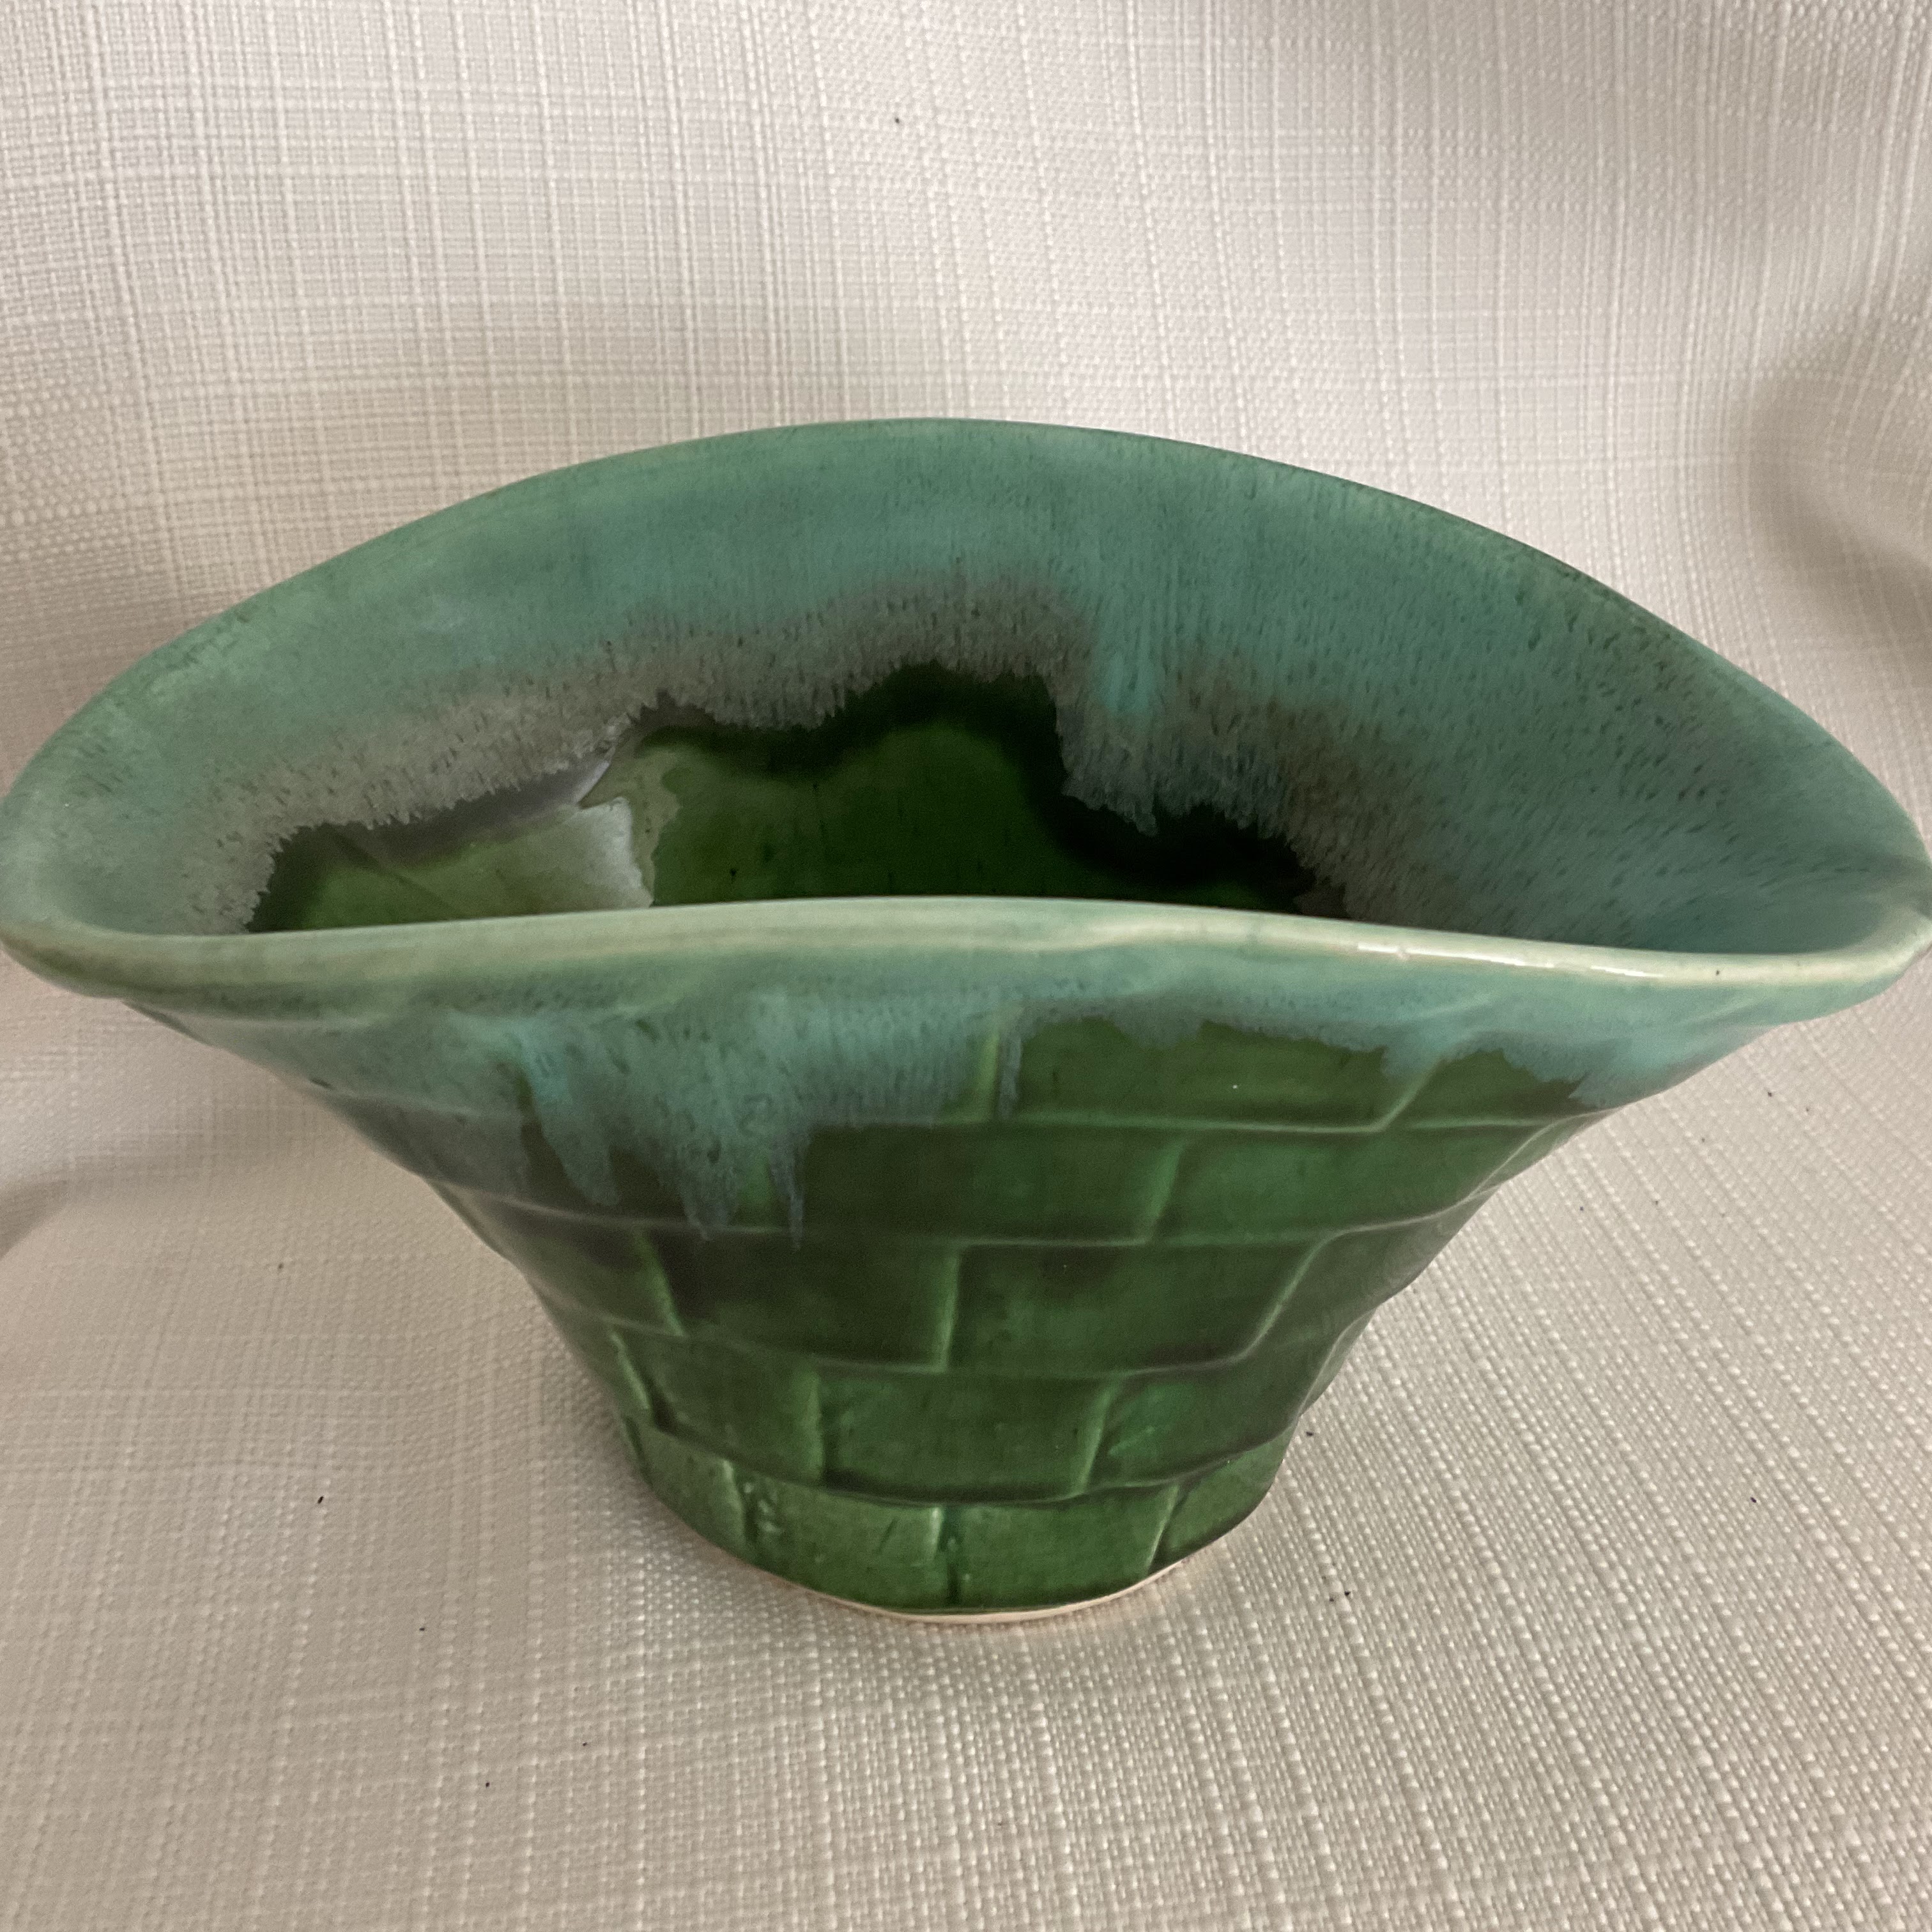
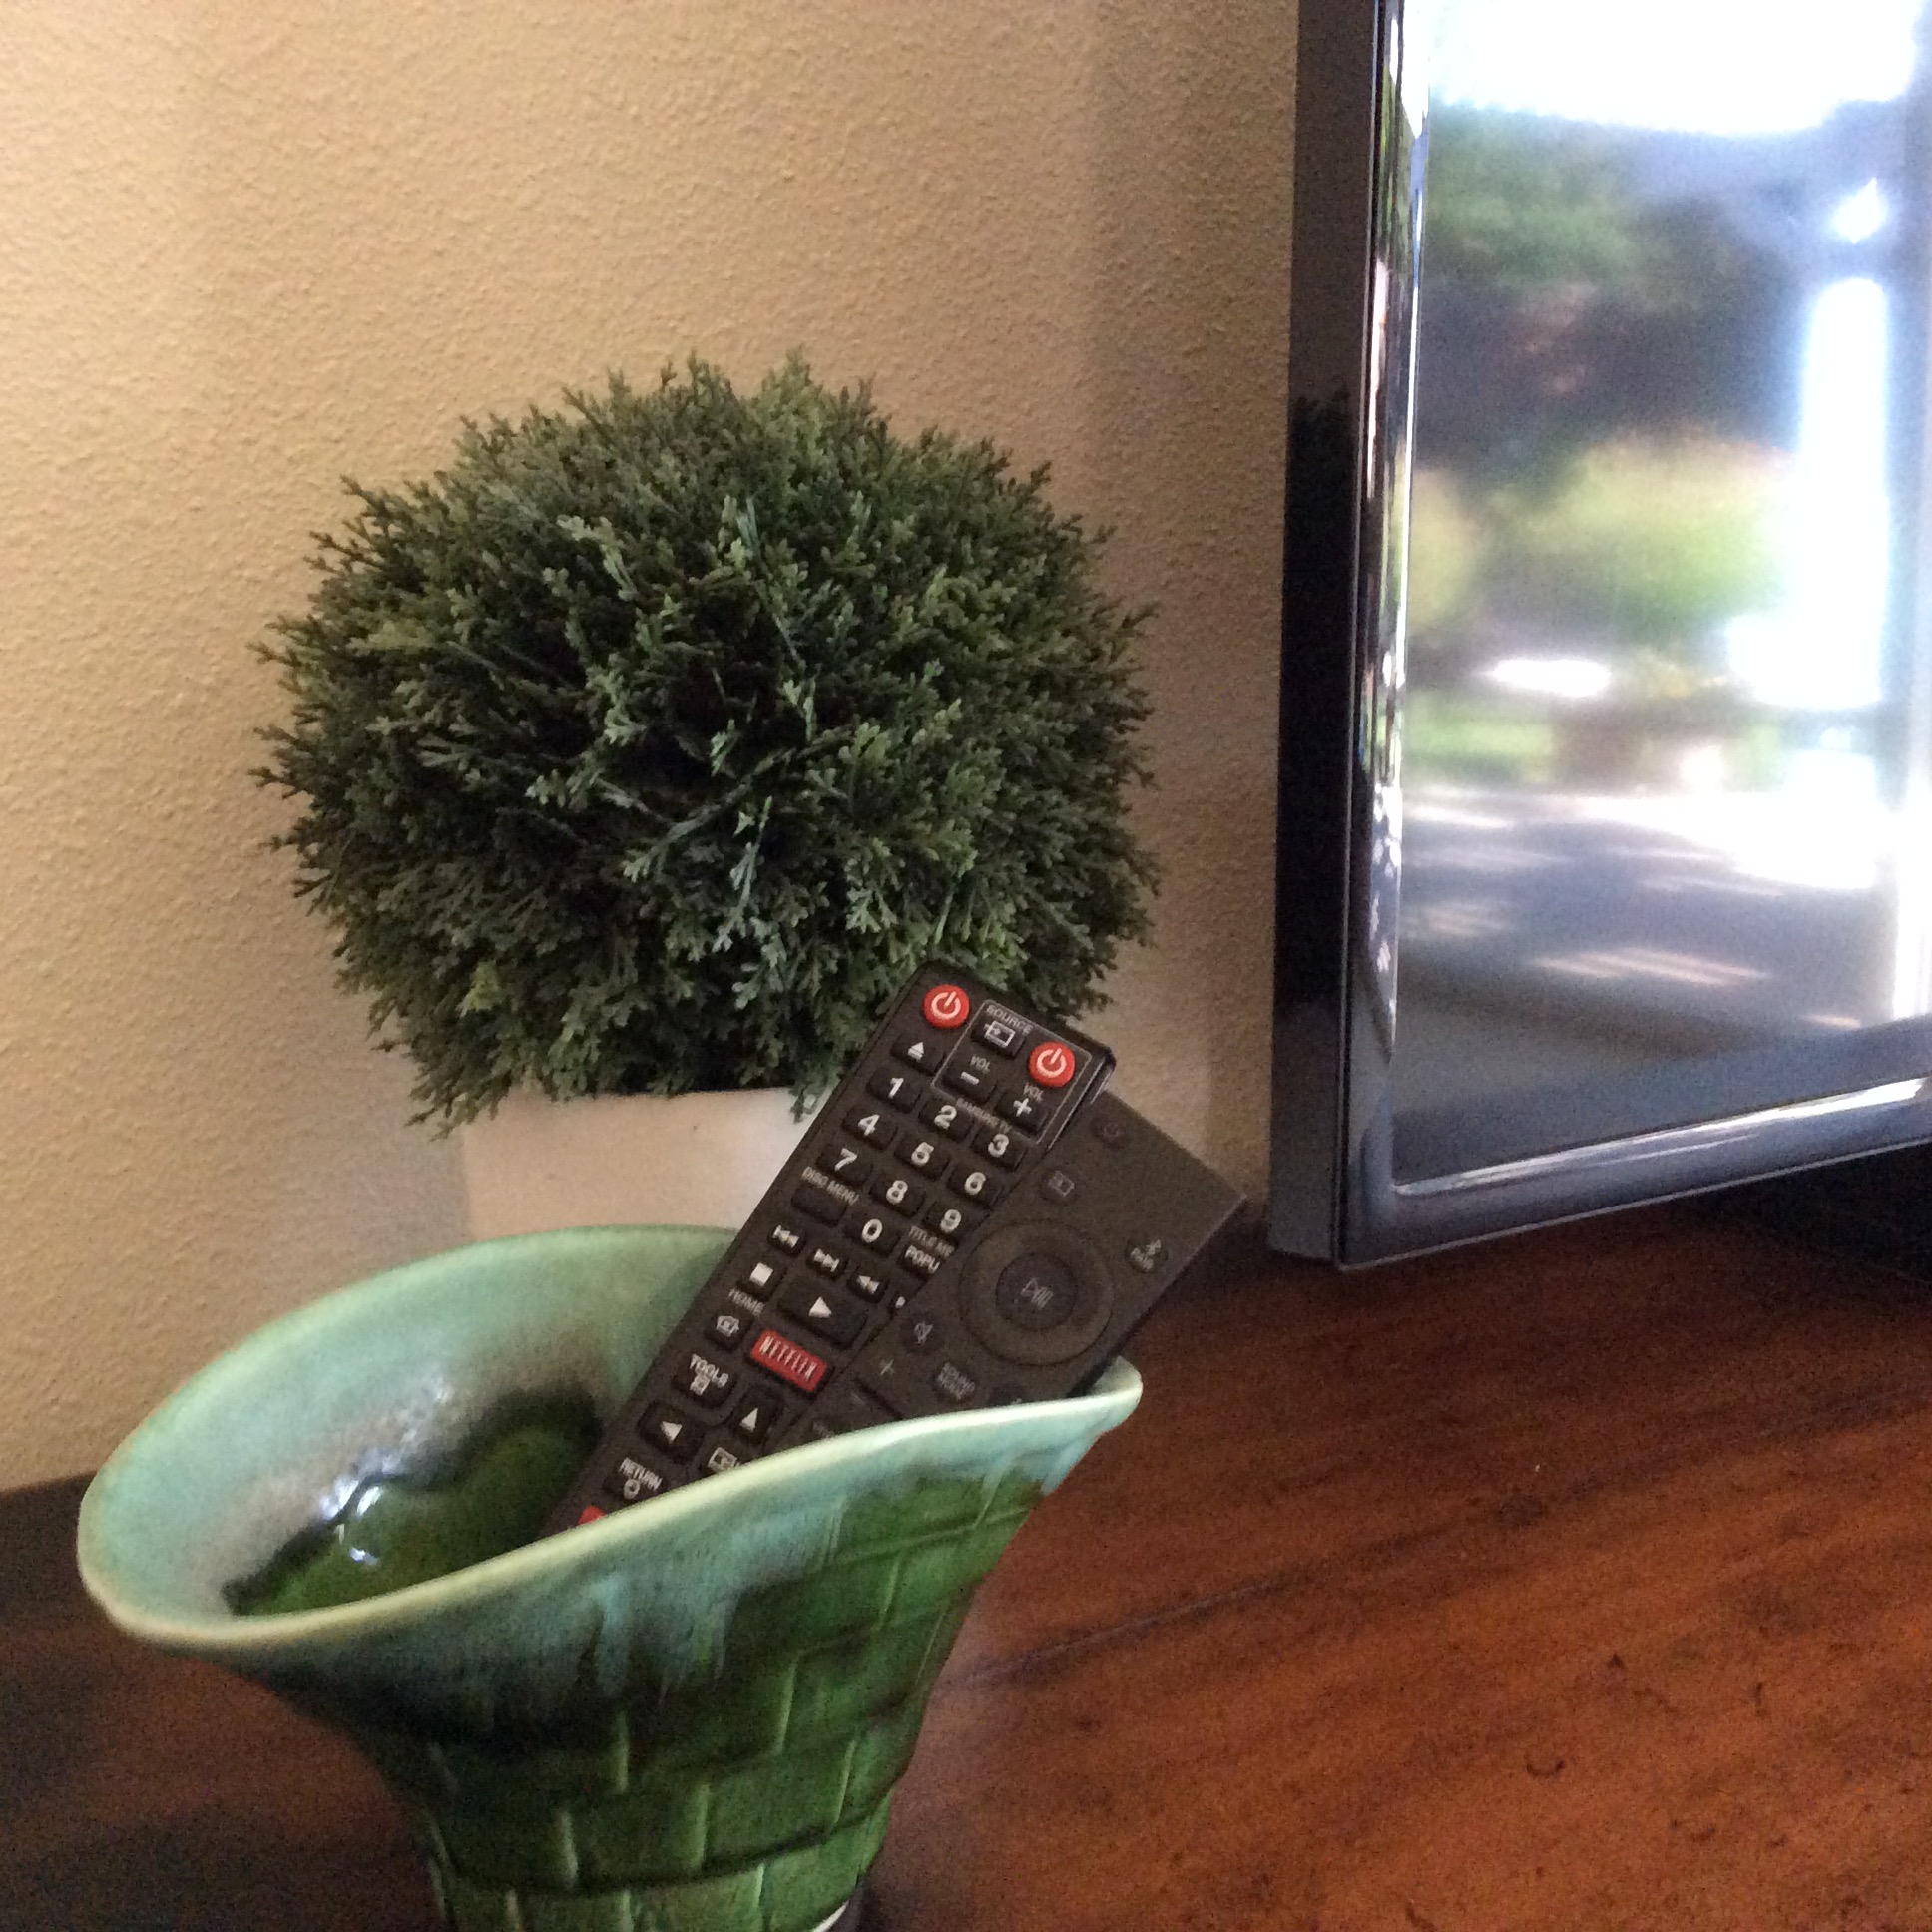
I found this planter while thrifting-


I put a small piece of foam padding

in the base and now I can find

at least one pair of glasses!


A bowl of shiny- bright glass ornaments

would look nice.


I had some Christmas odds and ends

close by for now-

or

a place for the T.V. remotes


At Christmas time planters always look great

with some greenery .

My GRANDMA gave me this bear years ago.

For a long time it was filled with paint brushes

now a tree and some roses.


Here just a branch and a pinecone.


My Tin Christmas coasters fit nicely-


A great place to tuck some THANK YOU cards!


This pink car is always part of my

Spring decorating -


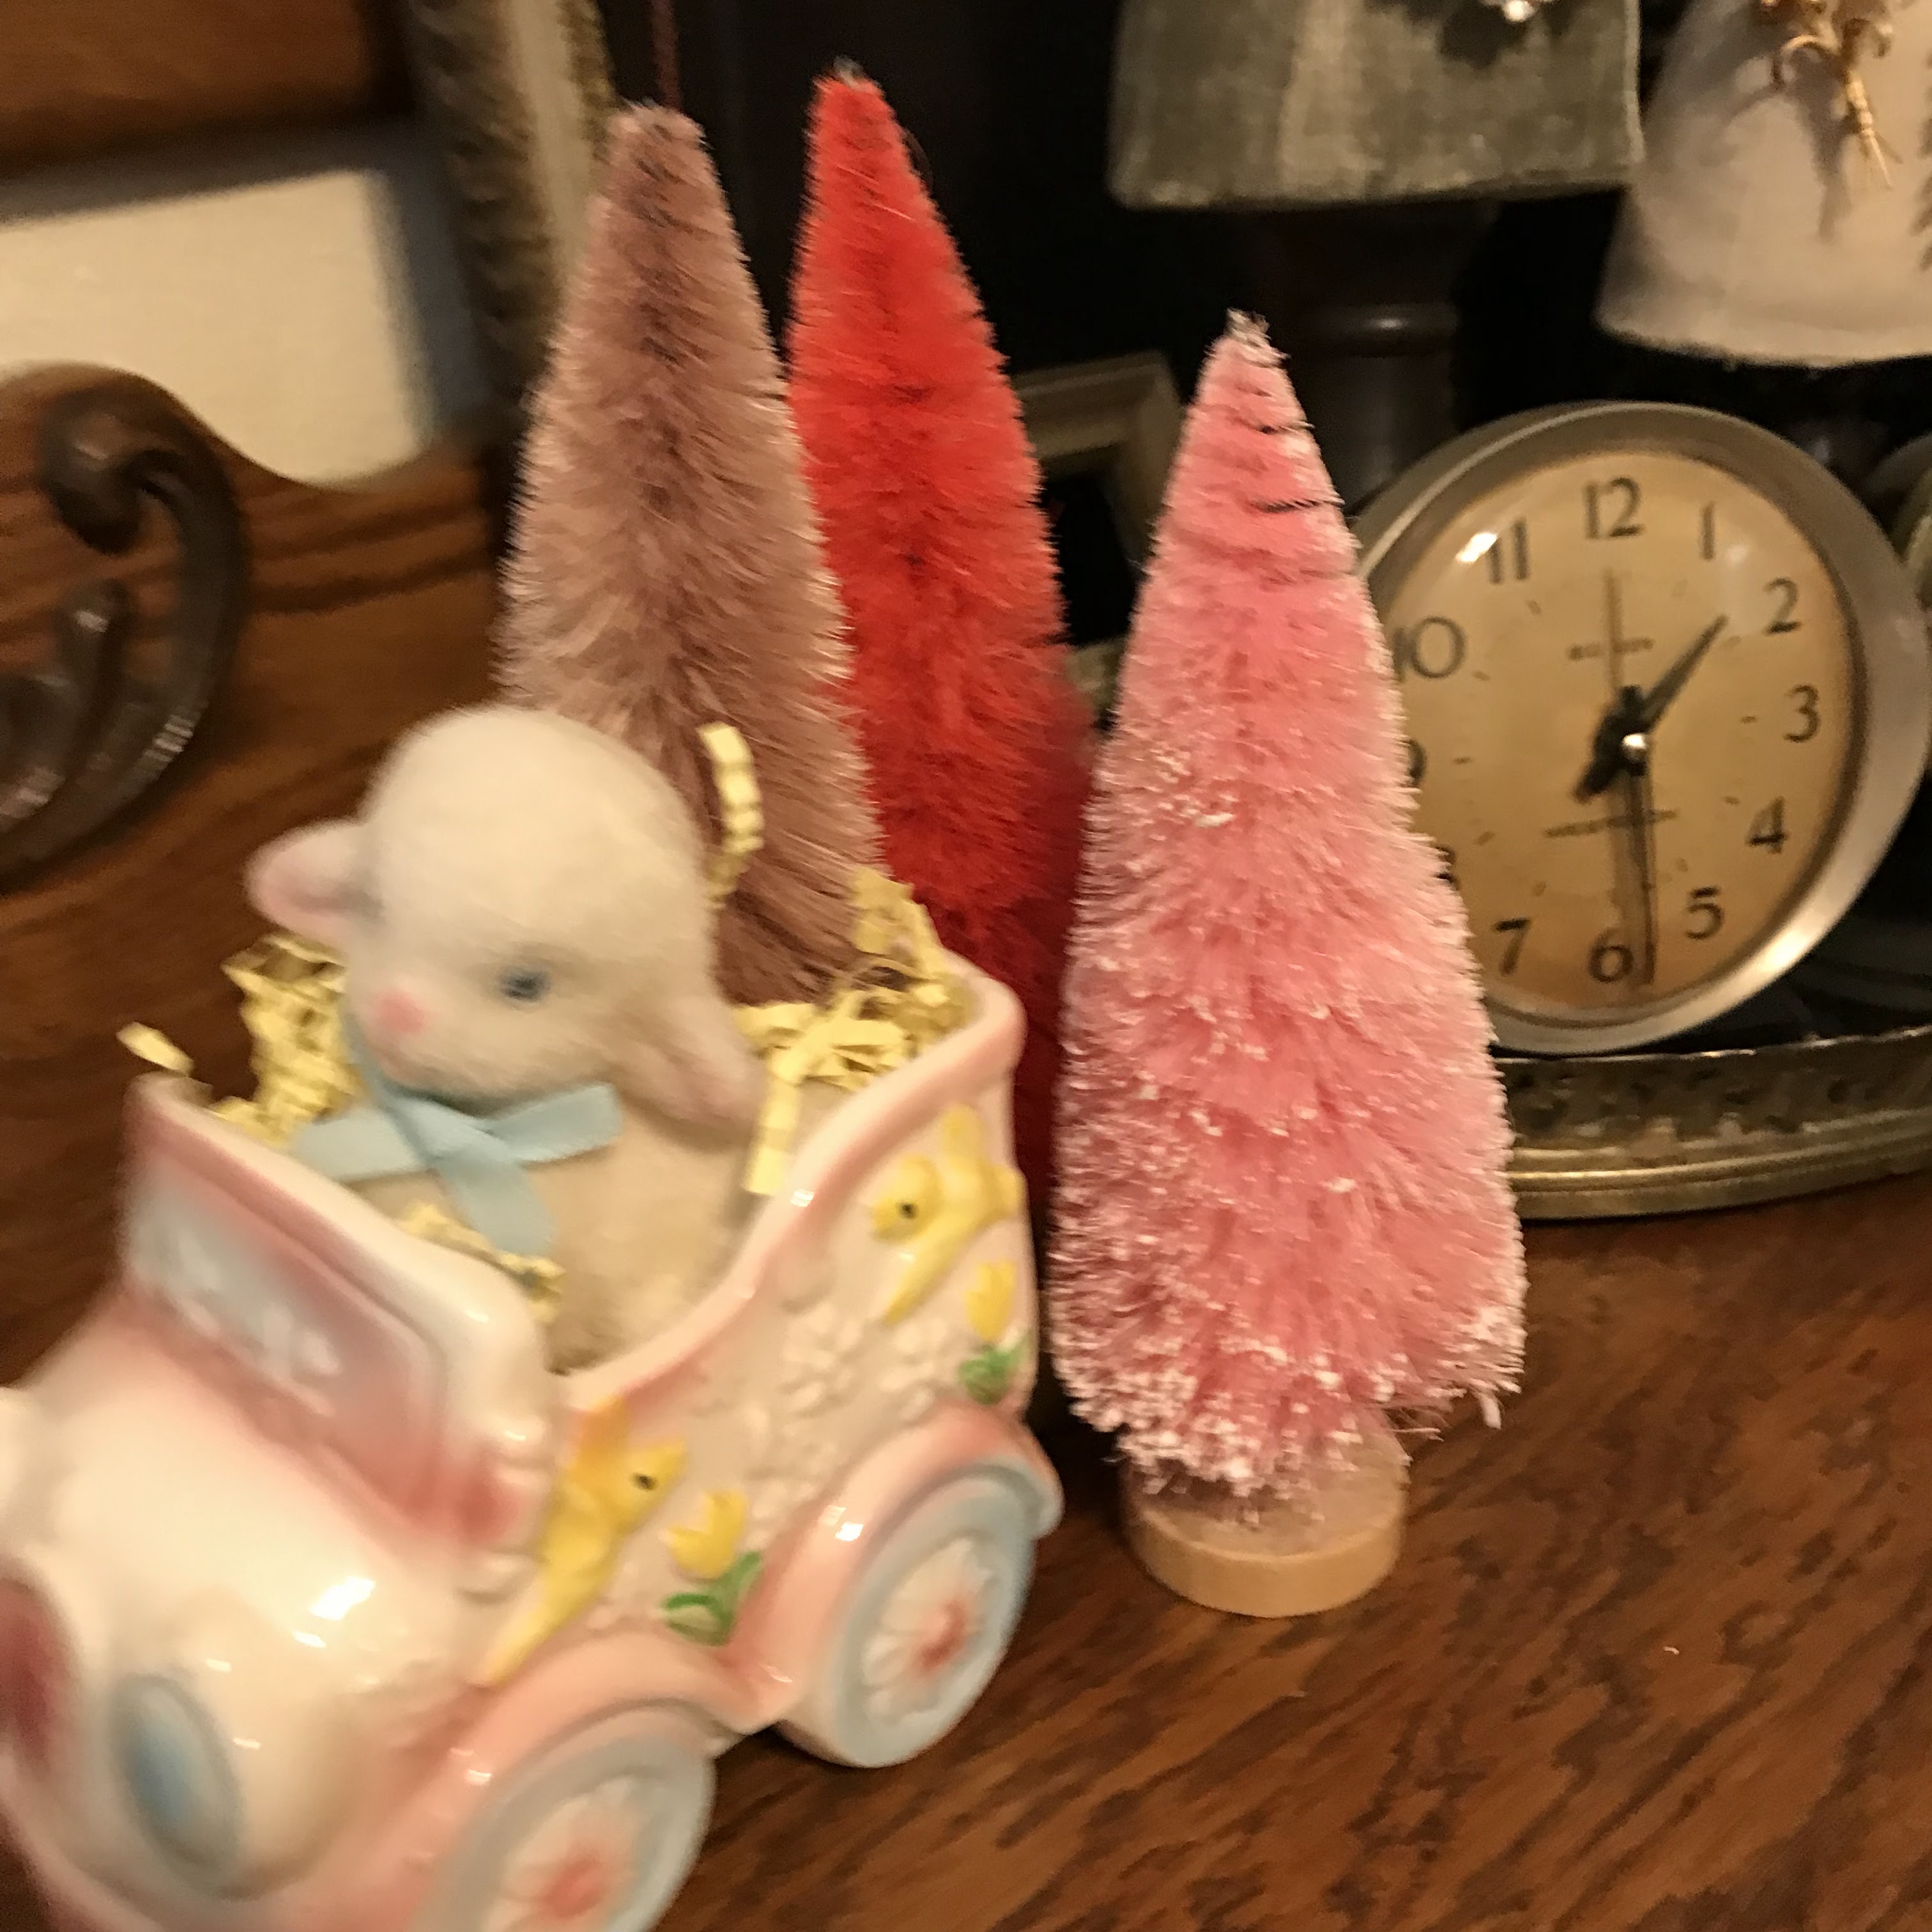
This baby buggy is decorated for 

'Baby's First Christmas'


I turned this planter in a Pin Cushion.


I had these small planters. 


I used some packing foam to fill the planters.


 I thought this couple would look great with a little tree

in their planter.


I unscrew the wood bases 


on the trees and the wire


 can be poked into the foam base.


I keep my beads


 in old apothecary jars with glass lids.


I used hot glue to attach

 some tinsel to the foam base

( In case I want to remove the decoration later )


I use this hole punch tool to hold the beads in place

so I don't get burned.


Push the beads deep into the tree.


These planters had a square base

 and when pushed together-


Now they make the sweetest little bookends !

They are staying at my house for now.


Have a great day!

Thanks for hanging out with me-

xo Lisa S


These tiny toothpick holders went to the 

Craft Show this past week.


Monday, October 23, 2023

Pumpkin Pancakes and Syrup Label


Hello my friends!

I LOVE PANCAKES 

and this recipe is our family favorite.

We eat Pumpkin Pancakes year round.


Pumpkin Pancakes

In a large bowl whisk together the following-

2 1/2 cups milk
2/3 cup pumpkin puree (approx. 1/2 of a 15 oz. can )
4 Tablespoons oil
2 eggs- beaten
4 Tablespoons sugar 


Mix in dry ingredients-

2 1/2 cups Flour
4 teaspoons Baking Powder
1 teaspoon each-
cinnamon
ginger 
allspice
salt


Heat griddle to medium heat. 
Pour batter on to griddle.


When they bubble and are no longer glossy-


Flip with a spatula!


Ready to serve.


Light and fluffy


Perfect with Maple syrup


Makes about 24 medium size pancakes


Enjoy!

xo Lisa S

Just for fun !
I recycled an old brown bottle with this label.


This time I have a maple syrup label to go with your pancakes!


Sunday, October 15, 2023

Oyster Shell Christmas Ornaments

Hello my friend,


We had a wonderful vacation at the beach 

a couple weeks ago.

While eating at one of of favorite seafood restaurants, 

I wondered what  they did with all those shells at the oyster bar.

I mentioned to my Dad, I'd like a few to paint.

He went to ask and came back with a bunch!

They just throw the shells away-


The restaurant put them in a 'to-go' container.

We left them sealed up tight in the back

 of our truck until we came home.

After we were home, we washed and soaked the shells in

a bleach and water mixture.


Then left out in the sun for a day.

They were so pretty and iridescent-

I noticed their similarities.

To me, each one had a spot that resembled

a nativity manger.


Do you see it ?


I used gold paint along the edges.

Painted legs on the manger.

Drilled a small hole at top of shell

 to hang as an ornament.

I used some gold twine.


I painted a small star shape in gold.

A small circle on top of manger became

the head of baby Jesus.

I painted a halo when the face was dry.


Each one was a little different.


The small shells were slightly flat and

surprisingly lightweight.


                                                 All the other beautiful colors you see are natural!


I painted a thin coat of Mod Podge 

over the painted areas.


The back side is pretty too!


I love how each one is different.

Each has it's own unique color and shape.


I live in an area fairly close to the ocean

 and people love beach theme

Christmas ornaments.

Have a wonderful day!

xo Lisa S


P.S. Two of the shells were too big 

to make into an ornament.

They were a perfect dish shape.

So I decided to decoupage them-

First paint the front side white.


After the paint is dry. Brush some Mod Podge

over the area and cover with

 a single ply napkin or tissue paper.

Press down the tissue and push out any bubbles.


Let dry thoroughly.

Edges are painted gold.


A couple of trinket dishes


A beautiful gift for a friend-


 Thanks for visiting XO !


Make a Bird on a Perch

  Hello Friend! I found these birds at the local Garden Center. They had texture like hand carved wood. I think they may be made of resin or...