Saturday, April 25, 2020

Using Old Silverware to Make Wind Chimes


Hi Friends,

How are you doing ? Are you still in quarantine?

I haven't felt very creative lately, so I 'm just going through my

craft supplies today-


I had a couple of bags of silverware that were

left over from other projects.

These pieces were well worn and tarnished.

I would not be able to use these for the jewelry and key chains that I make.

Some were cut and most were already flattened with

a rubber mallet.


I was able to put together several sets.

I planned to use a fork for the hanger and 4 spoons for the chimes.

The fork tines or prongs were bent with pliers.


I alternated the tines, 1 forward then 1 backwards.

I drilled a hole at the top of the spoon.

My husband helped with this one so I could take a picture.


I used 1/4 LB. fishing line.


Most of my chimes were hung with

an 18'' piece of line in half and tied with a knot.


The wind chime below has different length of fishing line and I added


glass beads.


The spoons were hung from a tea ball.


They are easy to make.

It kept me busy for the day!

They sound so pretty-

I am planning to give one to my neighbor and one for my Mom

for Mother's Day.

We are still on lock down here!

So I am trying my best to use only what I have on hand.


You can hear their relaxing sound below,


If you like this project using silverware,

you may also like these.


Up-cycled tray with silverware handles
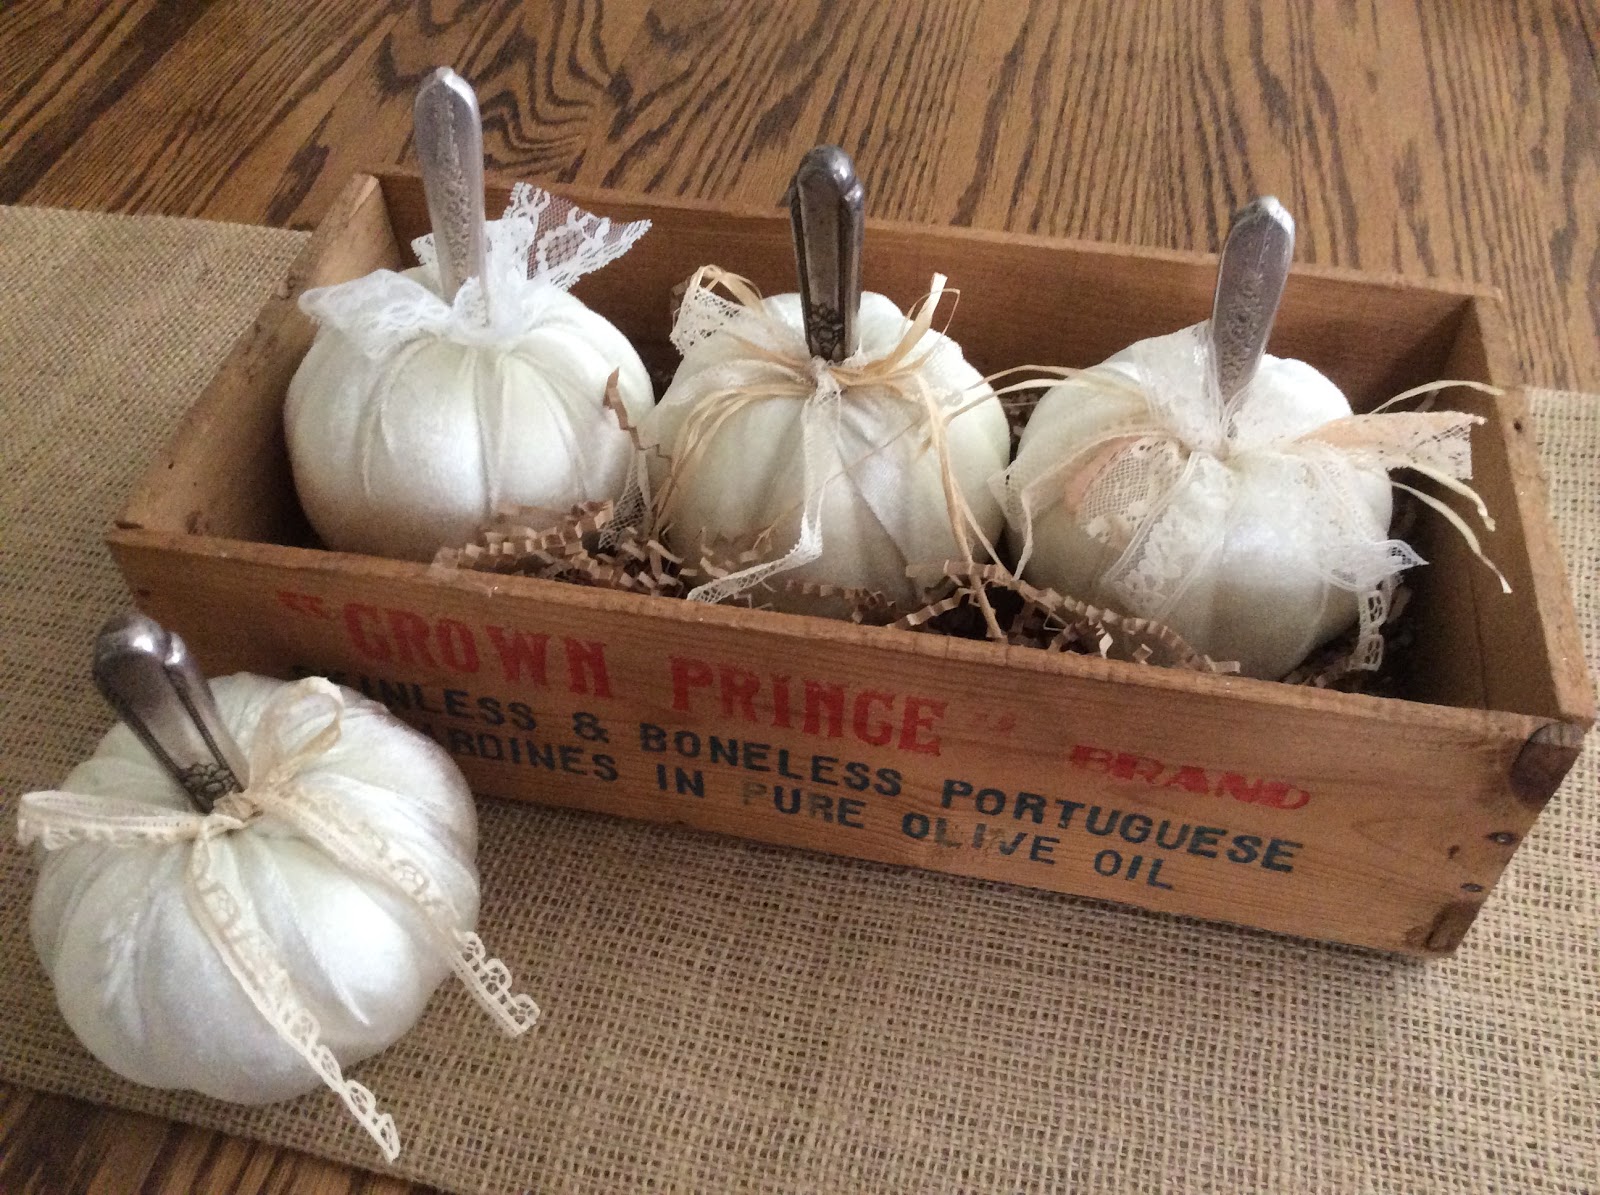


Pumpkins


Thank you so much for visiting!

I'm in need of some company, how about you?

Stay well,

xo Lisa S


Monday, April 20, 2020

Another Stenciled Flannel Shirt and a Bleached Shirt

Hi Friends,

I hope you have been well ....and doing all the little projects around

the house that you never have time for....

We have cleaned, fixed or painted the things we have put off long enough.

I've been working in the backyard

 getting my seeds in the veggie garden.

The weather has been cool and overcast.

Perfect flannel shirt weather!

My stenciled flannel shirts were so popular I thought I would make more.


Stenciled Flannel:


I used this shirt,


and this stencil.


Measure and center the stencil, tape in place.


I used white acrylic craft paint and a stencil brush.

Use very little paint, keep a paper towel near so

you can check and make sure your brush is dry loaded.


 After the paint is dry, cover with a thin cloth and set the

paint using a hot iron.


https://www.ebay.com/itm/363105315029


Stenciled T-Skirt :

I had a tank top with a small mark on the front so I decided to cover the stain

with a stencil.


I used this stencil and Navy blue acrylic paint.


I taped off the part that I did not want to use.


I used a recycled lid for  a paint pallet.


It is a good idea to but a piece of cardboard in side the shirt,

just in case the paint soaks through.


After paint is dry, cover with a thin cloth and set with a hot iron.


Bleached Flannel Shirt :

I forgot to take a before picture.

I found the shirt at the Goodwill a while ago- I liked the pearl snaps.


Bleaching a flannel shirt is the easiest of all.

I place a plastic basin or deep glass bowl into a sink.

Add water and bleach to basin- 2 CUPS WATER to 1 CUP BLEACH .

Please work in a well ventilated area!

I wanted to bleach the collar and shoulders.

I draped the shirt so that the collar is in the water

and the rest of the shirt is dry.

Sometimes the dye is removed quickly or may take up to an hour.

 Watch carefully and remove when you are pleased with the color.


Dump the bleach down the drain and rinse out basin.

REFILL the basin with cool water and add 1 cup vinegar to neutralize the bleach.


Rinse thoroughly and wash 

separately to remove the bleach.

Hang to dry.

I added an applique lace flower to the front.


https://www.ebay.com/itm/363104256227 SOLD


Take a look for more here


Thanks for visiting!

xo Lisa S


Friday, April 10, 2020

Happy Easter


More than ever,

I'm wishing we could be together !

Take care dear friends,

xo Lisa S


Friday, April 3, 2020

Fabric Covered Eggs

Hi Friends,

Well it's going to be another month of

''Quarantine Crafts''

So we are using what we have and keeping busy.


I have a small pile of fabric scraps that I bought a while back.

I love blues and greens and a bit of yellow for Spring!


You can use any plastic or styrofoam eggs you have on hand-


I tore the fabric into 1/2'' strips, length was about 36''.

You can cut the fabric if you prefer.


I used white glue to start then just wrapped

egg in a figure 8 pattern until covered.

Then glue down the end of fabric strip.


Bonus:

Here's a card you can make!


I printed this card, and adjusted the size to 5'' x 7''

I am still on quarantine...and I'm low on ink.

So my card is more blue- but that's okay with me.

I cut out the egg shape.


Then added an egg.


I have changed my mantle at least 3 times!

How about you, are you decorating and changing things over and over?

I made a few pennants in these spring colors for the craft show but since it was cancelled,

I am stuck with them.


Thank you so much!

I would love to hear what you are making this week-

Stay well, stay calm, stay busy, stay in the Word, stay active and don't forget stay home! : )

xo Lisa S

Faux Tin Tile Bunny

Hello My Friends!  Most of the Craft and Dollar Stores have some chunky cut outs for Spring! There are so many ways to decorate these. I use...