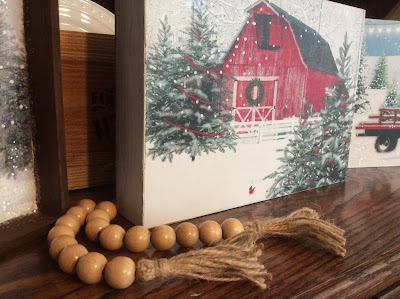
Hi Friends,
I'm so glad you are here today!
I have another easy project to share with you.
You will need a gift bag, a wood box frame and Mod Podge.
Glitter is optional.
Most bags will have artwork on both sides.
I prefer the bags that are not shiny. The matte paper works well with Mod Podge.
You will also need a wood box type frame to recycle.
I found this one for .99 at a thrift shop.
These are easy to find- you may even have some around
the house that you want to change their design.
This is the back of the box.
You can use either side!
Cut sides of bag, discard bottom piece.
Save side panels for another project.
Measure and cut your bag to fit box.
I gave a light sanding to the front and then covered the artwork
with white acrylic paint.
You can also dry brush the sides.
After the paint dries, use Mod Podge to cover front surface.
Adhere picture to box and smooth down edges.
Add glitter if you prefer, using a bit of Mod Podge.
Here's another-
This box was damaged, but that won't matter.
Lightly sand the paper artwork to remove the shine.
With this box, the artwork will be on the inside of frame.
I painted the edges the same colors to match the picture.
My picture is shorter than my box, so I will start to glue my picture top first.
The white paint at the base will hide that problem with 'snow '
I used antiquing wax to darken the frame.
Then used Mod Podge to adhere my picture.
I used more glitter on this box.
And one more-
For the last box I covered the other side.
I used white paint to dry brush the edges.
I decided not to add any glitter to the last box.
I love how easy these boxes are to make.
They always sell out at my craft sales.
I think they make nice gifts.
I like that the box can sit on a shelf and you don't need to hang them.
Tell me what you think-
Thank you so much for being here!
It means a lot to me.
I hope you have a wonderful week.
xo Lisa S


