Hi My Friends!
This is how I made these easy File Folder Pocket Junk Journals-
It only looks complicated, but you can trust me.
It's going to be quick and easy!
Oh and inexpensive...or free.
These are the things I used.
Scissors, my favorite glue- '3 in 1', binder clips,
optional distress ink and rubber stamp,
Mod Podge and a brush,
sheet music and a paper napkin.
My sweet Husband found these at Osh Hardware Store!
He said "I thought you might like these"
Yes, Thank you!-
When I opened them, I was thrilled to see 4 useable sides!
I used one legal size folder per set.
If you have letter size folders , you will need two.
The cut along the fold to the left is the journal.
The dimensions are 8 1/2'' by 4 1/2''
The folder dimensions are 5 3/5'' wide by 9'' high.
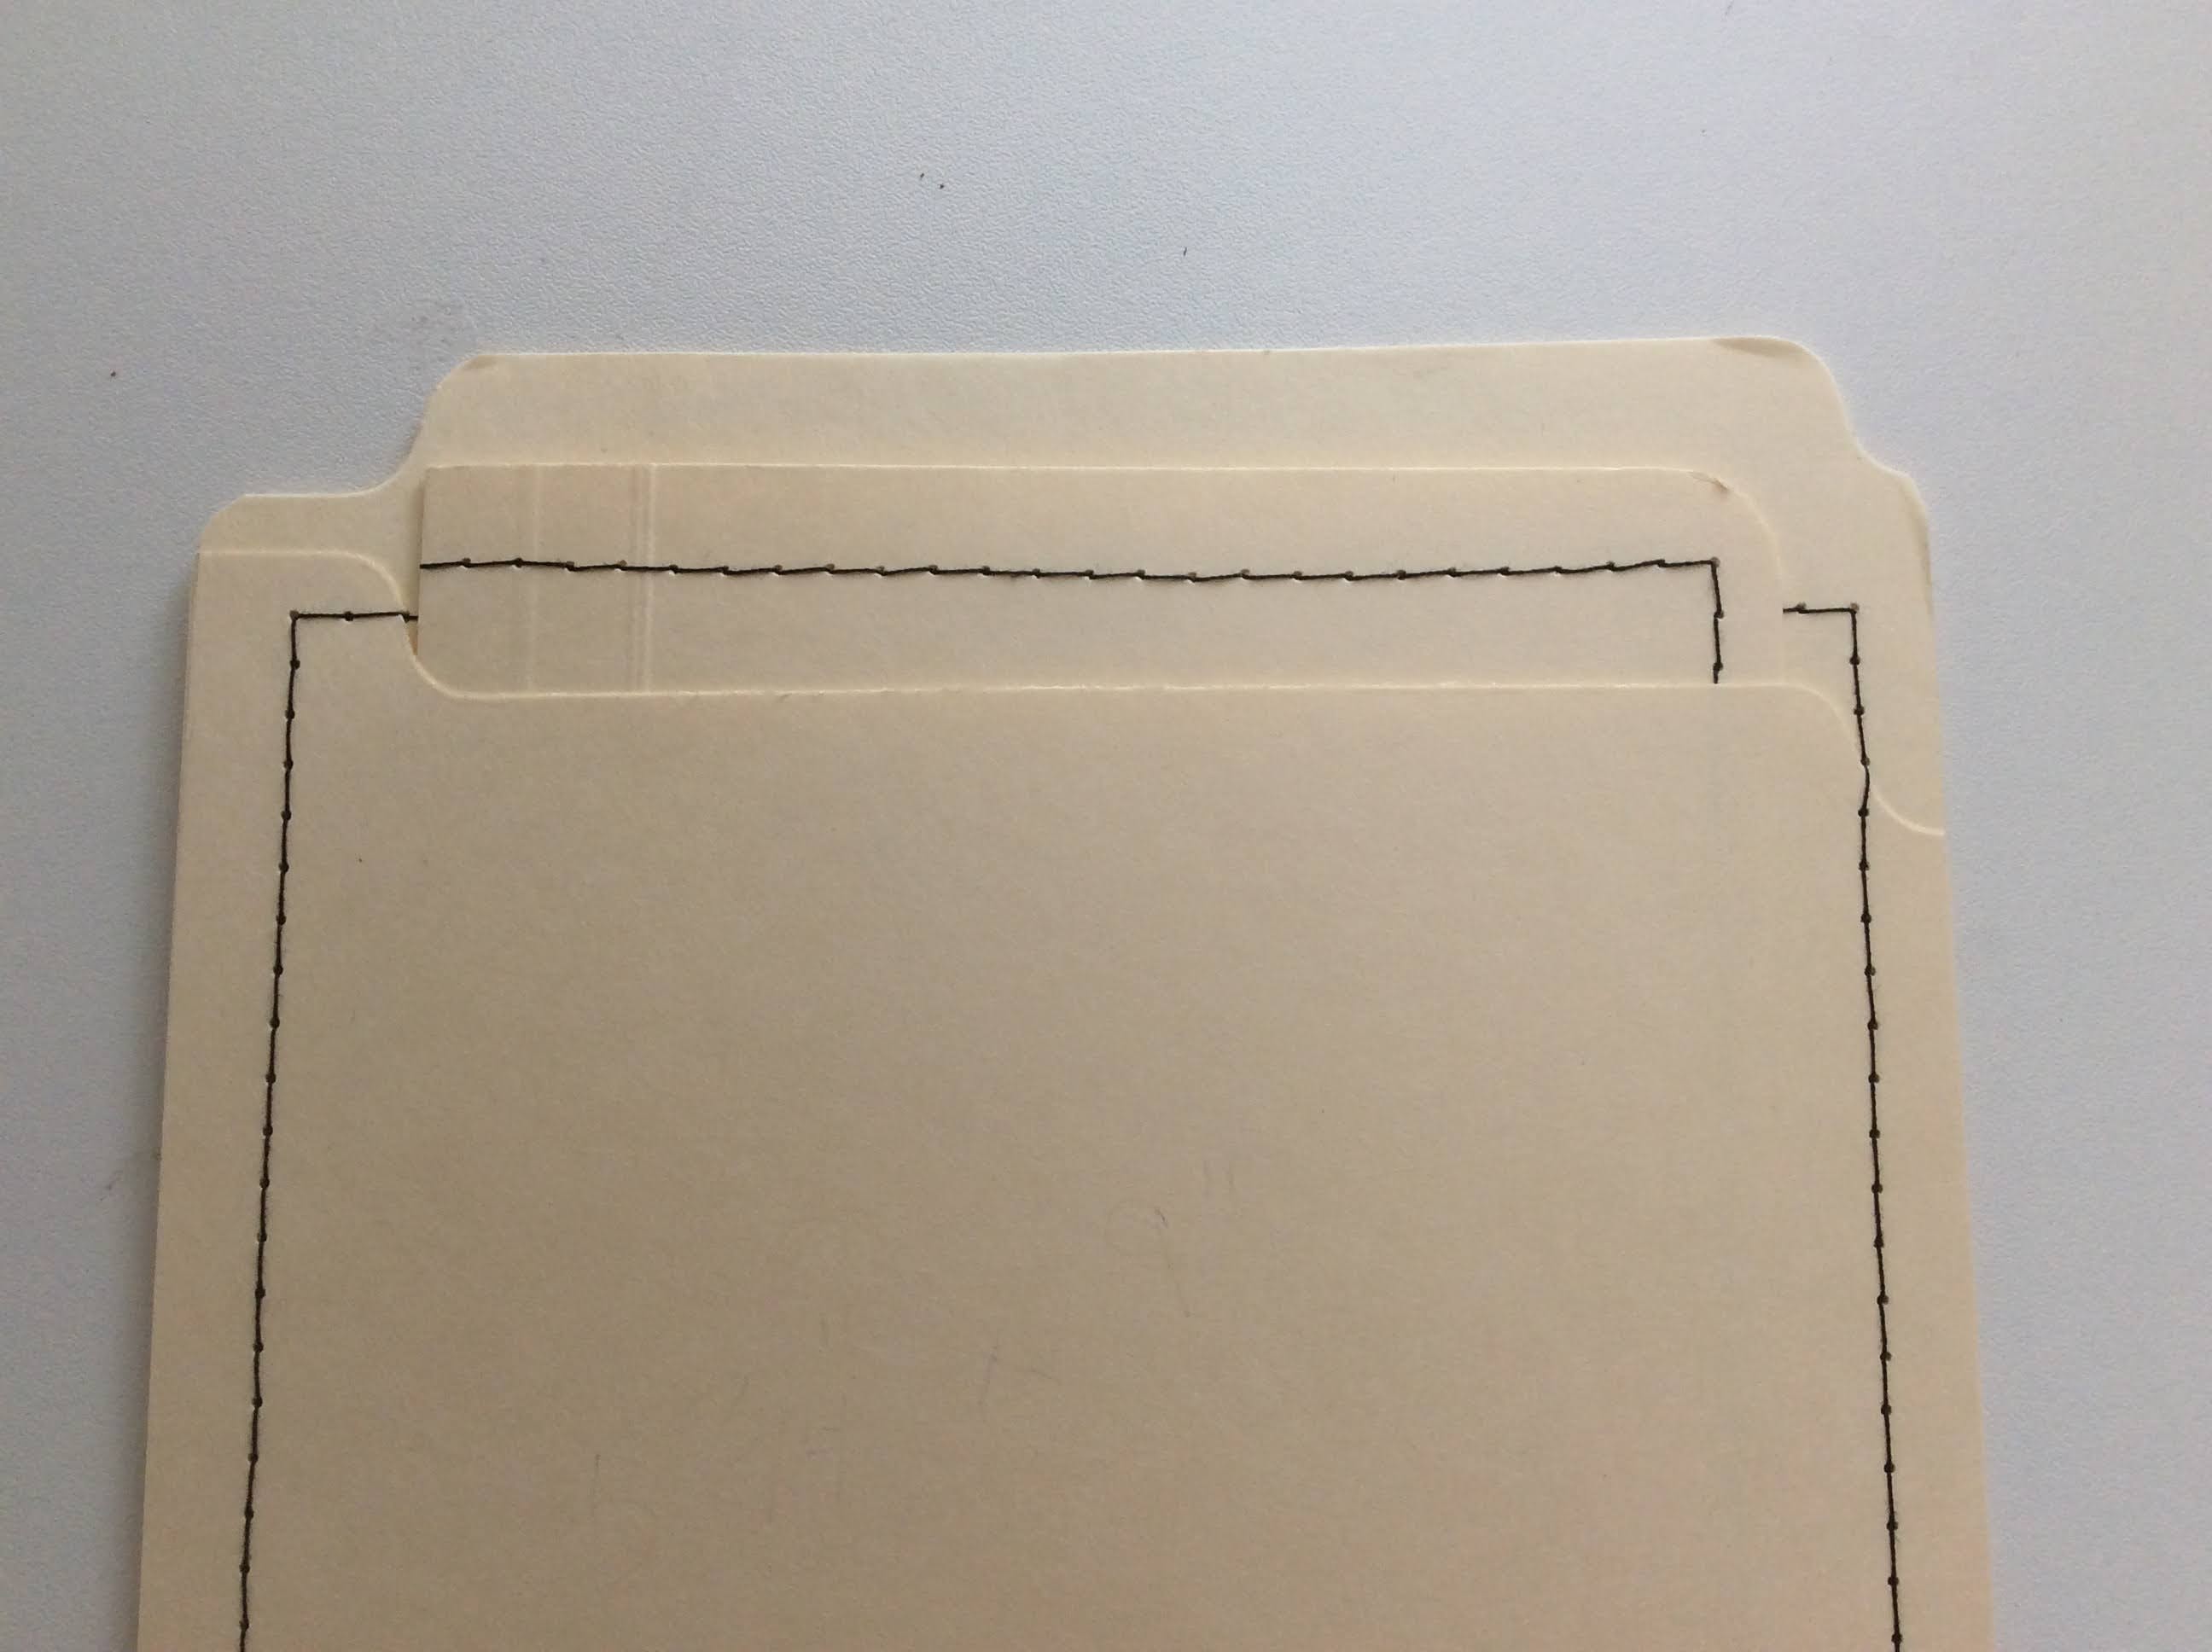
I like to use black thread. Sew on the top side
your stitches will look nicer.
Notice the stitching goes behind the pocket!
Check for fit ;)
I used 8 pieces of different papers, folded in half
on top of one another.
Put them in the journal cover and hold with clips.
Trim your papers at bit,
no need to be exact we can trim again at the end.
Binder clips work great to hold your paper in place.
Your stitch should be right down the center.
Oh good it's centered!
Before you decorate check your fit.
You may need to trim.
Now we can decorate the covers.
I used a paper napkin, a piece of sheet music and some matte
Mod Podge.
I started with sheet music as the background,
then added the napkin.
The music notes will show through the napkin.
Just layer and collage until you like your composition.
I wanted the stitching to show.
I didn't decorate the back of the folder.
I just used some distressing ink.
You could coffee stain or tea dye your folder.
Here's the French Rooster

I also made a Hummingbird set-
Purple and Blue Flowers
And a set with Butterflies and Script
See, I told you it would be easy!
A great way to use up scraps-
I will be putting these aside for future gift giving-
XO, Lisa S