Showing posts with label furniture. Show all posts

Sunday, April 6, 2025

Painting a Child's Antique Wash Stand Dresser


Hi there!

We found this adorable child size dresser at an estate sale.

The woman said it belonged to her mother when she was a child.


I thought it would be a nice place to keep

my granddaughters toys and books.

She is only a few months old but

 eventually she will be able to pull herself up

and have a place for toys.

It's about 16'' high.


It had been stripped, but the quality of the wood

was not there.

This is why the project was abandoned by the previous owner.

It needed to be painted again.


We didn't know what these extra wood pieces were for-


They were inside the bottom drawer.

We set them aside for now-
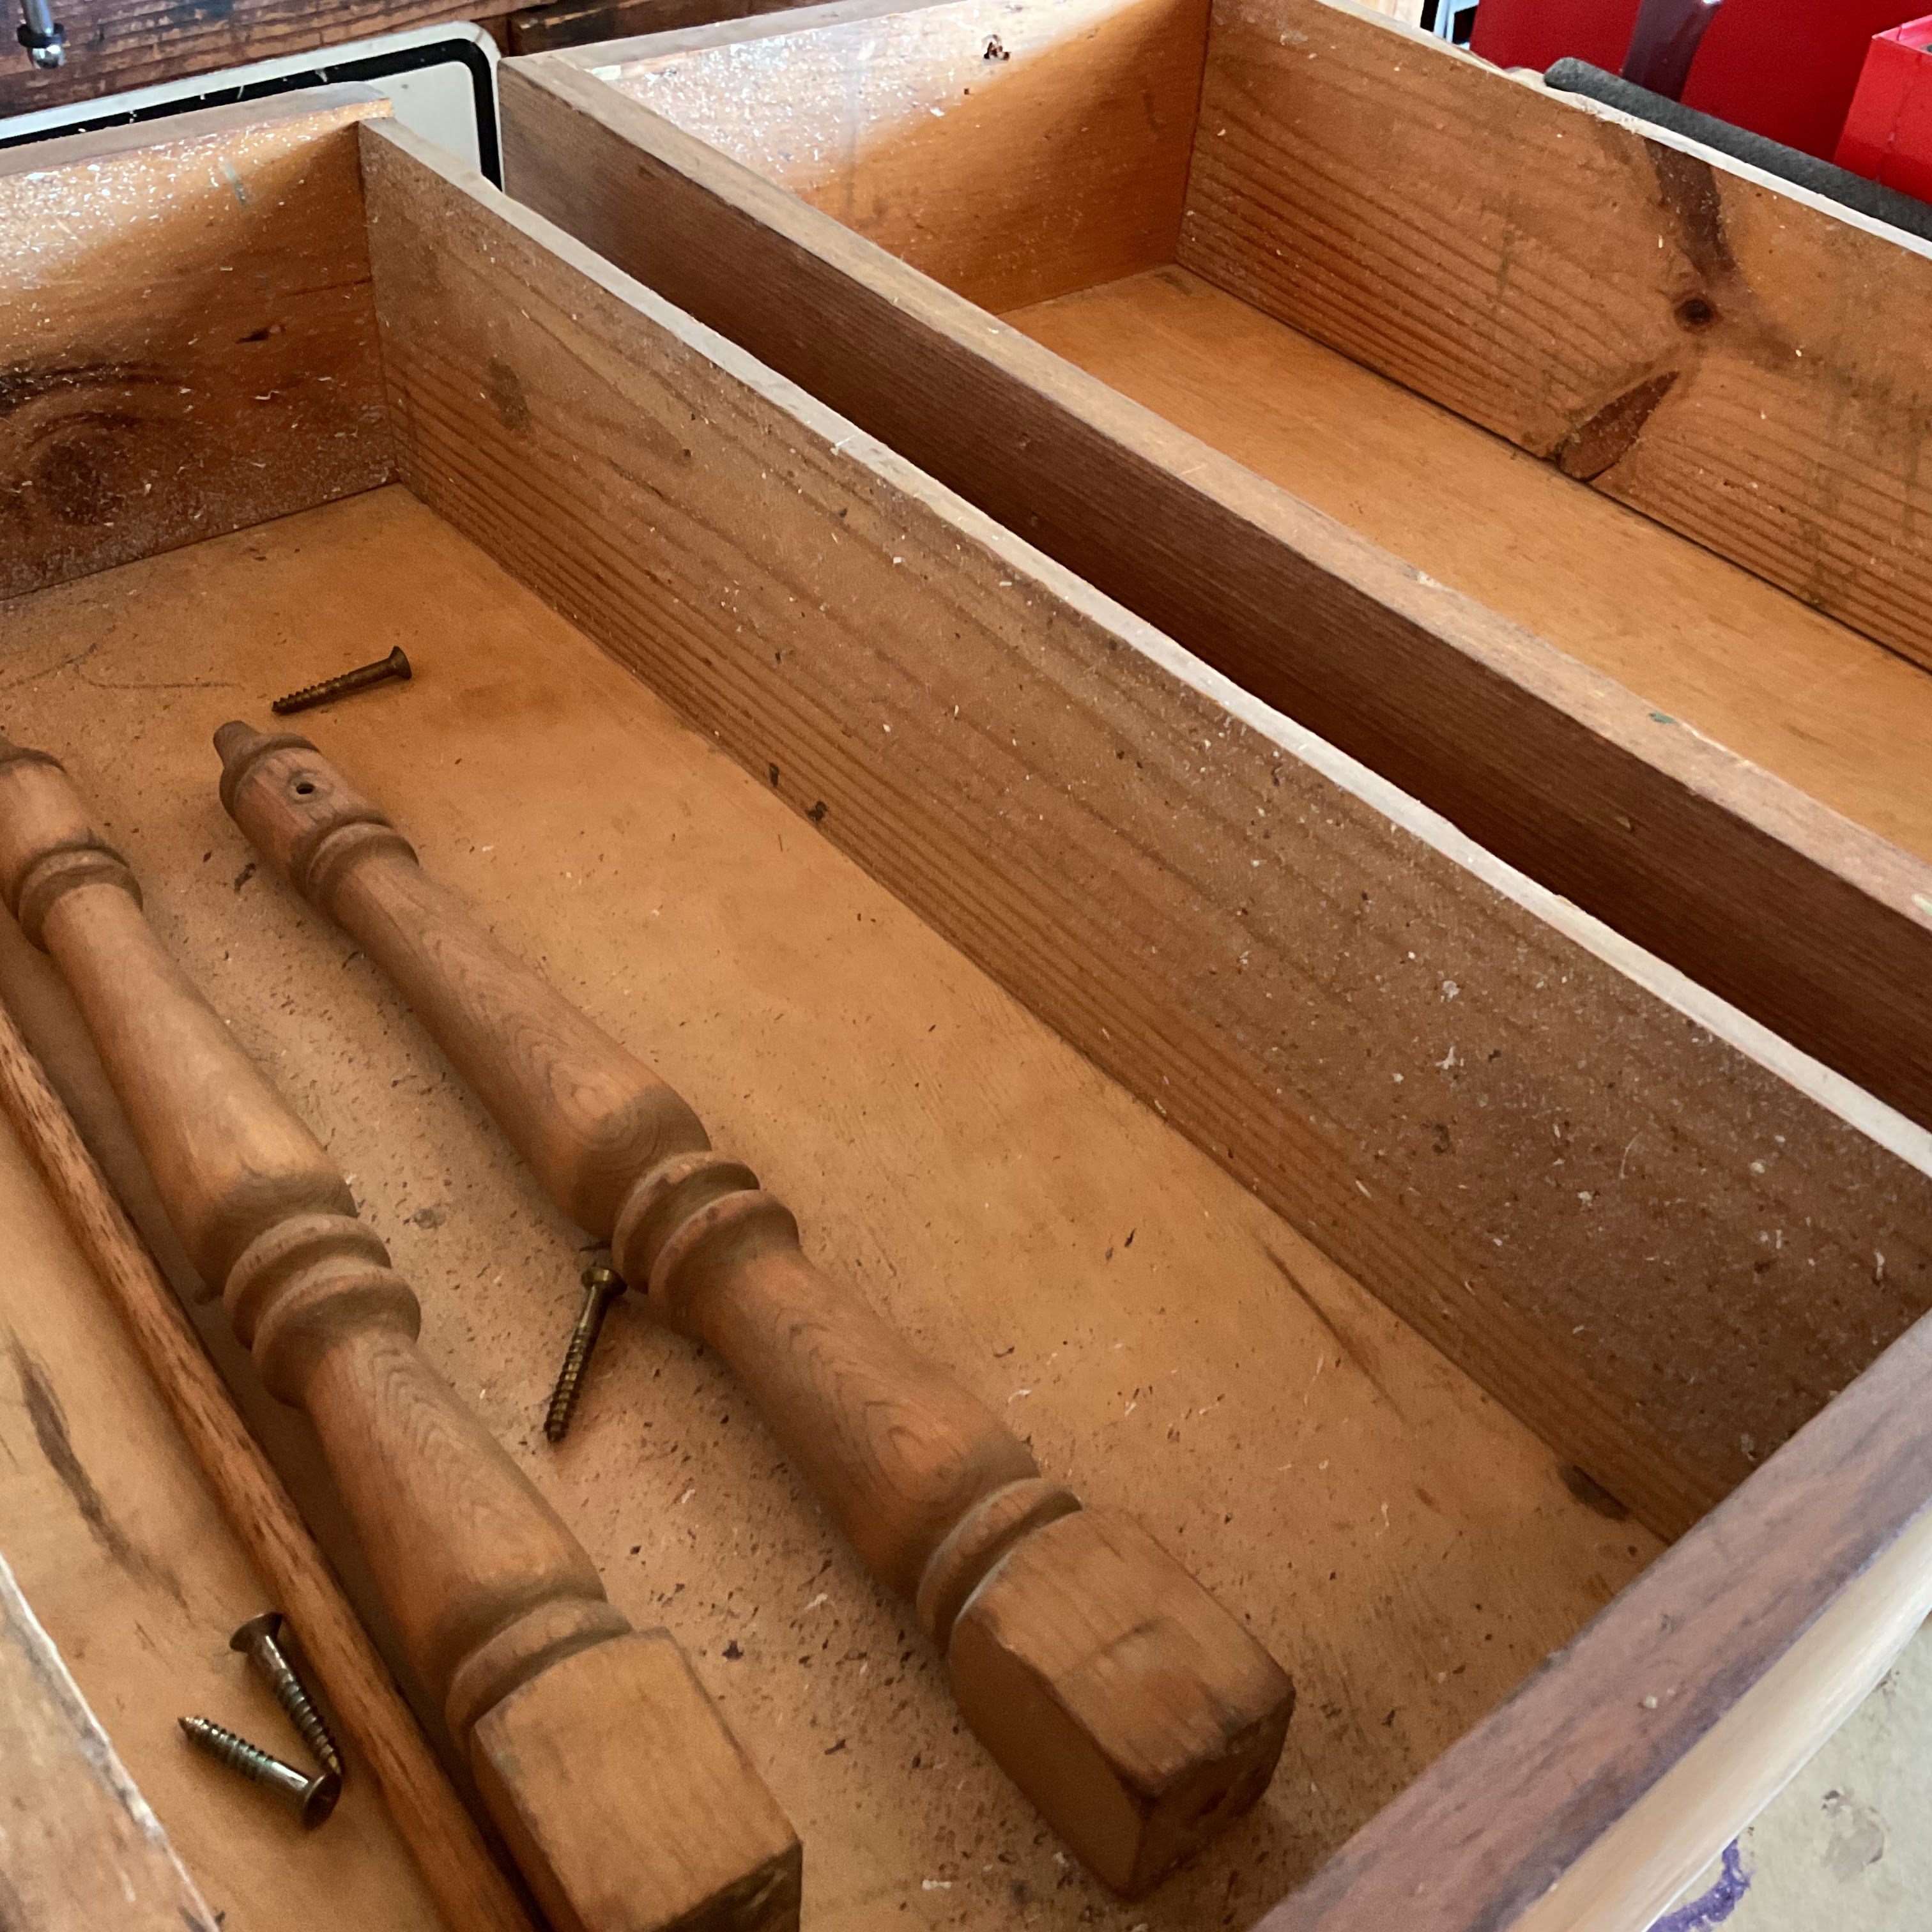


It turned out to be a towel rack for a wash stand.


It sat in the garage for over a month!

I couldn't decide on a color.


We had a 1/2 PINT of Black paint.

It was for touch ups on our Dining room chairs.

My husband estimated it would be enough paint

for the dresser- let's do it.


A wet mess but I'm liking the color choice.


We put the towel bar back on like dresser the way it was meant to be-


This paint has a nice sheen and no sealer is needed.


Easy clean-up!


I used this Cathe Holden Stencil
from INSPIRED BARN
http://istencils.com/lillington-stencilch-014.html


We decided to put it back together

the way it was meant to be and
 
 I kept the same knobs and left them as is.


Apple Barrel- Pure Gold!


Measured carefully to get the stencil centered.


I love how it turned out!


I hung a little flour sack towel on the rack.


I found some shelf paper at the Dollar Tree


It was supposed to look like granite.

I liked it because it had black, grey and gold specks.


It was easy to line the drawers. I only needed 1 roll.


For now I love the black and it looks like it belongs.


The black paint will be a great undertone

 if in the future my granddaughter wants PINK.

So many possibilities for this small cabinet !


I can add a curtain to the towel rod for a

make- believe window in a play kitchen

or even a puppet theatre !


I put it in my kitchen off the family room.

It's filled with books and diapers.


It felt good to finish this project-

I appreciate you spending some time with me.

Thank you for visiting !

 I hope you have a great week-

xo Lisa S

Tuesday, April 1, 2025

Making Your Own FURNITURE SALVE

Hello friends!

I'm starting my Spring Cleaning.

There's not much to do but

my furniture is looking dry and needs some help.

Some wood salve is just what I need !

Think of it as a moisturizer-

I'm running low so let's make some-


What you need from start to finish:

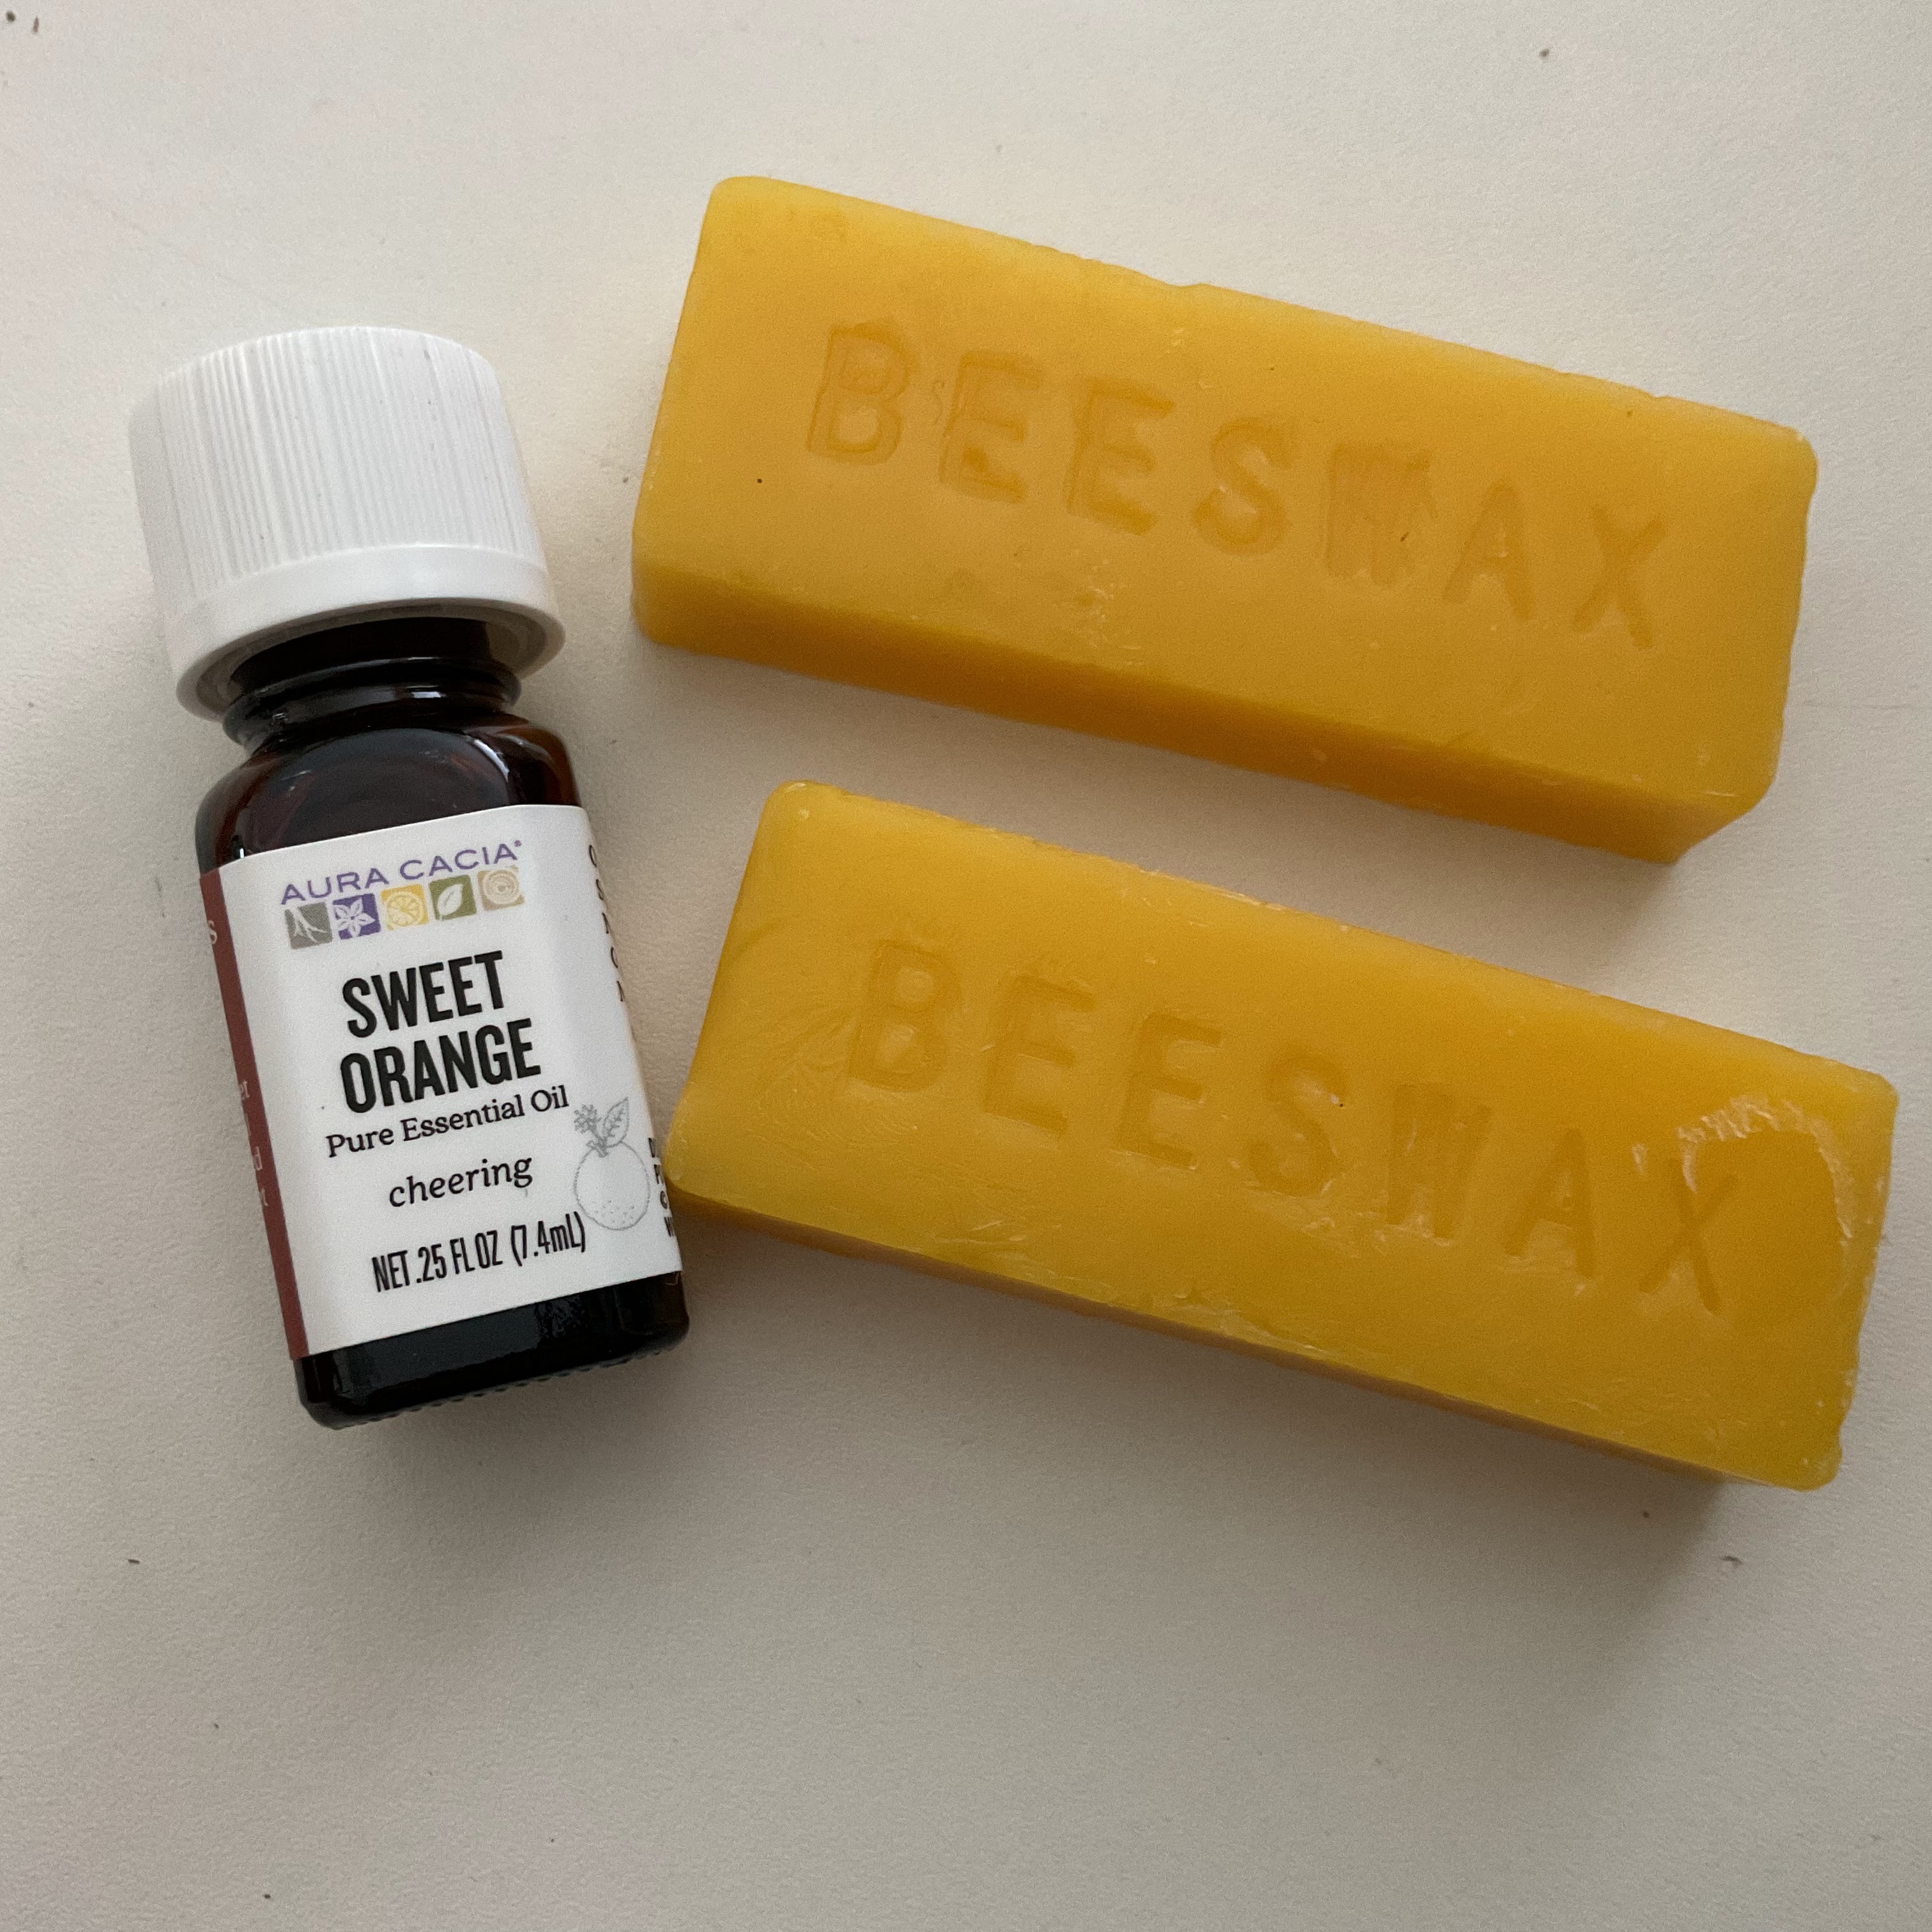
1 cup any oil-

olive, almond, coconut or jojoba
I used coconut


Essential oil- 15 drops
I used Orange


2 oz. beeswax


containers for your salve


a double broiler


Parchment paper or paper towel


Measure out 1 cup oil


                                           I use a double broiler method. I have a stainless bowl

                                   that I only use for wax, it fits over a sauce pan filled with water.


On low heat, let the water come to a boil.

The steam from the water will melt the wax.


I use a bamboo skewer to stir.


After everything has melted, remove bowl and set on a 

towel to remove steam from the outside of the bowl.

I add my essential oil now.


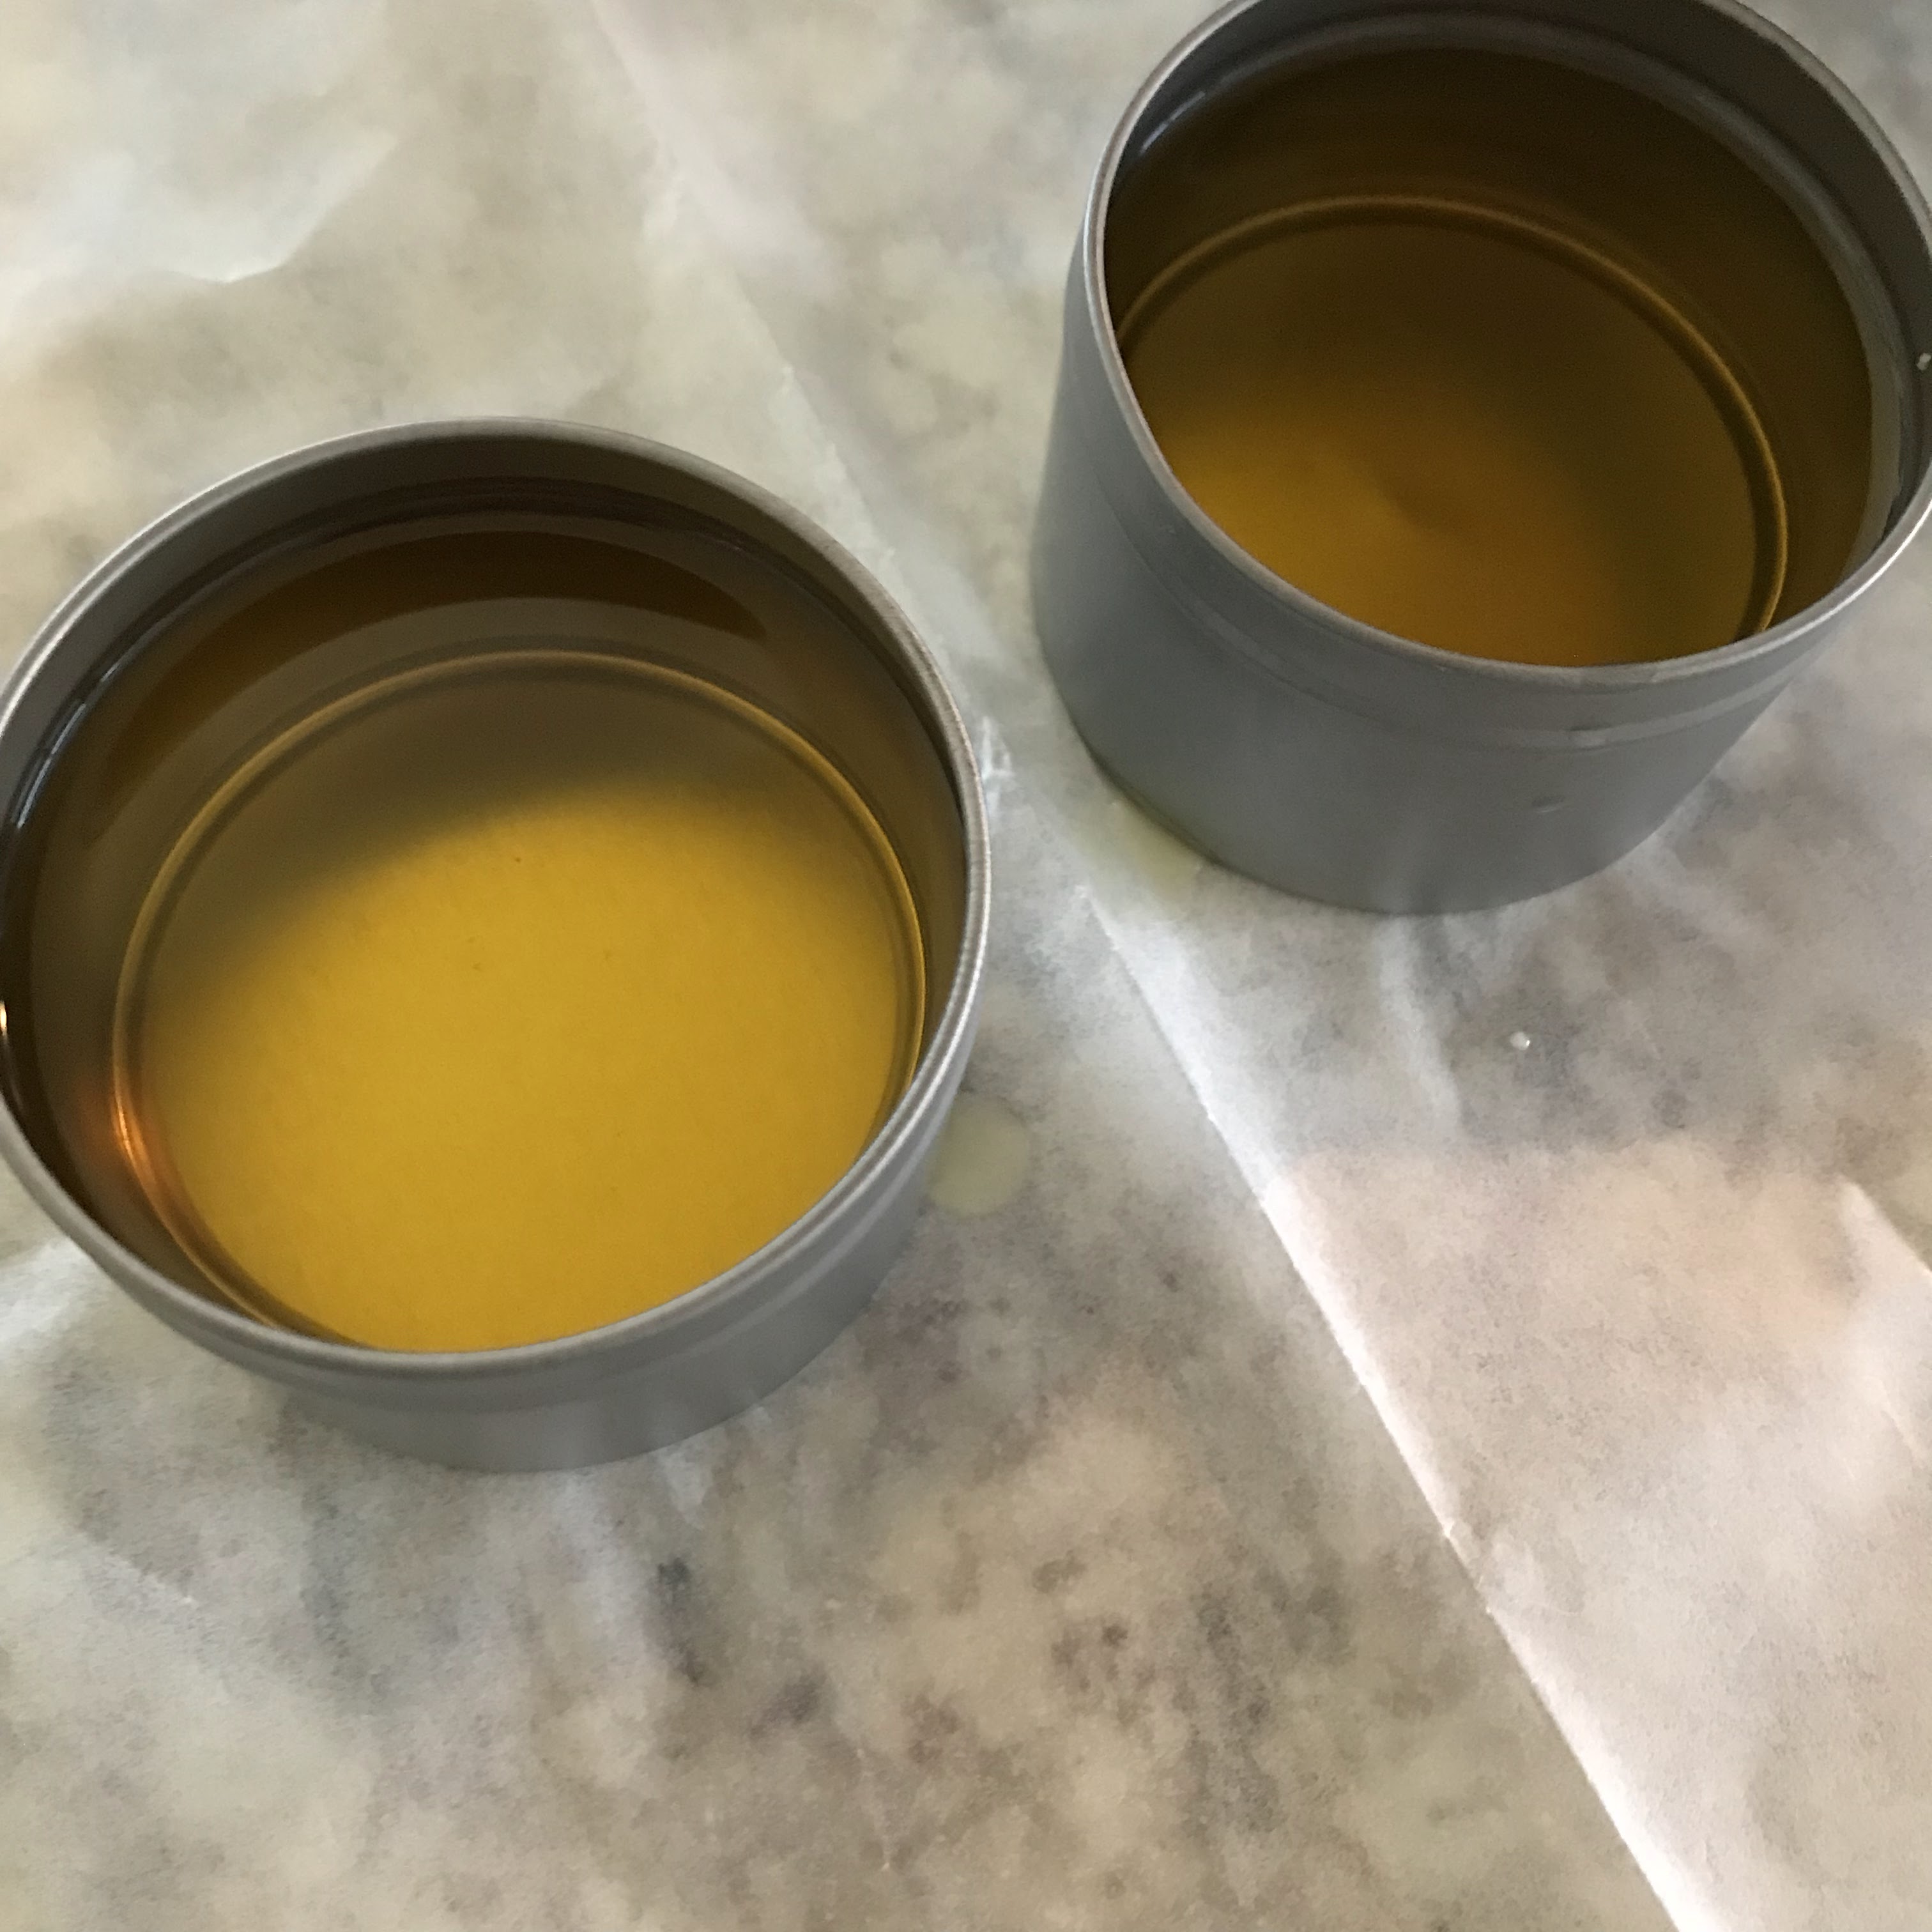
I gathered my tins, removed the lids and set them on 

parchment paper.


Fill the tins and leave them to rest-

It just takes a few minuets to set up.

The color will be white if you used coconut oil.


These small tins will be gifts.


I love the salve in these large tins.

I have had this biscuit tin since I was a child.


This candy tin will be the one I will start to use first.


I like to apply with a soft cloth.

A little goes a long way.

Just rub in a circular motion until absorbed.

It will be soft to touch not sticky.


Some white rings were showing up on our table.


They are very hard to see now!


I wasn't very happy about this deep scratch I made

moving a plate over- let's see what happens.


The scratch is still there but it's hard to see.


It even works on leather-

I rubbed a small amount on these

miniature Bibles I collect.


They look clean and soft now.


Works on old leather purses, shoes, belts, leather chairs,

kitchen items, wood, metal and furniture.


Note: Always start with a small patch test in a hidden area.

Remember less is best...you can always add more.


Safe on skin!  Food safe !

I wish you could smell the Orange scent I used.

You can make any scent that you like-

Happy Spring Cleaning!


xo Lisa S


Wednesday, June 28, 2023

Old Chair into Planter


Hello my friend !

How are you today?

On the way to church we saw this sad chair with a free sign.

I am like a magnet to free...

Mr. Fresh Vintage said ''NO WAY, It's gross!"


I talked him into it -

with the promise that I would start on it 

immediately when we got home....

and I did !


Once the nasty cover was gone...

no more stink !


I thought it would be easy to turn into a planter.

The seat was old and the raffia type material was so easy

to remove with a utility knife.

There was old newspapers

 shoved in there too for some reason.


I was hoping for Red-

I needed to run to the store for more.


Have you seen these new Rust-oleum spray cans ?

It has 5 positions for the nozzle.

We thought we would give it a try.


It worked great, we stayed with 'standard' spray


It was a new learning curve and will take some

getting used to in the future.

For this project it worked fine.


It covered well


I wanted the color to pop in the garden.

We don't have a lot of red flowers so

 I thought it would be a good contrast.


I purchased a 16'' coco liner at my local Joann's fabric.

They are on sale right now.


I found a scrap of chicken wire in our shed.

I thought it would give the coco basket some support.


I thought I could staple the wire to the chair and form

a dip in the center.


It worked fine!

 I moved  the chair to a bare spot in the garden

 and filled the basket with potting soil.


It got moved one more time and added a few

starter plants that I had on hand.

I started with Lamb's Ear and Feverfew- they are hardy.

I also added some Oregano.


The chair was doing a good job 

of holding up the Larkspur


Well I had to add a couple flags too!


The wire was a good base and it doesn't even show.

Even though the chair was planted I could still move it around easily.

I like that it covers a spot that I had just cleaned up-


I know it will eventually fall apart and look shabby

but that's okay-


Have a HAPPY 4TH OF JULY!!!!!!

XO Lisa S


1 month later.....


Homemade Vanilla Extract

Hi my friend, It's July and I'm already making plans for Christmas. This year I want to make some homemade vanilla extract  for my f...