Hello my friend !
Are you a tea lover ?
I love iced tea on a hot day-
I use these 'family size' bags to make
SUN TEA

The bags are twice the size of regular bags.
Just need 2 to make a pitcher .

We fill a glass pitcher with cool filtered water, add
tea bags.
( 2 large or 4 regular )

Set out in the sun for a couple hours.
The sun heats the water and it makes delicious tea.

To begin your art project, you will need to start saving
tea bags...lots of tea bags!
Let them dry a bit and then empty the bags.
Throw the used tea in the garden!
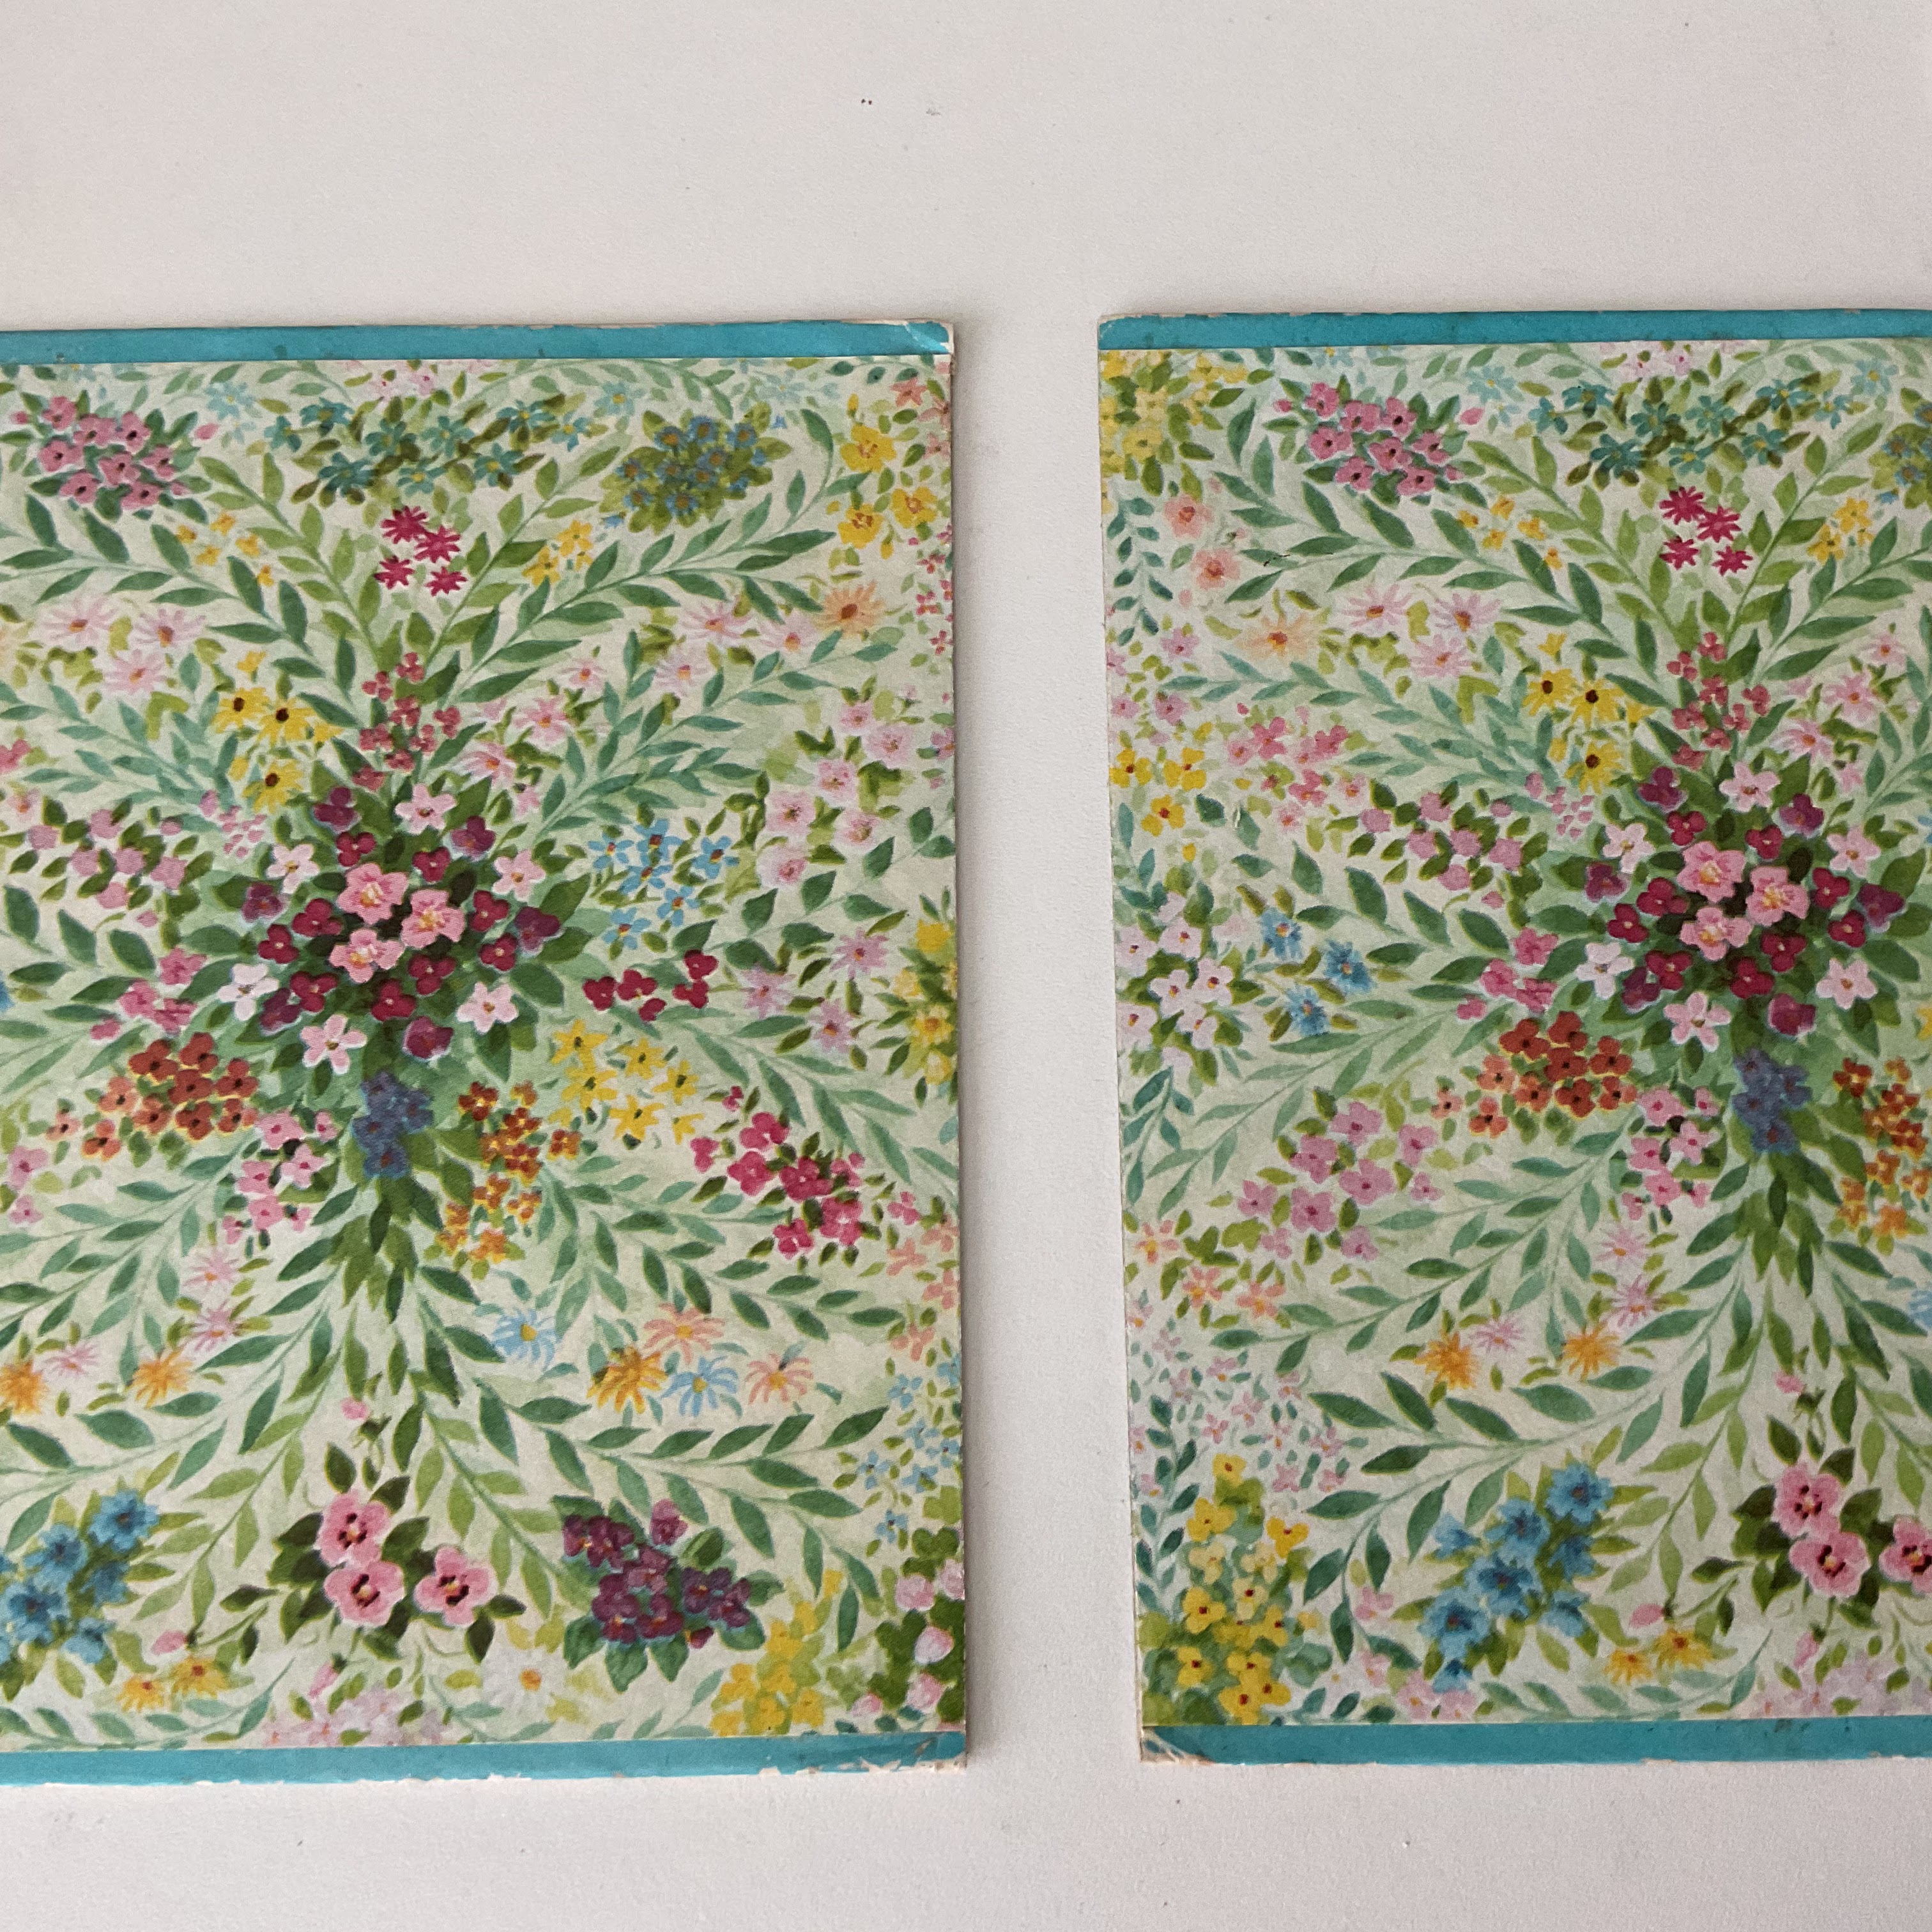
Some I left as bags.

Some I opened and laid flat to continue to dry.

You can wash your bags if you wish.
I liked them stained.

Have you ever noticed, YOGI tea bags have
encouraging messages on the tags?
I decided to keep them.
They are tea stained and grungy-

I used Matte Mod Podge and a brush
for this project.

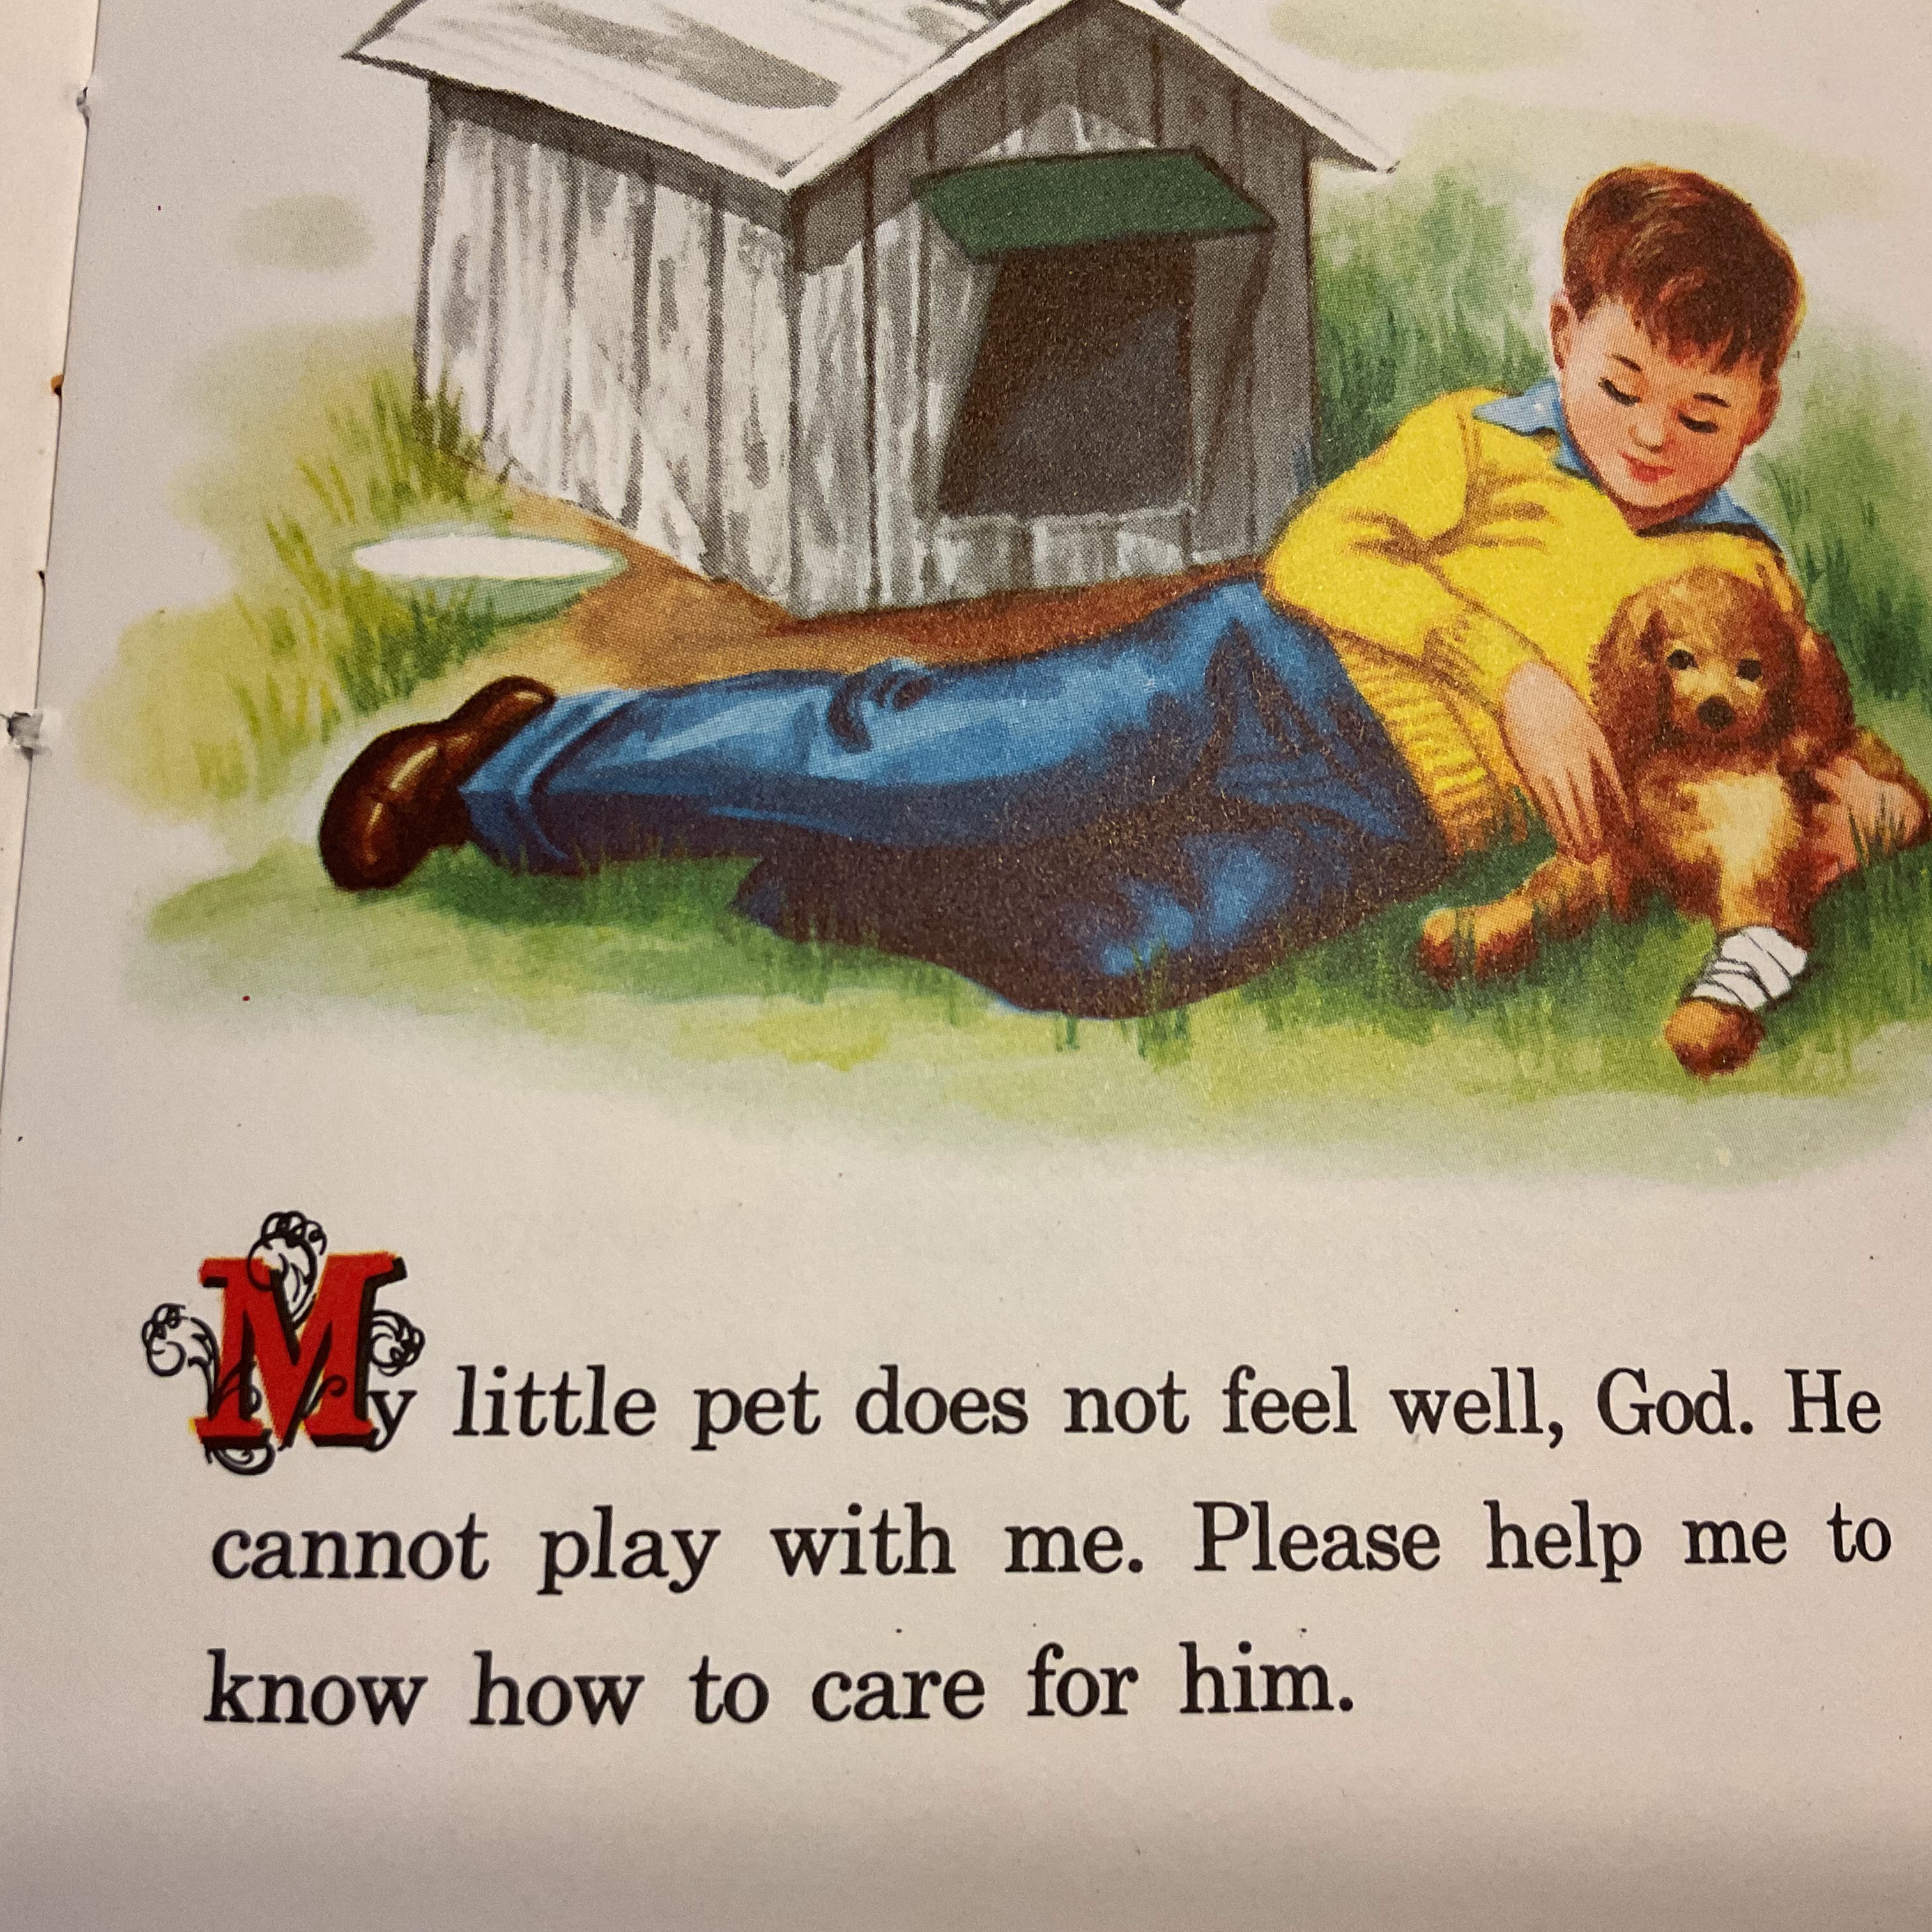
I used a hand written letter and some
pressed and dried flowers.
I used some Mod Podge
to adhere the flowers to the letter.

I covered the flowers with a tea bag and
smoothed it out with the brush.
Then used Mod Podge over the top of
tea bag.

I used a second bag on the back side.

Then let them dry.

One bag folded in half with pressed flowers-
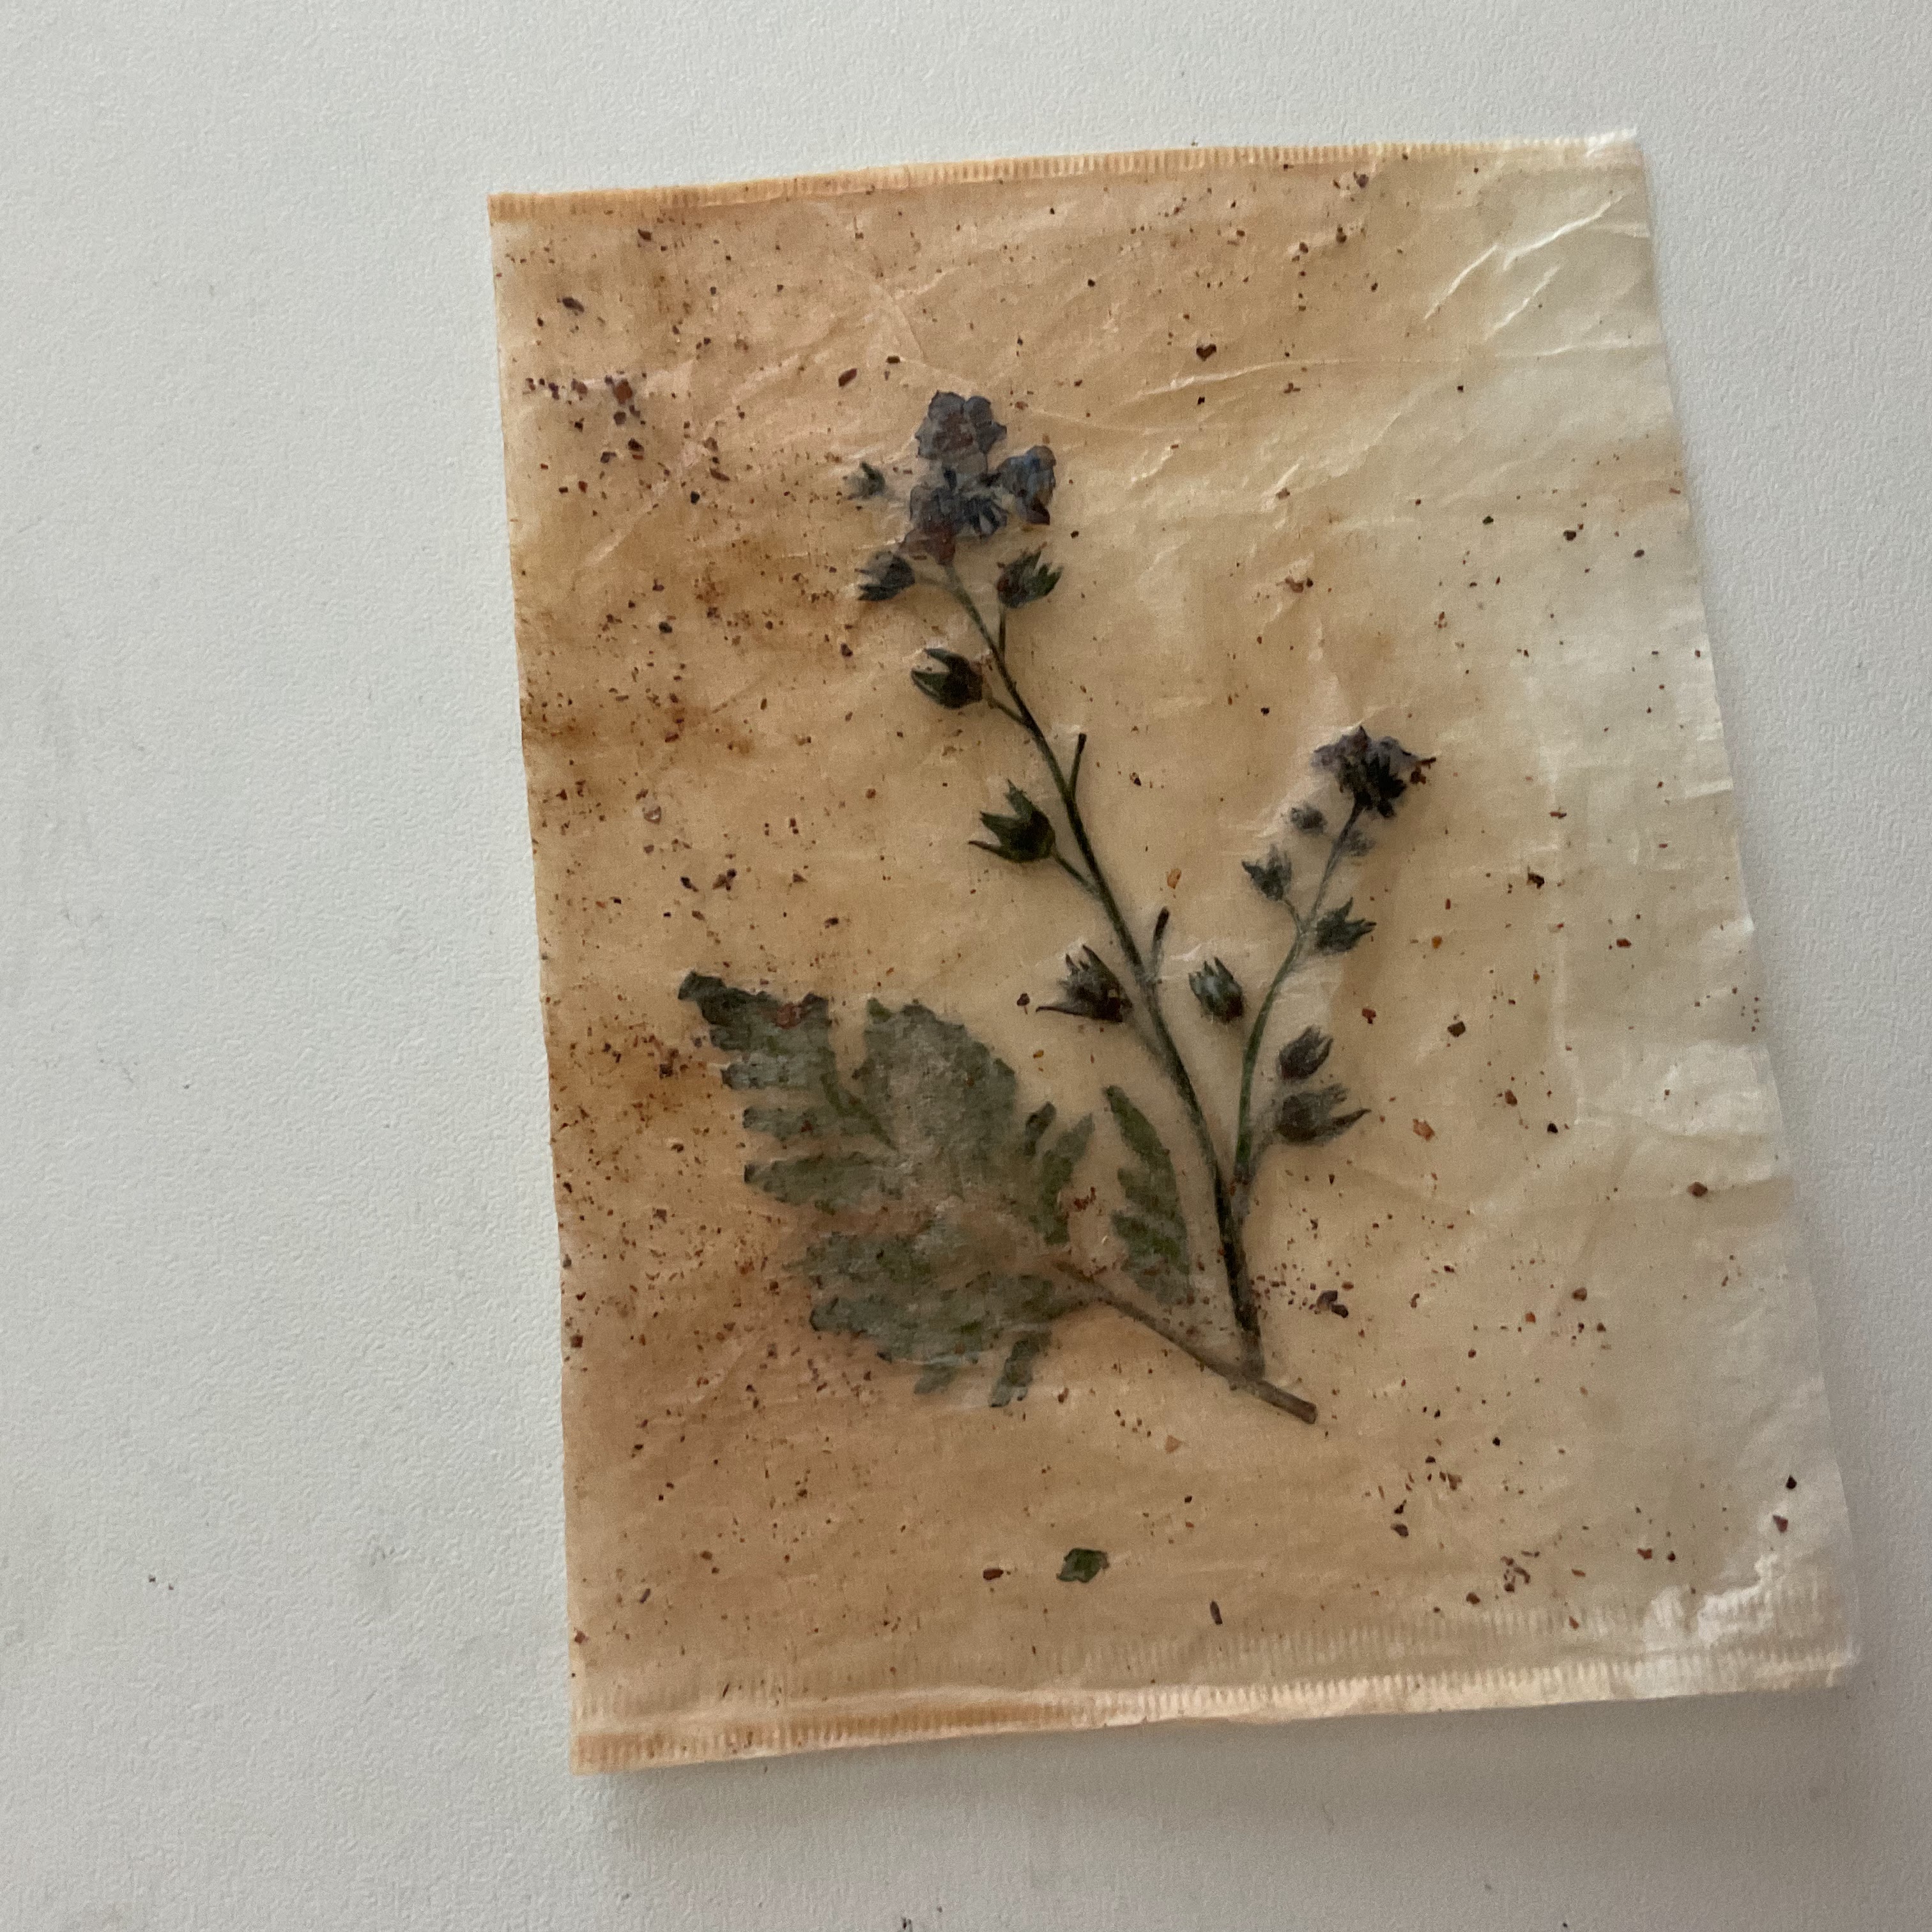
It looks translucent !
This almost reminds me of delicate Rice Paper.
I don't mind the tiny flecks of tea in the paper.

When the bags were dry and cut open at the base,
I made pockets-
This Elderberry tea had lovely purple stains.

Fill openings and cover and seal with
Mod Podge.
Let dry.

The back is a pocket too-

They can be used as tabs or bookmarks.


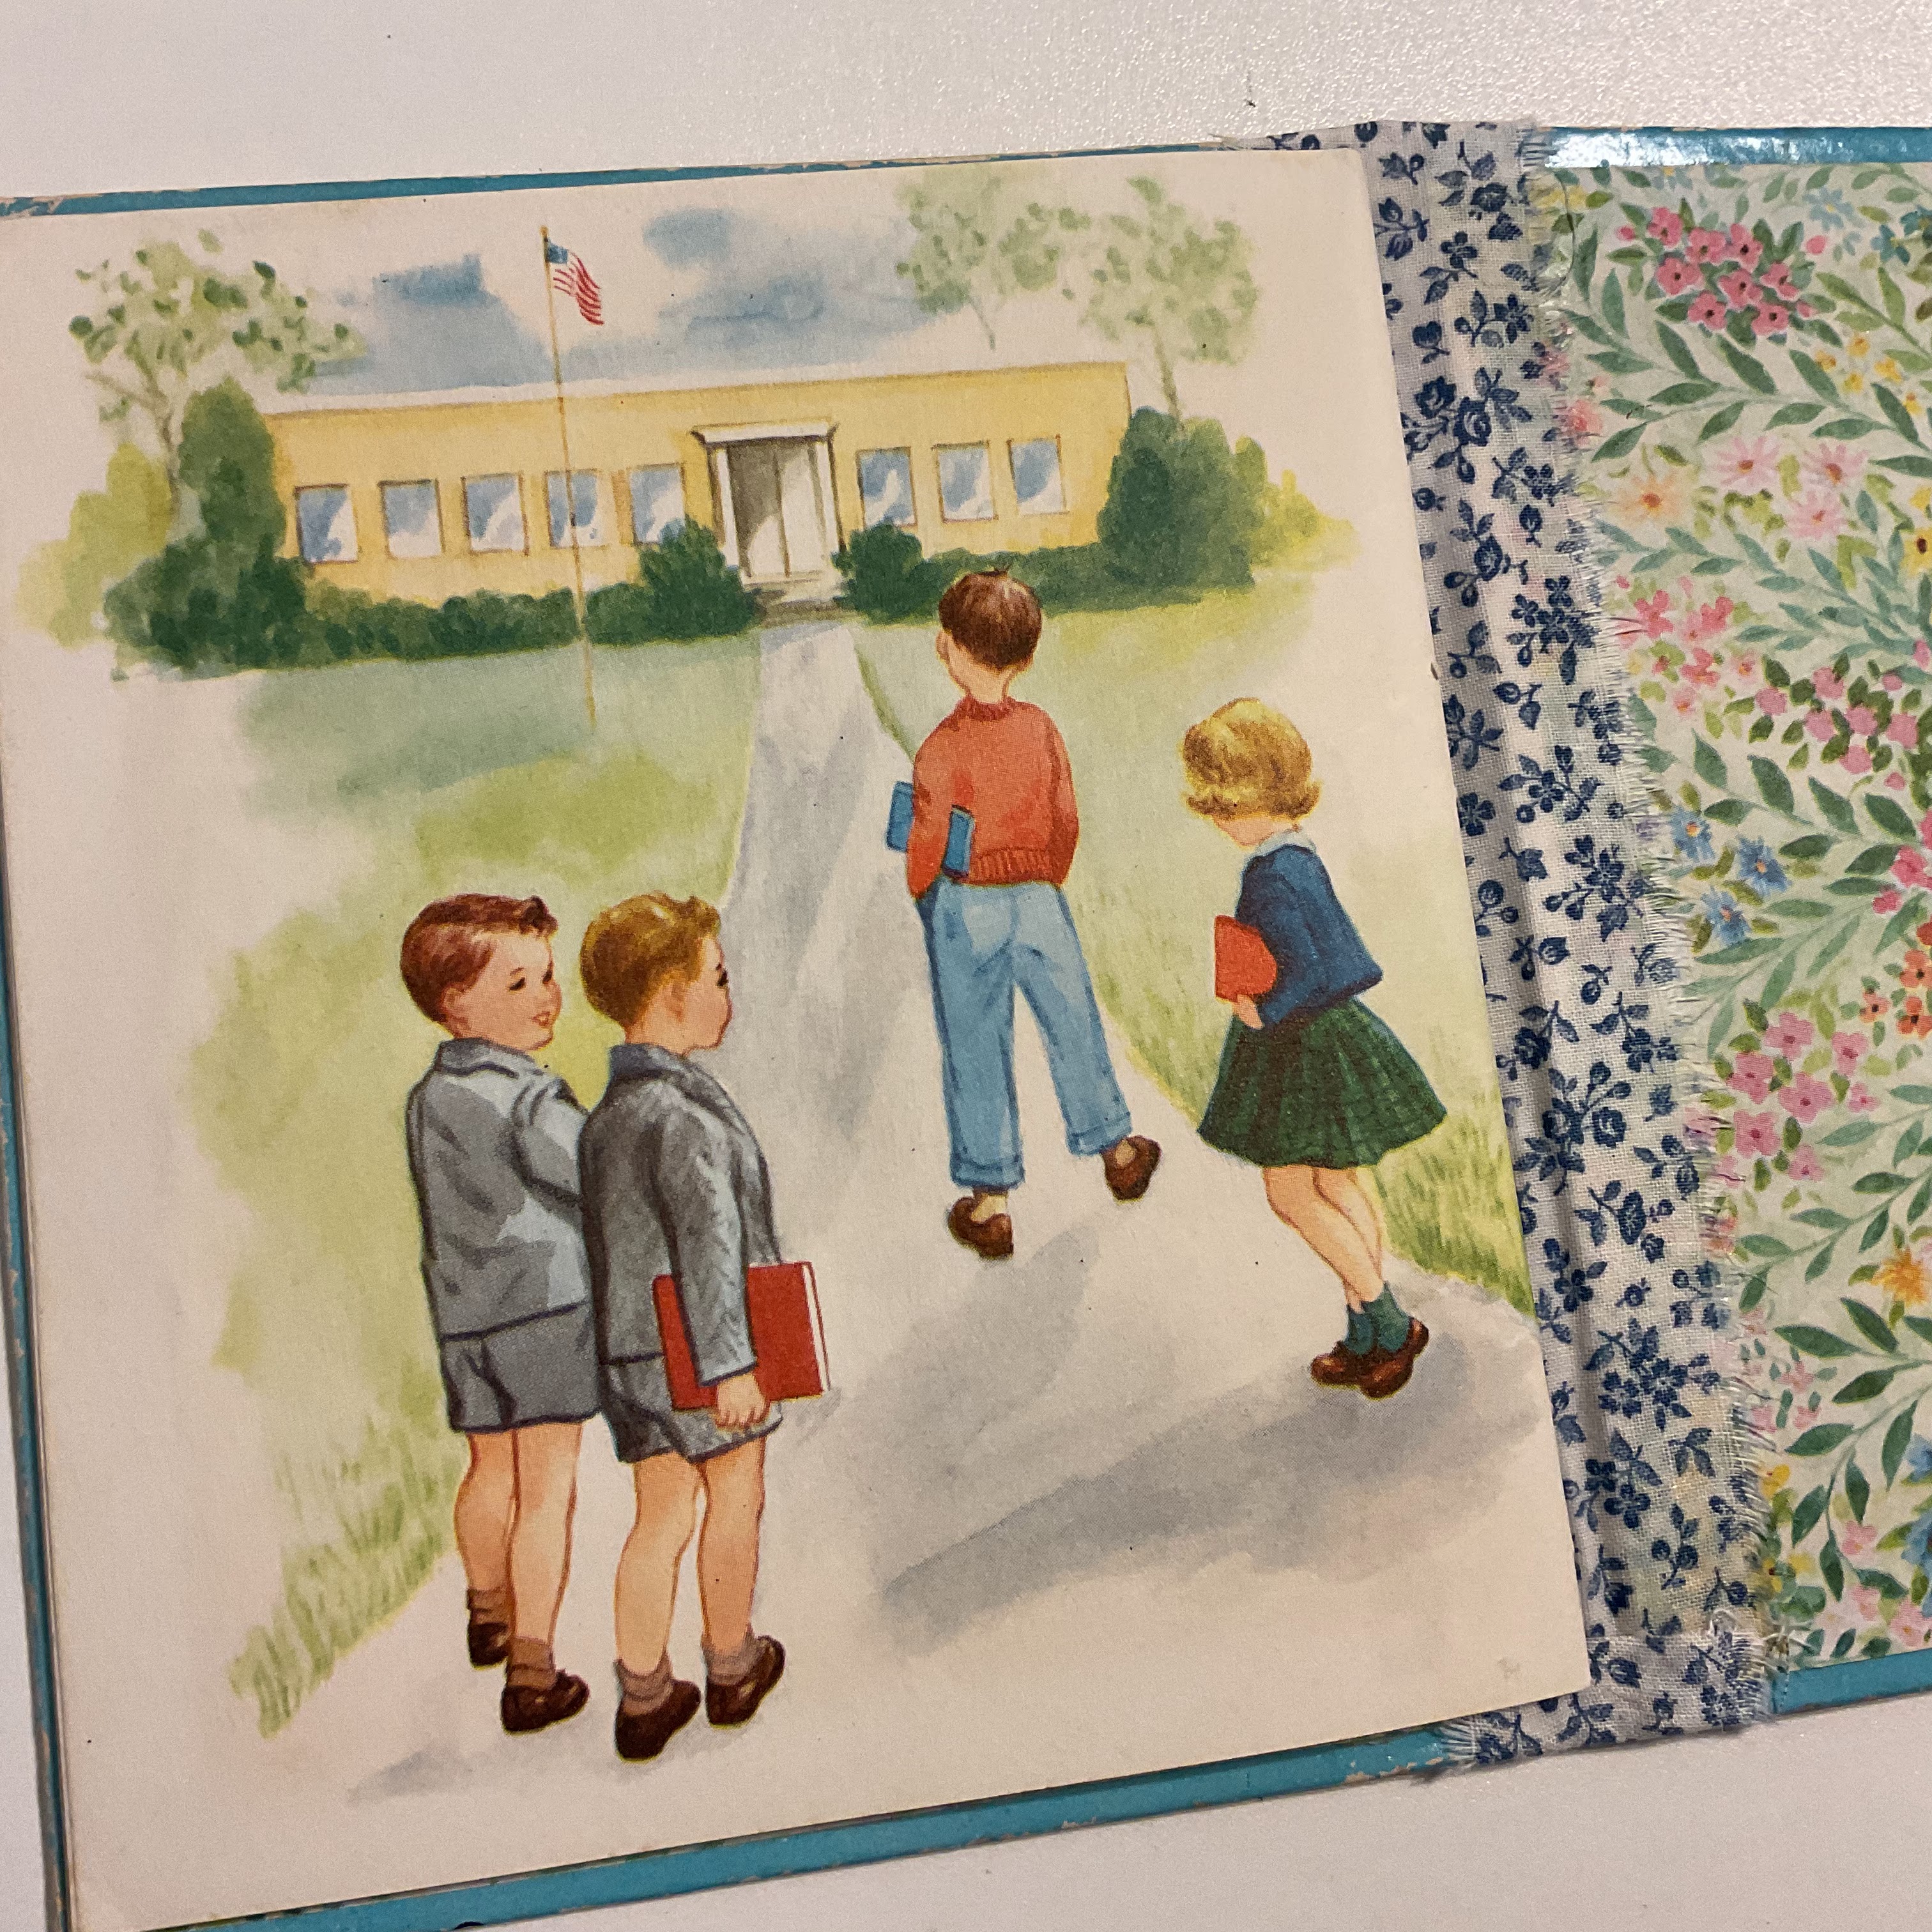
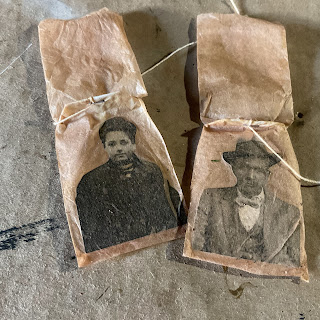
These were made with dried flowers and photos.
The possibilities are endless for these tea bags.
Pieces become soft and pliable when dry.
They can be sewn, painted, inked, stamped, glued, dyed....
you name it!

Next week I will be making-
Tea Bag Snippets!
Remember these?


Thanks again for stopping by!
I hope you have a wonderful week.
xo Lisa S