Showing posts with label farmhouse. Show all posts

Friday, October 16, 2026

How to make Grubby Candles


Hello my friend!

It looks like a mess, but I promise it's not that bad.

I'm going to show you how I made 

some grubby candles using a battery powered base candle.

I had some that were old and wax was cracking....but they still worked fine.

You may have some already on hand.

Everything I used today was from the Dollar Tree.

Yes, they have the candles for $1.25.


First add your batteries, and make sure they are working.


You will need:

a battery powered or LED candle

matte or gloss Mod Podge 

dry instant coffee

cinnamon or pumpkin spice

1'' wide brush

plate or pan to mix dry spices


Mix spices together,

 no measuring needed

about a Tbsp. of each


Use your paint brush to Mod Podge the opening.


Use a spoon to add the spices and roll the candle

side to side.


Mod Podge the brim and sides.

After all sides are covered,

dab Mod Podge over everything to seal the spices.


Allow to dry.

Mod Podge will dry clear.


If you want your candle darker you can add another layer.

I liked it the way it was so I only painted one layer.


I just couldn't wait to turn on the switch!

It has a wonderful glow.


Feels like Fall, but nice for Christmas too-


I put the candle in a wood bowl with some berries

and leaves.


Beautifully bumpy, lumpy and grubby !


These really smell wonderful!
Thank you for visiting.

XO Lisa S


Note: This technique can be used on the outer portion of regular candles

if you use a pillar that burns on the interior only.

Do not burn candles that have been covered by Mod Podge!


Here's another way I used a battery powered
candle to make a personalized gift


Monday, September 23, 2024

Old Wood Spool PUMPKINS


Hi friends!

Happy First Week of Fall-

My very favorite time of year!

Just a super quick craft idea today.

A friend gave me some old empty spools last week .

She thought I could use them.

I decided to make some rustic

 place card markers for seating at Thanksgiving Dinner.

I had a roll of orange jute in my gift wrapping stash.


I just wrapped each spool, single layer with the jute.


Went in the yard to find a stick for a stem.

I found a pinch of Spanish Moss in my craft supplies'


I pushed some moss in the spool hole, then pushed in the twig.

These could be finished at this point if you want to make a 

small shelf sitter!

They can sit on a shelf throughout October and November.


I cut a 4'' piece of wire and made 2 loops on the end with 

needle nose pliers.


I poked the wire in the opening-


I cut small leaf shapes out of brown paper.


I wrote names on the leaves-

I need to make some more before Thanksgiving!


The wire is strong and will hold a thick card 

without falling over.


Here are more ideas for spools -


Thank you so much for letting me share with you!

xo Lisa S

Tuesday, March 12, 2024

Wood Spindle Carrots

Hi Friend,

These wood spindles were from a couple of broken chairs 

left out for the trash.

We took them home and used a rubber mallet

to take the chairs apart.

It was easy and a little bit fun!


I have seen so many people

 making these carrots- I had to give it a try.


I had three spindles


that were pretty long, so I cut

them in half.


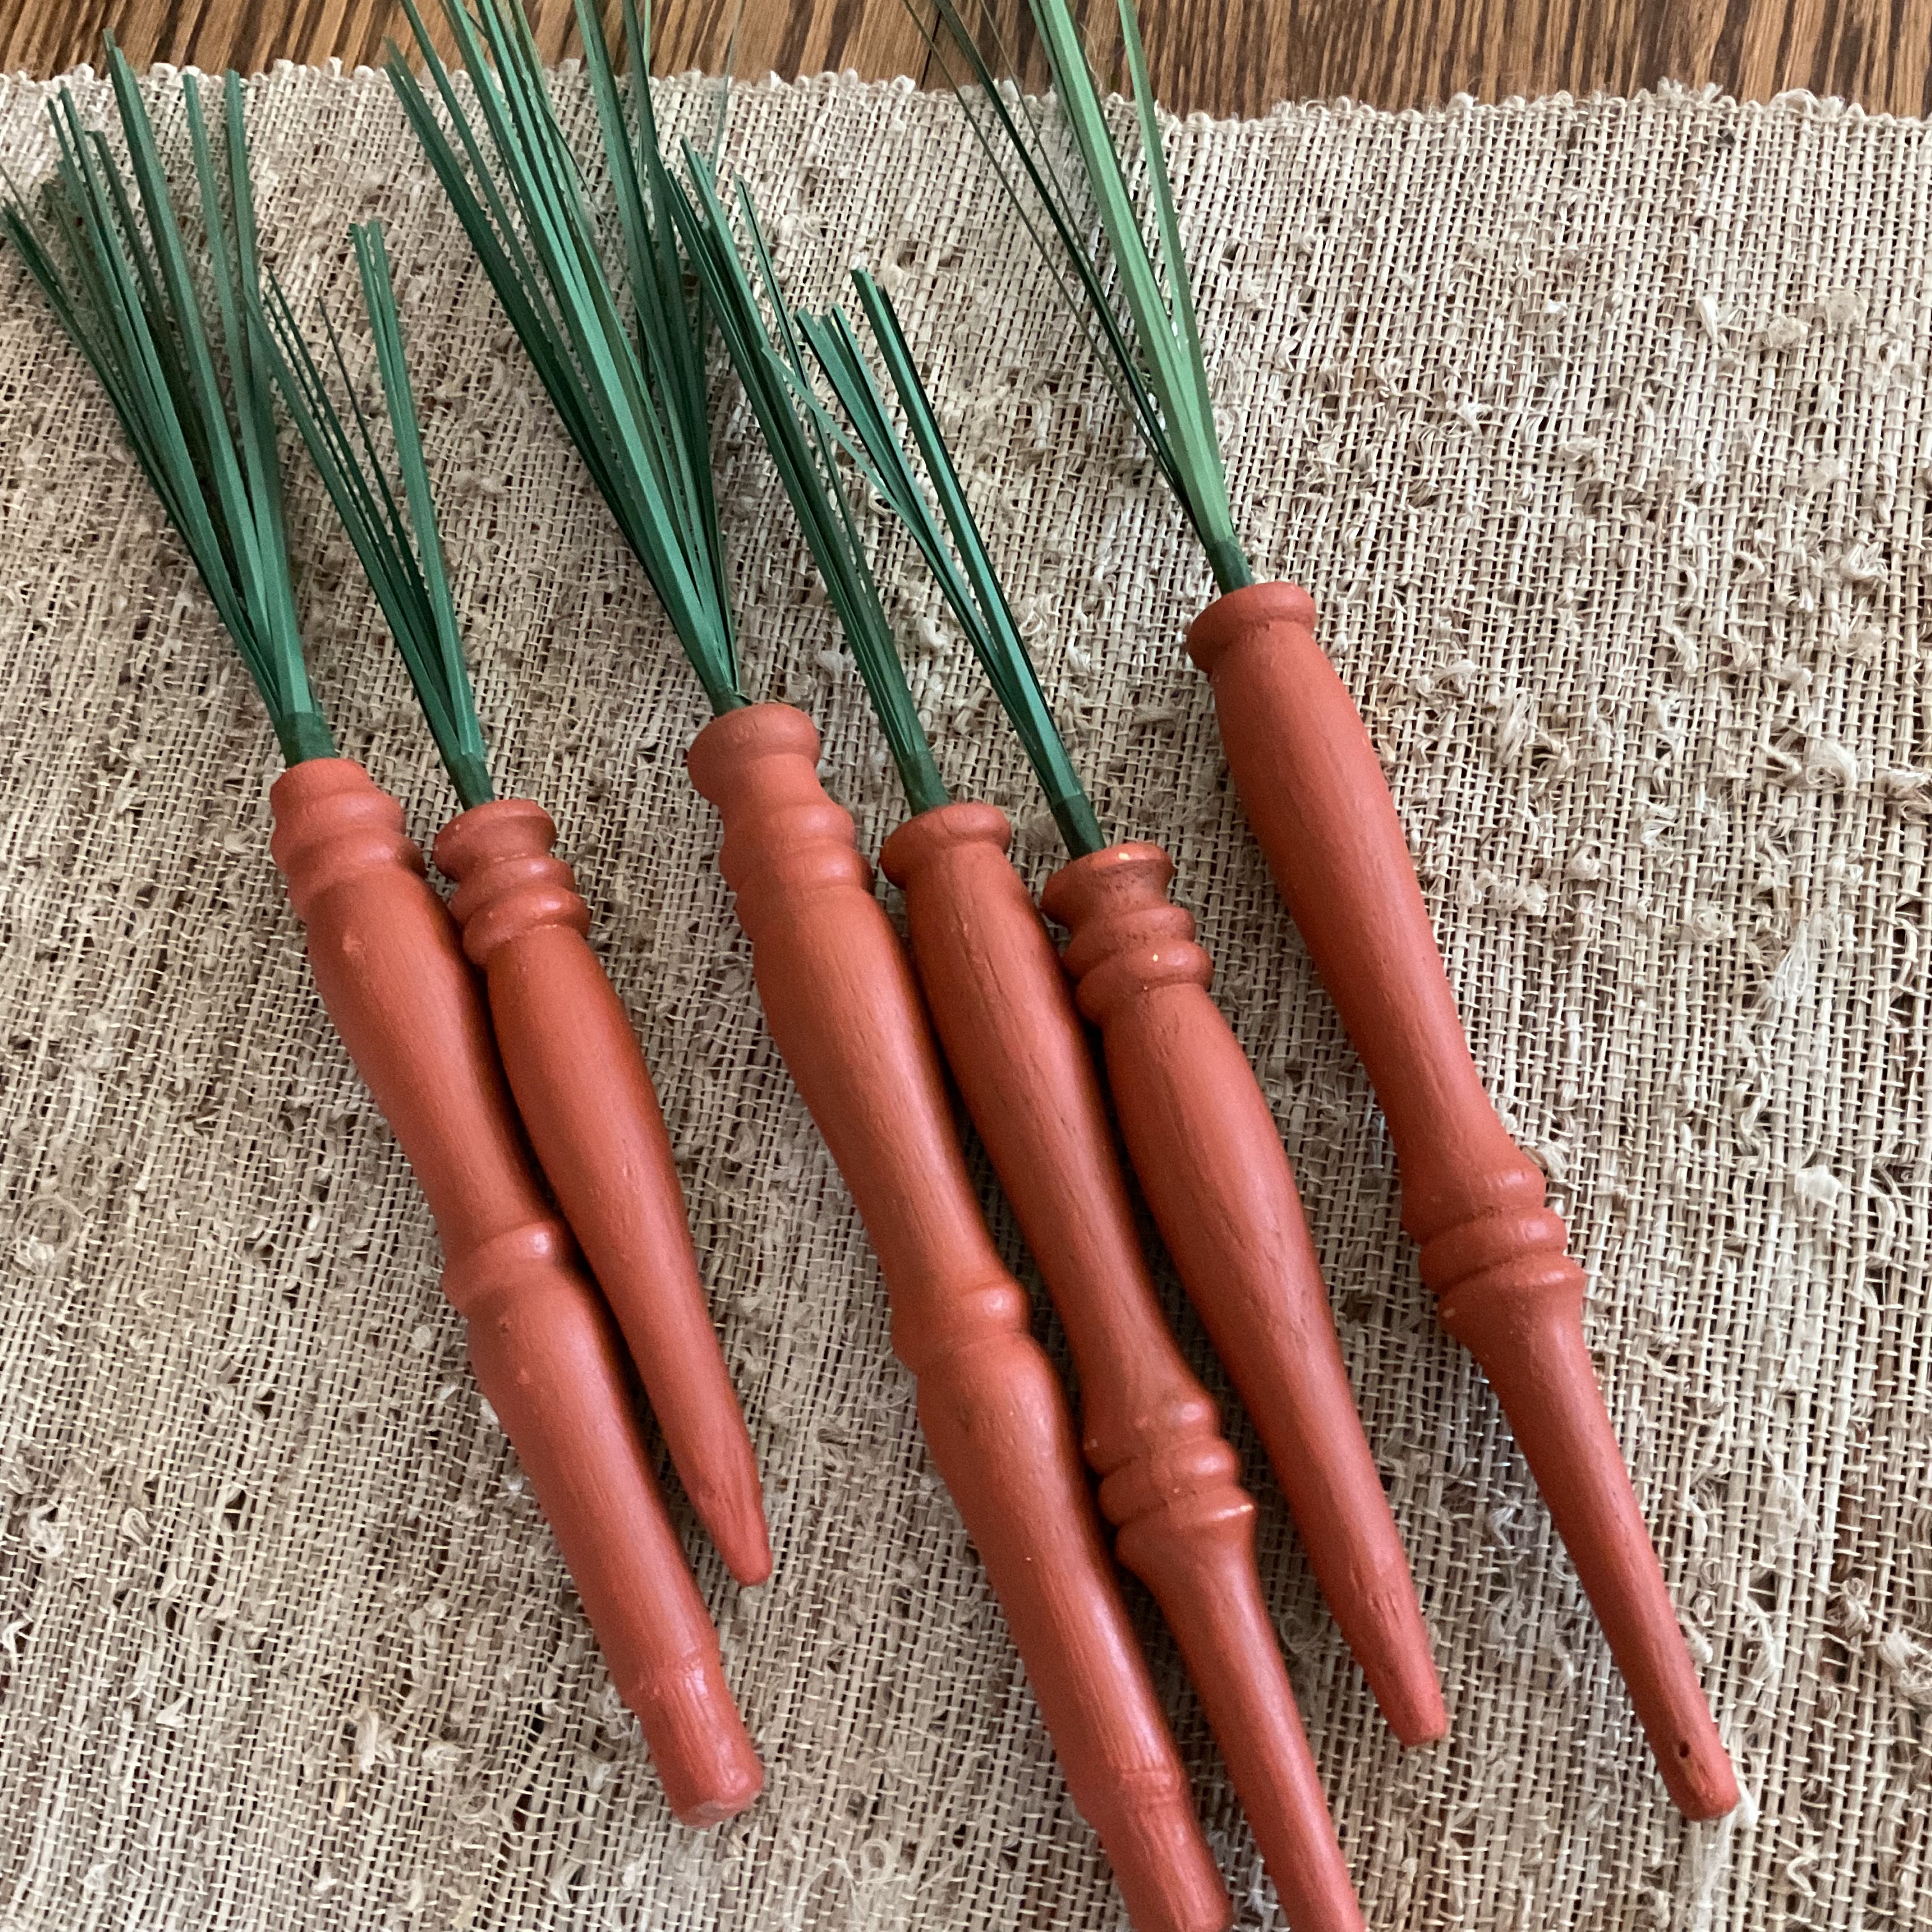
Now I have 6 pieces.


I left one end flat and used sandpaper to round the other end.

I drilled a hole in the wide end.

I wanted to add some greenery.


I was able to divide this piece into 6 sections.

I will trim the stems short to resemble real carrots.


but first I need to paint-

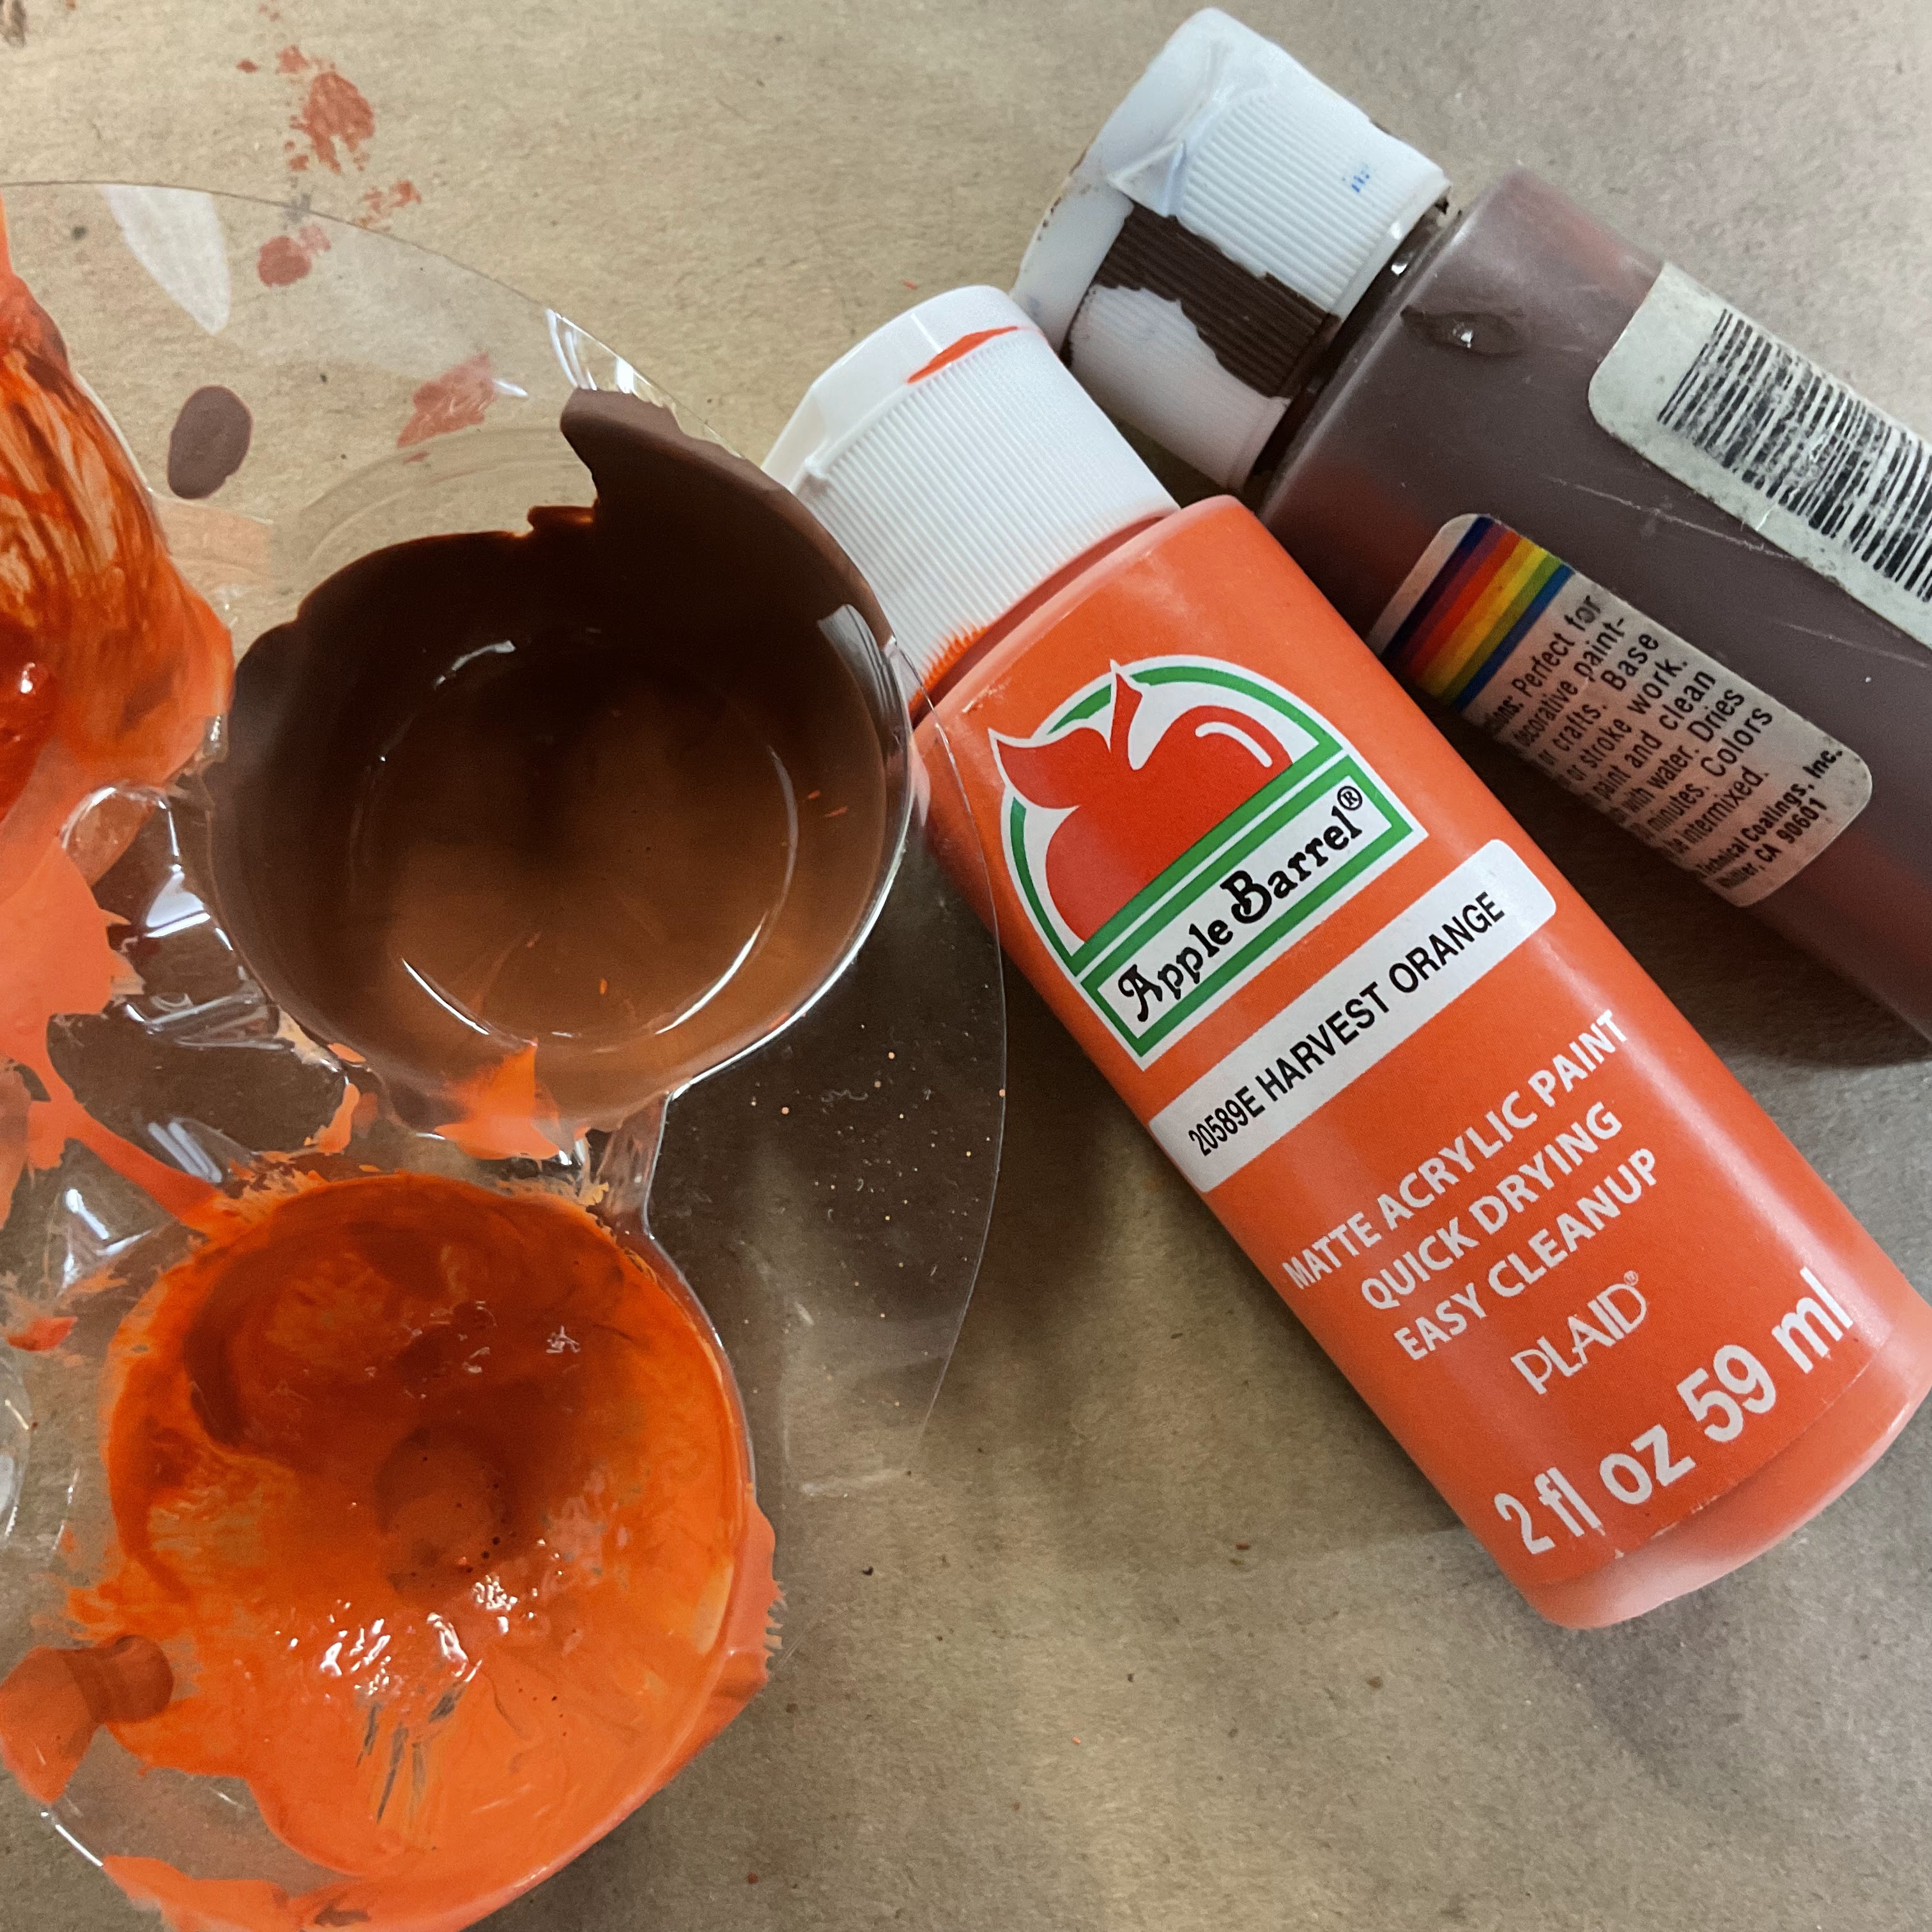
I used a little brown mixed with Harvest Orange


They needed a couple coats of paint


   After they dried I glued on the greenery

and trimmed the tops of the carrots.


and done!


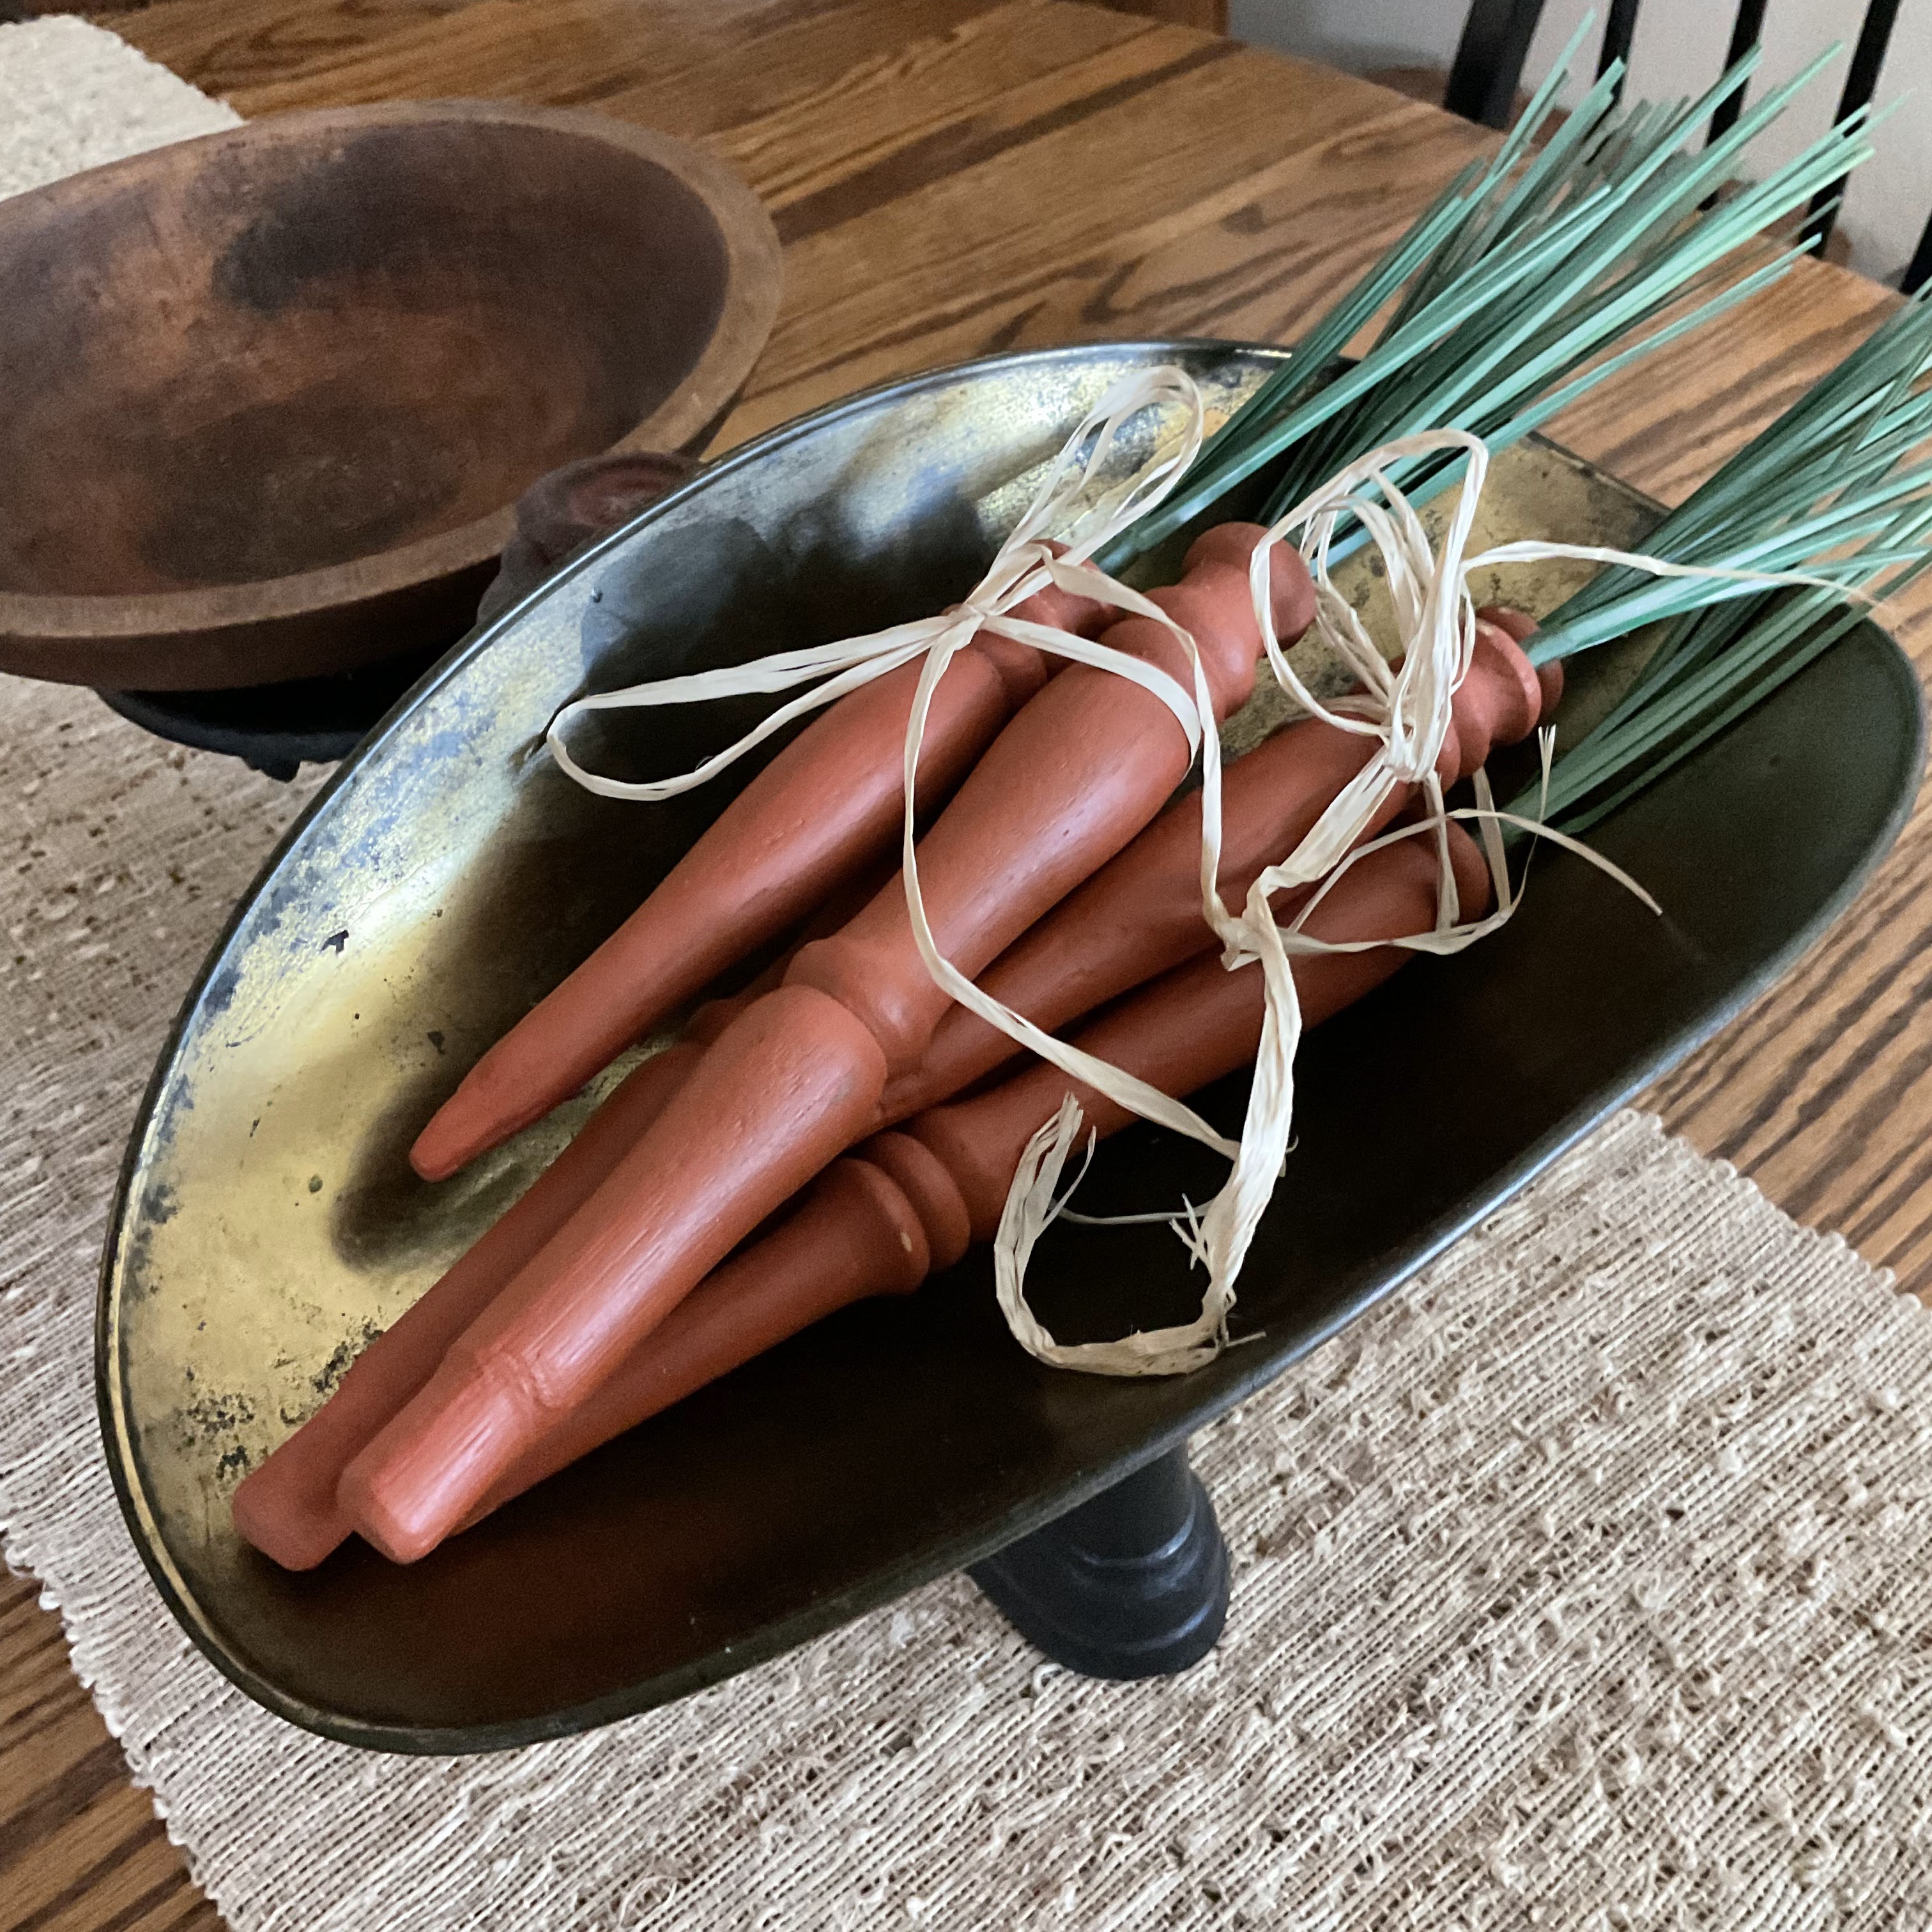
I had some Raffia in my gift wrapping stash.


I tied 3 together to make a little bundle.


I moved the scale back were it belongs then

I tucked them inside a tool box

with some German Paper Mache Eggs.


I may leave them on the table for now,


Thanks for visiting today!


HAPPY SPRING!

xo Lisa S


These spindles were made into flags!


Monday, March 4, 2024

Barn Wood Tool Caddy


Hi friend!

My neighbor was working on a project and asked if I wanted a piece

of plywood that was leftover.


I told Mr. Fresh Vintage it would be a good bottom for a Tool Caddy!

....and of course we jumped right in!

I love him for that!!!


We got together what we planned to use-

One long piece of rough barn wood, I 've been saving for years !

A large scrap piece of plywood from my neighbor.


One wood spindle from an old chair.


The dark pine scraps were left over from my kitchen shelves.

The wood was already stained and ready to go-


To make the handle-

We drilled a hole in the pine pieces with the spindle 

connecting each piece and then set it aside.


Stood the handle piece up and measured around

the outside and cut the box pieces.

To decide on the size of the box.

I measured my barn wood length and divided in half.

Then cut the width pieces off of those-

there was no waste.


We had a scrap of plywood to use for the bottom.

I put the painted side down.


Then nailed the handle piece inside the box.


I loaded up the box with my paint brushes.


I watered down some acrylic paint I had on hand.

It was a good match.

I put some wood stain on the handle ends.


I love how it turned out!

The whole box was made from scraps-

It's a keeper-

xo Lisa S


Turmeric Sun Prints for Notecards

Hello there! The weather is still warm where I live. It's more like summer than fall but I can deal with it. I thought I could use these...