Showing posts with label Holiday Boutique. Show all posts

Friday, October 16, 2026

How to make Grubby Candles


Hello my friend!

It looks like a mess, but I promise it's not that bad.

I'm going to show you how I made 

some grubby candles using a battery powered base candle.

I had some that were old and wax was cracking....but they still worked fine.

You may have some already on hand.

Everything I used today was from the Dollar Tree.

Yes, they have the candles for $1.25.


First add your batteries, and make sure they are working.


You will need:

a battery powered or LED candle

matte or gloss Mod Podge 

dry instant coffee

cinnamon or pumpkin spice

1'' wide brush

plate or pan to mix dry spices


Mix spices together,

 no measuring needed

about a Tbsp. of each


Use your paint brush to Mod Podge the opening.


Use a spoon to add the spices and roll the candle

side to side.


Mod Podge the brim and sides.

After all sides are covered,

dab Mod Podge over everything to seal the spices.


Allow to dry.

Mod Podge will dry clear.


If you want your candle darker you can add another layer.

I liked it the way it was so I only painted one layer.


I just couldn't wait to turn on the switch!

It has a wonderful glow.


Feels like Fall, but nice for Christmas too-


I put the candle in a wood bowl with some berries

and leaves.


Beautifully bumpy, lumpy and grubby !


These really smell wonderful!
Thank you for visiting.

XO Lisa S


Note: This technique can be used on the outer portion of regular candles

if you use a pillar that burns on the interior only.

Do not burn candles that have been covered by Mod Podge!


Here's another way I used a battery powered
candle to make a personalized gift


Saturday, October 4, 2025

Lavender Hearts

 Hello,

Thanks for visiting!

Let me show you how I used some lavender 

from my garden.

They were picked in the summer and now the buds are dry.


I found a large cardboard box and cut out some 

heart shapes- about 4'' tall.

I had some lavender colored ribbon,

white glue and a tool to poke a hole for the ribbon.

You will need some dry lavender, hopefully you have some

or can get some from a friend.

A piece of parchment paper will be helpful.


I store my lavender in an antique oak seed box.


These are easy and fun to make.


Cover the heart shape with glue and cover with buds,

press to hold in place, and then glue the edges and

cover the sides.

Lay on parchment paper.

It's a bit sticky if you are impatient like I am.

Allow to dry.

Poke a hole for the ribbon hanger.


After the glue dried, I checked them over

to make sure everything was covered completely.

You can always go back with a little glue and add more buds.


Here's a close-up


I have these small bags and clear mailing seals

 that I bought at the DOLLAR TREE


I had some bags just about the right size.

I used scissors to cut a 'V' at the bottom of the bag.


Then pulled the ribbon through the hole.

You can still smell the fragrant lavender buds.

I am hoping this will help with

less mess when handled at the craft show.


I sealed the bag with the circle dots.


I like to have a large variety of items on my table

in a wide range of prices.


They can be picked up by the bag or the ribbon.


Small items at the craft show always sell out 

and that makes me happy!

They can be used as stocking stuffers,

 tree ornaments or package toppers.


Here is a Lavender Wreath, some  Embroidered Lavender Sachet, 

and How to pick lavender for Stamped Muslin Bags.

Just recently, how to make Sugar and Lavender Scrub.


I hope you have a wonderful week!

Your visit is always appreciated.

xo Lisa S


Saturday, April 6, 2024

Seed Packet Junk Journal


Hi friends!

Spring is here and I can't

wait to be in the garden!

After planting I saved the empty seed packets.

I made these mini journals for a Garden Party Boutique.

They can be used for garden notes and thoughts or artwork.


The fronts of the packets have beautiful photographs.

I just cut the packets open on 3 sides.

Then I glued paper to the back and trimmed with scissors.


These are very simple to make and don't have 

many steps.


I used my sewing machine to stitch around the outside.

I like the look and it gives a little strength to the cover.

For the inside-

I save scrap paper- 

These half size sheets are the bottom half of my eBay labels.


I recycled this small spray bottle.

It worked so well that when it was empty

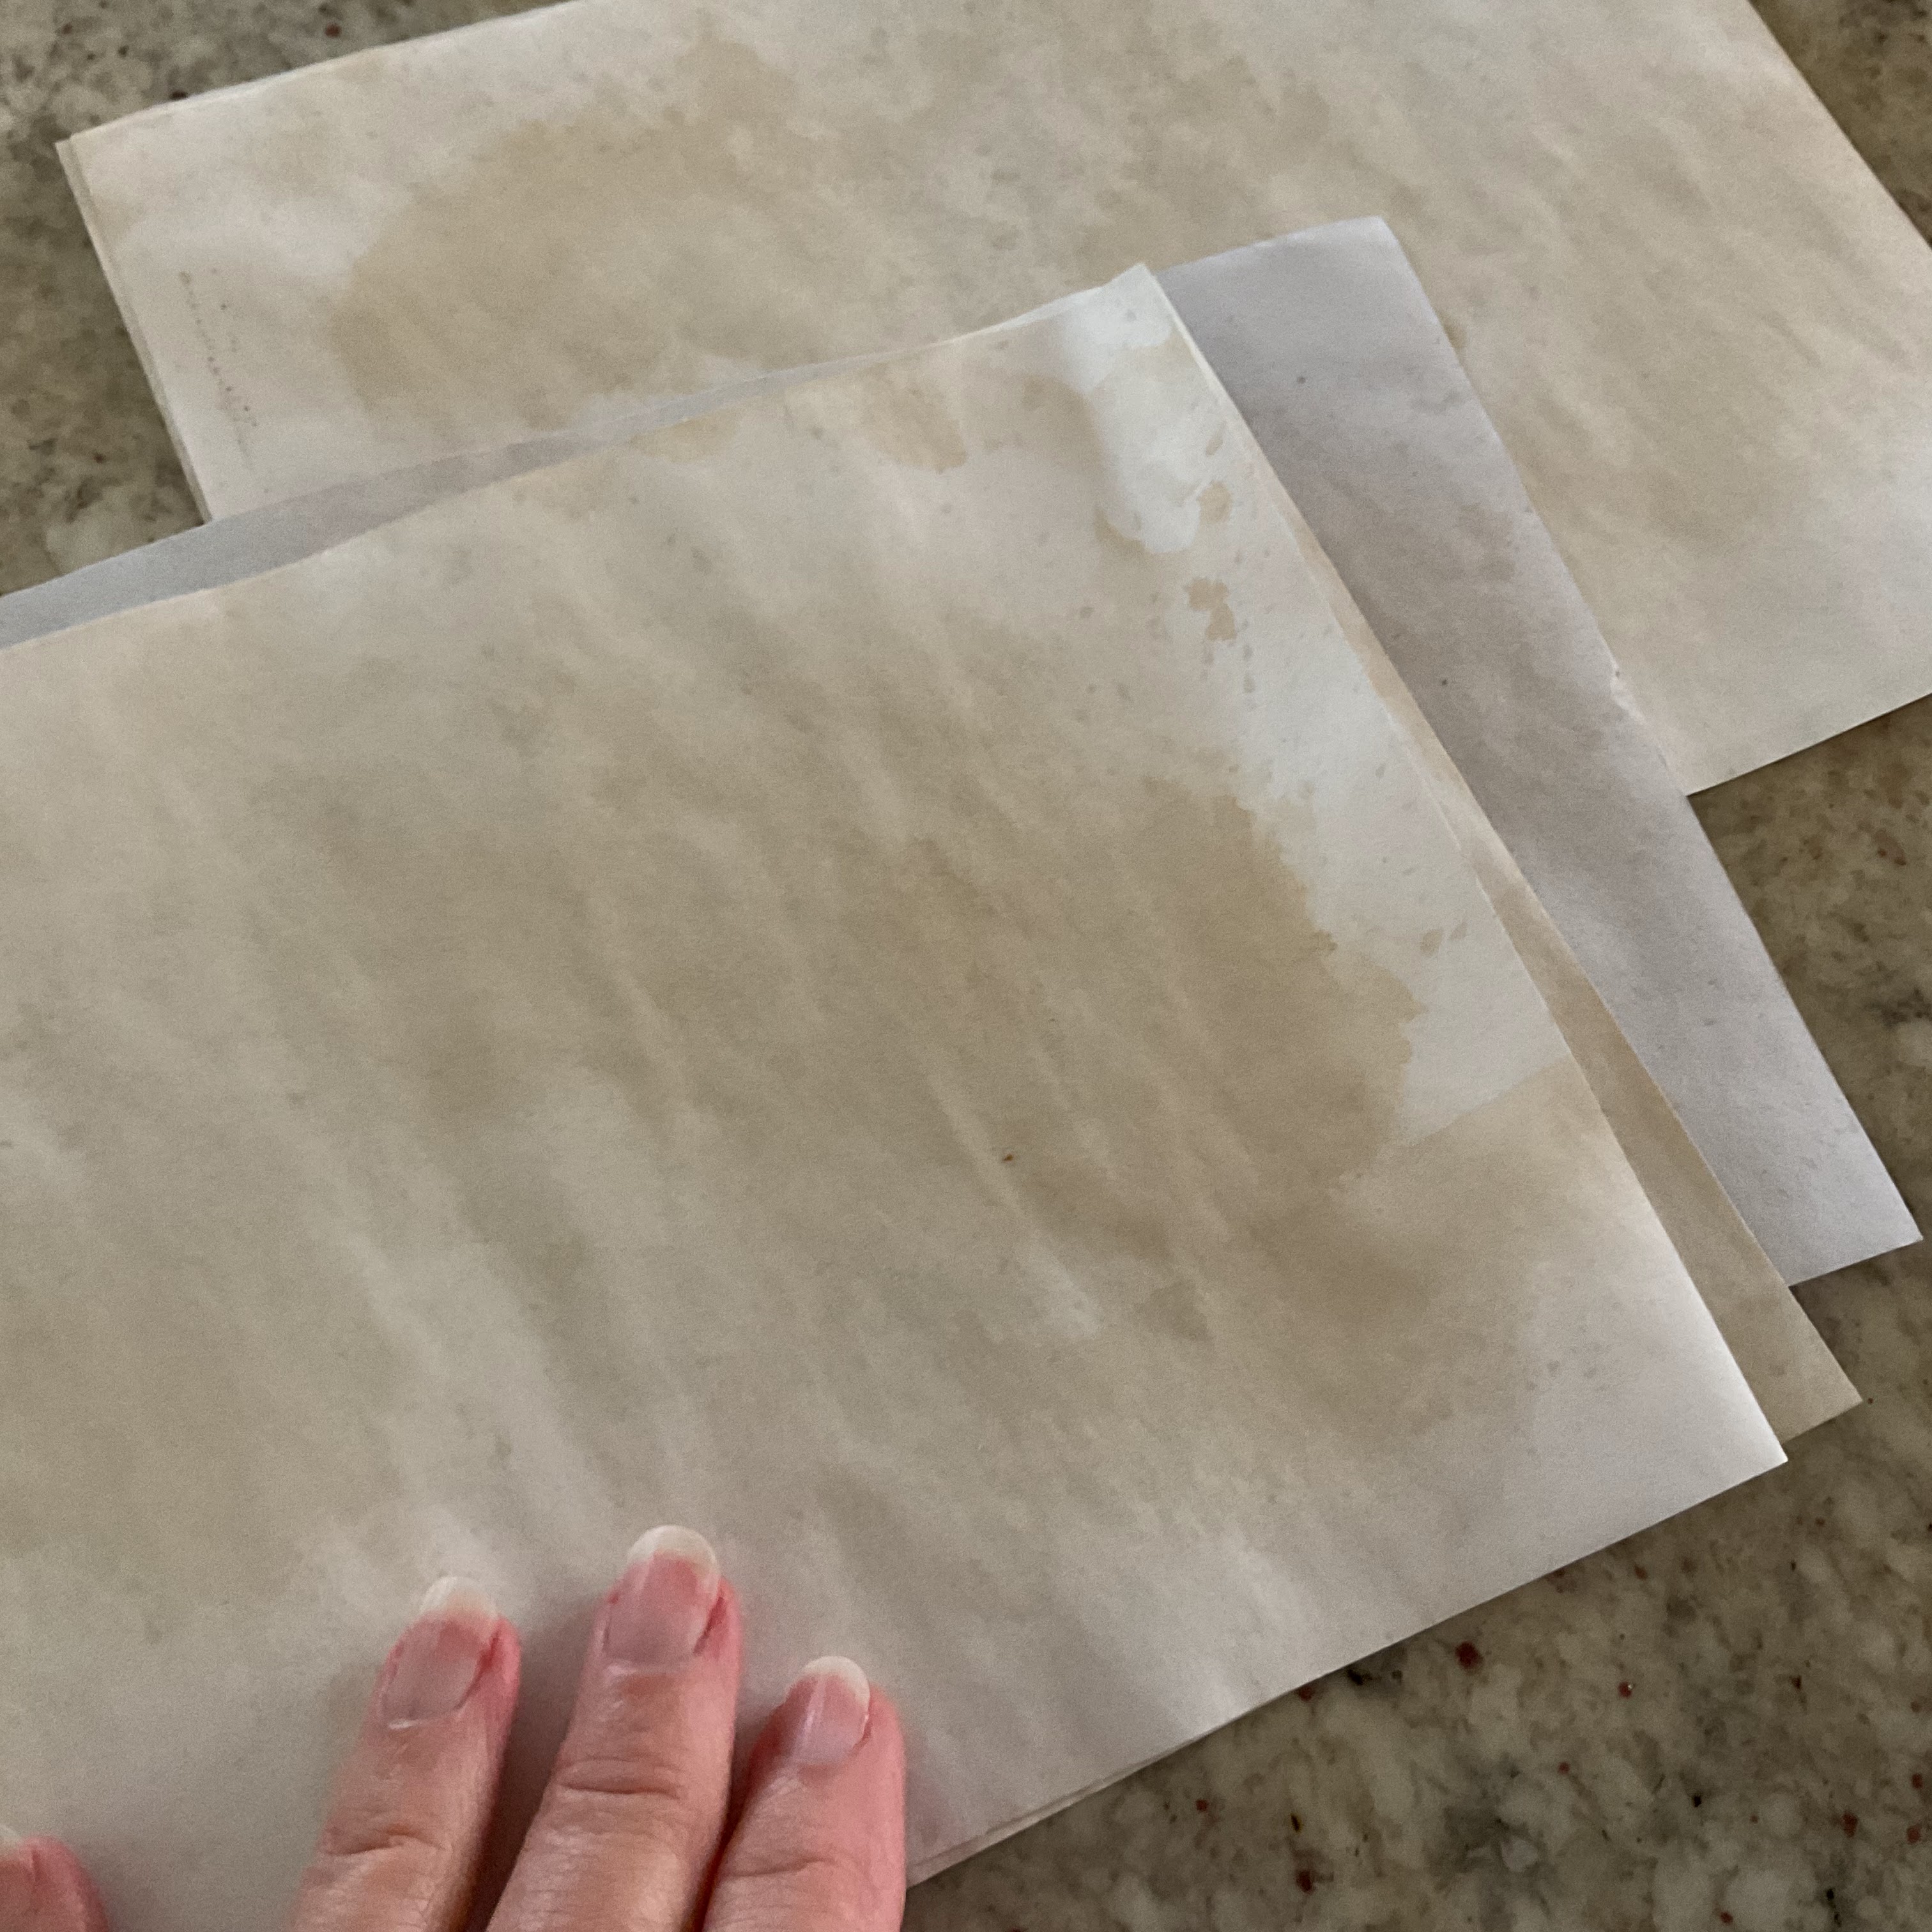
I saved it to fill with strong coffee to stain my paper!


I lay the paper out on a cookie sheet and spray each piece.

I leave them in the oven until the dry.

They dry with the heat from the pilot light in a gas oven.


I cut them in half and folded again.


This was just the right size for the seed packets.


I stacked 6 pages to make a single signature

 and sewed the stack to the cover.

Basic 3 hole method
.
 Start inside center hole, pull

thread outside, come back through top hole

go down to bottom hole go through

to the outside cover and back through

center and tie off.


Decorated some of the pages.


Tied closed with ribbon.


Stamped some pages-


Glued some 'belly bands'

inside to make a pocket.


Tucked some tiny glassine bags with seeds

in some pockets,


Then tied it closed with a scrap of ribbon.

I have a lot of old wrinkly seam binding.


I love the vintage look of this one-


I added a sunflower charm to the ribbon.


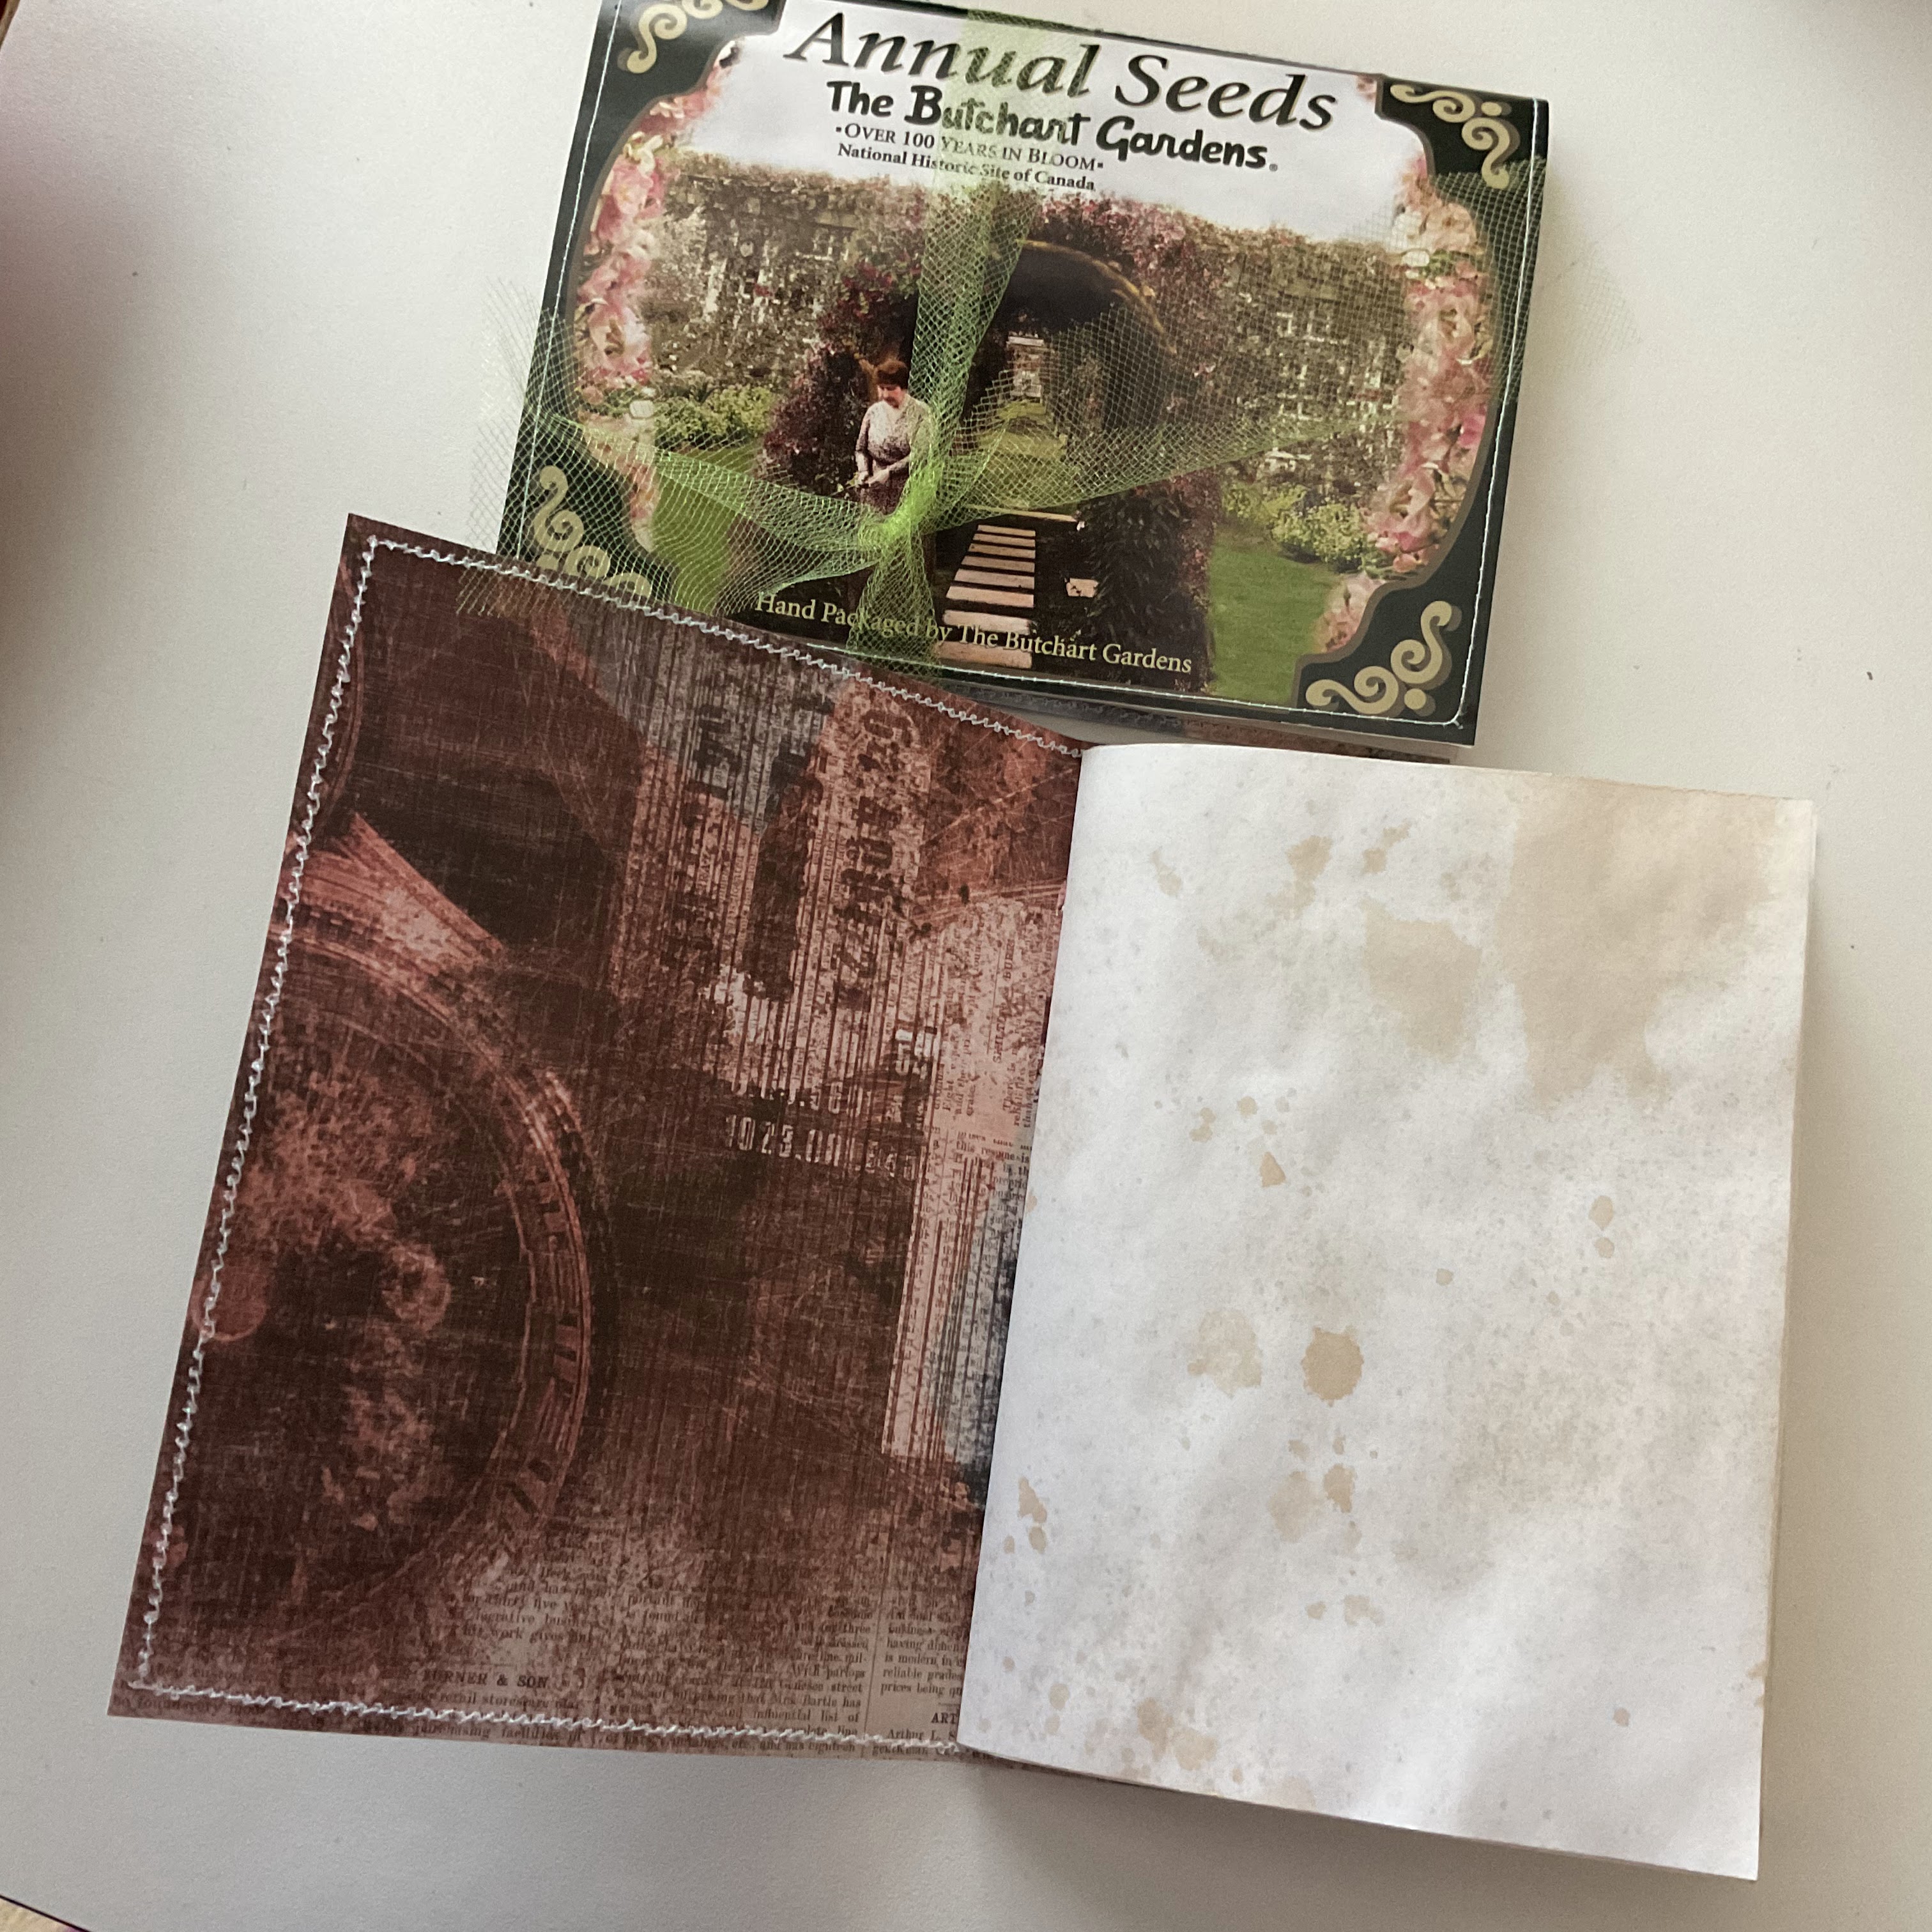
These have a Garden Fairy on the cover.


My sister gave me these large seed packets below from

a trip they took to Canada.

The packets were a thoughtful gift.

I planted the seeds and saved 

 the packaging.

They will make a special keepsake journal.


Here's a close up  of the garden

information.

The Butchart Gardens

My sister said it was a beautiful

 100+ year old

 English Garden.

Has anyone been there?


Thank you for being here today!

I appreciate the visit-

xo Lisa S

Turmeric Sun Prints for Notecards

Hello there! The weather is still warm where I live. It's more like summer than fall but I can deal with it. I thought I could use these...