Showing posts with label vintage silverware. Show all posts

Sunday, September 17, 2023

Making Beads from Vintage Silverware

Hi Friends,

I have a Craft Show coming up

in October and just making a few last minute items.

Here's an easy idea I have been working on-

I have collected a few 

silver plated knives over the years

 that I use for all sorts of things!

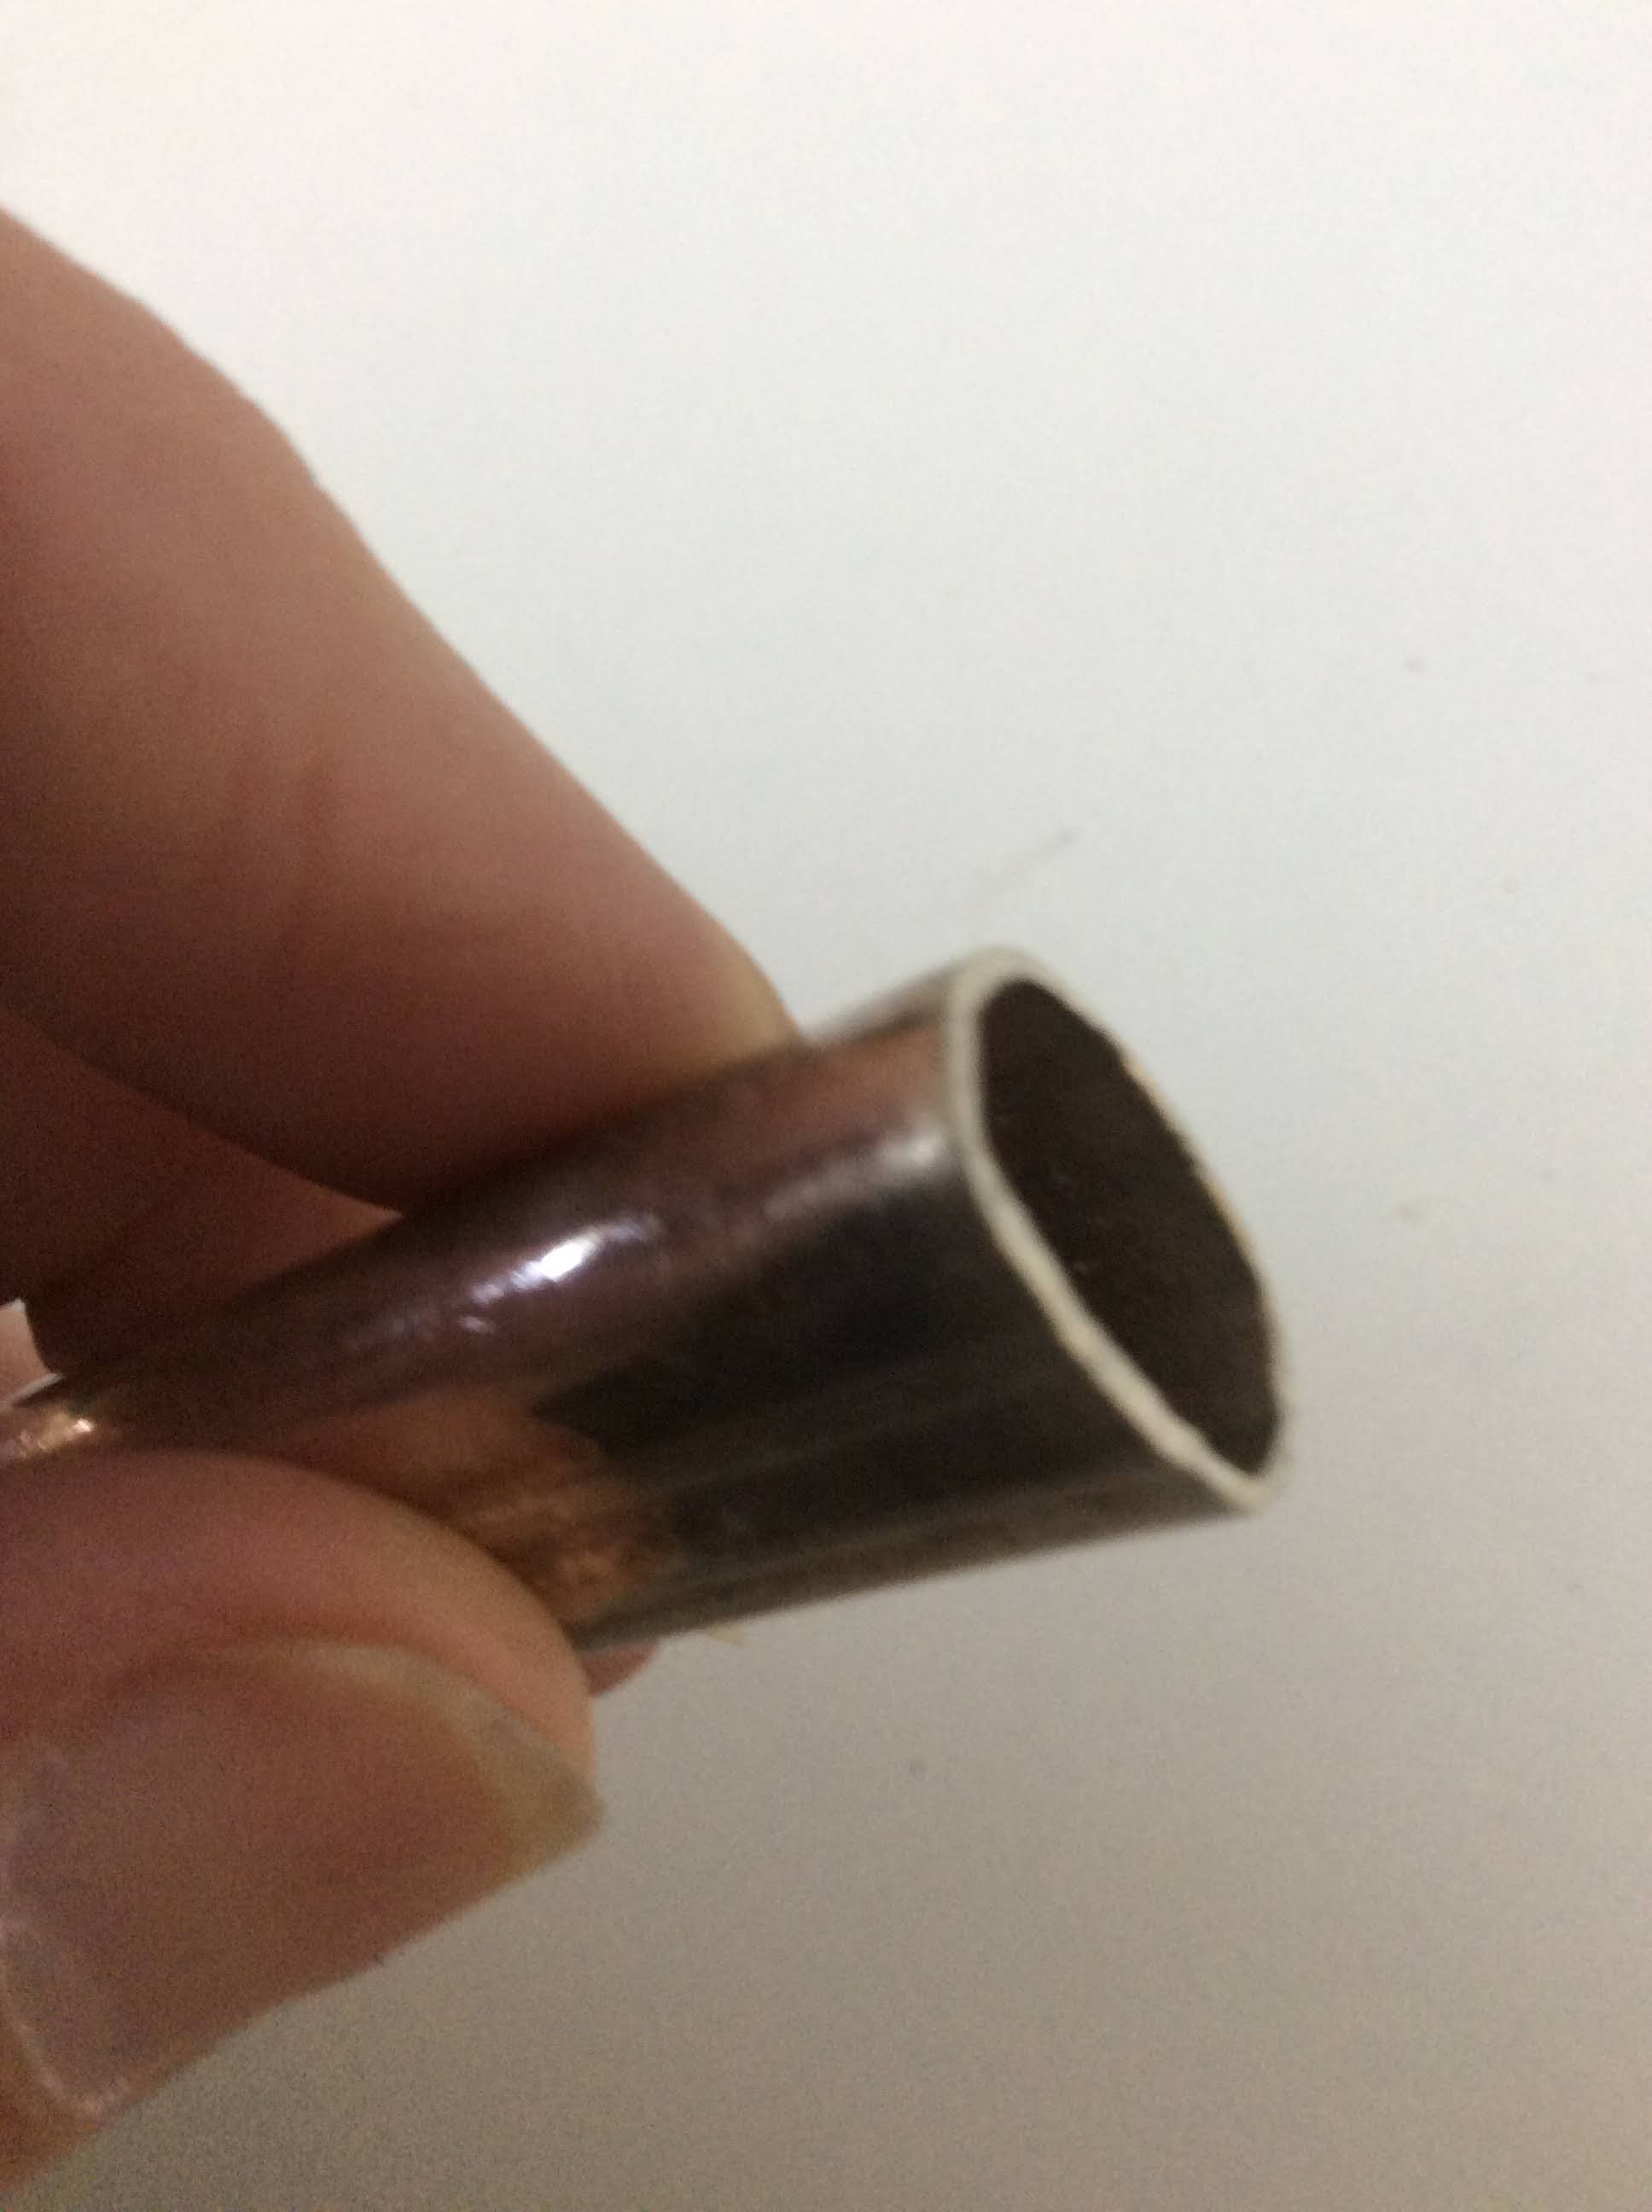
I have noticed that some knives have solid metal

handles and some are hollow.

We are going to use the hollow ones today.

Don't worry if the knives are tarnished.

We will clean them later.


We will take a hollow handled knife,

place it in my husbands vise along

with a soft cloth while we cut.

I mark my cut line with a fine point SHARPIE, I tend to cut crooked.

I used a Dremel tool to cut and sand the ruff edges.

  along with the husbands' help...okay a lot of help-

to cut the handle into beads!


He claims he doesn't want me to to get hurt,

but I think he enjoys making things like I do!

I'm thrilled to have him help!


I cleaned the beads with metal cleaner.


The design on the silverware really pops!


I put the beads on different lengths of chain.


I think they make a pretty necklace.


Thanks for visiting!

xo Lisa S


More ideas I've shared using silverware-

Bottle Topper


Pumpkins


Wednesday, April 27, 2022

Vintage Bottle Stoppers

 Hi Friends,

This past week I was slowed down by an

extreme case of VERTIGO !

If you have experienced it , you know what I mean.

Now I can get back on the computer-

I'm trying to get ready for a craft show in a couple days.


So last minute I put together some 

Bottle Stoppers and I thought I would share

them with you!


I get so excited, sometimes I forget to take pictures.

It started with this stopper -

The top was easy to remove.

Some needed to have a screw cut to attach the knife handle

and some stoppers have a post.

I prefer the stoppers with a post.


and a knife


It is easy to find knives at thrift shops.

The knives are usually inexpensive.

I use a vise and a soft cloth to hold in place while I cut.

I used a Dremel tool to cut and sand the ruff edges.


Making sure the top is level.


The handles were a tight fit on the screw and the post,  no other

fixative was needed.


Then I polished the handles.


The stoppers can be used on an  olive oil bottle-


They can fit a wine bottle or in my case sparkling cider!

Just pretty for a party or wedding.


I think these would make a nice gift.


I used more knife handles on this blog post-

Pumpkins


Have a great day!

Thanks for the visit.
xo Lisa S


Saturday, April 25, 2020

Using Old Silverware to Make Wind Chimes


Hi Friends,

How are you doing ? Are you still in quarantine?

I haven't felt very creative lately, so I 'm just going through my

craft supplies today-


I had a couple of bags of silverware that were

left over from other projects.

These pieces were well worn and tarnished.

I would not be able to use these for the jewelry and key chains that I make.

Some were cut and most were already flattened with

a rubber mallet.


I was able to put together several sets.

I planned to use a fork for the hanger and 4 spoons for the chimes.

The fork tines or prongs were bent with pliers.


I alternated the tines, 1 forward then 1 backwards.

I drilled a hole at the top of the spoon.

My husband helped with this one so I could take a picture.


I used 1/4 LB. fishing line.


Most of my chimes were hung with

an 18'' piece of line in half and tied with a knot.


The wind chime below has different length of fishing line and I added


glass beads.


The spoons were hung from a tea ball.


They are easy to make.

It kept me busy for the day!

They sound so pretty-

I am planning to give one to my neighbor and one for my Mom

for Mother's Day.

We are still on lock down here!

So I am trying my best to use only what I have on hand.


You can hear their relaxing sound below,


If you like this project using silverware,

you may also like these.


Up-cycled tray with silverware handles


Pumpkins


Thank you so much for visiting!

I'm in need of some company, how about you?

Stay well,

xo Lisa S


Tuesday, September 3, 2019

Pumpkins with Silverware Stems

Hi Friends,


Well, I am full swing into Fall over here


Everywhere PUMPKINS-PUMPKINS and more PUMPKINS!


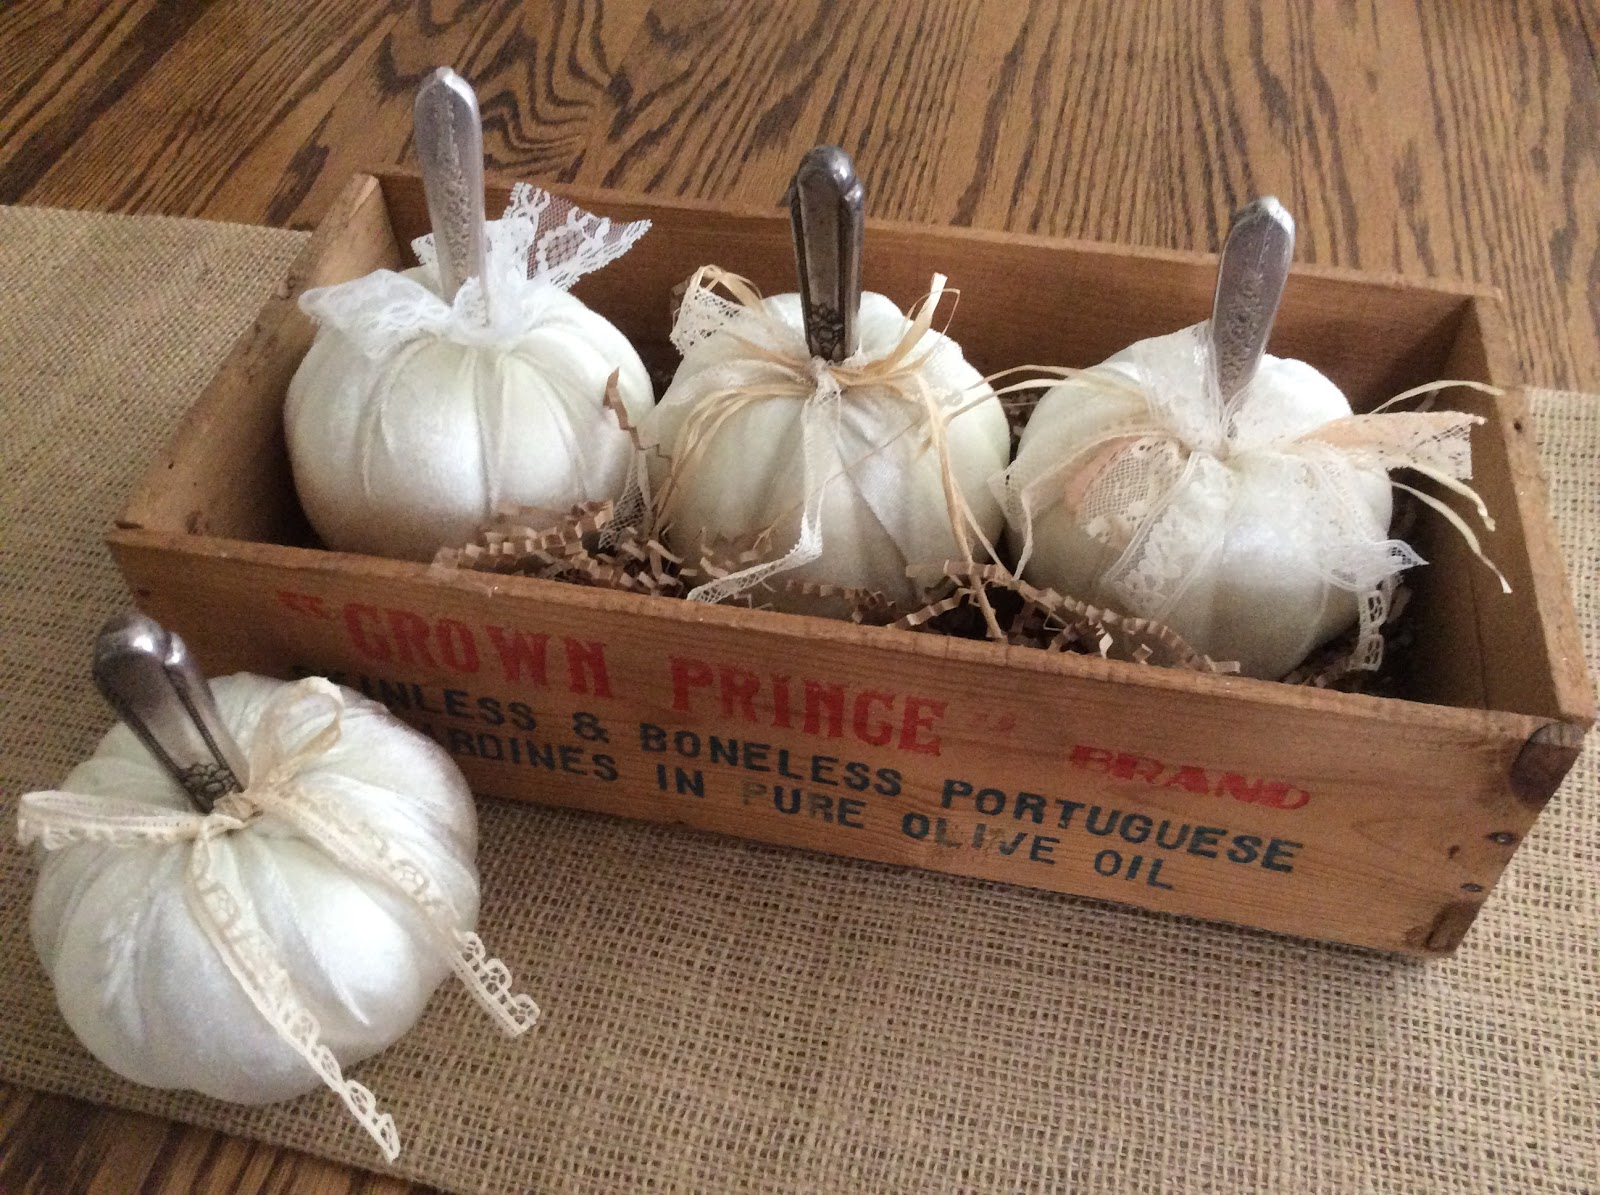
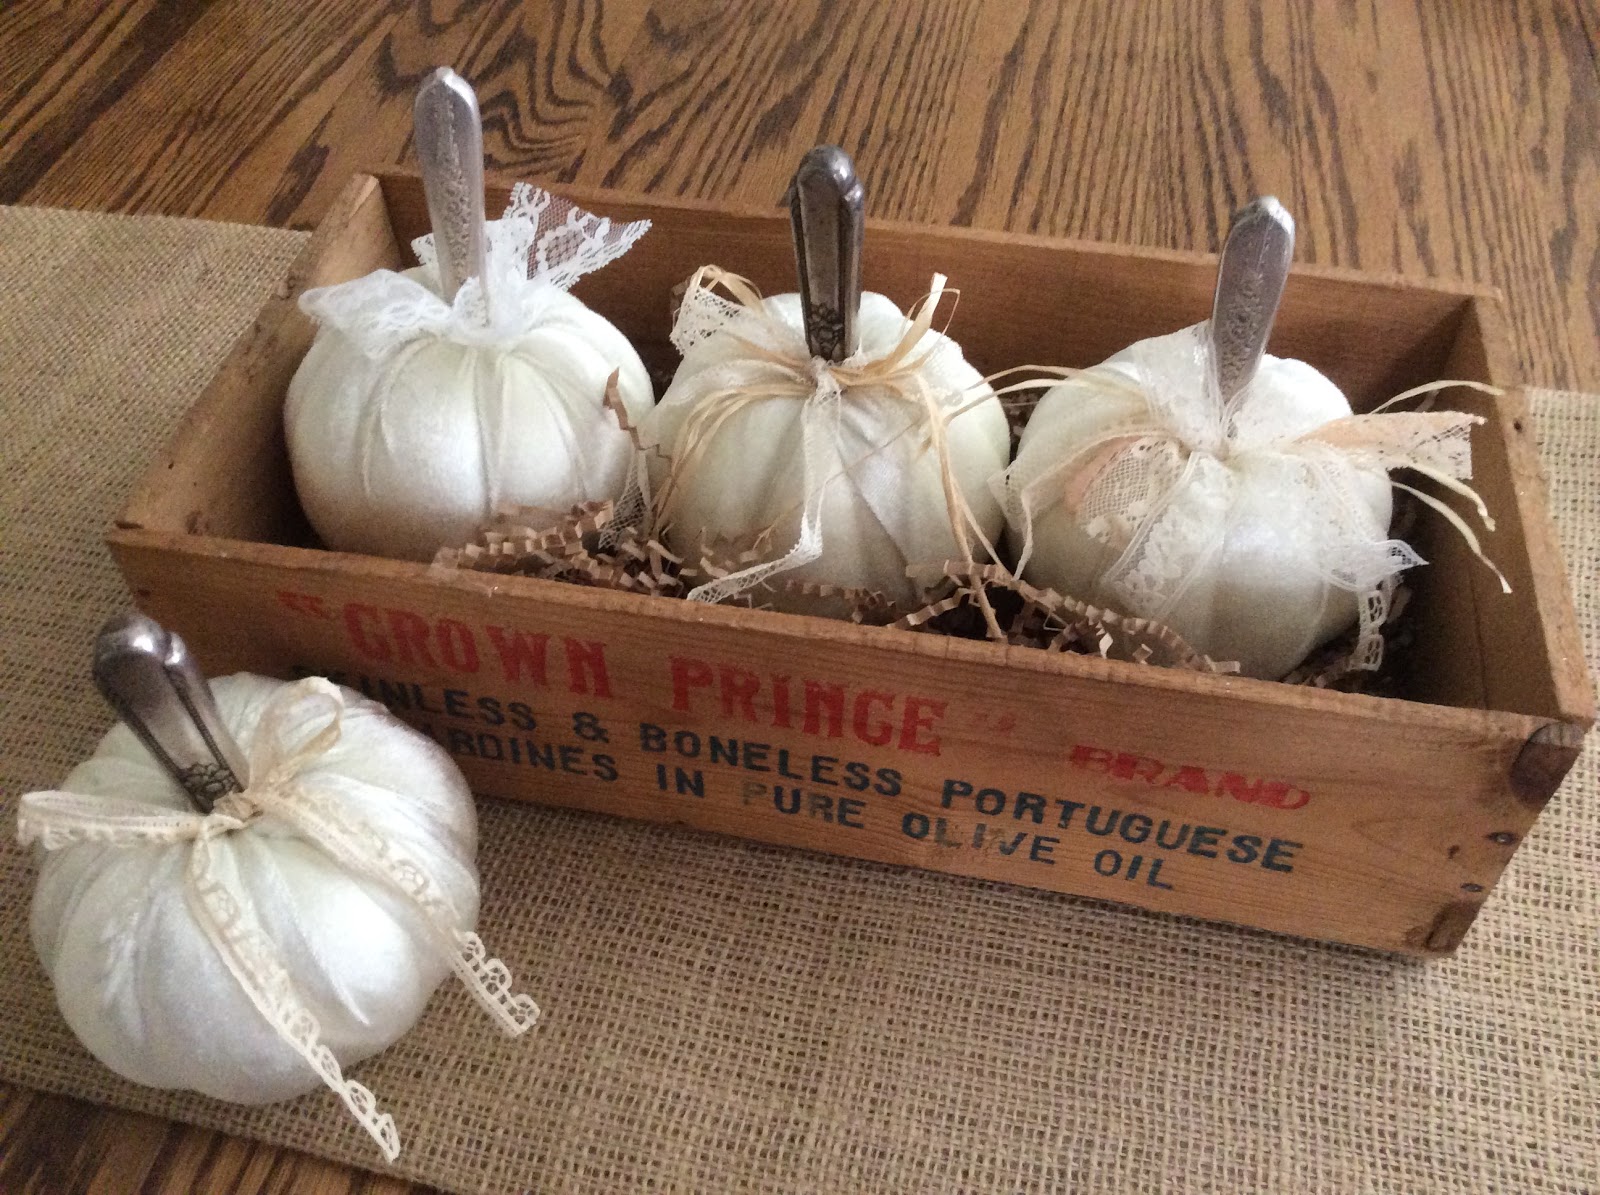
I found these creamy white pumpkins at the Dollar Tree.


These are so cute and easy to upcycle!


You can find these type of pumpkins everywhere.


 You may already have some at home that need a change.


First I pulled out the stem- saved it of course-


Tucked the cloth back into the hole with scissors.


I make a lot of different crafts with silverware.


It seems like I don't use the knives very often.


 Mr. FreshVintage cut them for me. He's the Best!


There were enough in my stash to use for pumpkin stems.


Just a little hot glue and some vintage lace!


You can see how easy it was to make.


Thank you so much for visiting!


I hope you have a blessed week-

xo Lisa S


Monday, September 2, 2019

Upcycled Vintage Wood Tray with Silverware Handles

Hi Friends!
 
I found this tray while Thrifting-


I liked the shape and size.
 
I thought I might paint the tray, but after a little sanding
 
I decided to just stain the tray darker.


I sanded all sides and removed the old felt pads.


The inside of the tray had scrapes and marks that were

easily removed.


My favorite stain as you may know is BRIWAX in Dark Brown.

 
It's so easy to use, one step and done.


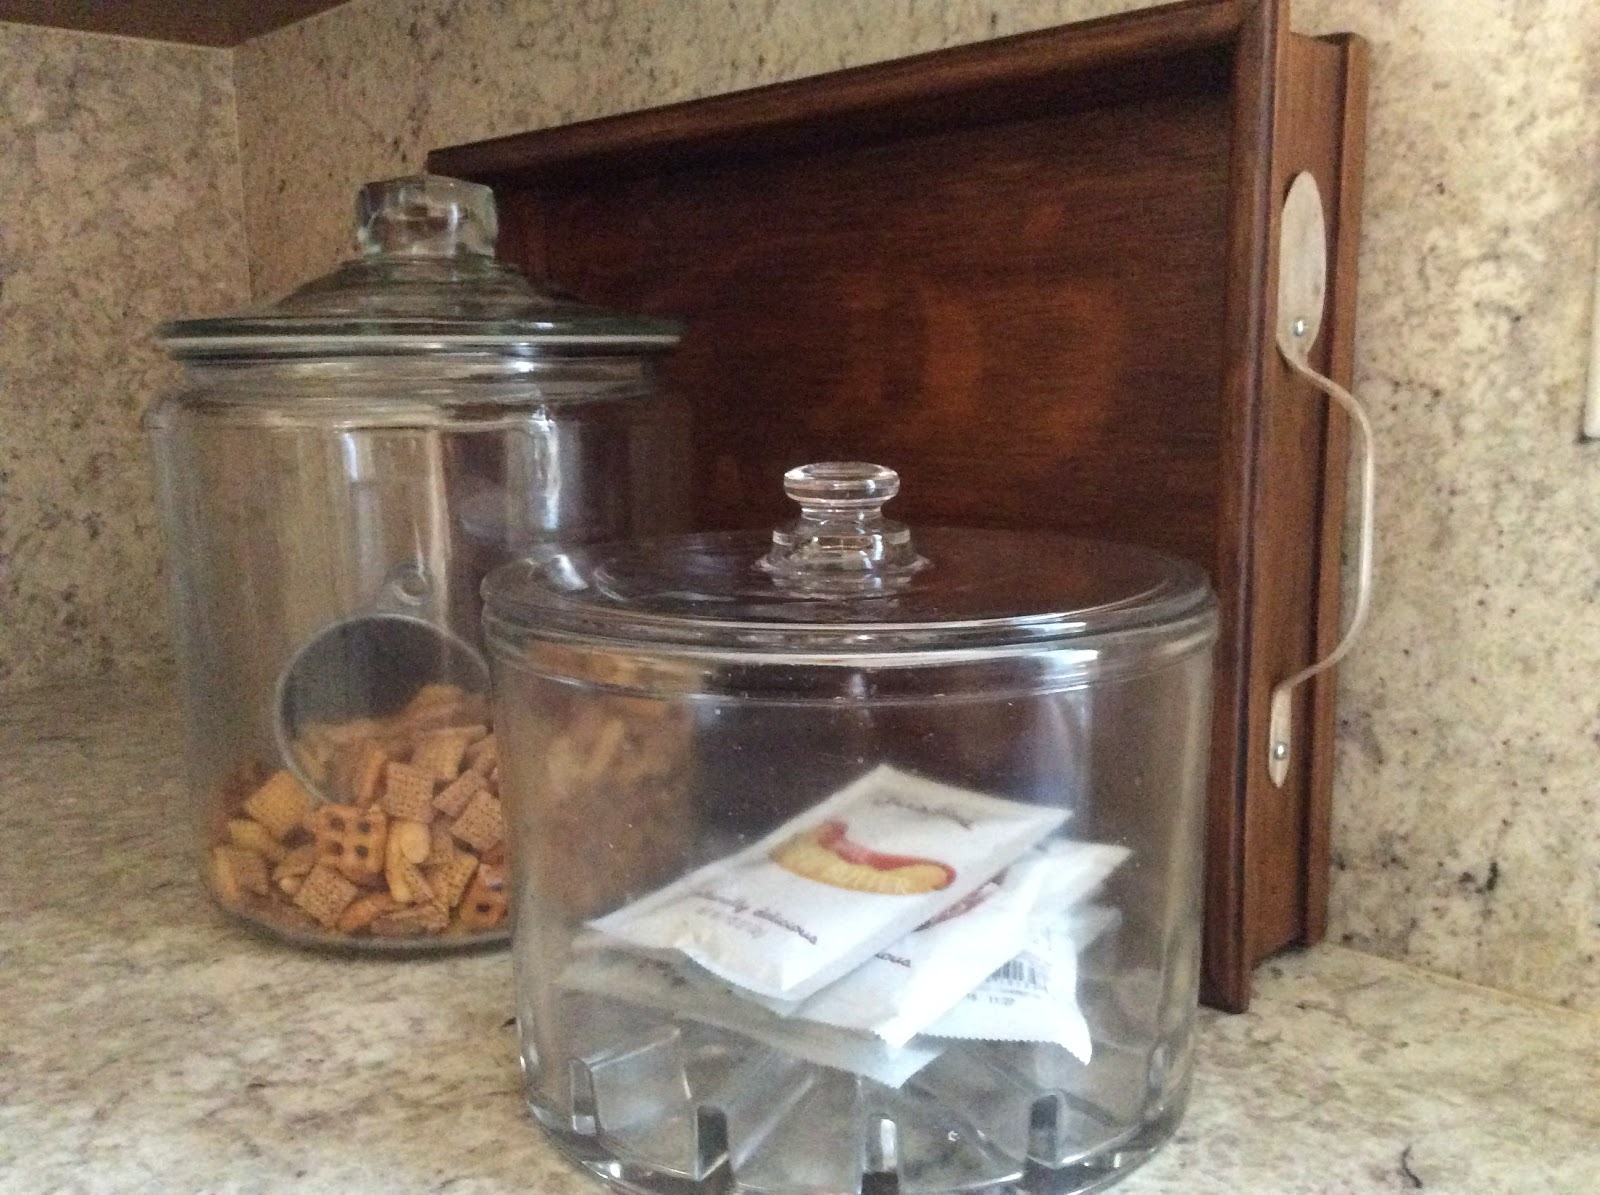
These long handled Iced Tea spoons will be perfect handles for the tray.
 
 
I asked my son to smash them for me on his hydraulic press.
 
 
It's easier than pounding, but pounding with a mallet works fine too!


Tea spoons are thin and can be bent with fliers.
 
 
Then I drilled holes in the handle end and base of spoon end


 so I could attach to tray.


This is a view to show the shape of the handles.


I found the shortest wood screws we had.
 
 
Then marked where the handles will be on the side.
 
 
There was just enough room.
 
 
Make your starter holes. I used a Yankee drill.
 
 
I had to be very careful not to drill all the way through to the other side.


I have the flat portion of the spoon facing to the right on both sides.
 
 
It looks more balanced that way.
 
 
On the underside I added new felt pads for a finished look.


You can never have too many trays!
 
 
Am I right?
 
 
They are great for keeping clutter neat and tidy-


I appreciate you stopping by today.
 
 
I hope you have a wonderful week.
 
xo Lisa S


Turmeric Sun Prints for Notecards

Hello there! The weather is still warm where I live. It's more like summer than fall but I can deal with it. I thought I could use these...