Showing posts with label Mothers' Day. Show all posts

Thursday, June 11, 2026

Vintage Linen Tissue Pouch


Hello !

I had a day off work last week 

so we went to a local Flea Market.

We had a good time walking around, enjoying

a beautiful sunny day.

I picked up a few things.

 I  found this pretty little embroidered doily.


It looked like the perfect size for a tissue pouch.


I made a paper pattern.


Then cut a piece of fusible lining.

I cut a piece of fabric


I ironed the lining  to the fabric back


and folded and ironed over the raw edge.


Pinned piece to the doily.


Top stitched to doily.


Folded up the sides.

Then stitched the sides.


Tucked inside the tissue pack.


The raw edges from  the doily show but I don't mind.

I used a small piece of Velcro for a closure.


This will help the Kleenex package stay together in my purse.


Thanks for the visit!

xo Lisa S


Thursday, May 28, 2026

Make your own Bees Wax Wraps

Hi friends!

Have you ever thought about making Bees Wax Wraps ?

These reusable food wraps are a great alternative to plastic wrap.


To make your own Bees Wax Wraps-

look through your fabric scraps.

You will want to use 100% cotton fabric,

approximately 1/2 yard total for this recipe


          If you don't have and scraps  

     of fabric, the Dollar Tree has some of the cutest prints!


Wash and dry your fabric-

Iron if you like- and decide what size 

you would like to make your wraps.

Cut your circles or squares.


I decided to cut my fabric first and then

cut the edges with my pinking shears.

The picking shears are optional

 but it keeps the edges from fraying.


Most people cut the wraps after they are waxed

but I did not want to ruin my scissors.

We will see if this works.


I cut a few squares not knowing how many I would

be able to wax with this recipe.


I did not want to make a huge mess so I used a disposable

aluminum baking pan from the Dollar Tree


I have my own version of a double broiler.

It has worked well for candles and salves.

The saucepan is filled half way with water and the

 stainless steel bowl

sits on top.


Recipe for wraps :


Bees Wax Pellets   1/2 cup
 (I used a bar and measured in ounces)


First let the wax melt on low heat, then add the oil,

then add the Pine Rosen last.


Pine Rosen  3 TBSP.

(This helps the wraps to keep there shape)

Some say this ingredient is optional.

Note: Pine is a common allergen, and needs to be disclosed to 
anyone you may share your wraps with.


Jojoba Oil  2 tsp.
( The oil keeps the wraps pliable)

It is food safe and will not go rancid 


A brush that will be only used for bees wax


This was so messy and fast moving, I was unable 

to take any pictures of  the next steps.

I laid my squares in the tray and 'painted the cloth with the wax.

It cooled fast, I then lifted the edge and pulled up the pieces and 

let them dry on a cardboard box.


This recipe was used to complete:

3 - 7'' squares
2- 10'' squares
1- 15'' square


I was happy with the way the wraps turned out.


This fabric was from a vintage table cloth.

It was my favorite.


Wraps can last for years.

Easy to clean with a little soap and water.

Hang to dry.

If the wraps leave a sticky residue on your hands it can be removed

with rubbing alcohol or hand sanitizer.


Note:

 Do NOT use in the microwave and be careful near a hot stove!


I prefer to use them over a bowl, but food can be wrapped up

like a small gift.

Wouldn't this be a nice way to present your

homemade sourdough bread to a friend?


Have a wonderful week!

XO Lisa S

Thursday, May 21, 2026

Tea Cup Bird Feeder and Gift Tag


Hi there,

Let's spend some time in the garden.

I wanted  to make a little bird feeder.

You have seen these Teacup feeders many times before...I know....

I want to fill it a little differently.

We will start with a tea cup or mug-

This is a great way to use a chipped or mismatched cup.


It's easy to find tea cups here and there.

I used GOOP to adhere the cup to the saucer.


I purchased a package of Wild Bird Suet at Dollar Tree.

I plan to fill my tea cup and see what happens next.

The ingredients are corn, rendered beef suet, oats,

roasted peanuts and soy oil.


It's soft and moist like chunky peanut butter or brown sugar.


You can make your own with coconut oil and bird seed.


Birds love bird seed but I find it very messy !

I'm going to try the suet, I want to see if it lasts a little longer

than the seed.

I broke it up in a bowl, then repacked it into the tea cup.


Looked around the garden and found a stick.

Press the stick into lower base of cup for a perch.


I used heavy duty wire to hang the feeder.


Here is the feeder hanging in the tree.


Another option would be ...

just the teacup without a saucer.

I used a scrap of chain to hang in my lemon tree.


I was able to fill 2 tea cups (3/4cup full ) with 1 -10 oz. package of suet.


Here are some teacups to print for gift tags !


Oh my goodness!

 I wanted to post before Mother's day and I was waiting to get

the perfect picture of birds visiting my tea cup feeder

and life got busy... but happy busy.

Have a blessed week!

xo Lisa S


Saturday, April 6, 2024

Seed Packet Junk Journal


Hi friends!

Spring is here and I can't

wait to be in the garden!

After planting I saved the empty seed packets.

I made these mini journals for a Garden Party Boutique.

They can be used for garden notes and thoughts or artwork.


The fronts of the packets have beautiful photographs.

I just cut the packets open on 3 sides.

Then I glued paper to the back and trimmed with scissors.


These are very simple to make and don't have 

many steps.


I used my sewing machine to stitch around the outside.

I like the look and it gives a little strength to the cover.

For the inside-

I save scrap paper- 

These half size sheets are the bottom half of my eBay labels.


I recycled this small spray bottle.

It worked so well that when it was empty

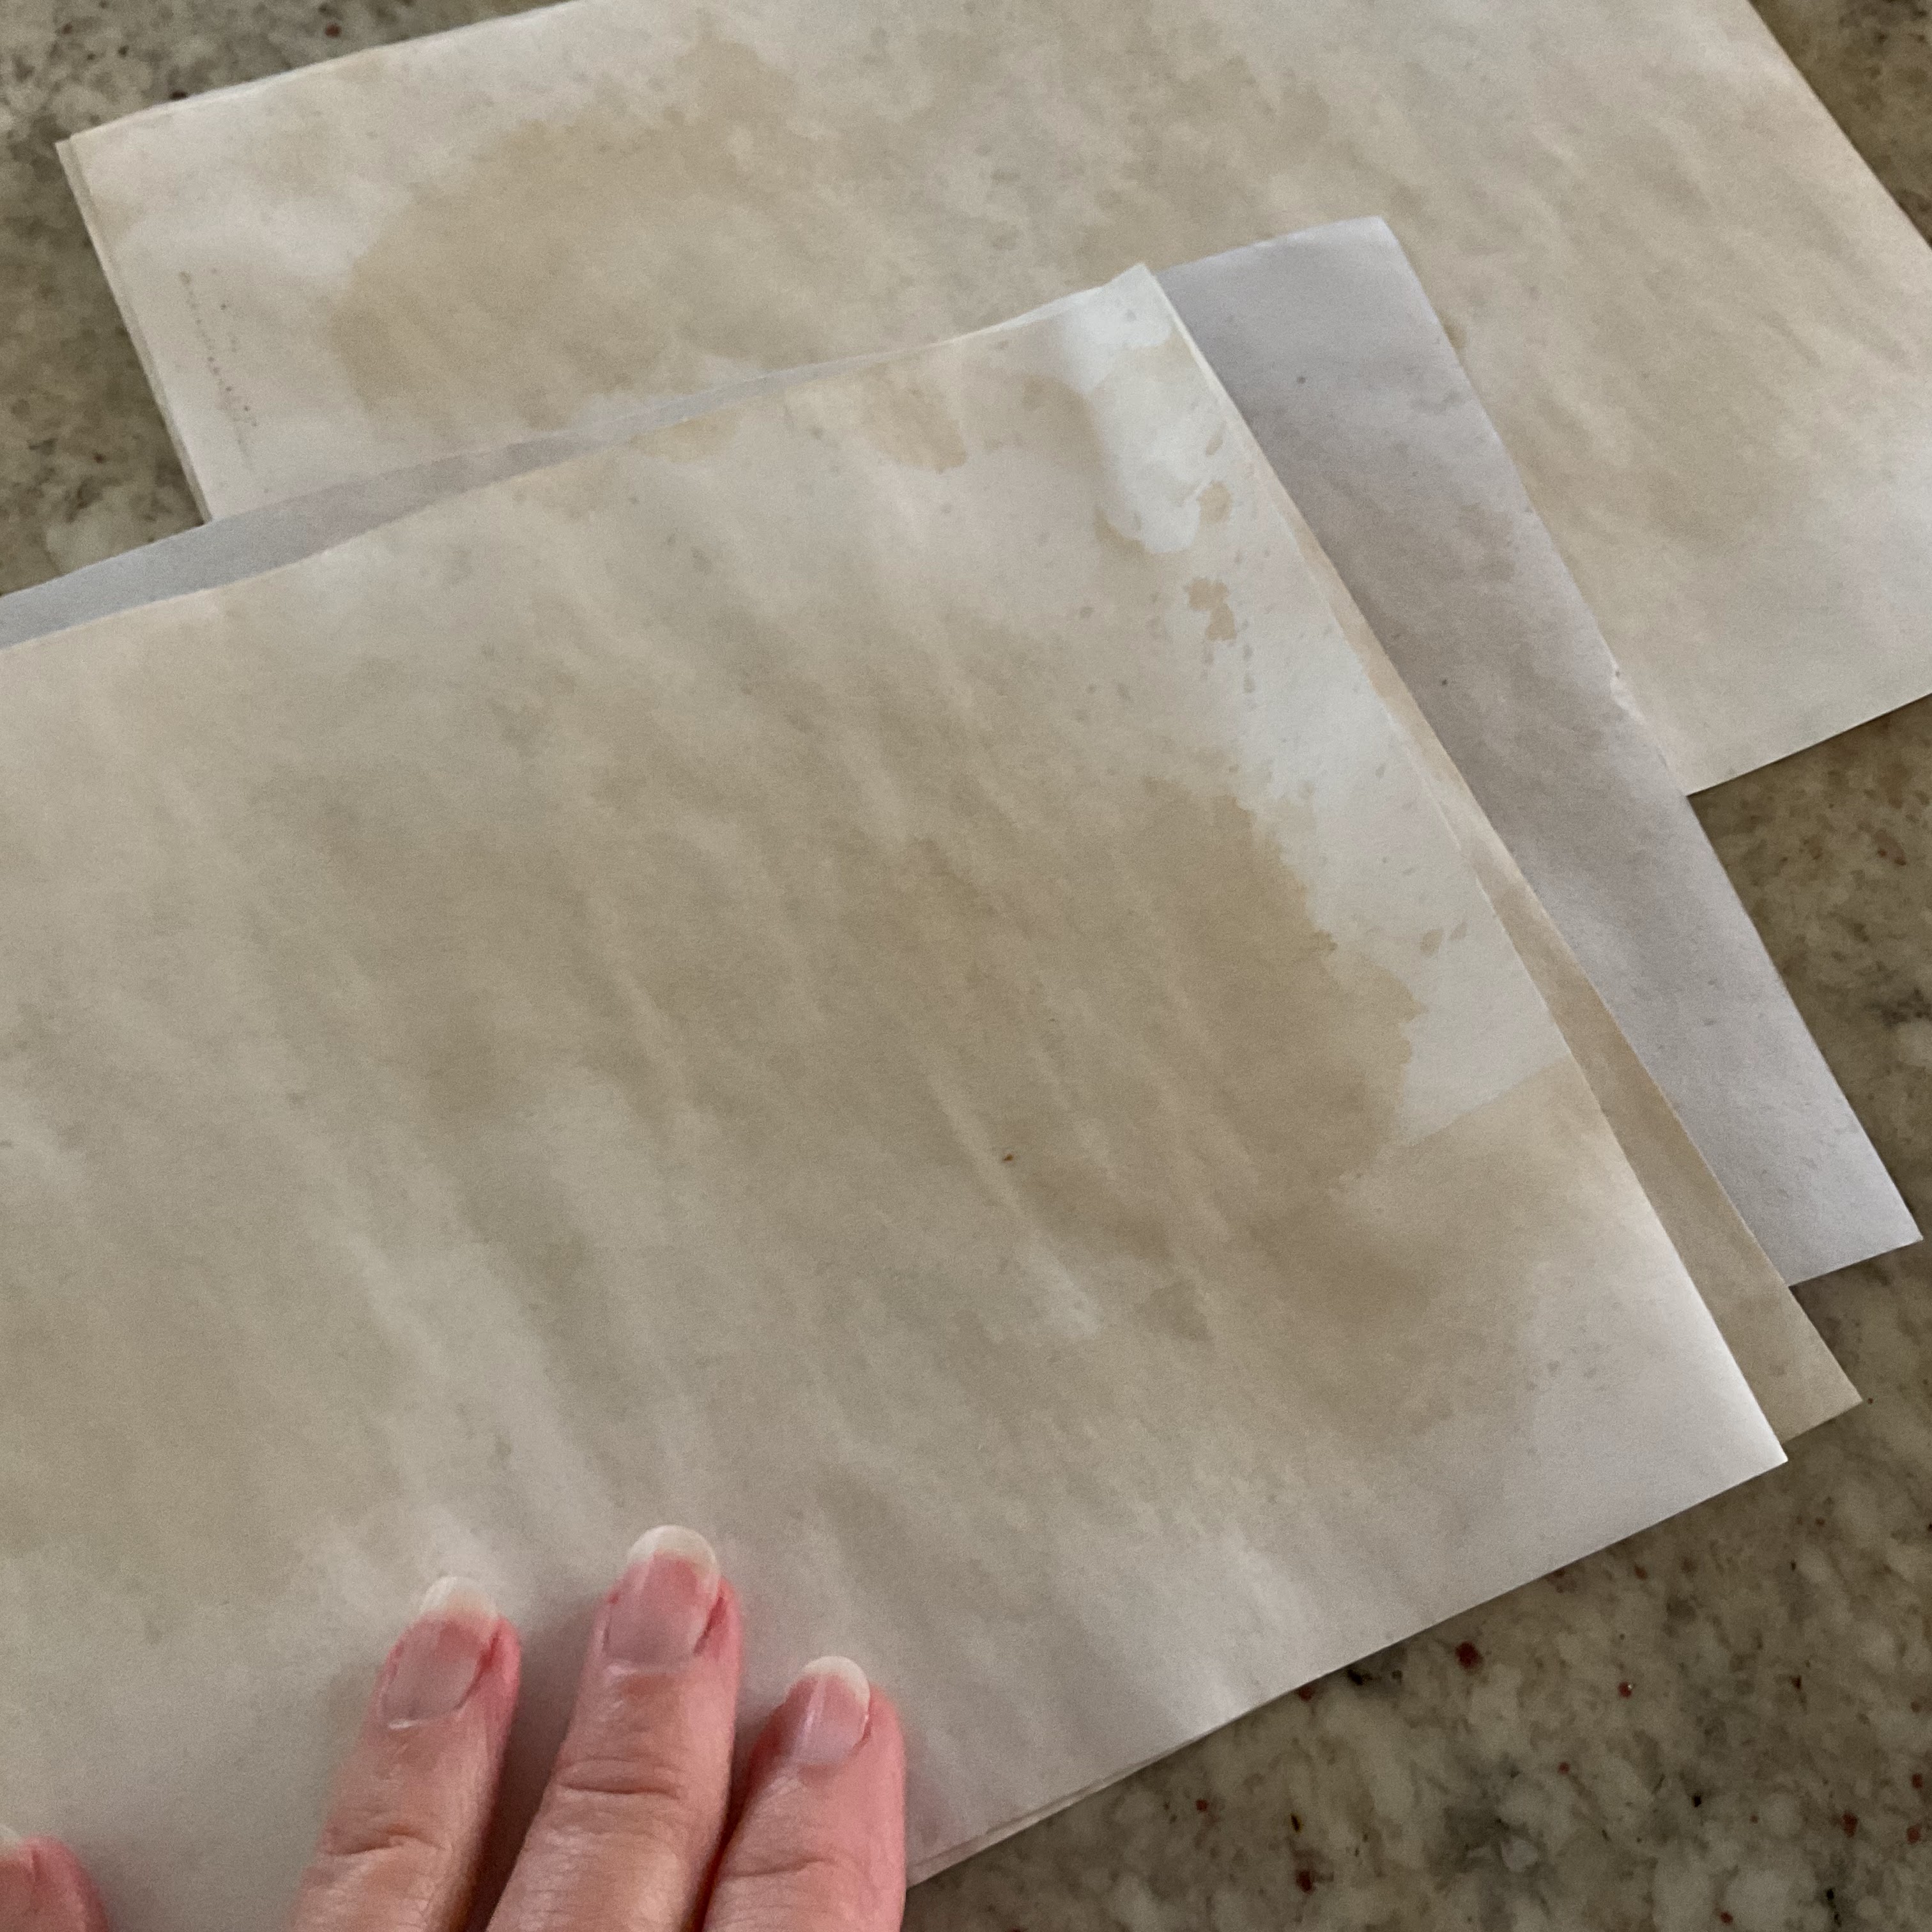
I saved it to fill with strong coffee to stain my paper!


I lay the paper out on a cookie sheet and spray each piece.

I leave them in the oven until the dry.

They dry with the heat from the pilot light in a gas oven.


I cut them in half and folded again.


This was just the right size for the seed packets.


I stacked 6 pages to make a single signature

 and sewed the stack to the cover.

Basic 3 hole method
.
 Start inside center hole, pull

thread outside, come back through top hole

go down to bottom hole go through

to the outside cover and back through

center and tie off.


Decorated some of the pages.


Tied closed with ribbon.


Stamped some pages-


Glued some 'belly bands'

inside to make a pocket.


Tucked some tiny glassine bags with seeds

in some pockets,


Then tied it closed with a scrap of ribbon.

I have a lot of old wrinkly seam binding.


I love the vintage look of this one-


I added a sunflower charm to the ribbon.


These have a Garden Fairy on the cover.


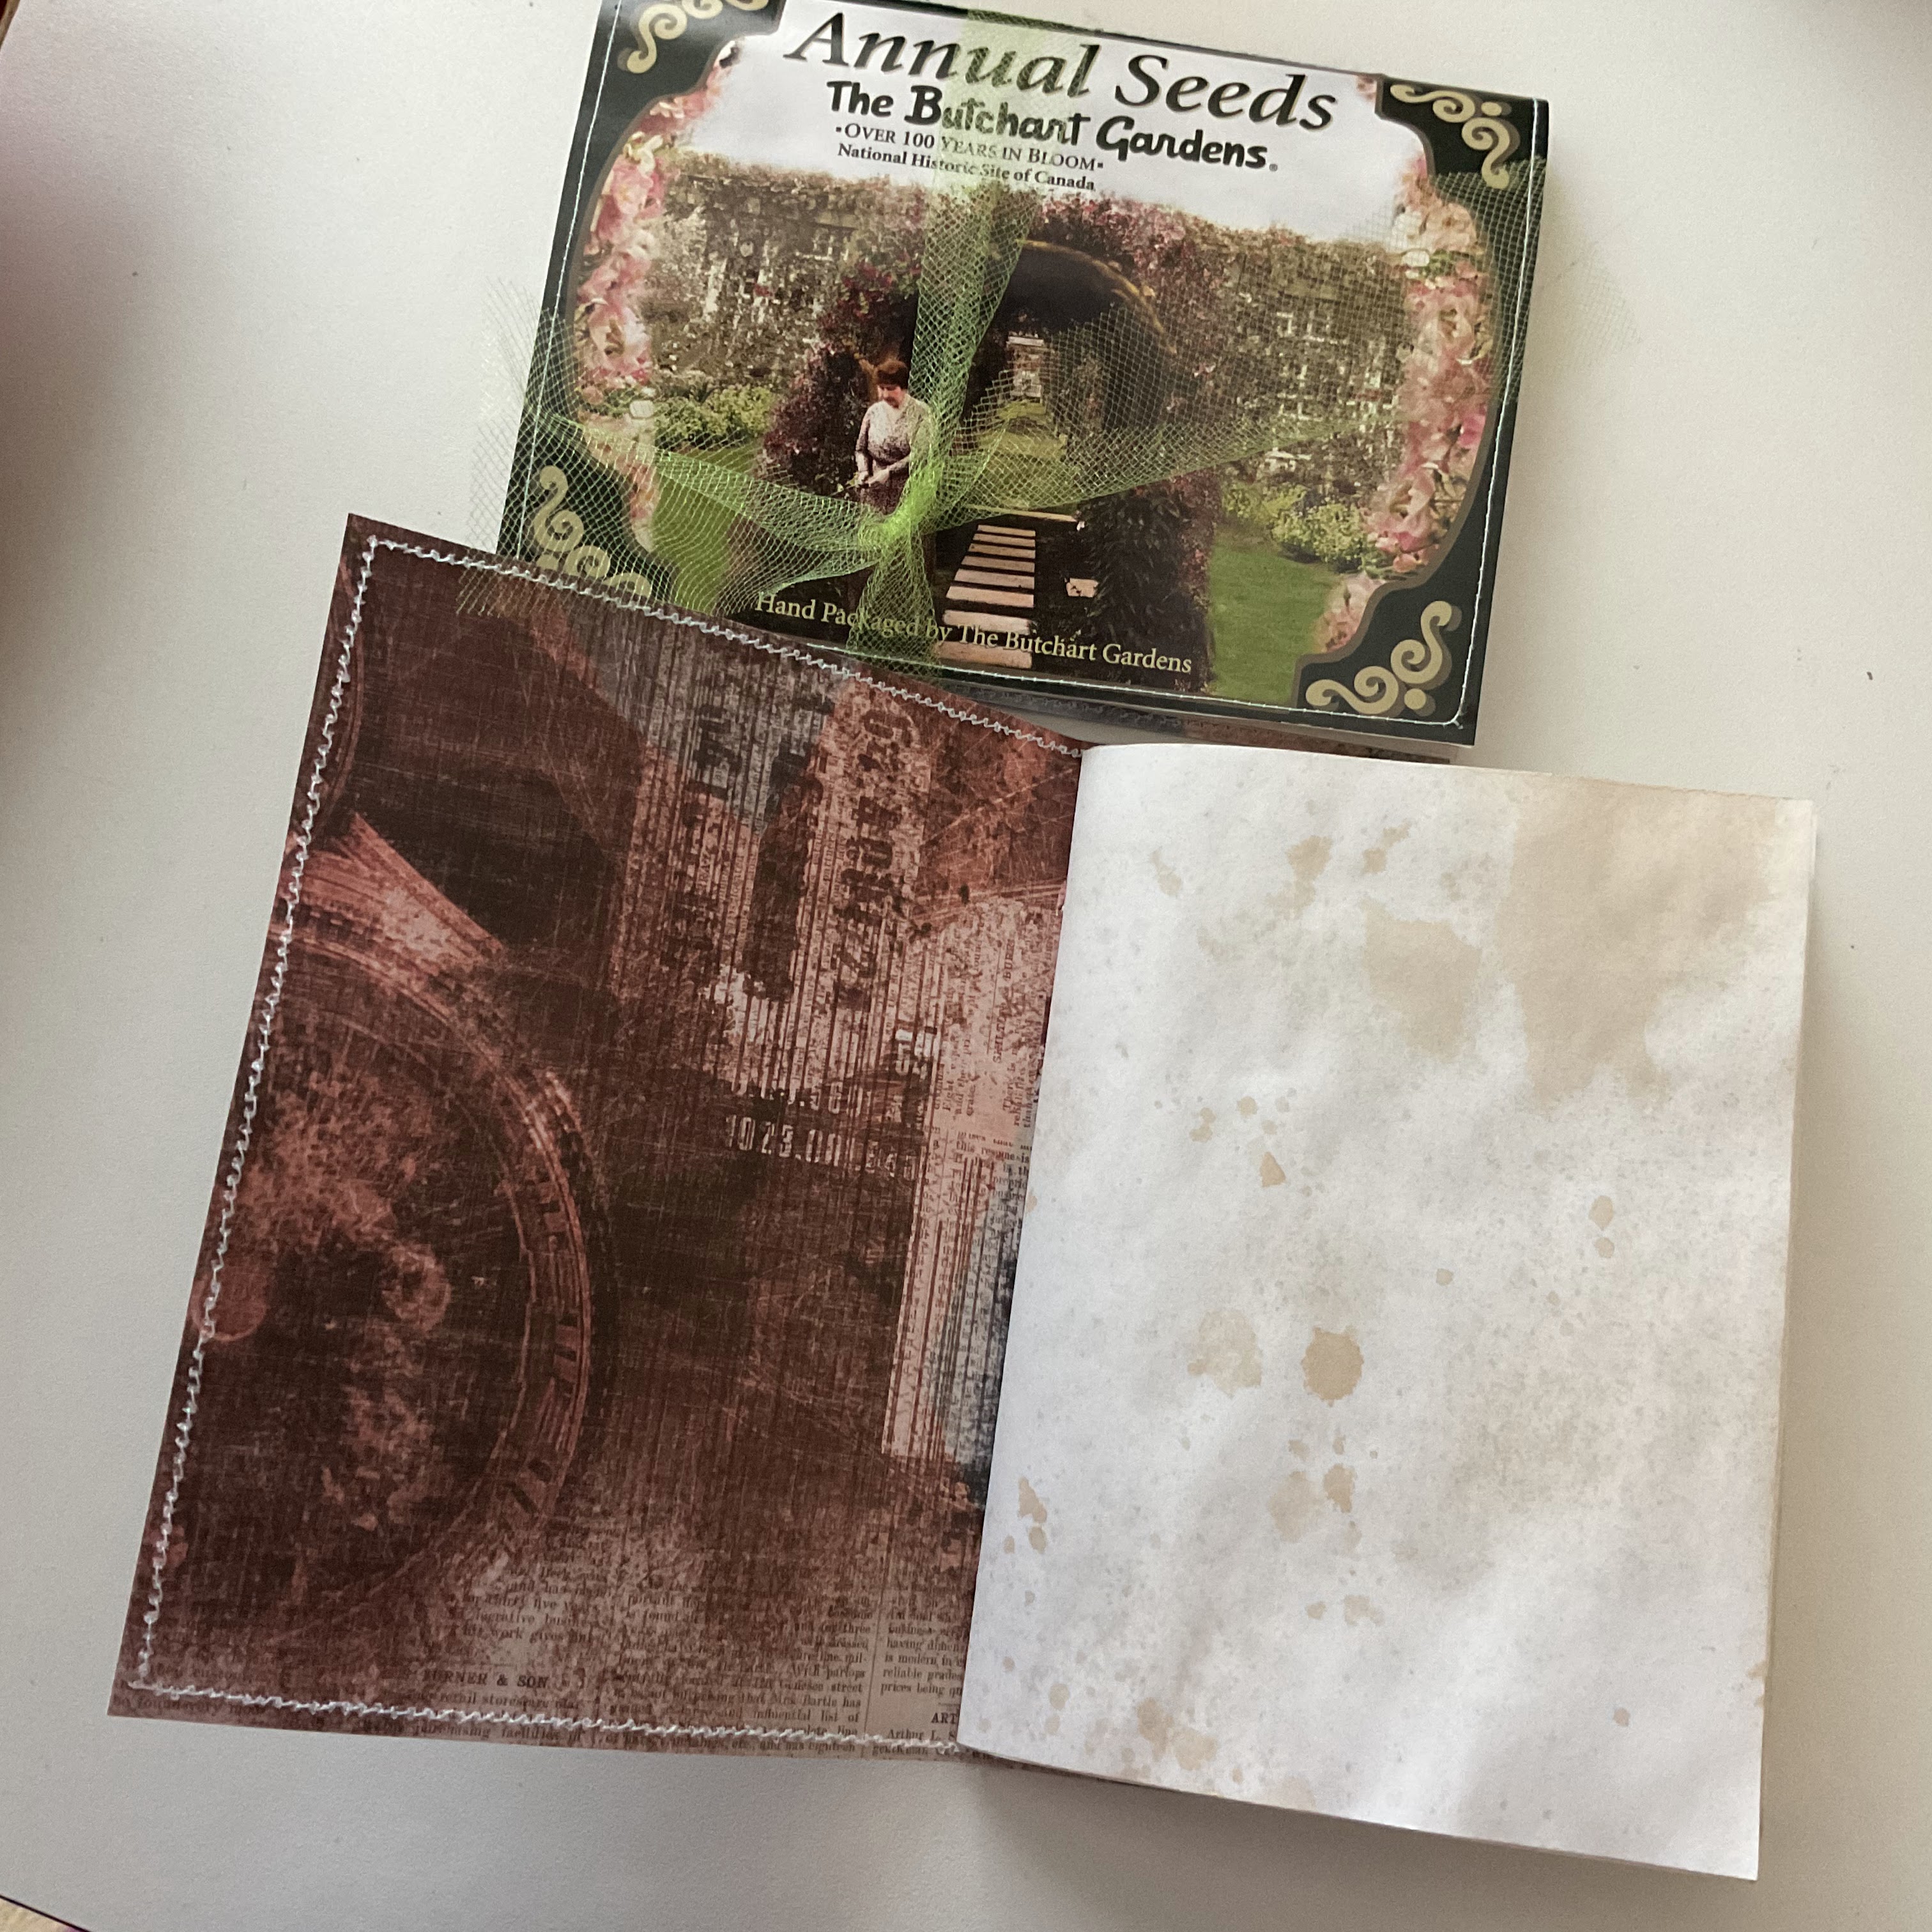
My sister gave me these large seed packets below from

a trip they took to Canada.

The packets were a thoughtful gift.

I planted the seeds and saved 

 the packaging.

They will make a special keepsake journal.


Here's a close up  of the garden

information.

The Butchart Gardens

My sister said it was a beautiful

 100+ year old

 English Garden.

Has anyone been there?


Thank you for being here today!

I appreciate the visit-

xo Lisa S

Just Getting Started- A little FALL Decor

Hi friends, I was at the Dollar tree  getting something else when I saw these Maple leaf stems. I know I could spend more and get better qua...