Sunday, March 31, 2019

Make a Picture Frame Lantern


Hi Everyone!

These type of lanterns have been around for a long time.

My friend Eileen gave me some frames.....

OH SO many frames....THANK YOU Eileen! I was trying to think of ways to use them-

I thought I would put together some lanterns for SPRING!

You can use any size frame.
 

4 same size- Wood Picture Frames with glass-

I used 5'' x 7''

8 Wood Coffee Stir Sticks-  opt. for window panes


Remove the glass for now and set aside.
 
Remove tabs or staples that hold in the glass.
 
I used wood filler to fill holes. It is optional and you might not need it.


Measure across your frame mark the inside center, use scissors to cut
 
your window pane pieces and use wood glue to hold in place.
 
Let dry-
 
At this point I should have painted my frames !
 
It would be a whole lot easier so let's say we did! 
 
Paint or stain inside and out.
 
 
Chalk Paint or Acrylic Craft paint or Spray Paint
 
will work just fine.
 
 
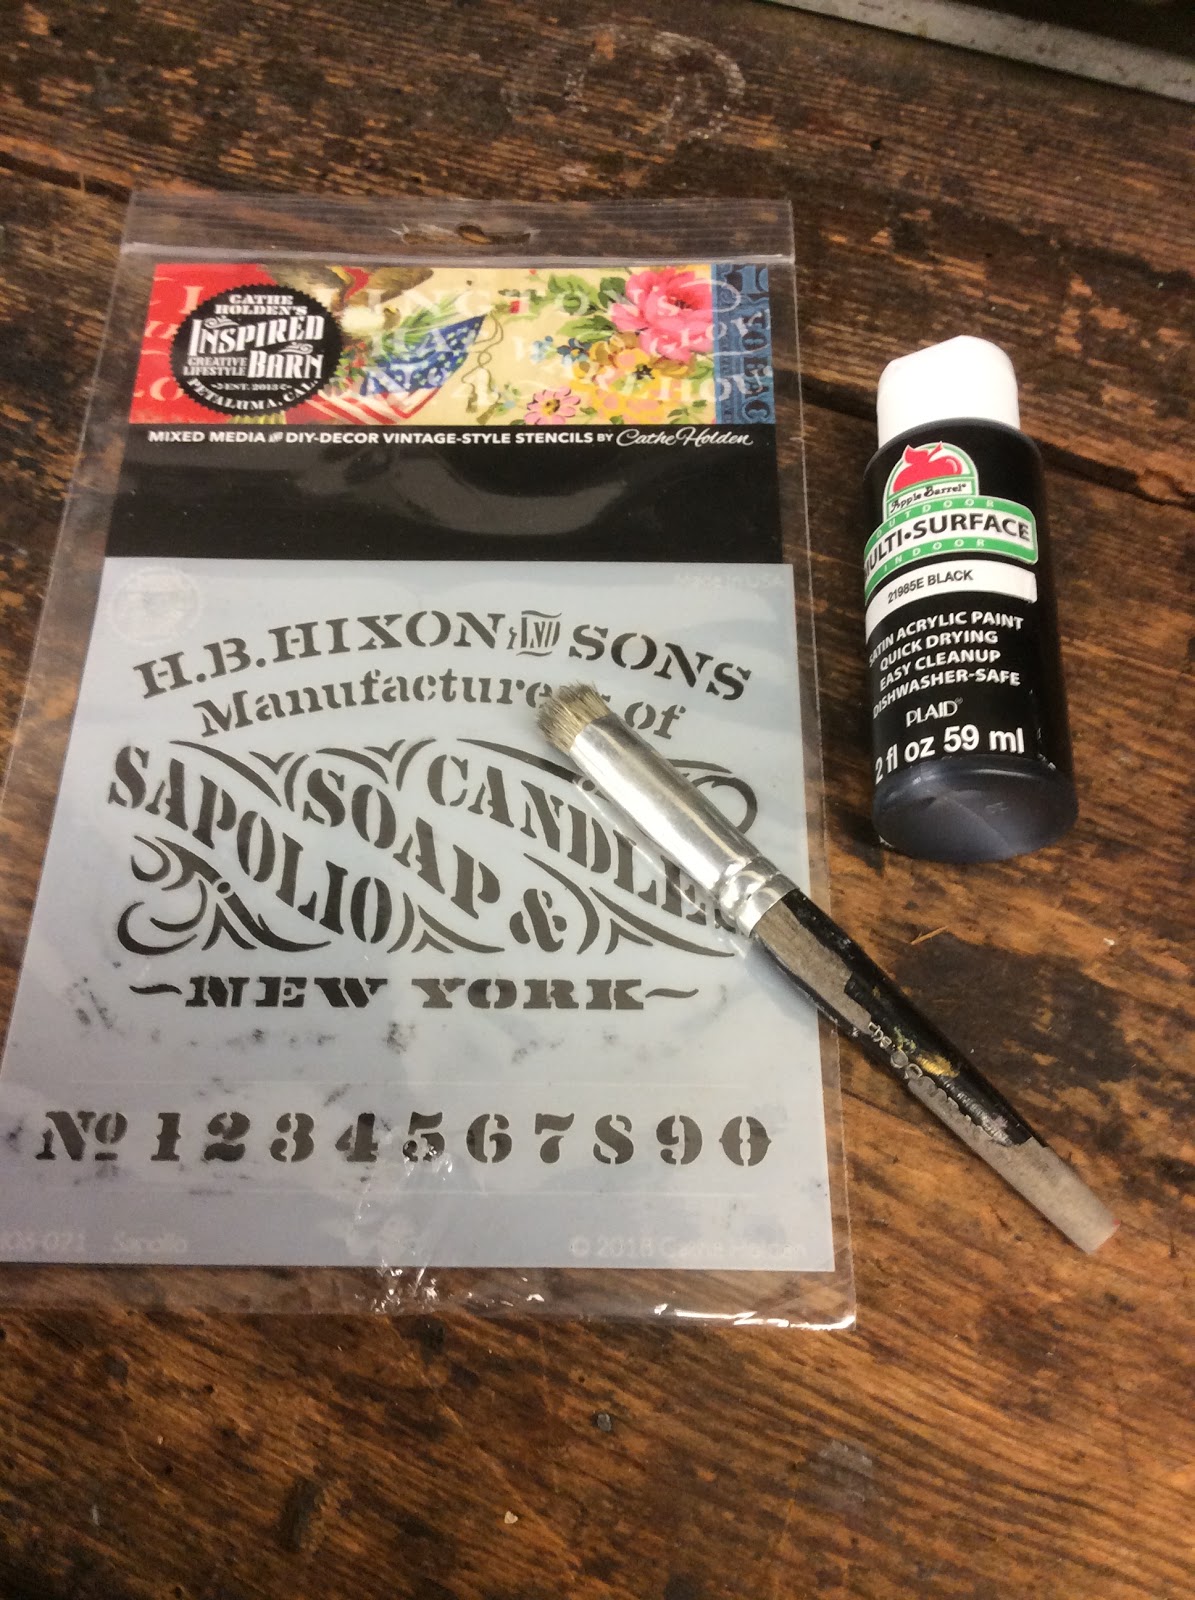
This is the glue and wood filler I used.
 
After your frames have dried, use E6000 to adhere the glass back to frame.
 
At the corners is all you need, it will need a couple hours at least 
 
before you go on. Check to make sure the glass is set.


Remember we are pretending the picture below is painted!
 
Use wood glue to secure sides and clamp in place.
 
 
These clamps came from the Dollar Tree and they worked pretty good !  
 
 
 Sides are done !
 
 For the top and bottom pieces you will need
 
2 pieces of scrap pallet wood  6 1/4 ''  x  5 1/2 ''     1/2' 'or so thick
 
and a smaller piece 3 1/4  '' x 4 1/4 '' to sit on top, I used the other smaller pieces
 
 
 1 1/4'' each glued to the underside of lid to keep it from sliding off.
 
 
Paint the base piece.
 
Glue the frames to the base.
 
I had this tin bucket and decided I would use the handle on my lantern.
 
I used pliers to pry off the side tab pieces and also used those.

 
I used small brads and nailed the pieces to the wood top.
 
 
Then painted the lid.


Here is a look at the underside of the lid.


 An inside view


I hope I inspired you to make a couple lanterns.
 
They are easy and fun to make! 
 
xo Lisa S


Sunday, March 24, 2019

Ikea Hack -MALA Paper Roll Holder


Have you ever bought something that you didn't even know you needed ?

Well I guess I do!  I hope I'm not the only one-

I saw this package at the Thrift Store.....
 

I did not even know what it was....but it was new....it was wood.....
 
and it was a dollar !


I looked it up online and thought I would give it a try.
 
You hear horror stories about putting IKEA products together, but honestly this was so easy
 
I did not have to look at the picture.


It comes with a tiny tool for the side pieces.

The other pieces slide easily in and out. It took 5 minuets.

It really looked great natural, it had a light sealed finish. I knew I would be staining or painting
 
the holder, so I used sandpaper to remove the finish.

 
The paper is easy to get on Amazon. It's about $15 for a 98 ft. roll.
 
That's a pretty good deal if you want to save your space from glue and paint.
 
 I did not have the paper roll from  IKEA that fits this holder so for now.....
 
 I found a roll of Postal Wrap made by Scott 3M, sometimes called Kraft Paper
 
at the Dollar Tree.
 
I asked Mr. Fresh Vintage if the roll could be cut with a saw.....


 He said- let's give it a try- and it worked!


 We measured the length of the dowel.
 
The other short end can be used for wrapping items to ship.


The paper fit!
 
This Kraft paper is thick and will hold up to paint and stain.
 
I will not have to change it very often.
 
The IKEA paper is thinner.


 The two lower side pieces easily slide in and out. The trays look like they are for pencils,

but they are not necessary to stabilize the holder.


 I decided I liked the holder without the trays.


I stained the top piece, dowel and cross piece.
 
Then painted the T shaped side pieces with Black Acrylic paint.
 
I used this stencil to add some small details.
 
 
6'' x 6''


 I keep this antique holder in the garage for paper towels!


It was my inspiration. I was going for a cast iron look-


I love that I can move it around easily! 


I added a bit of faux rust using cinnamon and glue on the screws.
 
 
Just like here!


Yes, I admit my projects are all over the place. I have a craft room...and the kitchen....
 
and in the garage I have my Dad's old drafting table that I love!
 
It's a great work area.
 
Do you have projects all over the place or do you work in one area only ?


Thank for letting me share my version of the IKEA- MALA with you today!
 
Overall I think it's a pretty good product to use for crafting even though it was originally
 
intended to be used for children.
 
 xo Lisa S


Saturday, March 16, 2019

Altered Easter Peeps Box

 
Hello my Peeps!
 
I know, but I could not resist.
 
Well when would I ever get to say that?
 
Today I bring you crafting and snacking!
 
Do you like PEEPS?  I have to admit I do not! I gave mine away to make this project.
 
I am sure you can find someone who will help you out and eat them :)


I used a small package. 


Here is a Vintage Post Card you can use.


It was the perfect size for the PEEP box.
 
I printed 4 on my cardstock. I made 2 boxes.
 
You will only need 2 postcards per ALTERED BOX.


Carefully cut your background piece.
 
Save the rest of the postcard for your first layer.
 
 
Use white glue to attach to box.


I used these colors below to blend into the background, top and side.


All printers are different try to match your postcard.


You can paint the white area on the box behind the top chick.
 
Your first 3 D layer should cover that area.


Used a straight edge to fold up 1/4'' at the bottom of postcard.


Add a few foam dots. 
 
 
Put glue only on that lower edge.
 
Set in front of background to give a 3D appearance.


 Cut the next layer 2 chicks and the nest.
 
Cut out the standing chick body ( no legs )
 
Cut out the egg shell.


Add foam dots to the back side.


These pieces will be the next layer.

 
You can add other embellishments.
 
I added a small bit of Spanish Moss and small cloth flowers.


On the second box,
 
I added some Vintage Baby Rick Rack to the edges.
 
 
I always pick these up thrifting when I find them!


Put it in my cubbie box -along with some other SPRING décor.
 
 
 Spring is coming and I can't wait!
 
I hope you have an awesome week- 
 
Thank you for visiting!
 
 
If you like this, here is one I made for
 
 
xo Lisa S


Faux Tin Tile Bunny

Hello My Friends!  Most of the Craft and Dollar Stores have some chunky cut outs for Spring! There are so many ways to decorate these. I use...