Thursday, November 18, 2021

Repurposed Spice Tins for Thanksgiving


Hi Friends,

Well it's almost Thanksgiving and I was thinking

today- YES ! There's time to sneak in another project-

It only took about 15 min.


I used some tins from my collection.

If you don't have a tin -no problem-

How about a spool of thread or alphabet blocks or scrap of wood.


Use any picture or card you like-

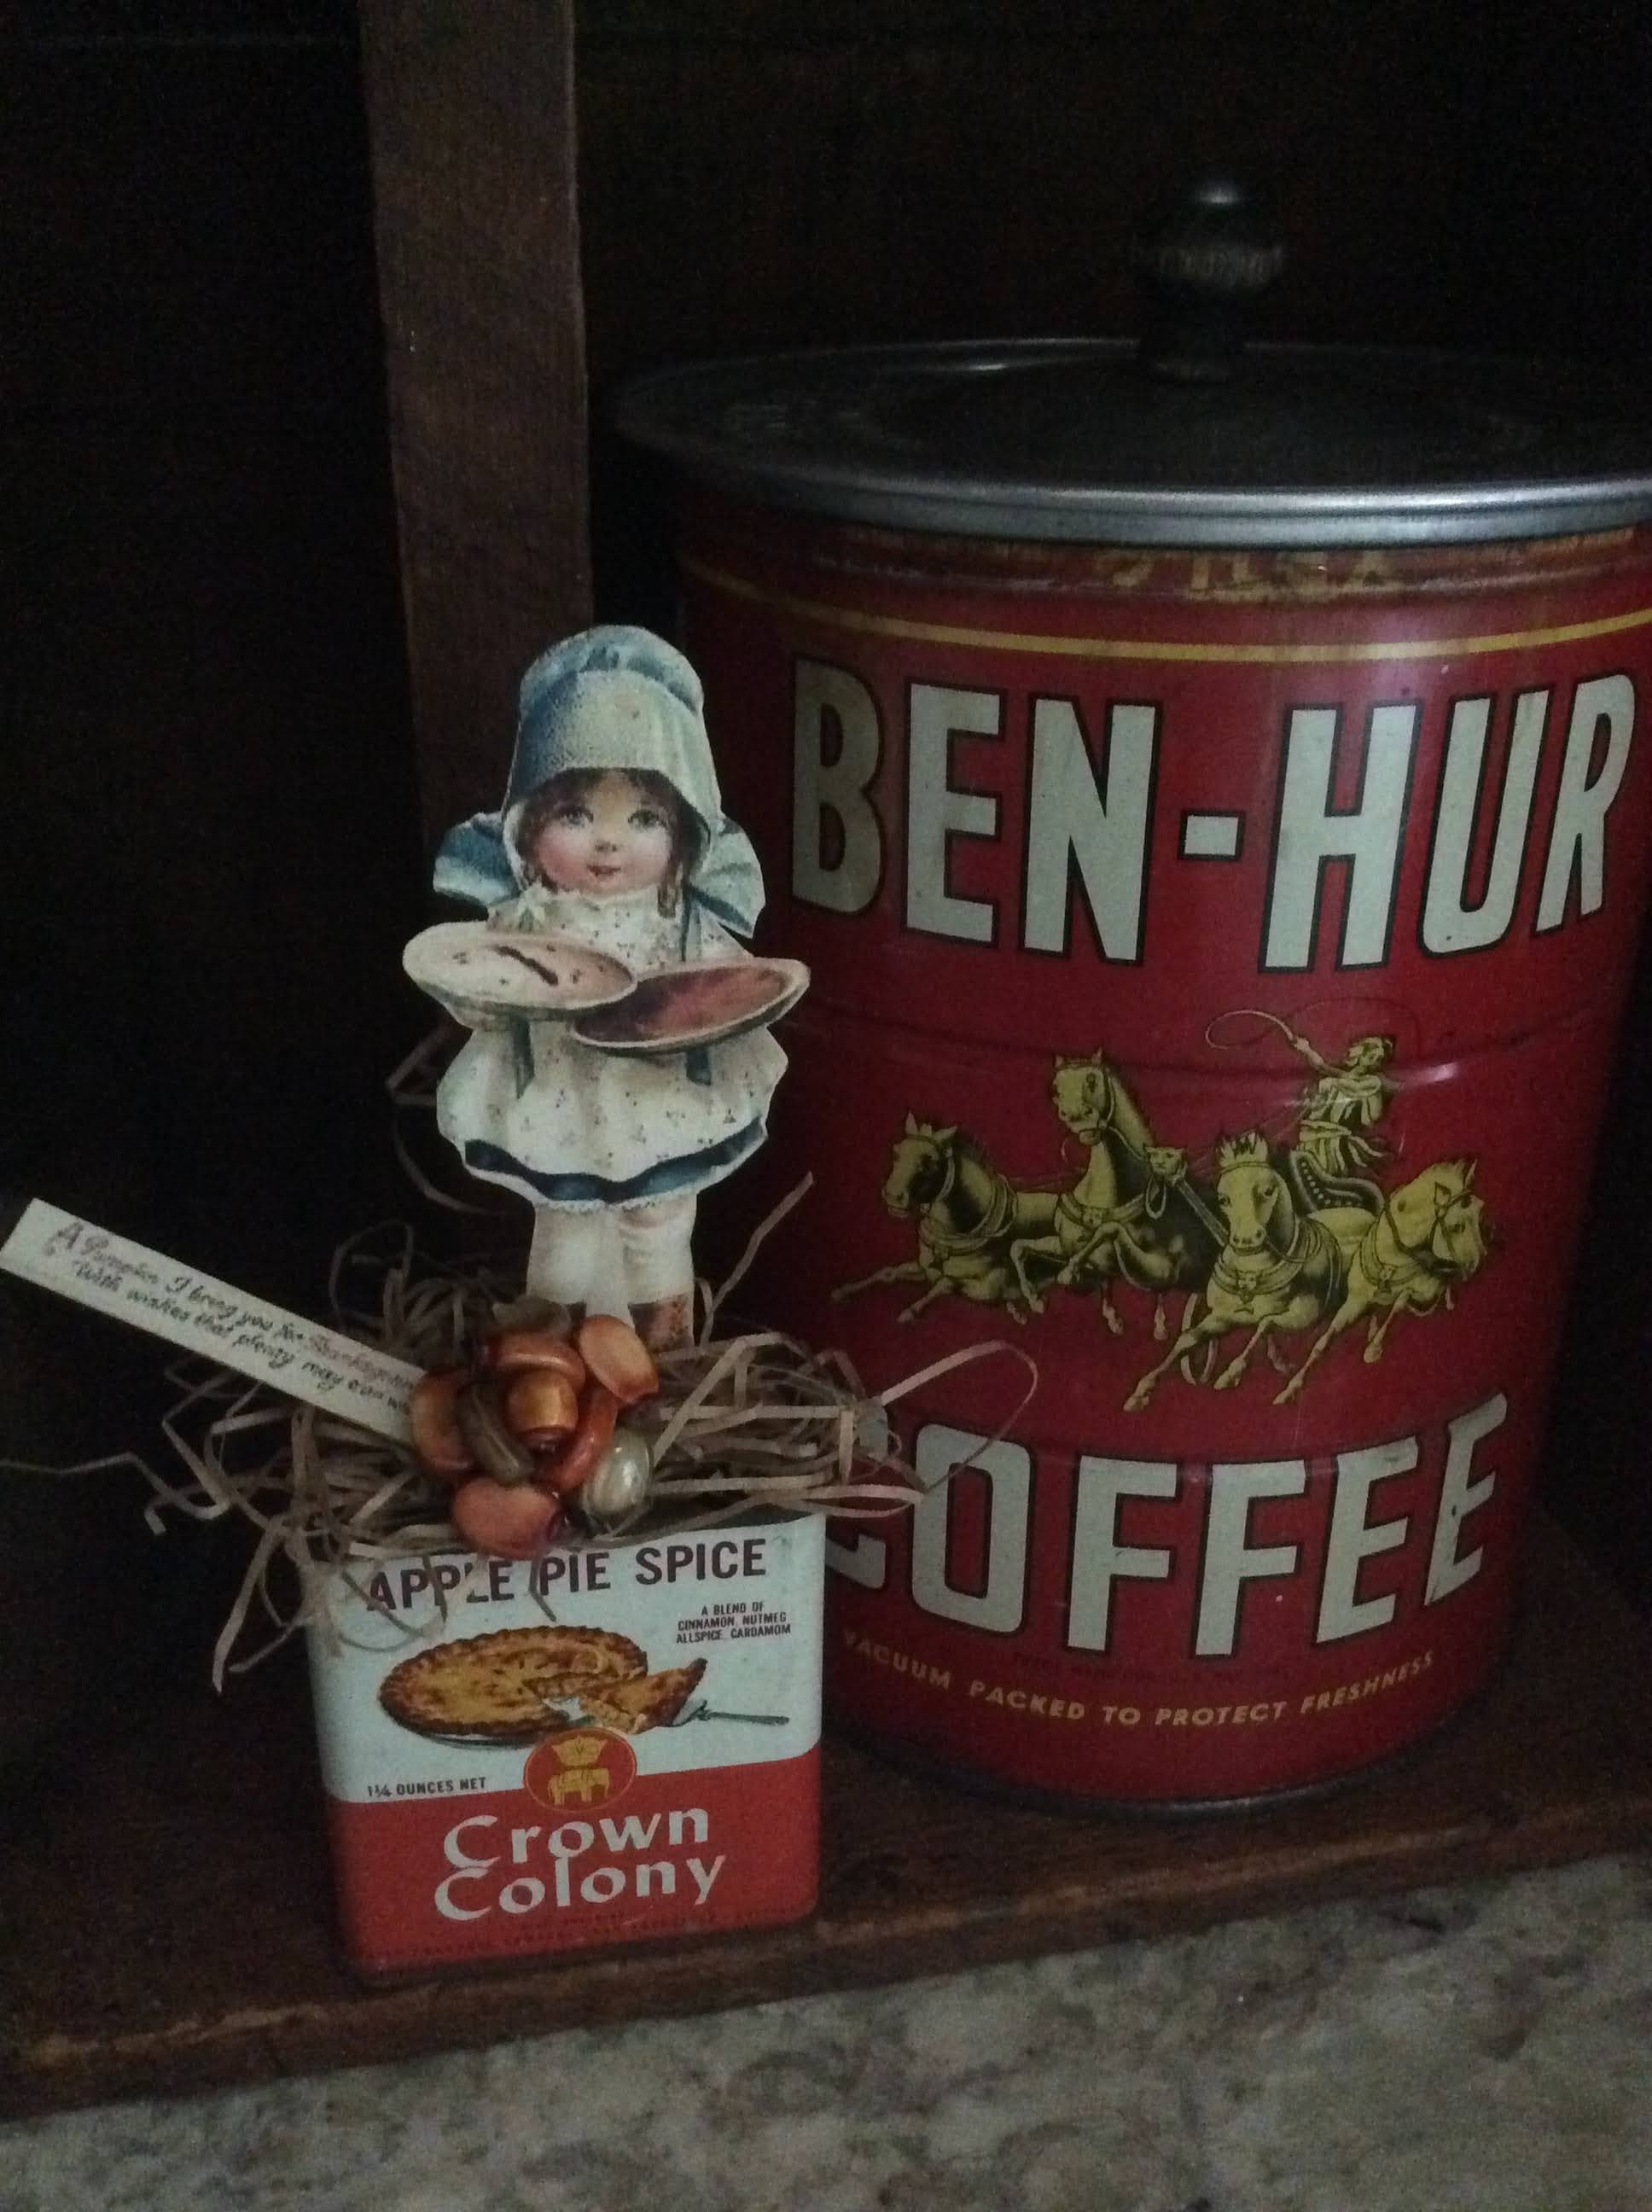
Here are the two that I used.


Save to your computer, resize and print.


I picked these two tins.

The tops have a slide opening and shaker holes.

I didn't use any glue on tin,

but you can use hot glue if you wish.


Glued image to cardstock  (aka- used file folder)

Carefully cut out image.


Save the sentiments-


I used glue to attach a toothpick to the back,

then covered toothpick with a scrap of cardstock.


Used Distressing Ink  in Antique Linen on edges.


A little pinch of paper shred on top of tin-


The toothpick paper doll was able to stand

using one of the holes on top of the tin.


Went to my cigar box filled with single vintage earrings.

Every girl should have such a box :) 

You just never know when you need a little bling!


Here's another post about things to make with earrings.

Here and more here and here too!


Lil Miss Baker gets a pumpkin colored jewel!


I picked 'Topaz' for the turkey since it's Novembers' birthstone.

Happy Birthday to November babies like me!


Hiding on a kitchen shelf-


I hope you enjoyed these paper cut outs!

Thank you so much for visiting.

Happy Thanksgiving to you-

xo Lisa S


These Christmas tins below are going

to my Craft Fair tomorrow :)

sold


sold            sold          sold


Monday, November 8, 2021

Make a Mini Christmas Scroll Ornament- Gift Tag


Hello my friend!


These mini Christmas Scroll Ornaments

are so quick and easy to make.

They can also be used as gift tags.


You just need a couple of things you probably

have around the house.


On the scroll

I have chosen this Bible verse-

Isaiah 9:6 

to announce the birth of Jesus.


Of course you can pick another sentiment for your scroll

and use a font you love, that's fine!


Pin Later for last minute gift!


Click to save and print


White copy paper works just fine.


You can use card stock-

I will show both versions.


Cut your paper into individual strips.


The strips are approximately 2 1/4'' wide by 8 1/2'' long 


I went over my paper with a used teabag-

so the paper look aged.


You will need to gather some small diameter

sticks from the yard-


or dowel, toothpicks,

even cinnamon bark sticks!


You need 2 sticks for each scroll, about 3'' long.


You will need regular white glue

to attach scroll to the stick.

The cinnamon sticks sometimes have an overlap

where you can tuck in that edge.

If it does, use one stick like this at the bottom of scroll.

It looks nice if it is hanging open on the tree.


Glue the stick across the top edge-

Roll the scroll down at the top and glue again.


Cut a piece of ribbon or twine about 12''.


Roll the top to the middle and roll the bottom up to the middle

and tie in place.


This same piece of twine will be used

as the ornaments hanger.


Add a little name tag to your scroll.

The scrolls with the 

cinnamon sticks are my favorite because they smell so good.

Here are both versions, cardstock and cinnamon on the left 

and white copy paper and sticks on the right.


Pinch the paper into the shape you like.


Too early for a tree.....but I had a wreath at hand :)

So I tucked in among the other ornaments.


Went out in the yard and hung the ornament in the Lavender.


They would look good on a natural themed Christmas tree.


When the scrolls are all rolled up and tagged- they could be given

to your guests as they leave your Thanksgiving Celebration

To share a thank you and the anticipation of the coming holiday.


Thank you SO much for the visit !

xo  Lisa S


Friday, November 5, 2021

How to Stencil with More Than One Color

Hello my Friends!


Last week I found this new Chalkboard at one of my favorite Thrift shops.

It was $2.50- I had to get it.

In my mind it's already done half the work for me!

You can make the sign your choice, tall or wide.

I didn't even have to paint it and it is already framed.


Nice size too- 17''x 23''


Even the back side was in good condition.


I decided to make a Christmas sign with a couple

of stencils I had received as a gift.

I thought I could show you how I used more than one color

on the sign.


I use a thin plastic cutting board and Painters Tape to block parts of the stencil

I don't want to paint.

Painters Tape is not very sticky and it 

will not damage

your stencil. 

Some stencils are very delicate.


These are the colors I will be using,


First I decided to stain the frame.

I taped off the front and the back.


The chalkboard was made with natural wood.

I used Walnut BRIWAX and a soft cloth and gloves.


I use an old toothbrush to get in the corners !


Just a reminder !

 You can flip stencils over if you like objects facing the opposite direction.


First I planned the placement of the truck.

I used the plastic sheet and painters tape to

block out everything near the truck bed panels.


I painted the the panels brown.


Make sure the paint is dry before covering 

with what you are using to block

the next layer.


I used my sheet of plastic along with tape to

cover and block the panel area that was already painted.

I painted the tree green.

I left open space for the black board to show through.

It gave the tree more dimension.


After the tree was dry

I painted the truck red,  and the tires white.


I moved the stencil up on the board

and taped it in place.

I stenciled the lettering in white.


After the FARM FRESH dried, I taped down the other stencil

with CUT AND CARRY.

While that dries, I did the lettering on the bottom of the sign.


If you like an overall chalkboard look,

lay a piece of chalk on its side and


gently cover the entire chalkboard.

Wipe with a soft dry cloth.


I left room at the top to personalize with family name.

You could use regular chalk or chalk paint pen.


Here are the two stencils that I combined tp make 

this sign.


Here's a close up !


I am so excited for Thanksgiving, but

just needed to start early on some Christmas decorations.


Tell me if you are excited for Christmas !

xo Lisa S


Faux Tin Tile Bunny

Hello My Friends!  Most of the Craft and Dollar Stores have some chunky cut outs for Spring! There are so many ways to decorate these. I use...