Sunday, December 20, 2020

My gift to you !


Merry Christmas! 


You mean so much to me.

I'm so glad we could visit together here.

It has been a tough year for so many.


These are new postcards I added to my collection

 by artist Ellen H. Clapsaddle.


Here's a cheery faced cutie for you today.

I just loved her black velvet jacket!


This adorable boy pulling a wagon full of gifts!


These cuties can't wait until Christmas!


Happiness and Good Health to you

and your loved ones!


xo Lisa S

Saturday, December 19, 2020

A mini tour of my front porch


Welcome!

The weather is warm and beautiful.


This year I went all out on the porch!

Let's sit and have a cup of coffee- no mask required.

That's an old sled in the corner that I rescued from the trash.

The ice skates were thrifted.

I tied them to the sled and added garland and a warm wishes sign.


I shared the Galvanized Tin Trees  here

The stenciled water crock was here


My sweet husband made the reindeer.

He used to make them years ago.

One of the neighbors needed a birch tree cut so my husband

offered to cut the tree and we could have the wood!

I just leave the reindeer out in the backyard all year.

It will last a long time.

His head can swivel!


I turned an old crate upside down to make a table.

I had an old feed box and decided to stencil it!


Mr. Fresh Vintage made the stars out of old barbed wire.


I shared how to make the birch stars here


Come back when you stay longer!


Thanks for stopping by!

xo Lisa S


Monday, December 14, 2020

Galvanized Tin Trees

 Hi my Friends,

This project is ALL made by Mr. Fresh Vintage! :)

I did nothing except ask, ''Can you make something with that scrap of tin?"

This stuff is razor sharp so be warned!

HANDLE WITH THICK LEATHER GLOVES!

He used Tin Snips to make the cuts.


The ridges need to be vertical for strength in standing.

We used some birch tree pieces as the base.


Starting with a triangle was an easy way to mark the tree branch cuts.


Oh, I am so excited.

He had enough scraps to make 3 trees.

Do you remember the story of the three trees?


We love to bring out the collection of Christmas books.

This one is a favorite.

A beautiful folktale retold by Angela Elwell Hunt

It will bring tears to your eyes.


I put the trees on the front porch.

My husband thinks the porch is full :)

Thanks for stopping by, please say hello in the comments !

xo Lisa S

Wednesday, December 9, 2020

Gift Tag Holder

Hi Friends,

Here's a easy project that I would like to share with you. 

You need 1 manila folder, paper scraps, scissors, glue and some

homemade or store bought gift tags.


We can start with the folder.

I cut my folder to 8'' wide.


I cut


Fold up the bottom edge 4 '' to form a pocket.


Unfold pocket.

Fold the sides inward to center.


Refold lower pocket first then, outside flaps fold in.


Now you can see the places you want to cover with

scrapbook paper.

Use glue to secure pockets.


Add your embellishments.


I color photo copied scrabble pieces to make the word 'tags'.

I thought you might enjoy a couple for yourself!

Just print and save. Cut the whole word or cut apart your letters.


The folder stands up well on its' own.


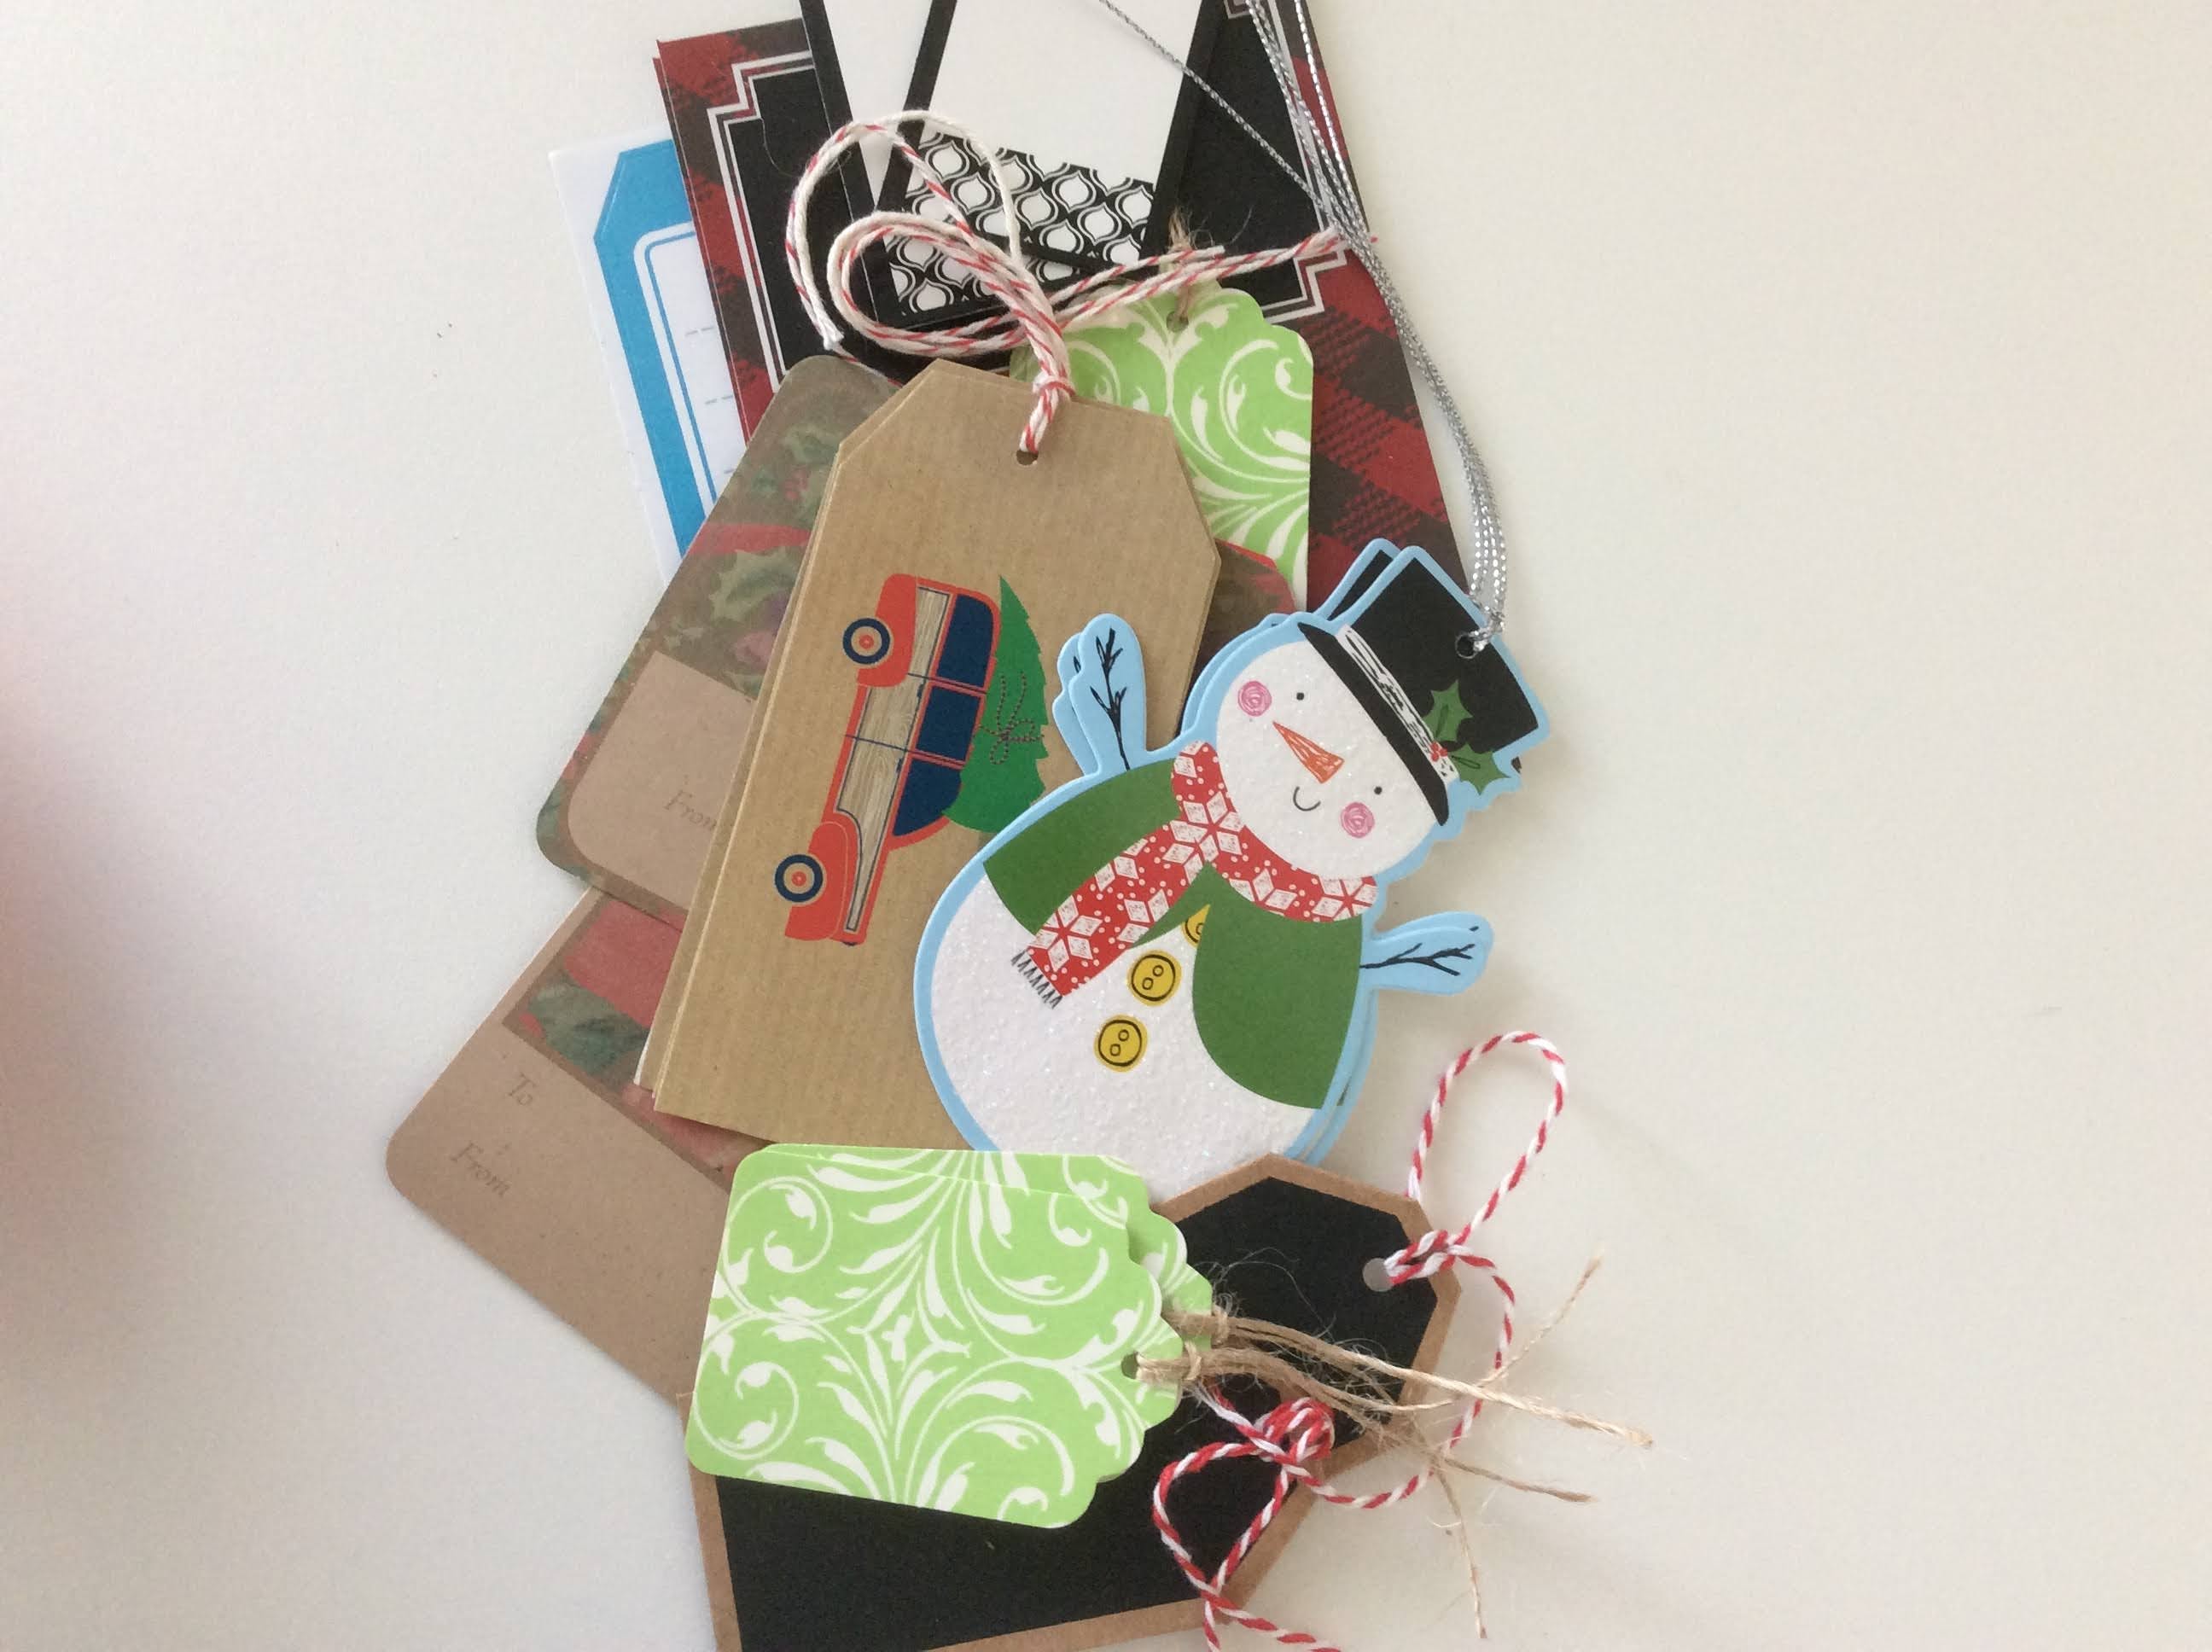
Then I collected some tags and stickers from my stash!


I filled all the pockets.


 Even these little tags were pockets.


I folded in the sides.

Finished size closed is 8'' by 4''


Then I used a bit of ribbon to close the package.


My neighbor has been stuck at home like the rest of us

 and was needing some Christmas tags.

I think this will cheer her up!


I hope this idea sparks some creativity for you.

You are awesome!

xo Lisa S


Monday, December 7, 2020

Stenciled Placemat Pillows

 Hi Friends,

I hope you are well and enjoying your December.

Last  week I found these beautiful woven placemats at the Dollar Tree.


Yes! Run to your nearest store!


Thank goodness I picked them up.

Here in California we are in another even tighter lockdown....

so I have decided to continue decorating and over decorating our entire house.


I really don't need more pillows, but hey these are for the backyard :).


They are two sided.


At this price I can't even make them myself !

I used a seam ripper to open one of the short ends.


These placemats are so nice, they don't need to be stenciled.

For my birthday, my awesome Son sent me a huge package of stencils!

He knows just what I like.

 I will be sharing many more projects in the future.

I picked this one for my pillow.


Line up the stencil carefully so that your letters are level .

Tape in place.


Using a dry brush or sponge with very little paint, go over

your design.


After the paint dries, stuff the pillow.


Pin closed and stitch.


I can enjoy a cup of coffee out on the patio.


MERRY CHRISTMAS!

XO Lisa S


Faux Tin Tile Bunny

Hello My Friends!  Most of the Craft and Dollar Stores have some chunky cut outs for Spring! There are so many ways to decorate these. I use...