Saturday, September 8, 2018

How to make Velvet Acorns and Pumpkins


Do you ever wonder what happens to old Prom dresses
 
and Bridesmaid dresses from ages past ?
 
Well I like to repurpose the fabric...and there is a lot of fabric! Plenty for
 
all kinds of projects perfect for pumpkins.
 
Oh yes, you will get some side eye looks, but you are being a smart shopper!
 
I can  always find a dress at my local thrift store well under $10.00.
 
Sometimes as a bonus a velvet dress will be lined with satin.
 
If it shrinks when I wash it I don't mind. New VELVET is $35.00 PER YARD!
 
I even like it with wrinkles...but if you don't remember to iron on the
 
BACK side of these delicate fabrics.


I think we have all seen Velvet Pumpkins, I feel like they are everywhere now.
 
I started making the ACORNS because I had so many tiny scraps leftover from the pumpkins.
 
 
FOR THE PUMPKIN
 
You will need:
 
Scrap of Velvet or Satin-  a 10''-12'' circle is a good start
 
Natural stem or other
 
poly-fil stuffing
 
Carpet or Heavy Duty thread and heavy duty needle
 
Weighted material such as poly-pellets or Rice -about 1/4 c.
 
Hot Glue Gun


Cut large circles from your velvet. They don't need to be
 
perfectly round.
 
 
Thread your needle with Heavy Duty thread. Sew using
 
a running stitch, 1/4 '' in from the raw edge. 


Pull thread tight. Use a funnel or rolled up paper
 
to add  about 1/8- 1/4 cup  Rice or Polyfil Pellets into
 
your pumpkin, then add stuffing.
 

Pull thread tight and tie off with a knot. Don't cut the thread yet.
 
Now cross from one side to the other
 
pulling in even tighter to camouflage your raw edges.


 I have been saving pumpkin stems for a few years now.
 
If you come across any make sure they are washed, bleached and thoroughly dried
 
before attaching to your pumpkin. You can use a chop saw and sandpaper
 
to reshape or flattened where needed.
 
If you don't have a stem you can use  a stick, dowel, cinnamon stick,
 
wood spool just about anything.
 

Pick a stem and hot glue in place,press firmly until it sets.


 Stem is glued in place


Pink for Breast Cancer Awareness Month in October


Don't throw away any scrapes yet!
 
We are going to use them for the Acorns. 


FOR THE ACORNS
 
You will need:
 
Scrapes of velvet or Satin
 
polyfil or pom-poms
 
Thread/ needle
 
Hot Glue Gun


Natural Acorn Caps, washed and dried 


Small circles cut to about the size of a Quarter.

 
Gather with a running stitch. I used a pom-pom!
 
 
Pull tight and add knot. 
 
 
Warm up the glue gun, pick out an acorn cap.
 
 
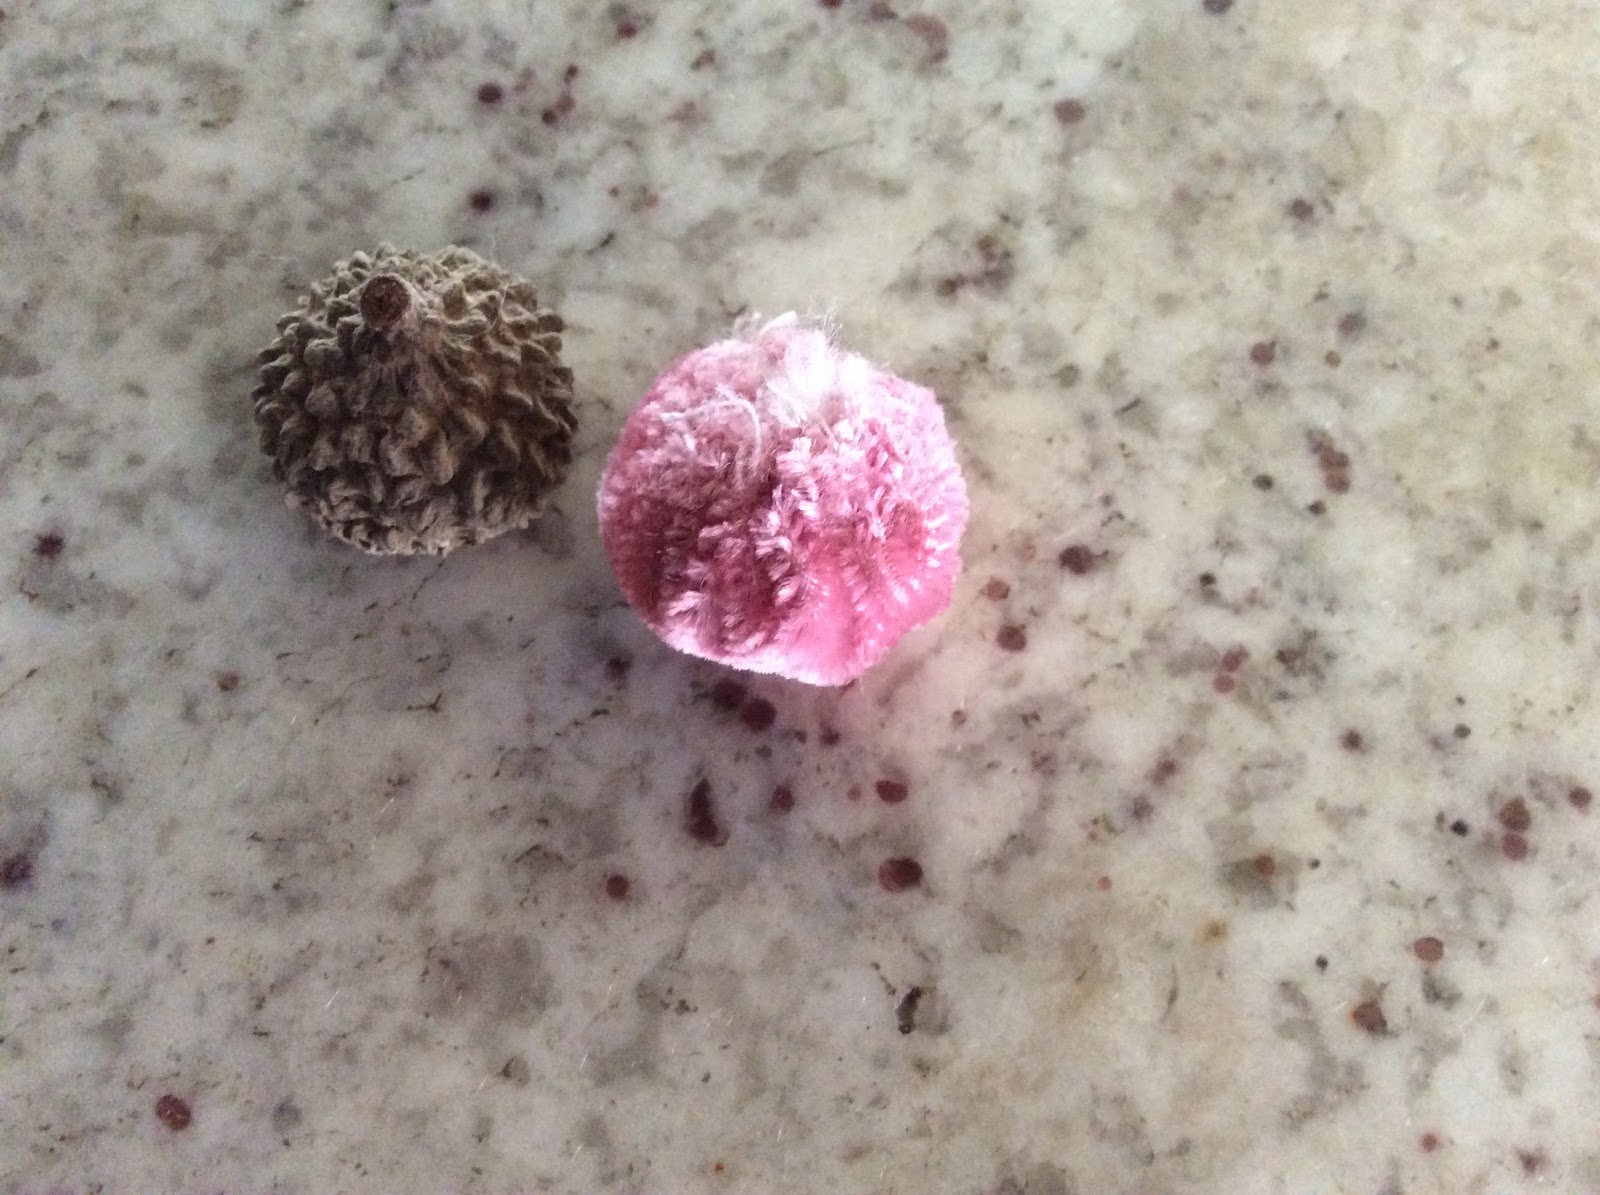
Add glue to cap, pinch your velvet piece and press
 
firmly into cap. The cap will get HOT!
 
Be very careful, use a small amount of glue.
 
 
Aren't they cute?


I threw some satin in the mix. 


If you want to make your Acorns into tiny ornaments.
 
You can  pull ''threads" from a scrap of burlap.
 
Make a loop, tuck in cap before you glue in the velvet piece.


 It's fun to make different color combinations.


This blue velvet was my favorite.
 
 
Added a couple to a bowl.


Gold Satin Pumpkin with Acorns


Note: If you plan to make these for craft shows,
 
I recommend that you bring your glue gun to the show.
 
You may come across a customer
 
 that wants to know how you made these and pulls them apart!
 
Yes, it happens be ready : )
 
 
Thank you for staying until the end! This seemed like a long one-
 
Have a wonderful day!
 
So glad you are here!
 
xo Lisa S


Saturday, September 1, 2018

A Stenciled THANKFUL Sign

 
 Yes, technically another stencil project !

I do a lot of hand lettering but stencils allow you to make a consistent project that

can be repeated over and over. Perfect every time!
 
 
I found these Galvanized Metal Script Words at DOLLAR TREE !
 
What are you kidding me ? Three in a pack for one dollar !!!!
 
.....RUN TO DOLLAR TREE!


I saw just one at Joanns' Fabric for $6.00 the same size- really!


We are going to use this one for now. 

 
 My scraps of pallet wood were 4" x 9"
 
I used some dark stain and allowed to dry.
 
I love the galvanized look! Yes, you could just glue it down and be done.
 
But then you can only get one use out of your sign.
 
If we use it as a stencil we can make many signs with our $1.00 purchase !
 
 
Great sign as is but we are doing more!


I used white acrylic paint and a stencil brush.
 
 
I was a bit heavy handed on the first one, the next one
 
came out better. 
 
 
Any areas with a little bleed through can be fixed with an exacto knife
 
scratching to make a cleaner edge.
 
 
 I cleaned these up.


Clean your "stencil" with soap and water.


The top "thankful"sign is just white paint.
 
The lower sign was gently wiped down with the rag that I used to stain the board.


Here are a few different looks.


 Just an easy sign to add to a shelf !


This would be a nice gift to share, add to your Antique booth
 
or make for the Holiday Boutiques.
 
 
 Signs are an easy way to show a change of season.


Just tucked in a wreath !


So I will be able to make endless amounts of signs and I still have the original
 
Galvanized Metal pieces. I think that was a good use of $1.00.
 
I am so happy to share my ideas with you. I read and respond to all comments.
 
Please visit again, and have a wonderful day!
 
xo Lisa S


Thursday, August 23, 2018

Book Page Leaf Wreath and Garland

 Here is another easy and budget friendly décor item for FALL or year round.


I am sure everyone has seen these before but year after year I get
 
requests for these wreaths. I always sell out no matter how many I make !
 
I thought I would share them with you.
 
Note: I never use vintage books unless they are damaged beyond repair.


For a garland, you will need a roll of jute or other connecting string.
 
Decide the length and measure out a piece long enough
 
that you can add loops at the ends.
 
Start cutting out your leaves from your book pages.


You may use my pattern or save to your computer and change the size to what you prefer.


Glue your leaves back to back on your jute with Tacky glue.
 
Overlap as you go.


 For the wreath,


I use thrifted embroidery hoops and when you take them apart you have two!

I have a local Thrift Store that sells them for a quarter!

(I have even used broken Tomato cages )
 
I like to use 8''-12'' hoops.
 
Glue leaves continuing in the same direction. Starting with the inside edge,
 
then the outside edge. Then fill front or the top of the wreath.
 
These wreaths are so light weight that they can be hung by a push pin or lean above
 
a picture frame or mirror.


You can use a mix of different leaves or maybe just your favorite.


I like a variety of leaves.
 
 
I love the different textures, colors and thickness of the papers.
 
 I give them a bit of a fold for dimension and a natural look.


Here are some different leaf choices.


This wreath was made from a Dictionary.


A short garland on a book case.
 
 
I rolled up some brown paper and hot glued leaves to the ends.
 
 
I just love to use these around the home.
 
I hope you enjoy making a wreath or garland .
 
As a bonus any extra leaves can be used as table scatter.
 
Thanks again for stopping by!
 
xo Lisa S


Easy PAPER WREATH for Fall

Hi Friend ! Fall is my favorite time of year and I can't wait to start decorating..... even though it's 90 degrees. Let's make a...