Saturday, June 8, 2019

A Stenciled Berry Crate

Hi Friends !

Father's Day is coming..... What do you get your DAD?

I asked my Dad for an idea. He said, '' How about the same as last year?"

Well that's easy. Last year I made him a batch of homemade

BLUEBERRY JAM

and apparently a big hit !

I was able to make a batch of Blueberry Jam, Strawberry and Raspberry Jam.

Right now in California the fruit is plentiful, I make a lot of jam

for my family and also save for gift giving.


I found this box at the thrift shop for .99


While I was at the store I was able to check to see if it would hold


jars of jam.....and yes, it could hold 4 half pint jars.


Sometimes I wonder if you may like the BEFORE better then the AFTER!


But in this case, I am not sure what LOOK they were going after. 


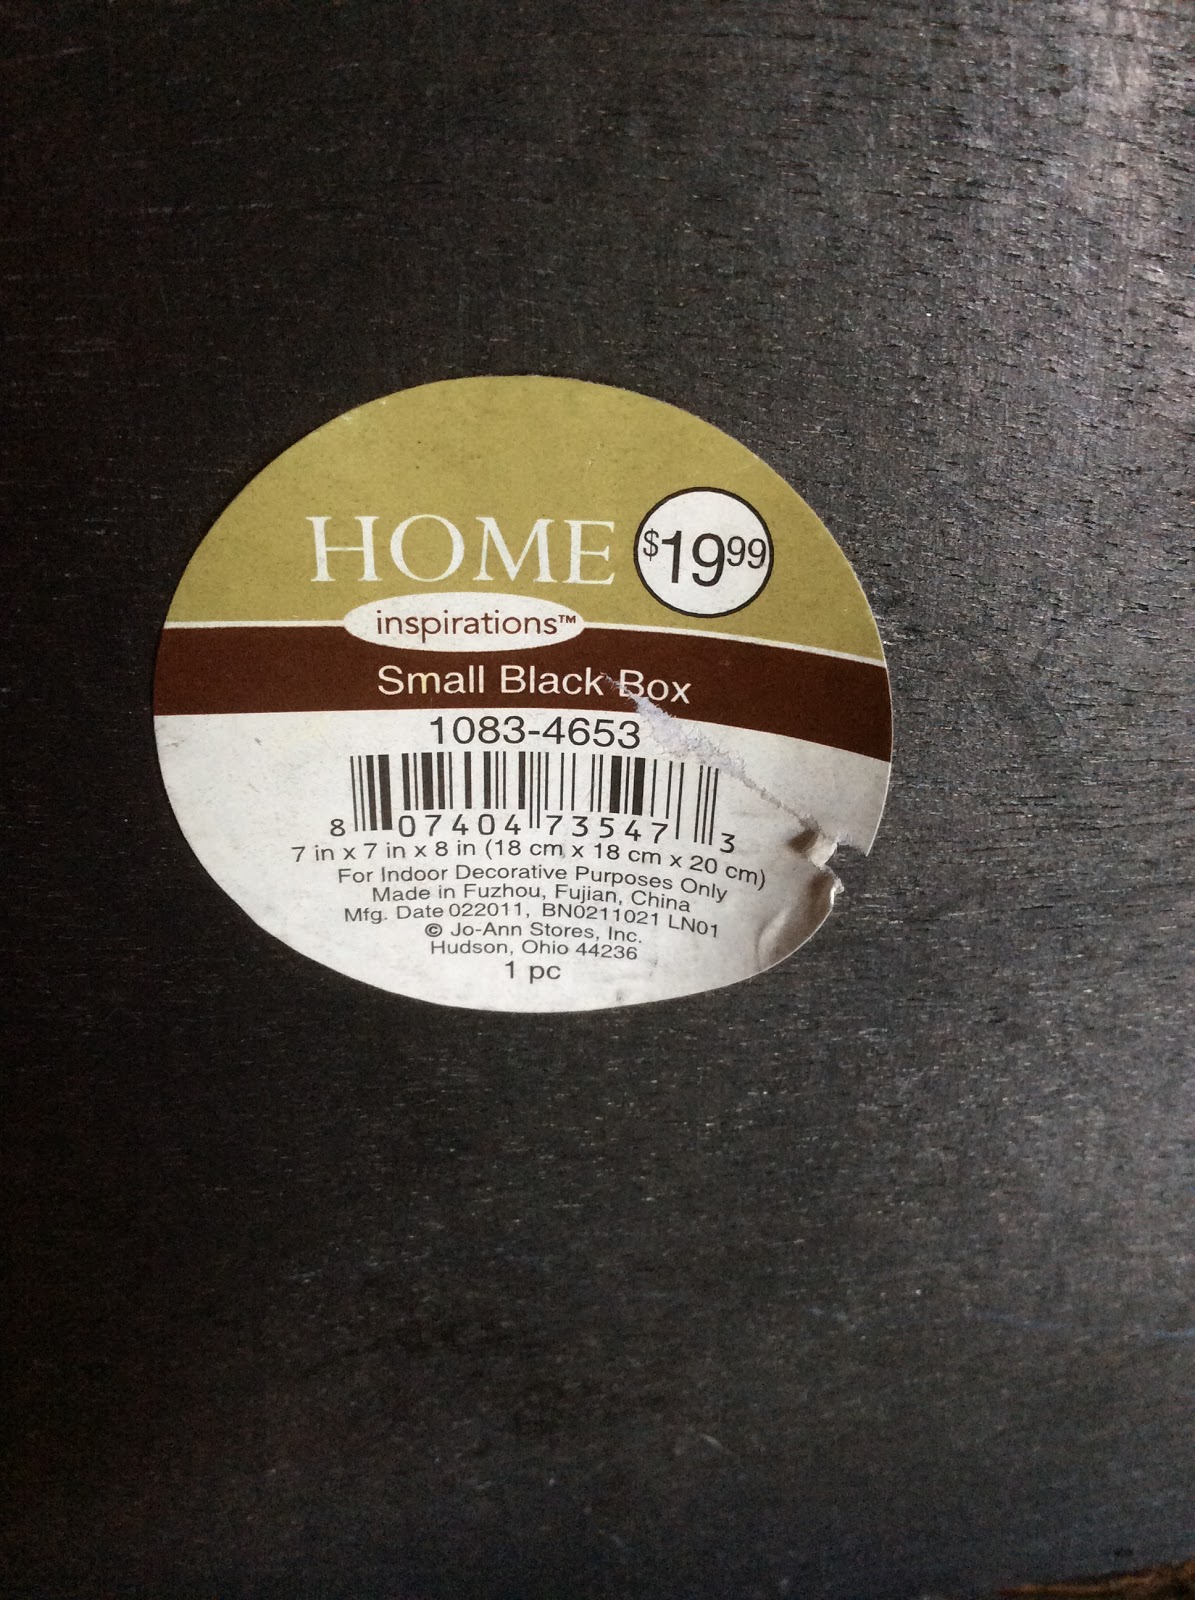
This was the tag on the bottom of box.
 
 
Are you kidding me ???? .......$19.99..... no way!


 I was able to remove the raffia easily.
 
 
 It already looks better to me.
 
 
Then I lightly sanded the entire crate.


I decided to paint the crate a dark green so it would go with my parents décor.


 English Ivy Green


I used white paint for the stencil lettering.


 This is the stencil I plan to use.
 
It is a perfect fit for this crate!


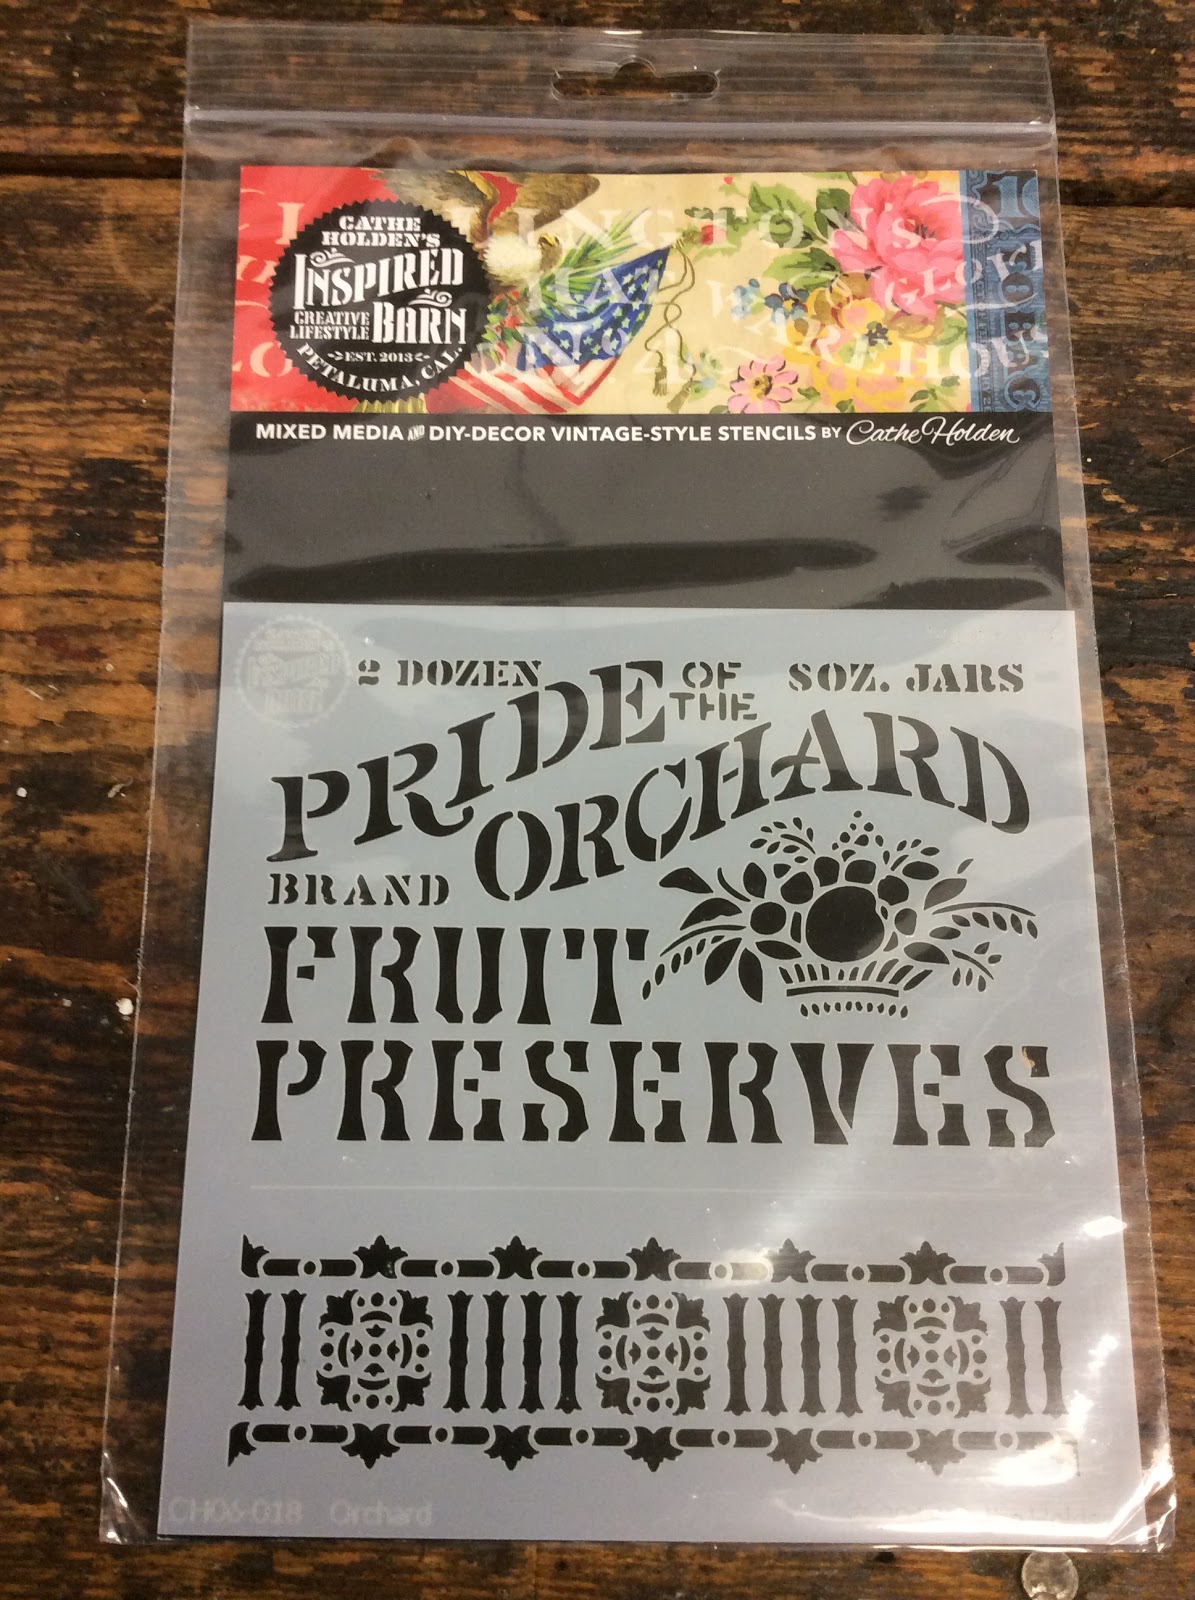
Cathe Holden's Inspired Barn stencils
 
 
6" x  6"  
 
A perfect fit! 
 
I taped the stencil in place.


Let dry.
 
 I used dark brown wax to seal.
 
Use a soft cloth to wax and wipe off excess.
 
I used dark wax because I wanted a more worn primitive look.


I covered the jars with 5'' squares and jute.
 
 
 The rubber band will give you an extra hand while you tie the jute.
 
Then remove the rubber band.


 OK this is my Dad's gift complete with jam-


 Here are a few other ideas for  things to do with the crate.


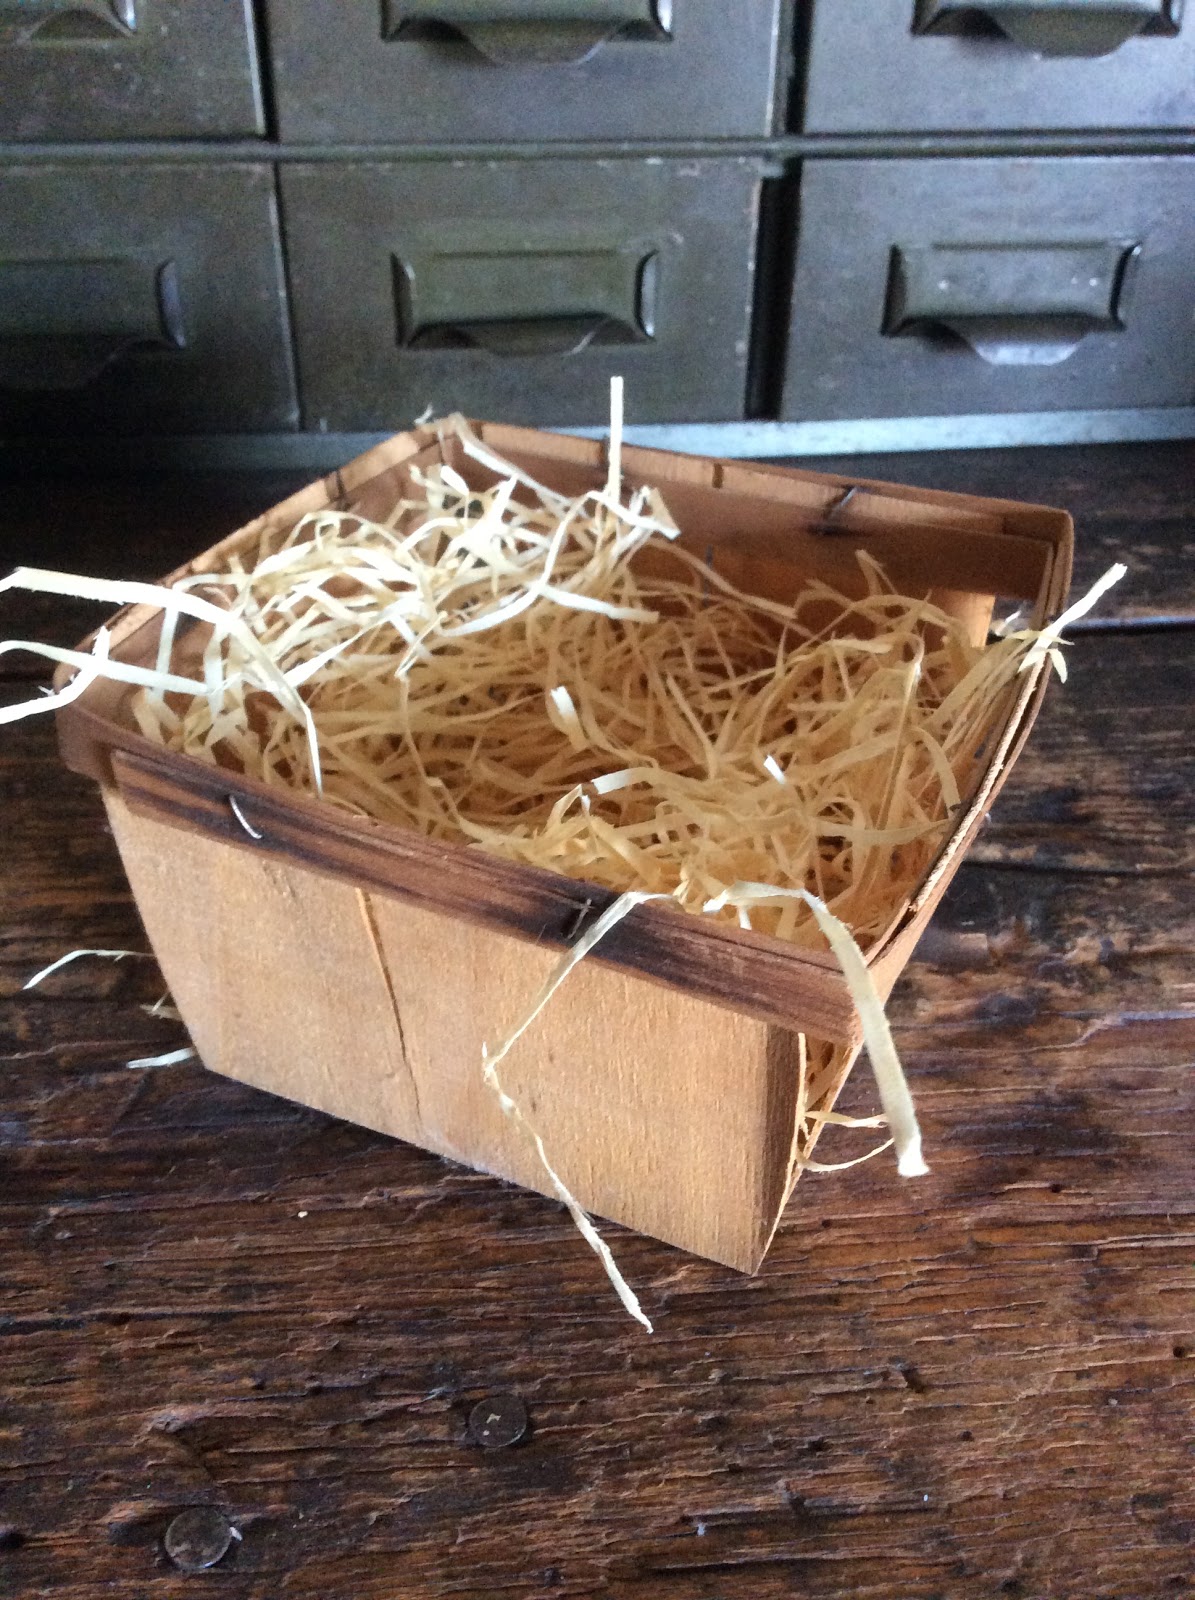
This vintage quart size berry box  fits
 
inside the crate.


I added a pair of vintage Strawberry S&P Shakers.


It can also hold a plant.


 Thank you for letting me share with you today!
 
xo Lisa S


Sunday, June 2, 2019

Make a Double Hanging Strawberry Basket

Hi Everyone!

I have been thinking about summer berries lately.


We had to cut back our beautiful blackberry bushes to put up a new fence.


They are coming back slowly but we won't have many berries this year.


I thought I might want to add some strawberries to the garden.


Let's make a hanging basket!


 You will need 2 of these hanging baskets.


These came from the Dollar Tree.


And 2 of these Coco Liners also from Dollar Tree.


I hope you have a Dollar Tree near you!
 

These single baskets were $8 at Home Depot......so quit a savings!


I bought some strawberry plants at Home Depot.


These were the Sequoia variety.


I wasn't sure how many plants I would need......I decided on 6.


I will probably use 3 plants for the top basket and 3 plants for the lower basket.


If your plants are large go with less than 3 per basket.


 Strawberries don't like to be crowded, they need room to grow.


The plants will send out runners- new plants,


that you will be able to stick in another pot or basket!


You will need some heavy gauge wire and pliers.


Just 3 pieces about an inch or so....


Remove one of the top hanging hooks, so the chain pieces
 

are attached to the basket but not at the top.


This basket will be the one under the top basket.


Use pliers to attach chain ends to center ring.


Space as even as you can.


At this point you can hang your basket.
 

It will be much easier to plant your strawberries.


You can add your coco liners.


Fill the basket about half way with potting soil.


Remove your plants from their container.


Separate plants if possible, by gently pulling apart.


Do not break off the roots, just remove some of the dirt.


Plant top and bottom basket with strawberries and fill with more potting soil.


The plant 'crown' needs to be at soil level.


You can water the berries from top and let the water trickle down to the lower basket!

 
 I like to give my transplants Vitamin B mixed with water


 to prevent transplant shock.


It helps give the plants a good start.


Now hang your basket in full sun.....and wait!


I am so happy to maybe out smart some slugs....and I think the

 
chickens will not see the hanging strawberries!

 
xo Lisa S


Tuesday, May 28, 2019

Recycled Spice Tin


Hello Friends,
I hope you are doing well !
 
I have been busy at work and I have missed you all-
 
There has been no time to be creative.
 
Today was my first chance to visit a thrift shop....all I found were these spice tins.
 
They are not that old but I liked them.
 
I don't know if I shared this before but I am a lover of TINS !
 
I used a bottle cap opener to pop off the lids.

 
I added about an inch of sand.


Then filled the tins with potting soil.


I have some small succulents, that I started in peat pots.

 
They have started to root.


I planted the succulents in the tins.


That's it !


Add just a tiny drop of water.


JUST A REMINDER: Be careful, over time these will rust.
And may leave marks on furniture. 


                                                      Here are just a few of my spice tins.

 
My favorites are the vintage Schilling and  Ben-Hur spices and any coffee tins.
 
 
Share with me in the comments any of your unusual collections !
 
Thanks for stopping by-
xo Lisa S


Sunday, May 12, 2019

Stenciled Patriotic Envelope Pillow


Hi Friends!
 
We are going to stencil a pillow cover. 
 
If you are making your envelope cover you will need a piece of fabric 19''  X  42''.

I love to use drop cloth material.


Hem edges.


Overlap by 4'', with stitching facing out.
 
Pin and stitch sides.  Pillow should measure  18 '' on side.

 
Turn right sides out. 
 

This is the back side of pillow with opening.


This is the front of the pillow.
 
Iron both sides to remove wrinkles.


I absolutely love my Inspired Barn Stencils!
 
This stencil can be used so many ways.
 
 I decided to go with a traditional patriotic color scheme.


I used Acrylic paint. Since this pillow cover can be removed I can safely

hand wash if needed.

 
The paint colors I used were Apple Barrel- Black, Bright Red, Pure Gold
 
Craft Essentials- Navy
 
 
Painters Tape and a stencil Brush


I put a piece of thick cardboard inside the pillow cover to
 
 make a flat surface for working as well as a barrier in case the paint goes through by mistake.
 
 
On my pillow the opening is turned laterally, with the overlap top over bottom!
 
First I measured for placement. I had about 4" from seams to outer ring.
 
Tape in place.


I started with red only because I was sure about my choice for the stripes.
 
Remember when stenciling... not too much paint!
 
Then painted the ring.


Let dry a bit-
Then I painted with Navy.
Tape off tight areas....I also use the fingers from my other hand to block the paint brush.


I taped off the flag so I could paint the pole- Gold.


This is how is looked originally.


One of my pet peeves is dirty stencils!
 
They will last a lot longer and give you sharp lines if you clean them after use.
 
 I put the  stencil in a deep utility sink, run warm water.
 
Be gentle and use a soft brush or your fingertips to remove paint.


So much better now!
 
Hang to dry.
 
 
Now back to your pillow, it is probably dry .
 
I am not sure if I liked the way my flag turned out.
 
The white stars did not show up well on the pillow.
 
So I had another idea...I taped off the flag again and painted over the stars.


After your stencil work has dried set the paint by using a

clean cotton cloth on top of stenciled pillow and a hot iron.


Then I went digging through my jar of white buttons.
 
I have all my buttons separated by color, don't you ???? :)
 
 
I found 13 of these......


13 stars for 1776!
 
I liked it better -


Now you can see the stars.
 
 
Fill with an 18'' or 20'' pillow form or one of your own pillows.


Since it is an envelope pillow it can be changed often but we have
 
Memorial Day coming soon and then......the Fourth of July.....Flag Day...

lots of opportunities to display your pillow.


This type of pillow can be used on the porch or patio and is easy to store

once you remove the pillow form.


Thank you so much for visiting today!
 
xo Lisa S


EASTER 'Putz' House

Hello my friend, I finally brought out some SPRING decor. I can't believe Easter is next Sunday. Yesterday I made this small 'Putz...