Monday, June 7, 2021

Make your own Twine and Scissor Holder


Hello there Friends!

You know I love a good

"Get the look for less" project.

I have seen Twine Holders with 

Vintage Scissors all over Pinterest-


I wanted to make my own-


While doing errands with my Husband at 

HARBOR FREIGHT, 

I found these scissors 

and I had to share my find with you!


These are the same vintage look-a-like scissors....for a lot less!

Perfect for cutting twine

in your kitchen, office or on your potting bench !


I had these miscellaneous wood pieces to work with.


A broken spindle from an old chair-

a closet rod cup end-

and an old broken handle from a rolling pin.


I stained the pieces and put them together

with wood glue.

I did not glue the top piece on so I could easily add or change  the spool.

The spindle is tapered so it will hold the twine roll in place.


Check out this twine I found at 

Dollar Tree!


These were in the yarn bins!


I was able to remove the label and use my fingers

to go up though the center of the skein.


I found even more twine at the Dollar tree.

These spools also fit my holder!


I hope you will be able to find some of these deals!

Have a great week!

xo Lisa S


Thursday, May 27, 2021

Thrifty Thursday- Patriotic Vignette

 Hi friends,

Here's a idea that came to me while thrifting!

A vintage coffee tin-


filled with uncooked rice 


add some flags-


A fun way to

display some small flags-


Have a great weekend!

xo Lisa S

Sunday, May 23, 2021

Shiny Brite Wreath- Red, White and Blue!

 Hi Friends,

I decided to make another Shiny Brite Ornament

Wreath today in Red, White and Blue.


I collect them throughout the year at thrift shops and garage sales.


I was thinking it would be nice to have for

Memorial Day as well as Independence Day.


I have some of my ornaments separated by color.


I was pretty sure I had enough.


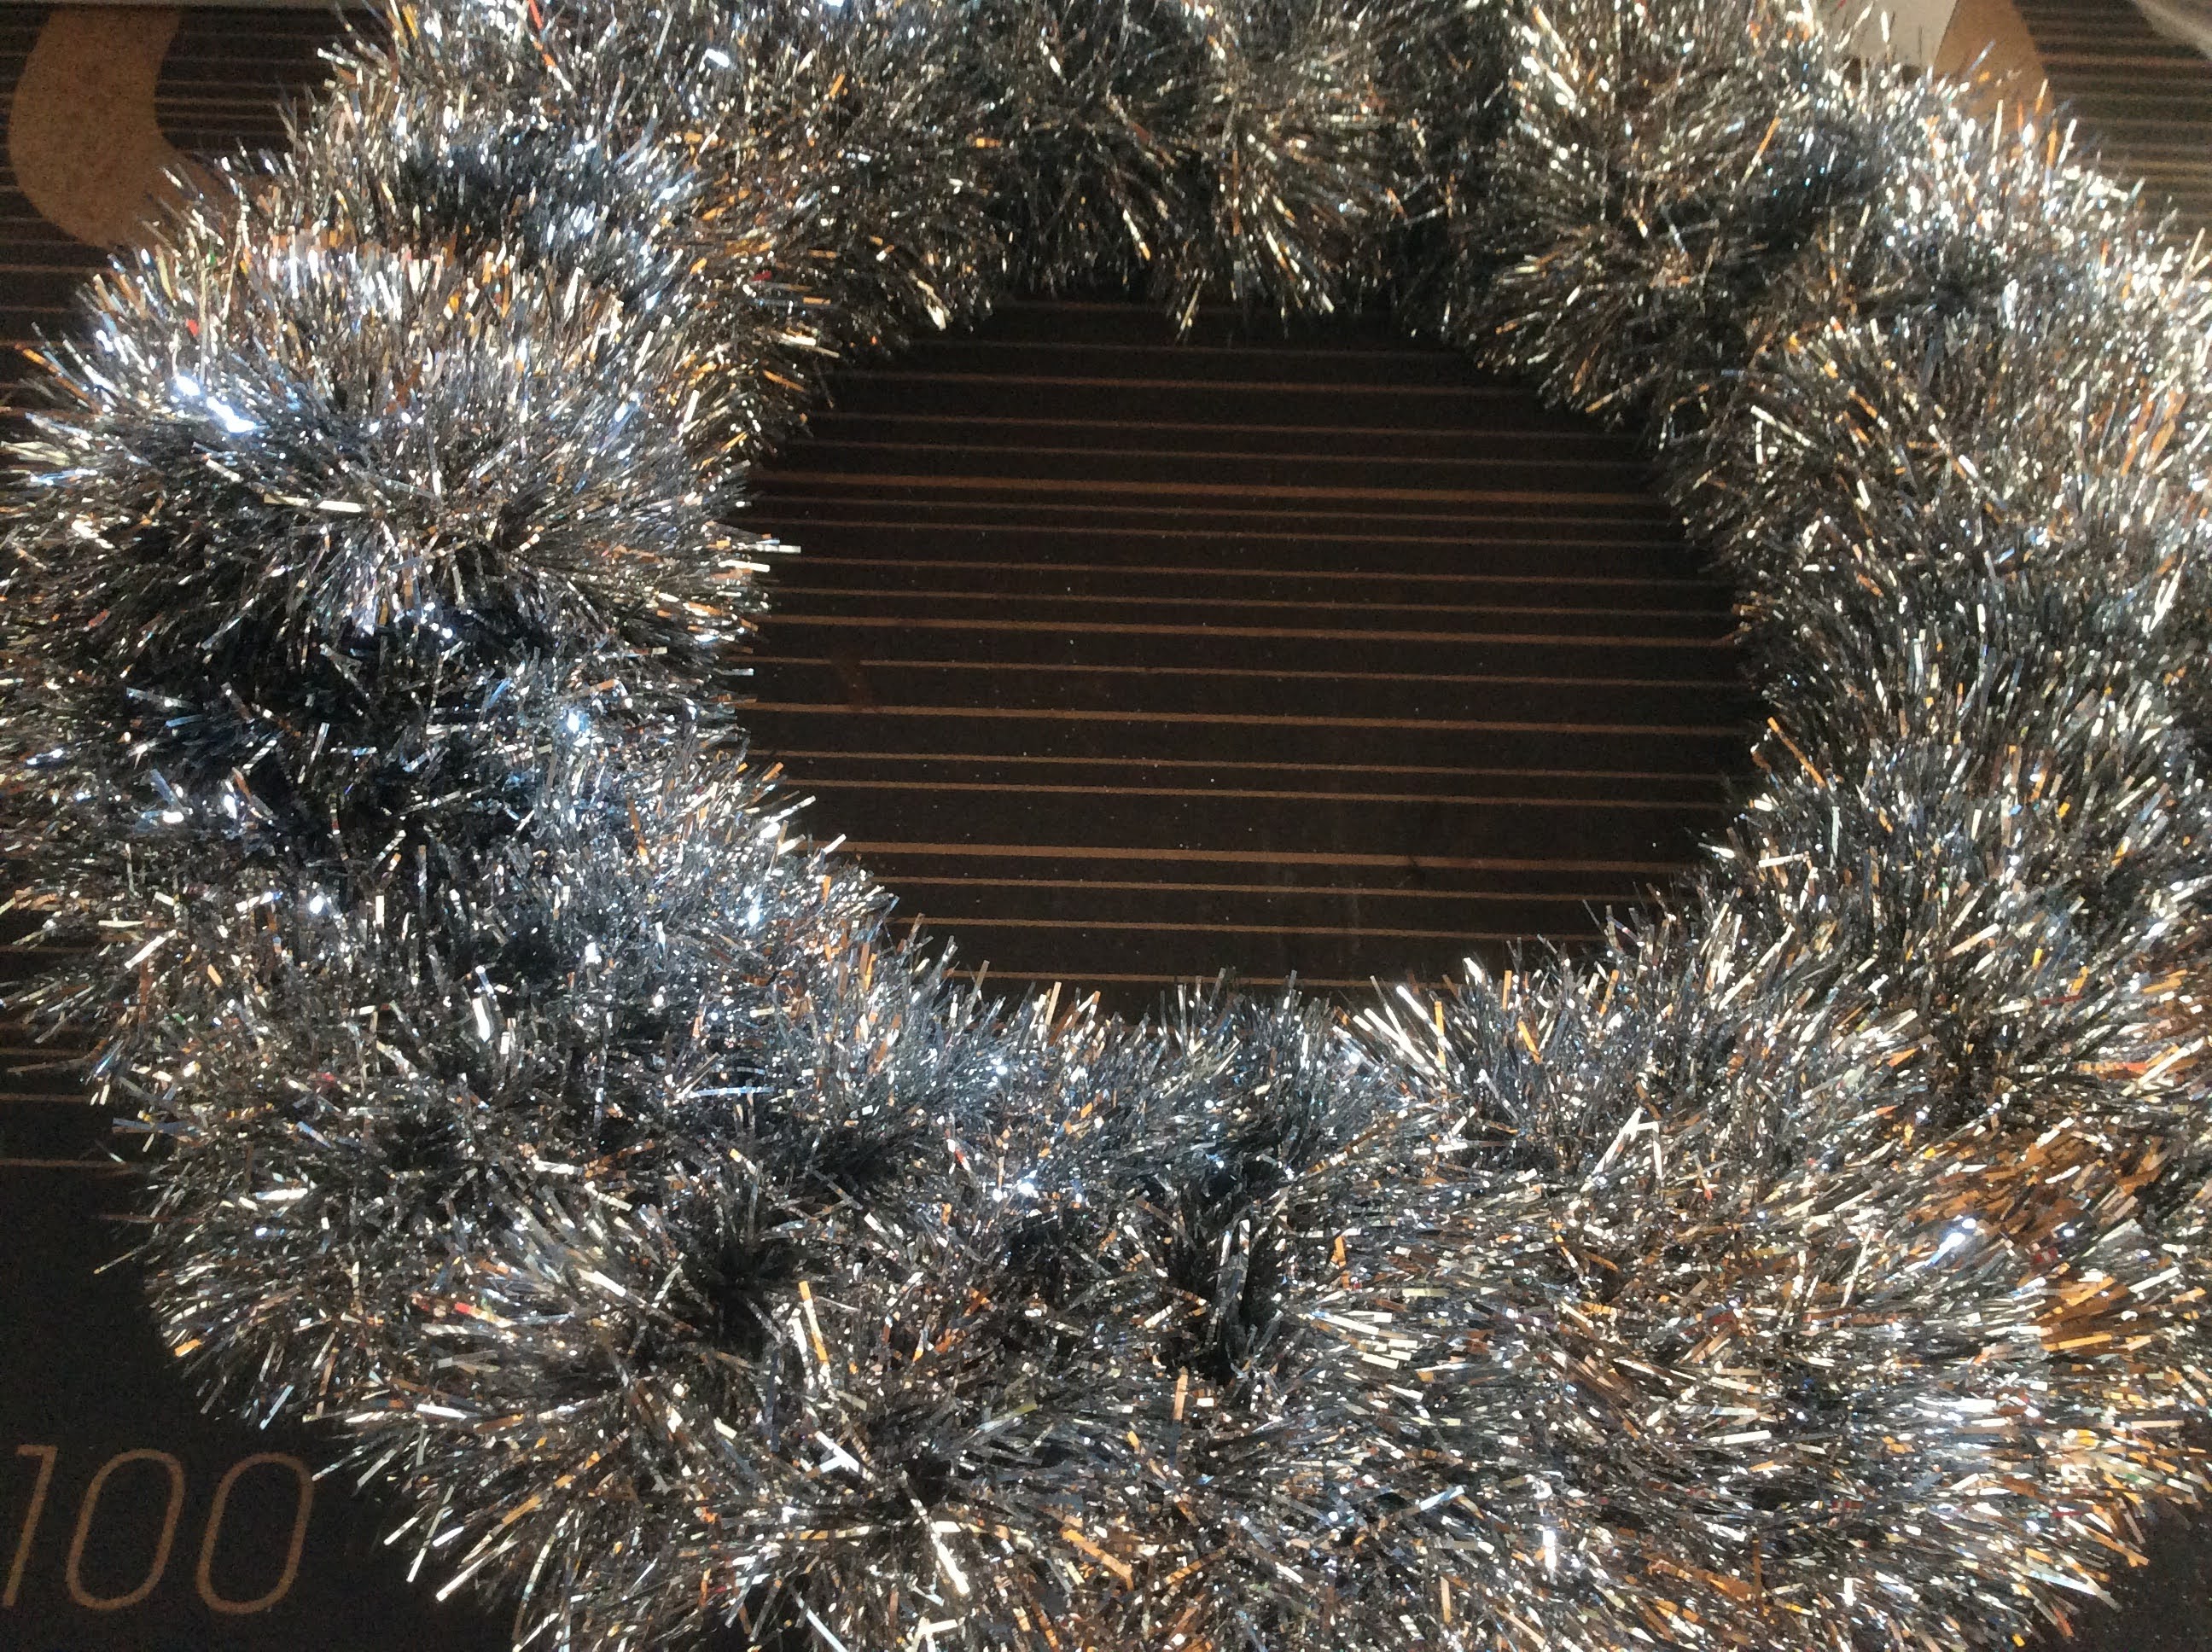
I started with a wreath form, and covered it with

Tinsel Garland-

You can find it year round but I stock up after the holidays.


Ready for ornaments!

You will need a hot glue gun and lots of glue.


I set aside some other special ornaments to use.


Plug in your Glue Gun!

I started with large ornaments first

then smaller.

You can add small tuffs of garland in gaps.


Use a generous amount of glue, but not so much that it shows.

Remember: The tinsel is holding the ornament in place!


I like to rotate the wreath for balance,

Then I pick where I want the top.


Then just keep going....you will need a couple hours to complete.


Eventually you will decide when you are done!

I added a ribbon to the wreath form for hanging.


Store flat -under the bed is a good place :)

Note: Do not store your wreath in a hot place like a garage or attic.
The heat may effect the glue and ornaments could fall off and break.


Happy Memorial Day!

xo Lisa S


Here is another version in PINK


Saturday, May 15, 2021

Trash to Treasure- Cast Iron Plant Hanger Stand

Hello Friends!

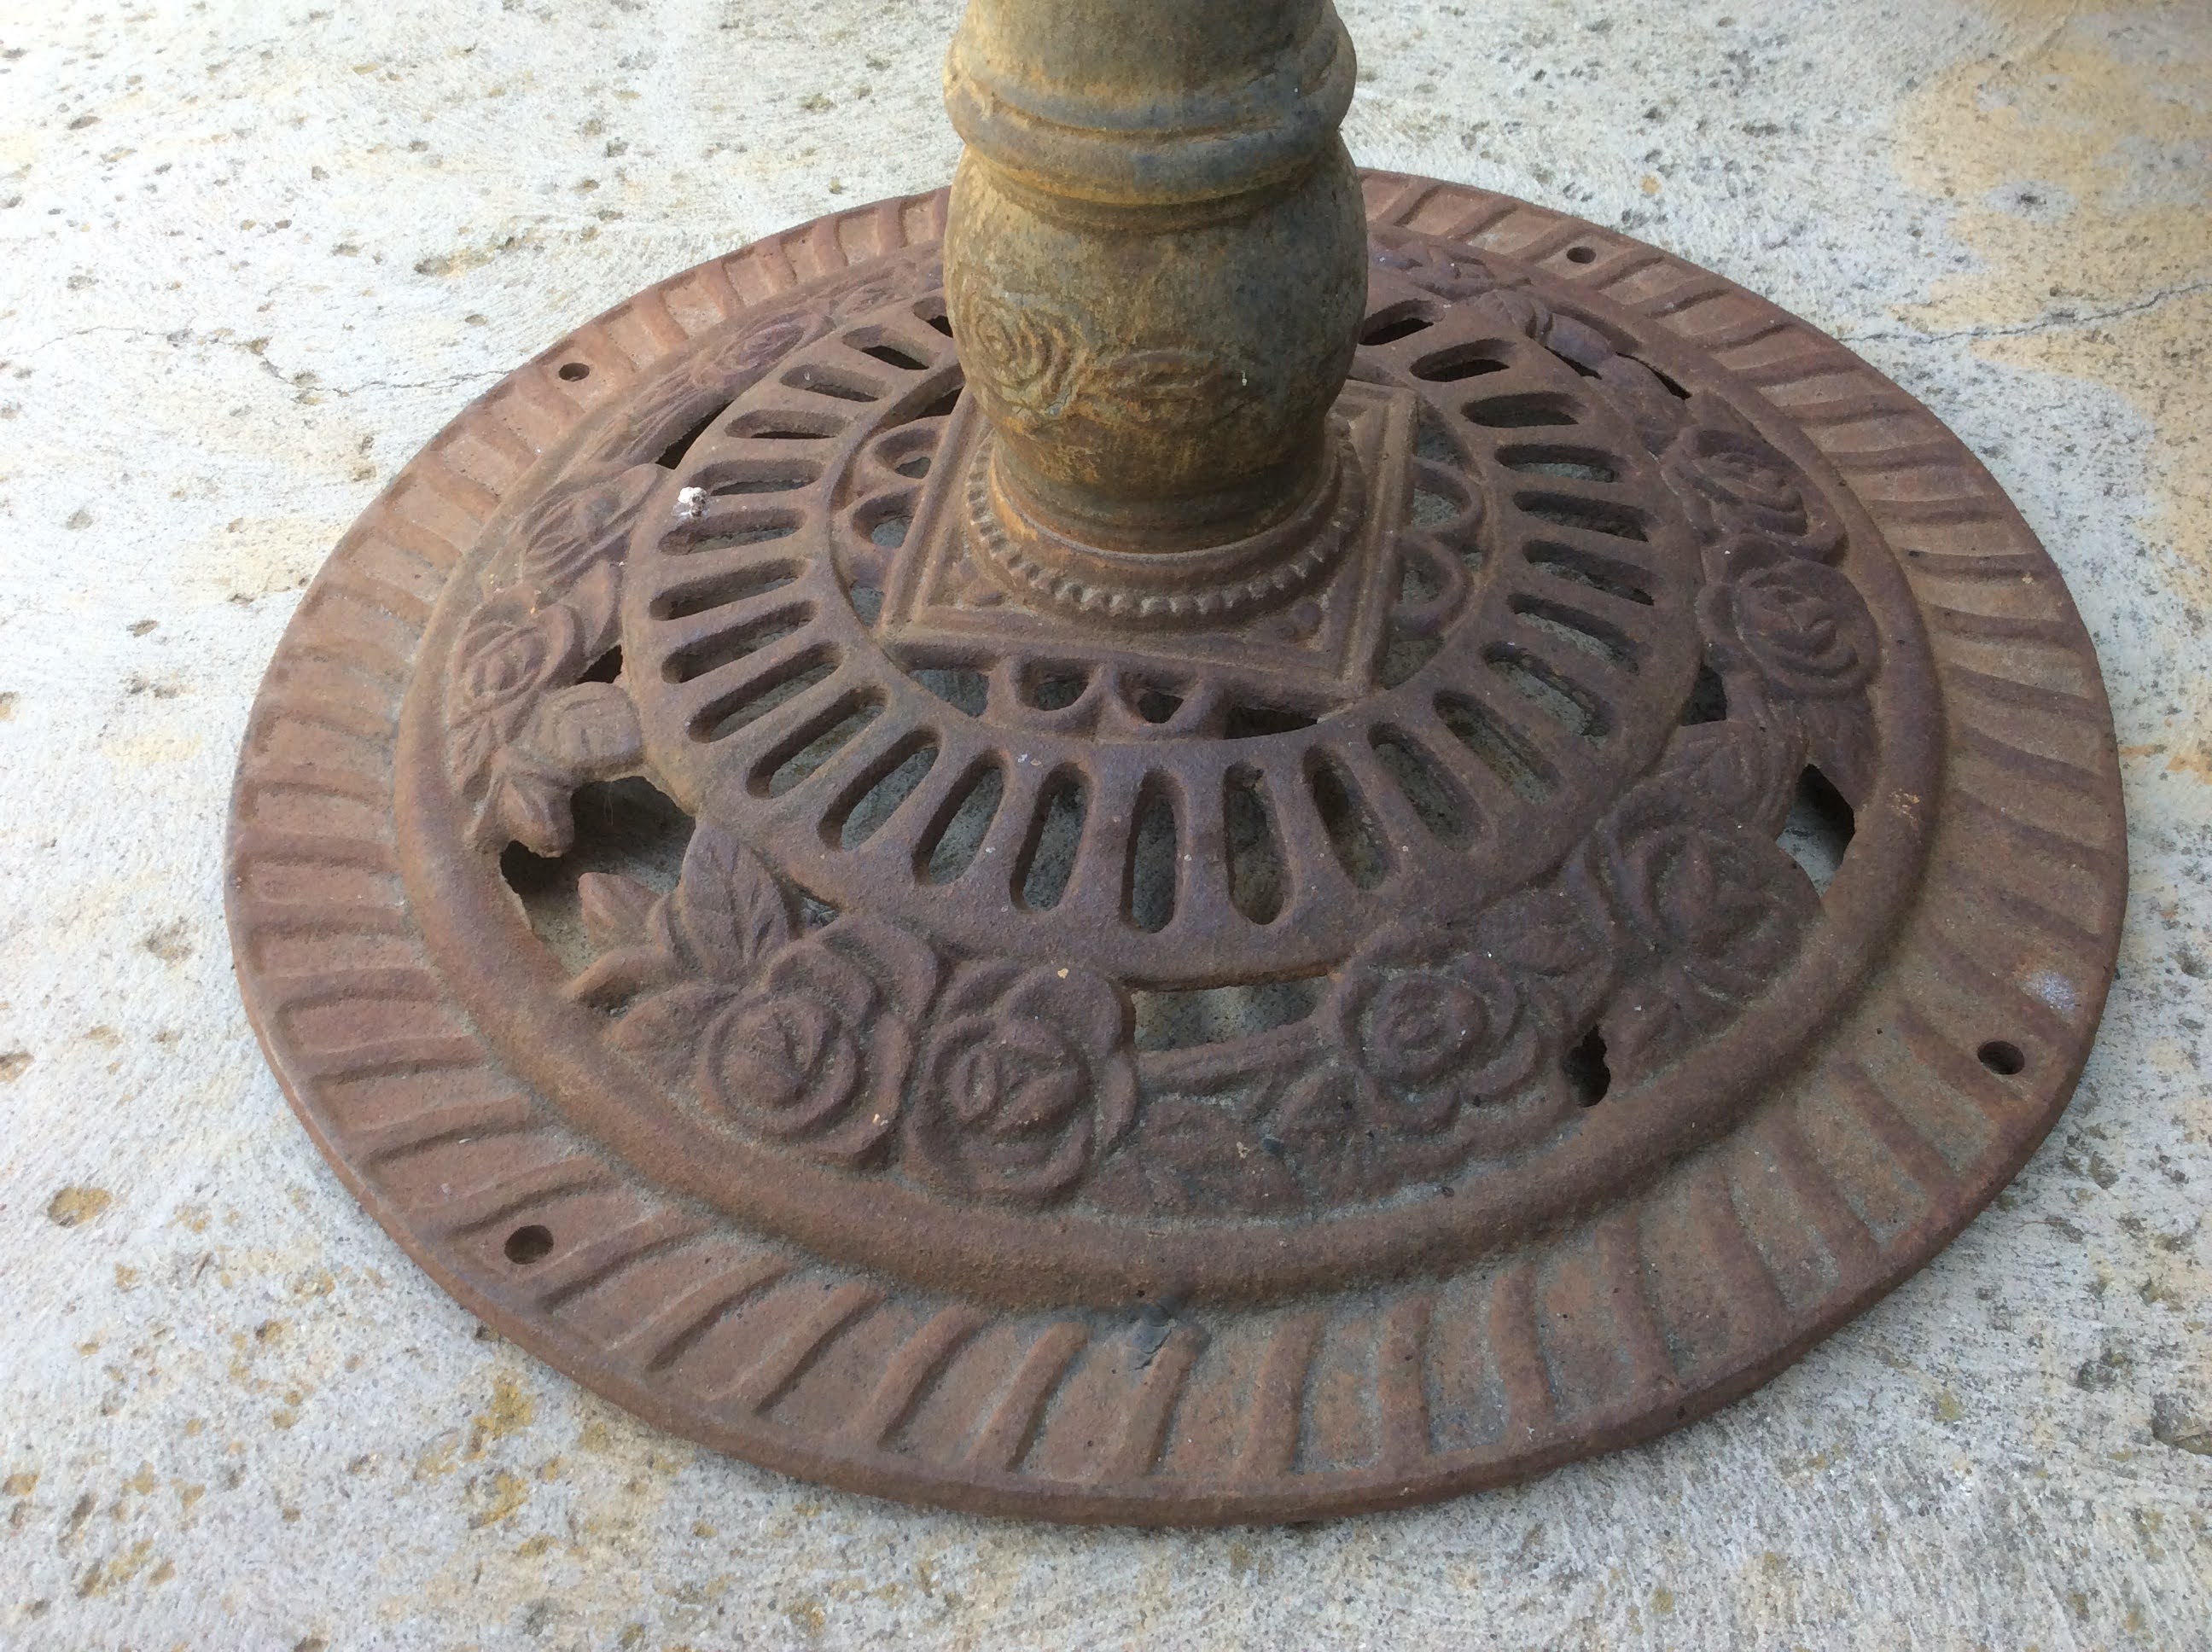
My husband saved this cast iron pole with hooks from a trash pile.

He knew I would want it!


A true trash to treasure project-


After he looked it over, he found it just needed some

tightening- none of the pieces were broken.

The top piece was missing but I'll show you how we fixed it.


I found a single metal end piece from a curtain rod at a thrift shop- for .50

Then attached it to the top of the pole.


Before I could get a picture my sweetie was hitting it with the spray paint !

Just one can needed-


I liked the Roses.


Most of our yard furniture is black,

 except for our colorful

Motel chairs.


I love these baskets from the Dollar Tree-

I needed 4 - 


and then added some potting mix and plants.

The lavender was a Mother's Day gift from my son.


My son helped me move it all around the yard-

It takes me a while to decide.

God has blessed me with a very patient son!


We decided on an empty corner of the patio.

In the house we can see it through the window.

It can be moved around the patio easily, if the plants need more sun.


I love how it turned out.

You can never have too many flowers!

xo Lisa S

Monday, May 10, 2021

Make a Sunflower Pincushion


Hi Friends!

I hope you are doing well-

I'm loving the beautiful weather this week.

This easy little project just came together with

scraps I found while organizing my fabric box-


Cut a 5'' circle from a scrap of material.

I used brown, this is for the center of the flower.


I used three different scraps of thick wool for my petals.

As always, try to use what you have :)

You could even use fleece or felt,

these fabrics will not fray. 


The petal pattern is just free hand- about 2 1/2'' tall

and 1 1/2'' wide.


I cut out 3 petals from each of the fabrics for a total

of  9 petals.


Then set aside for now.


For the center of the flower,

 I covered an old tomato type pincushion.

You can also use a styro-foam ball.


I used a running stitch along the edge-

and gathered around the pincushion.


I'm going to use an old tin candle holder as my base.

You can use a tea cup, small plate

 or any old tin mold or tuna can as your base.


Back to the petals-

With a hot glue gun, pinch the base of the petals.


Use glue to position petals in base.

I had 3 different fabrics so I went with opposite sides,


Don't worry that the glue may not stick to the tin,

The center of the flower will cover the mess

and the petals will be glued to the center of the flower.


I found this vintage sewing card at The Graphic Fairy.

It can be made into a gift tag or card to go along

with the pincushion.


Save to print.


Enjoy your week!

xo Lisa S


Just Getting Started- A little FALL Decor

Hi friends, I was at the Dollar tree  getting something else when I saw these Maple leaf stems. I know I could spend more and get better qua...