Hi Friends!
Let's stay inside where it's warm and cozy.
I've been working on multiple paper projects this week,
but they are not finished yet- so here's a quick and fun way
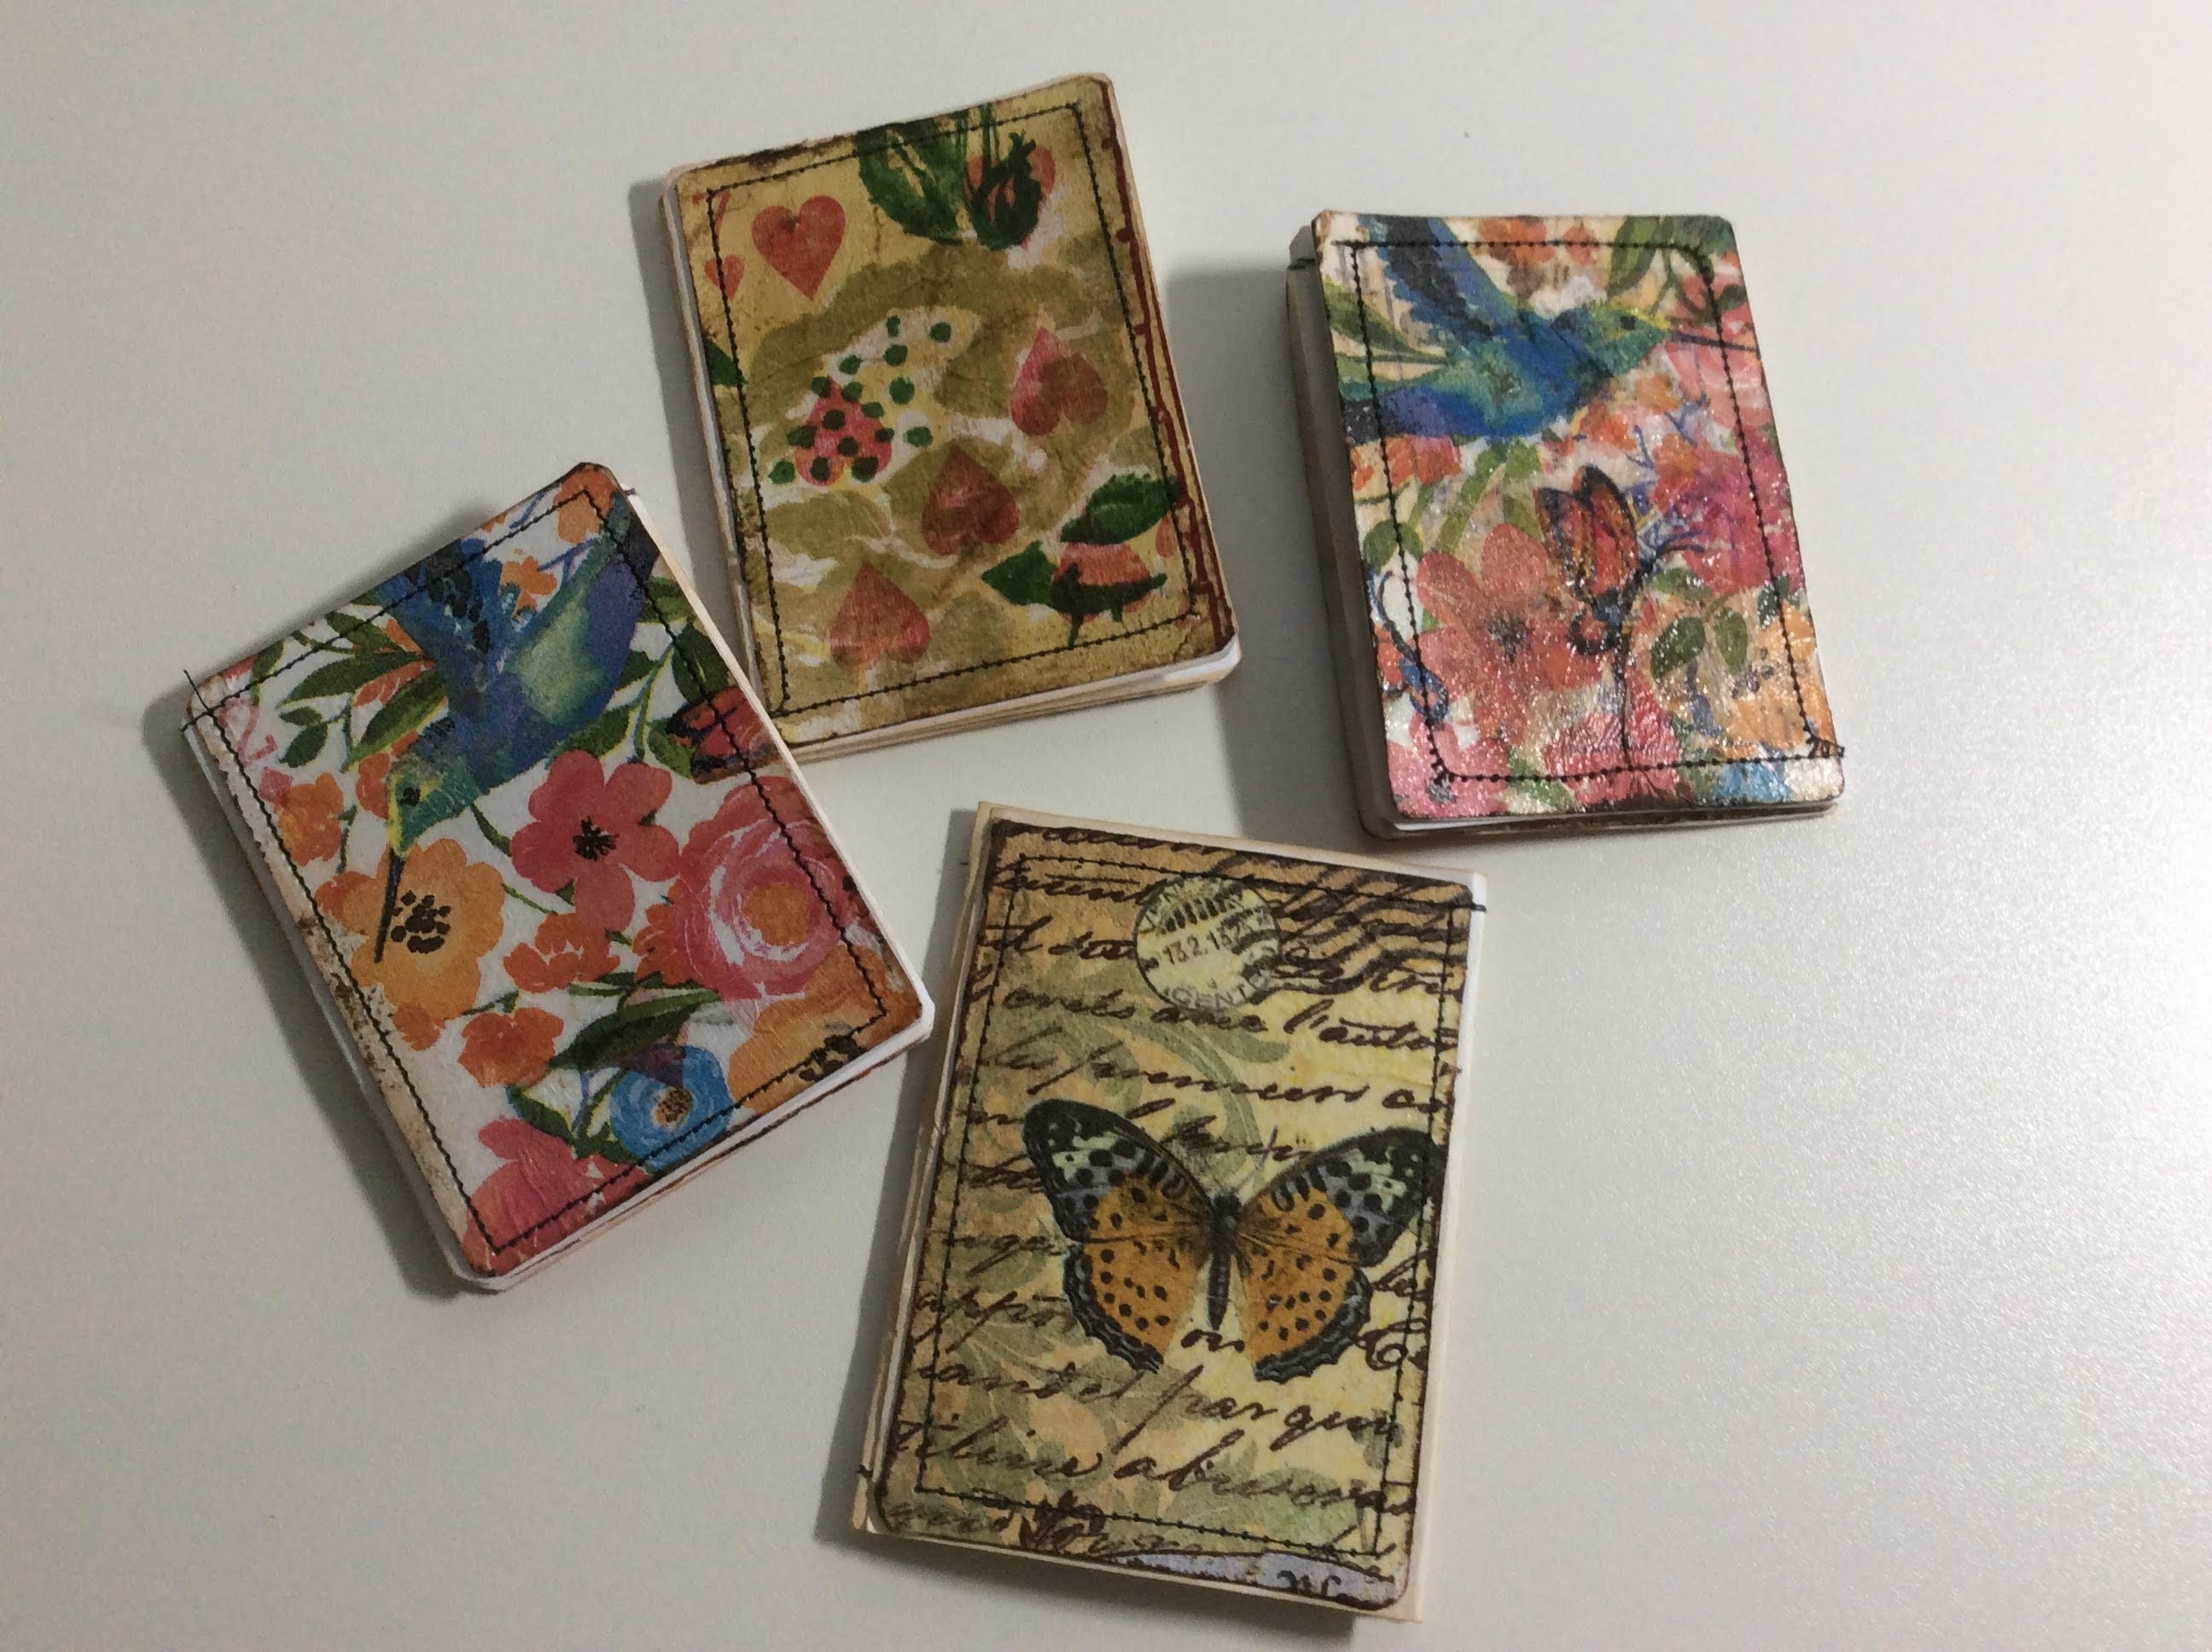
to make a mini notebook or tag using playing cards.
These cards were a recent 'Thrifty Find', unfortunately
they were an incomplete set so I put them to a better use!
The vintage cards were smaller and had a matte finish.
This newer set was a bit glossy, I used a bit of sand paper to
make them dull.
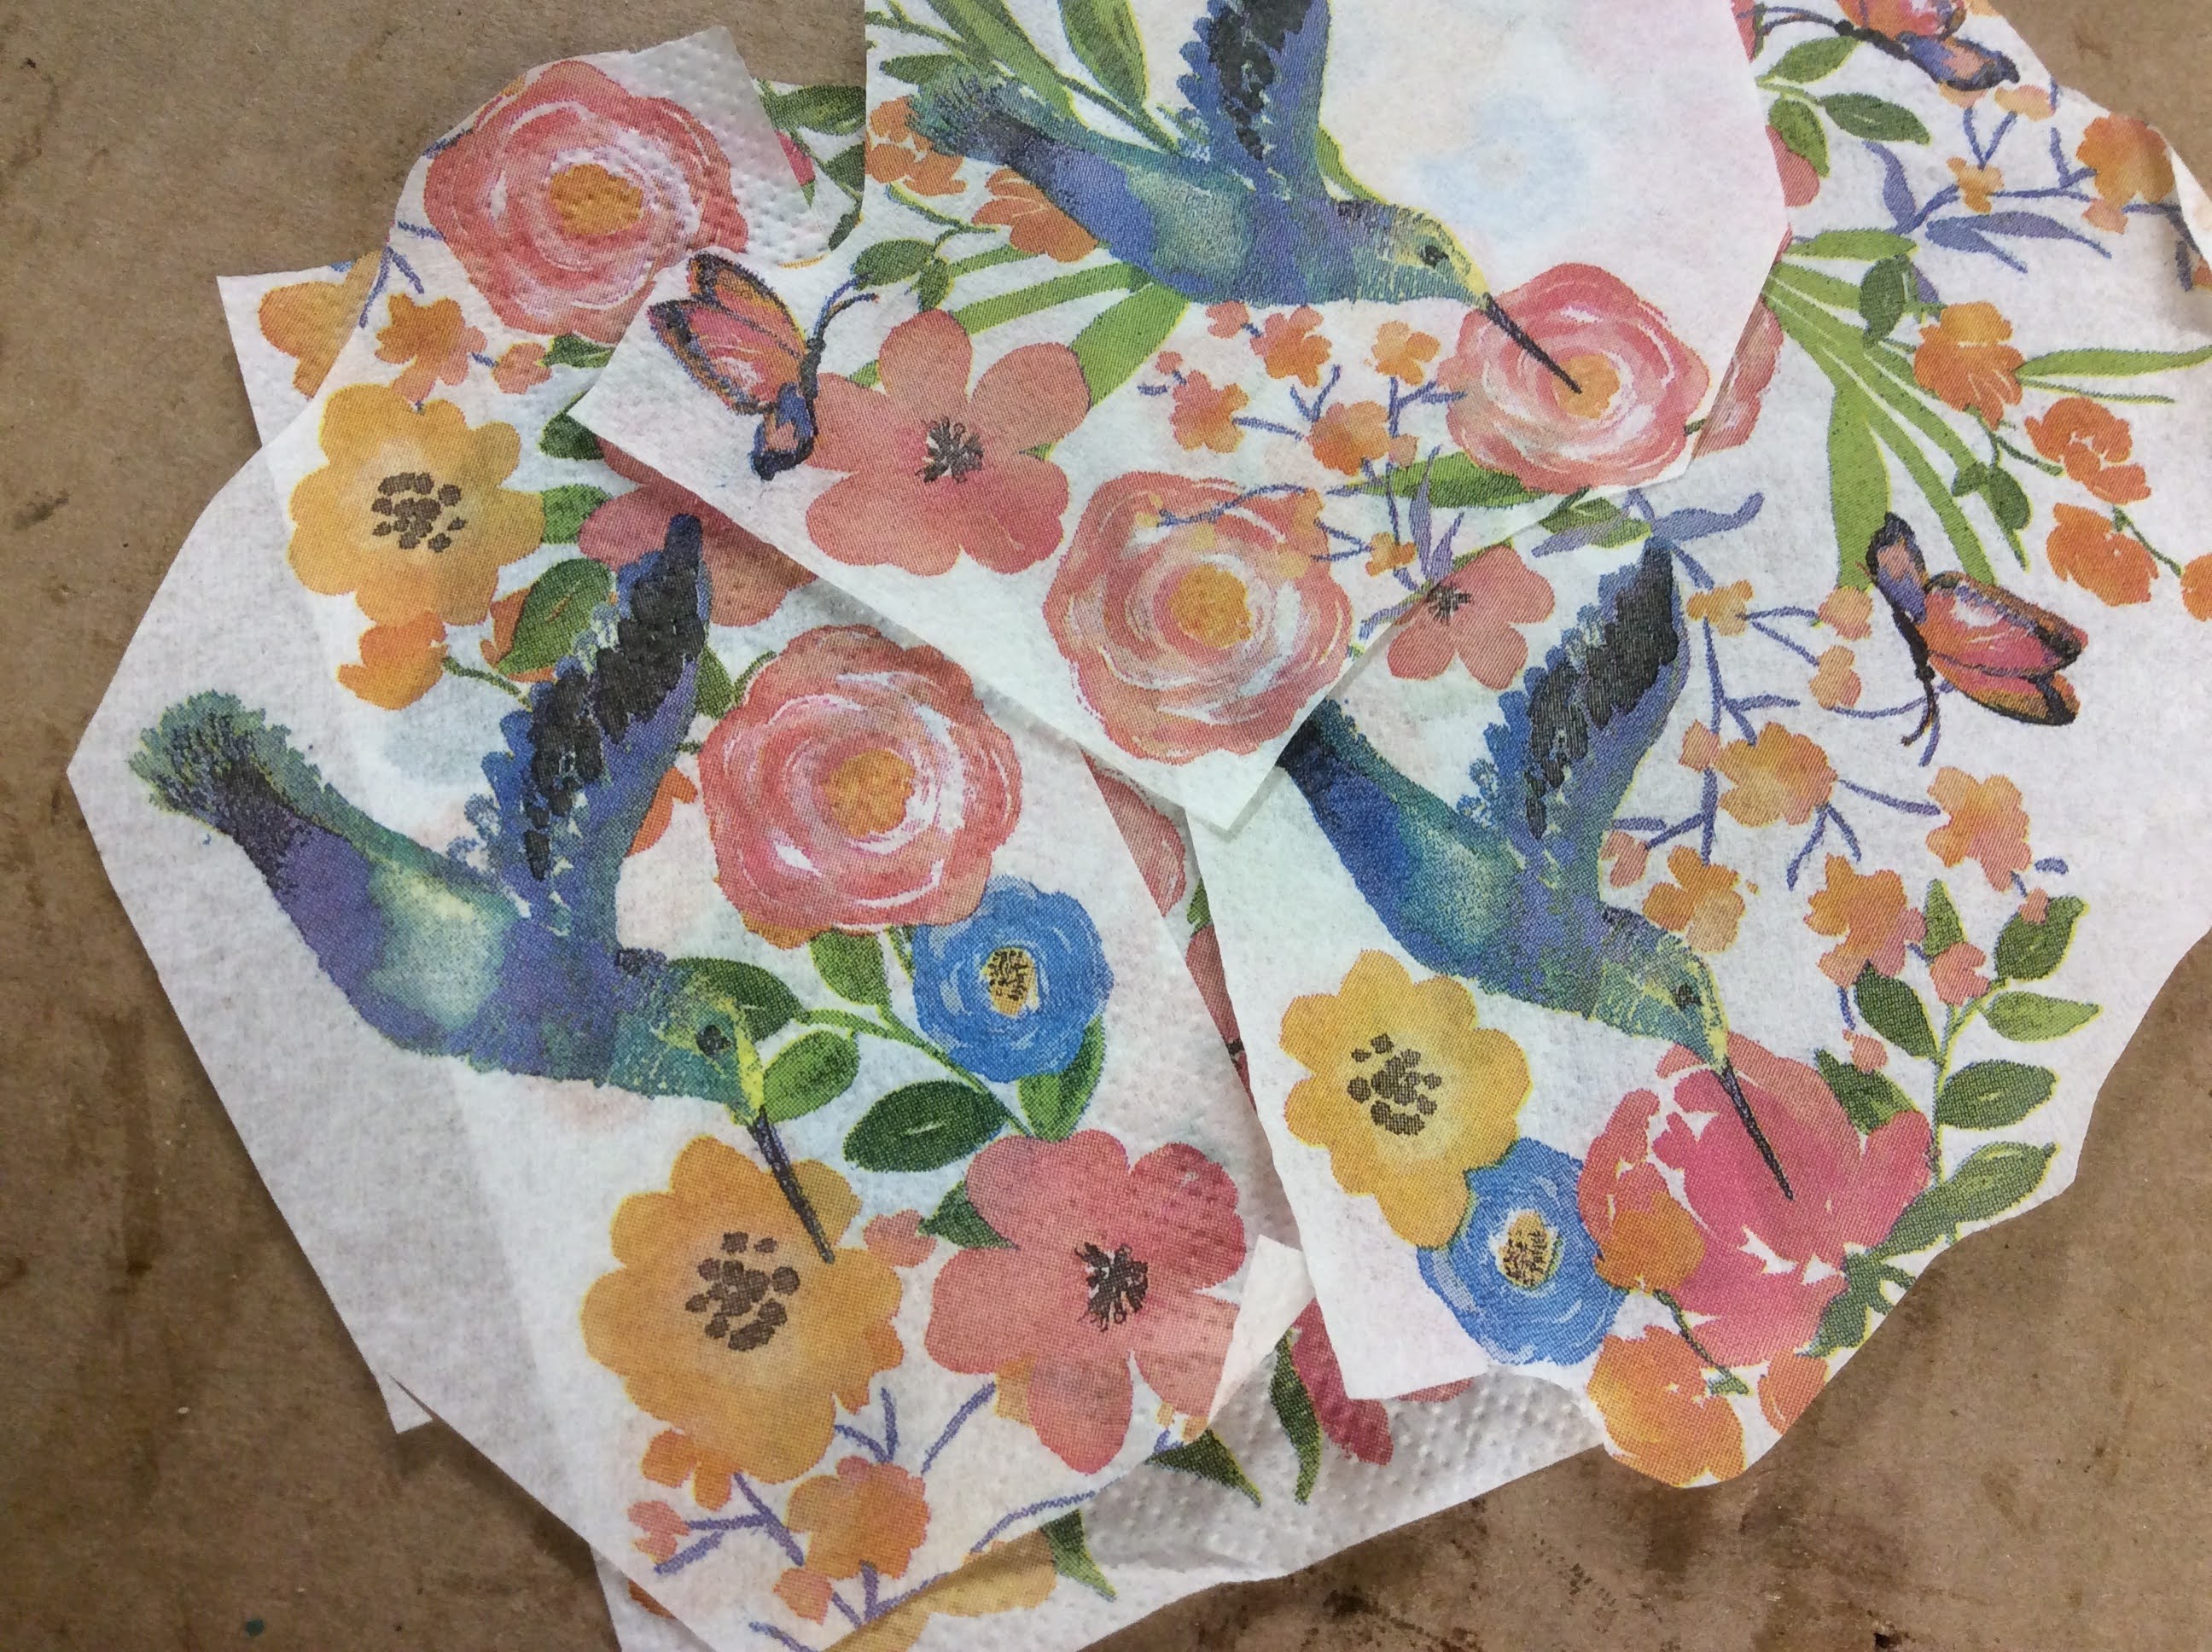
You will need to find a couple paper napkins for this project.
I found the birds recently at the Dollar Tree.
You can use Matte or Gloss Mod Podge.
You will want to use a single ply of the napkin.
Here is an easy trick to separate the layers of napkin.
Touch a piece of scotch tape to the back side,
the tape will pull apart the layers easily.
Cut your napkin into smaller pieces that have a design you like.
Use a thin layer of Mod Podge to attach your napkin to the card.
The cards may bow but they will straighten out later.
We are only covering one side.
The picture on the card will show through.
If you don't like that- you can paint the card first with gesso
or acrylic paint.
Trim edges with scissors.
You can use distressing ink on the sides.
Lay out your cards.
Glue your cards to a sheet of regular copy paper.
Pretty side up!
Leave about a 1/4'' of space between the cards.
Let dry.
Trim background paper with scissors.

Fold like an accordion-
They have a wonderful texture,
almost like soft leather.
Now we can stitch around the cards
with the sewing machine.
This is optional, but it is so much fun.
I think you'll love it.
Do a quick test on another piece of paper first!
Just to make sure your bobbin is working properly.
Start at the top and go across, down, up and over.
You will end up back where you started.
I used some stamps on the back side.
I used Antique Linen Distress Ink.
You can use tea or coffee to stain your paper .
You will be able to fold these in a few different ways!
The small size can fit inside a greeting card.
I like to give you some ideas on how to use these-
Here is one I used on the cover of a mini junk journal.
and I also tucked one inside a pocket.
They can be used as tags.
This is one side-
and this is the other.
It's nice to have a little handmade item ready
when you may need it !
Thanks for hanging out with me-
xo Lisa S


Wow, these are fantastic. Thank you for joining TTCRD challenge. Anesha
ReplyDeleteYou made my day!
DeleteI'm happy to join you, thanks.
xo Lisa S
Lovely---really a perfect size for lots of things! Sandi
ReplyDeleteThank you Sandi!
DeleteI tucked one in my wallet :)
xo Lisa S
Such a cute idea. Very pretty.
ReplyDeleteLinda, Thank you so much!
Deletexo Lisa S
Such a pretty little book!
ReplyDeleteAngela, Thank you so much. It's always a pleasure to have you visit.
Deletexo Lisa S
Oh, I love how these turned out!! This is right up my alley (as they say, haha),and I will be making some of these for sure. I love how you made the accordion book on the copy paper-genius!
ReplyDeleteThanks Pam,
DeleteI love the sewing part! I think I will do the whole deck :)
xo Lisa S
The sewing adds such a nice touch. I've featured these at the TFT party today. :)
DeletePam you are such a sweetie!!!
DeleteThese are fun and pretty.
ReplyDeleteThank you!
Deletexo Lisa S
How clever, Lisa! Thanks for sharing at Vintage Charm!
ReplyDeleteYou're sweet- Thanks!
Deletexo Lisa S
Oh my, oh my, oh my! I am SO in love with this notebook. I love, love, love it. Oh, and by the way, have I mentioned that I REALLY like these notebooks?? I'm going to make some to give to my grandkids!
ReplyDeleteI am going to feature this at our Party in Your PJs link party on my Grandma Ideas site at our party that starts tomorrow night.
Thank you, thank you for sharing this terrific idea and for participating in our link party.
Nina,
DeleteThank you so much. They are so fun to make. The pictures don't really show how cute they are. You have permission to use any photos you wish :) I am thrilled to be part of the feature!
You are awesome!
xo Lisa S
These are so lovely, Lisa. Thanks for sharing your art.
ReplyDeleteThanks Lori! That is so nice of you to say. I'm so happy you stopped by- I hope you are having a great week.
Deletexo Lisa S
I wasn't sure what you were going to do with these but I love how they turned out. So very creative and a unique way of upcycling cards. So glad your shared this post. #HomeMattersParty
ReplyDeleteDonna,
DeleteJust something fun to pass the time :) Thank you for visiting with me today!
xo Lisa S
Wow! What a fantastic technique with a gorgeous outcome!
ReplyDeleteThank you for joining us at TTCRD this week.
Hugs Sheryl DT member. Xx
Sheryl'
DeleteYou made my day! Come by anytime with your sweet comments!
I'm glad I could join you.
xo Lisa S
I love it! You’re being featured on the Little Cottage Link Party today!
ReplyDeleteKristie,
DeleteYou are awesome! Thank you so much. I appreciate you so much:)
xo Lisa S
I love your tutorial and how pretty the stitch made it look. What a unique combination of decoupage and mixed media !! Lisa, Thank you for sharing with us at Meraki Link Party.
ReplyDeleteMuch Love
Naush
Naush
DeleteThank you so much! The stitching is kind of fun. I just wanted to keep making them:)
xo Lisa S