
Hello Friend!
To make these beautiful Hand Painted
Water Marbled Buttons-
You just need a few things you probably already have on hand!
First find your old button jars or ask Grandma!

You will need some buttons-
I thought the bigger the better!

You will need an assortment of nail polish.
Any color you prefer.
I don't paint my nails ever, these are just for crafts.
The cheaper the better.
Dollar Tree has polish for $1.25
( If you are using old polish, you can revive it with a few drops of
polish remover in the bottle and shake well.)

Some bamboo skewers

I poked holes in a box to allow my buttons to dry.

A small glass jar or bowl, filled with lukewarm water.

Before you get started, loosen the lids on the polish so you can work quickly.
Add a few drops of the nail polish- 2 or 3 colors.
Use a toothpick to quickly
swirl the colors together-

Submerge your button, swirl and pick up the color.


Stir around the rim to pick up the left over color

Remove the film, wipe off on a paper towel
before you add more color for the next button.

Stand your skewer up to dry.

Keep going it's so fun!


Don't forget to tighten the lids again!
I thought the sticks even looked pretty!

After an hour the buttons were dry.
I was so glad because I hate to wait !
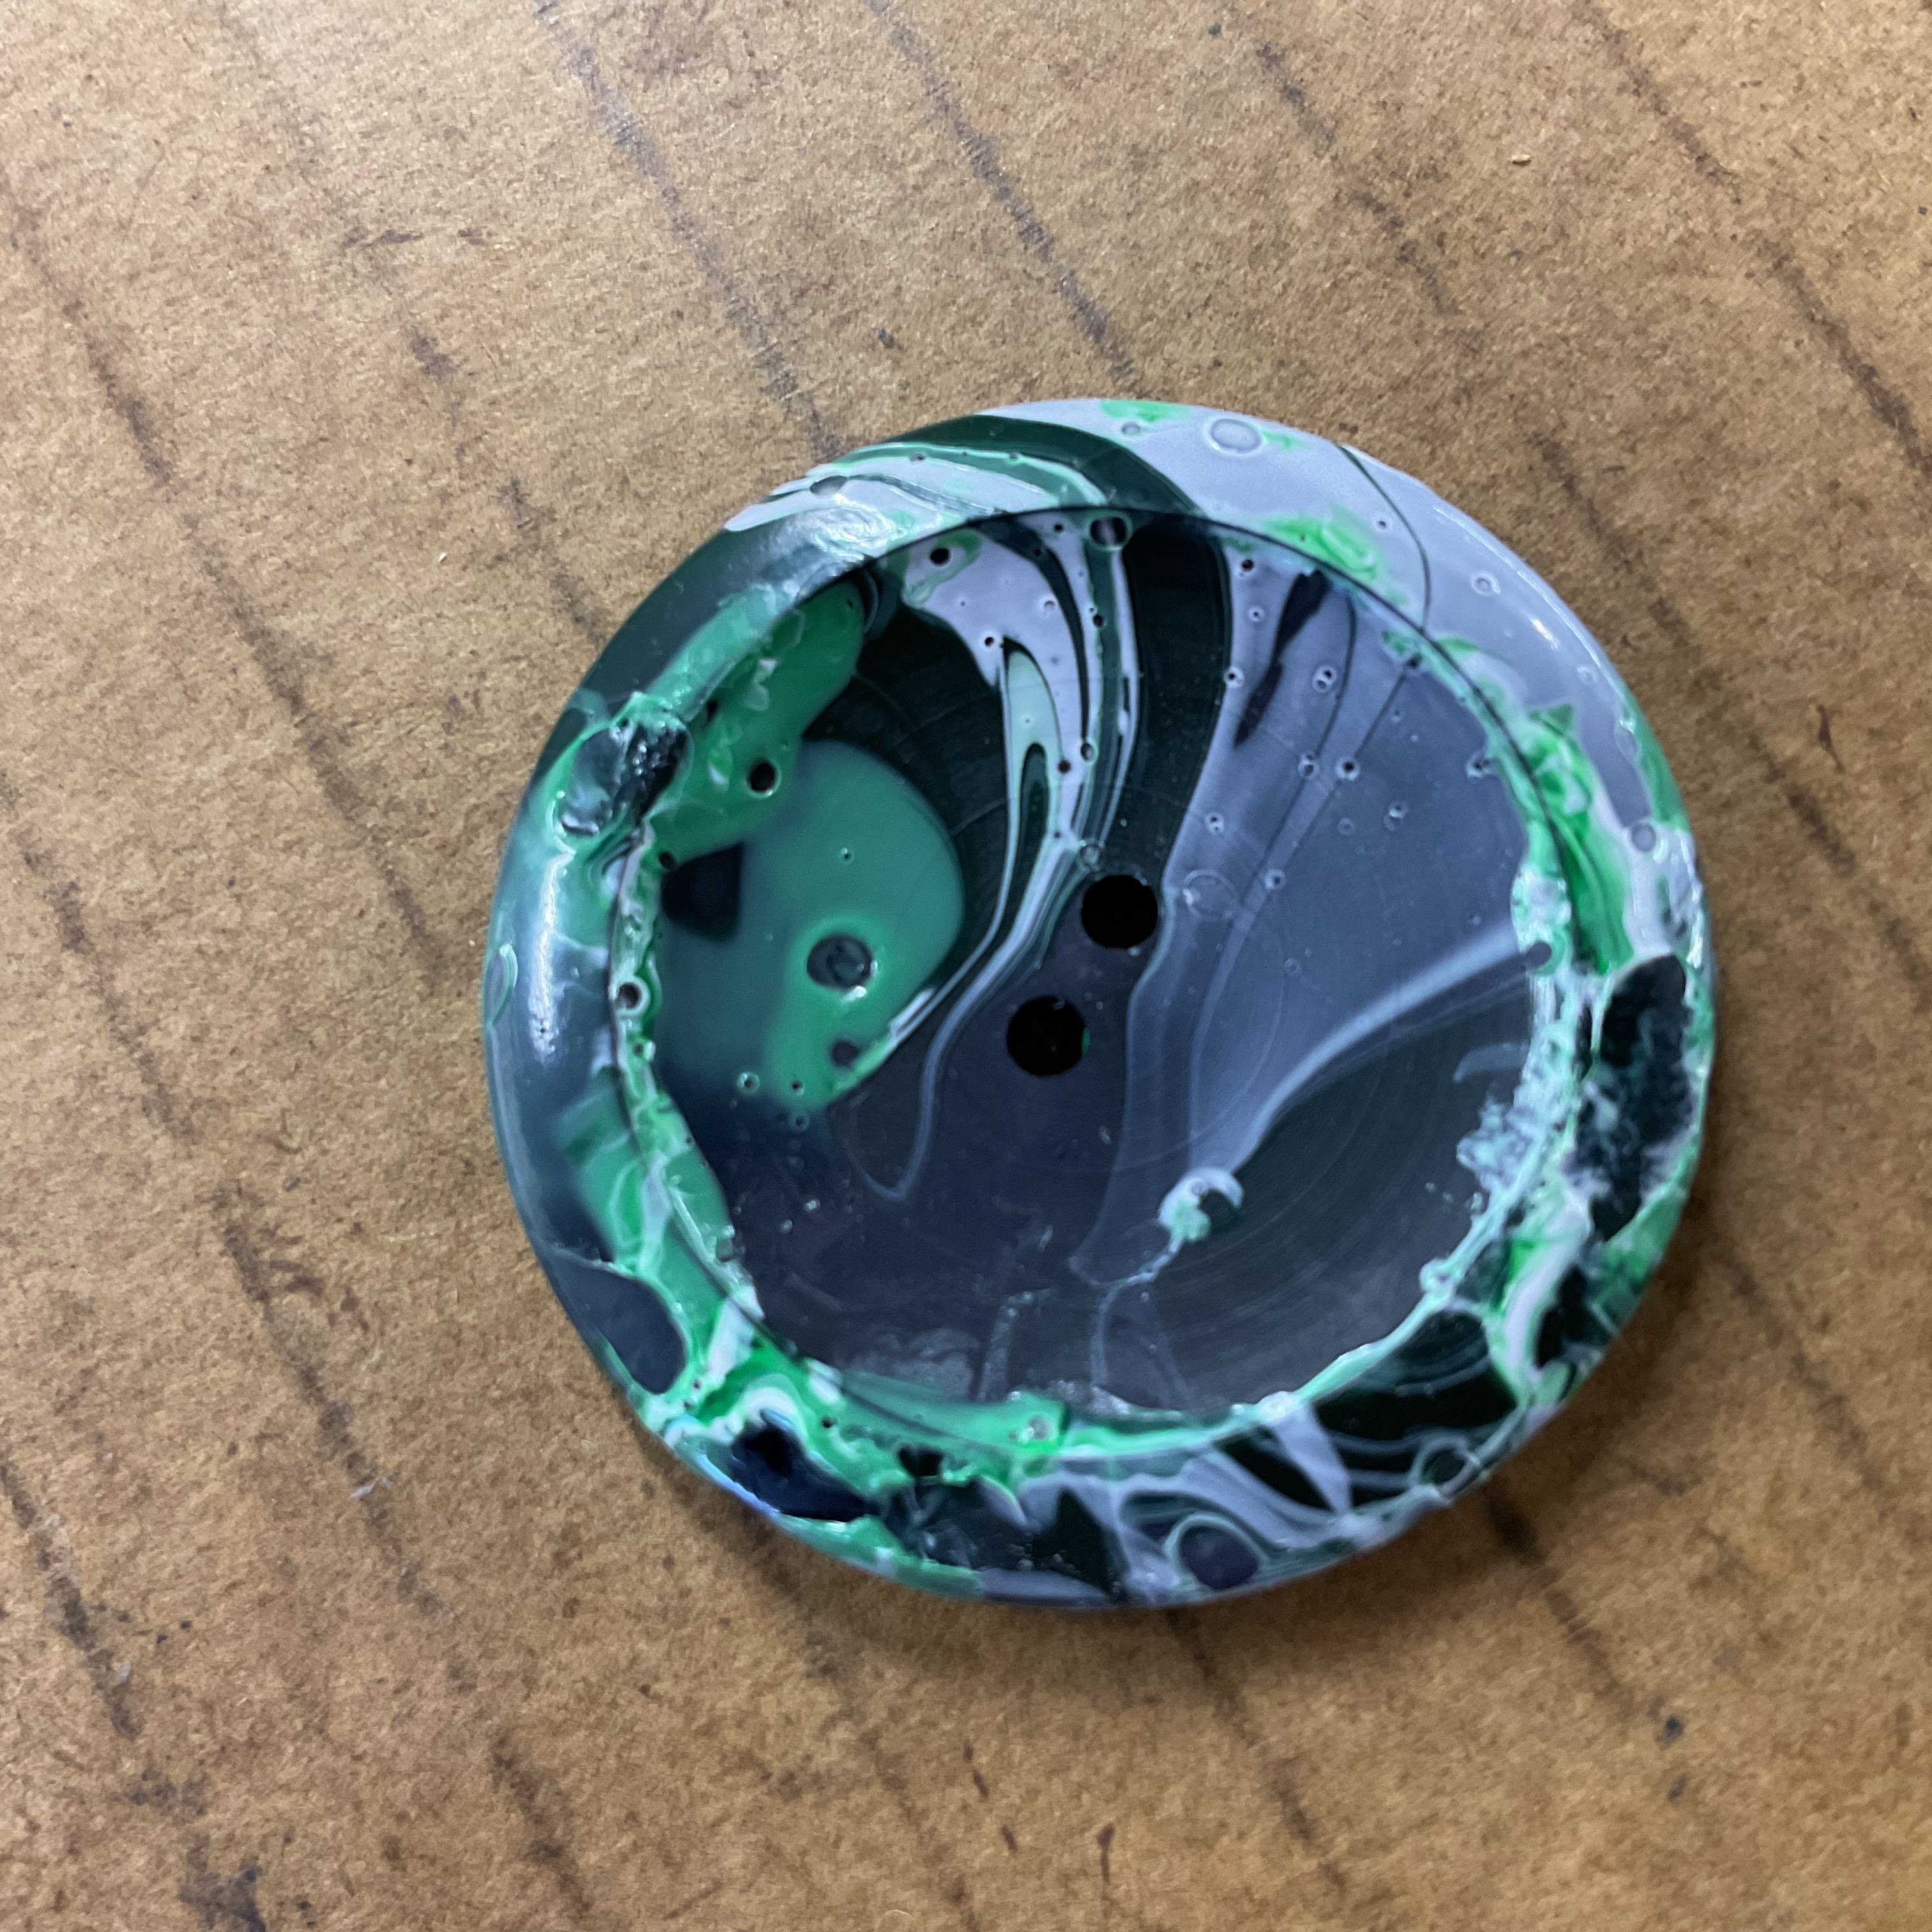
They have interesting texture.
I liked the flat buttons best.

I didn't like this one so I just dipped it again.

This one also got a second dip.....much better.

This one was my favorite

and this was the back side.

I dipped both sides- then you can pick which side is best.
I picked this side for the front.

These are so easy to make!
Make a bowl full!
They would be perfect closures for Junk Journals, charms or used in jewelry making.
These beautiful button cards on marbled paper were made
by Dragana @ www.saacibo.com
She is a wonderfully talented designer who shared this
download for personal use.
Visit her website if you would like the button card.
I printed mine on cardstock and rounded the edges.

I used an awl to mark the holes and attacked the buttons to the card
with string.

The bow on the front didn't look good-

so I tied it in the back.


I like them on the card for now-
I'm not working on any journals but I can save them
for another time.

They fit nicely in a Pyrex dish-


In my craft room ready to be used or given as gifts!

Easy clean-up !
Aren't they pretty ?
Next time I'll try some small buttons and make some earrings.
Thank you for visiting!!!!!
xo Lisa S


Fun craft, great idea for earrings too. Sandi
ReplyDeleteSandi, It was fun. I have a feeling I will make more soon.
Deletexo Lisa S
These are beautiful! I remember making some nail polish marbled crafts before (but I can't remember exactly what we dunked!). I did have some fast drying polish and that did NOT work because I just could not move that quickly.
ReplyDeleteJoanne, Thank you! I thought the buttons turned out well for my first attempt. It was an easy clean-up too. You do have to work fast !
DeleteXO Lisa S
This was a really interesting process, I might want to use this for some miniatures that are just too ugly to use in my contemporary doll houses. Very cool!
ReplyDeleteSandi,
DeleteThis would be a fun process to try on miniatures. I like how you think! Maybe a tiny marbled flower vase-
Thanks for visiting.
xo Lisa S
I love this idea, and they turned out so pretty. Thank you for sharing with us at The Crazy Little Lovebirds link party.
ReplyDeleteStephanie, Thank you so much. It was fun to update the look of the buttons. I was happy with the easy clean up. It's so nice to have you stop by! I look forward to joining Crazy LittleLovebirds again.
Deletexo Lisa S
Seriously Lisa... how do you come up with this genius idea?! Your marbled buttons are stunning!
ReplyDeleteDonna, You are so kind !!! Your comment made me smile!
DeleteThank you so much!
xo Lisa S
I love nail polish marbling, it always feels like magic! These large buttons would make beautiful brooches wouldn't they? I know a few friends who would love something like that as a small gift.
ReplyDeleteJulie, It really is magic ! The big buttons were my favorite. It was something I had on my list to try. I agree with you, the buttons would make beautiful jewelry.
Deletexo Lisa S
So many possibilities! Featuring you at Wednesdays in the Studio!
ReplyDeleteWow! Those are so neat! They look so fun to make, too. Thanks for sharing this with us at the Will Blog for Comments #64 linkup. Hope to see you next time, too. Have a great week!
ReplyDeleteOh Lisa, these are so pretty! They look fun to make, too. I'll be featuring this at Thursday Favorite Things today. :)
ReplyDeleteBRILLIANT! RIght down to the cards that hold them. And goodness knows, I have quite a collection of nail polish. Featuring when my link party opens! How fun.
ReplyDelete