
Make great Candle Coasters !


Some mischief-makers have had a hold on my computer...???
Unfortunately it wasn't these cute kind.
I think it has been fixed.
xo Lisa S

Hello!
I found these 10'' flocked bottle brush trees
at the Dollar tree.
I wanted to see if I could decorate these small trees.
I got out the glue gun and went through
some of my craft stash.


Thank you,
xo Lisa S
Hello my friend !
I'm back with another Junk Journal.
If you like thrifting like I do, you probably find patterns available
all the time for about a dollar.
Before I get started I like to scan the covers into my
computer. Then I can use the images again for paper dolls
and greeting cards.


To finish
I wrapped them up with
some wrinkled vintage seam binding-

Things to make with extra pattern tissue-
This wreath here-

and years ago I decoupaged my dress form.

I'm just about finished with getting ready for
my Holiday Boutique.
These journals would make nice gifts for friends
that like to sew or enjoy fashion.
Thank you so much for being here-
It is so fun to share with you !
XO Lisa S
Hi friends,
Do you like to go to DOLLAR TREE for craft supplies?
I found these large wood cut outs.
For this price I can't even buy the wood and I don't
have to ask for help from Mr. FRESH VINTAGE....

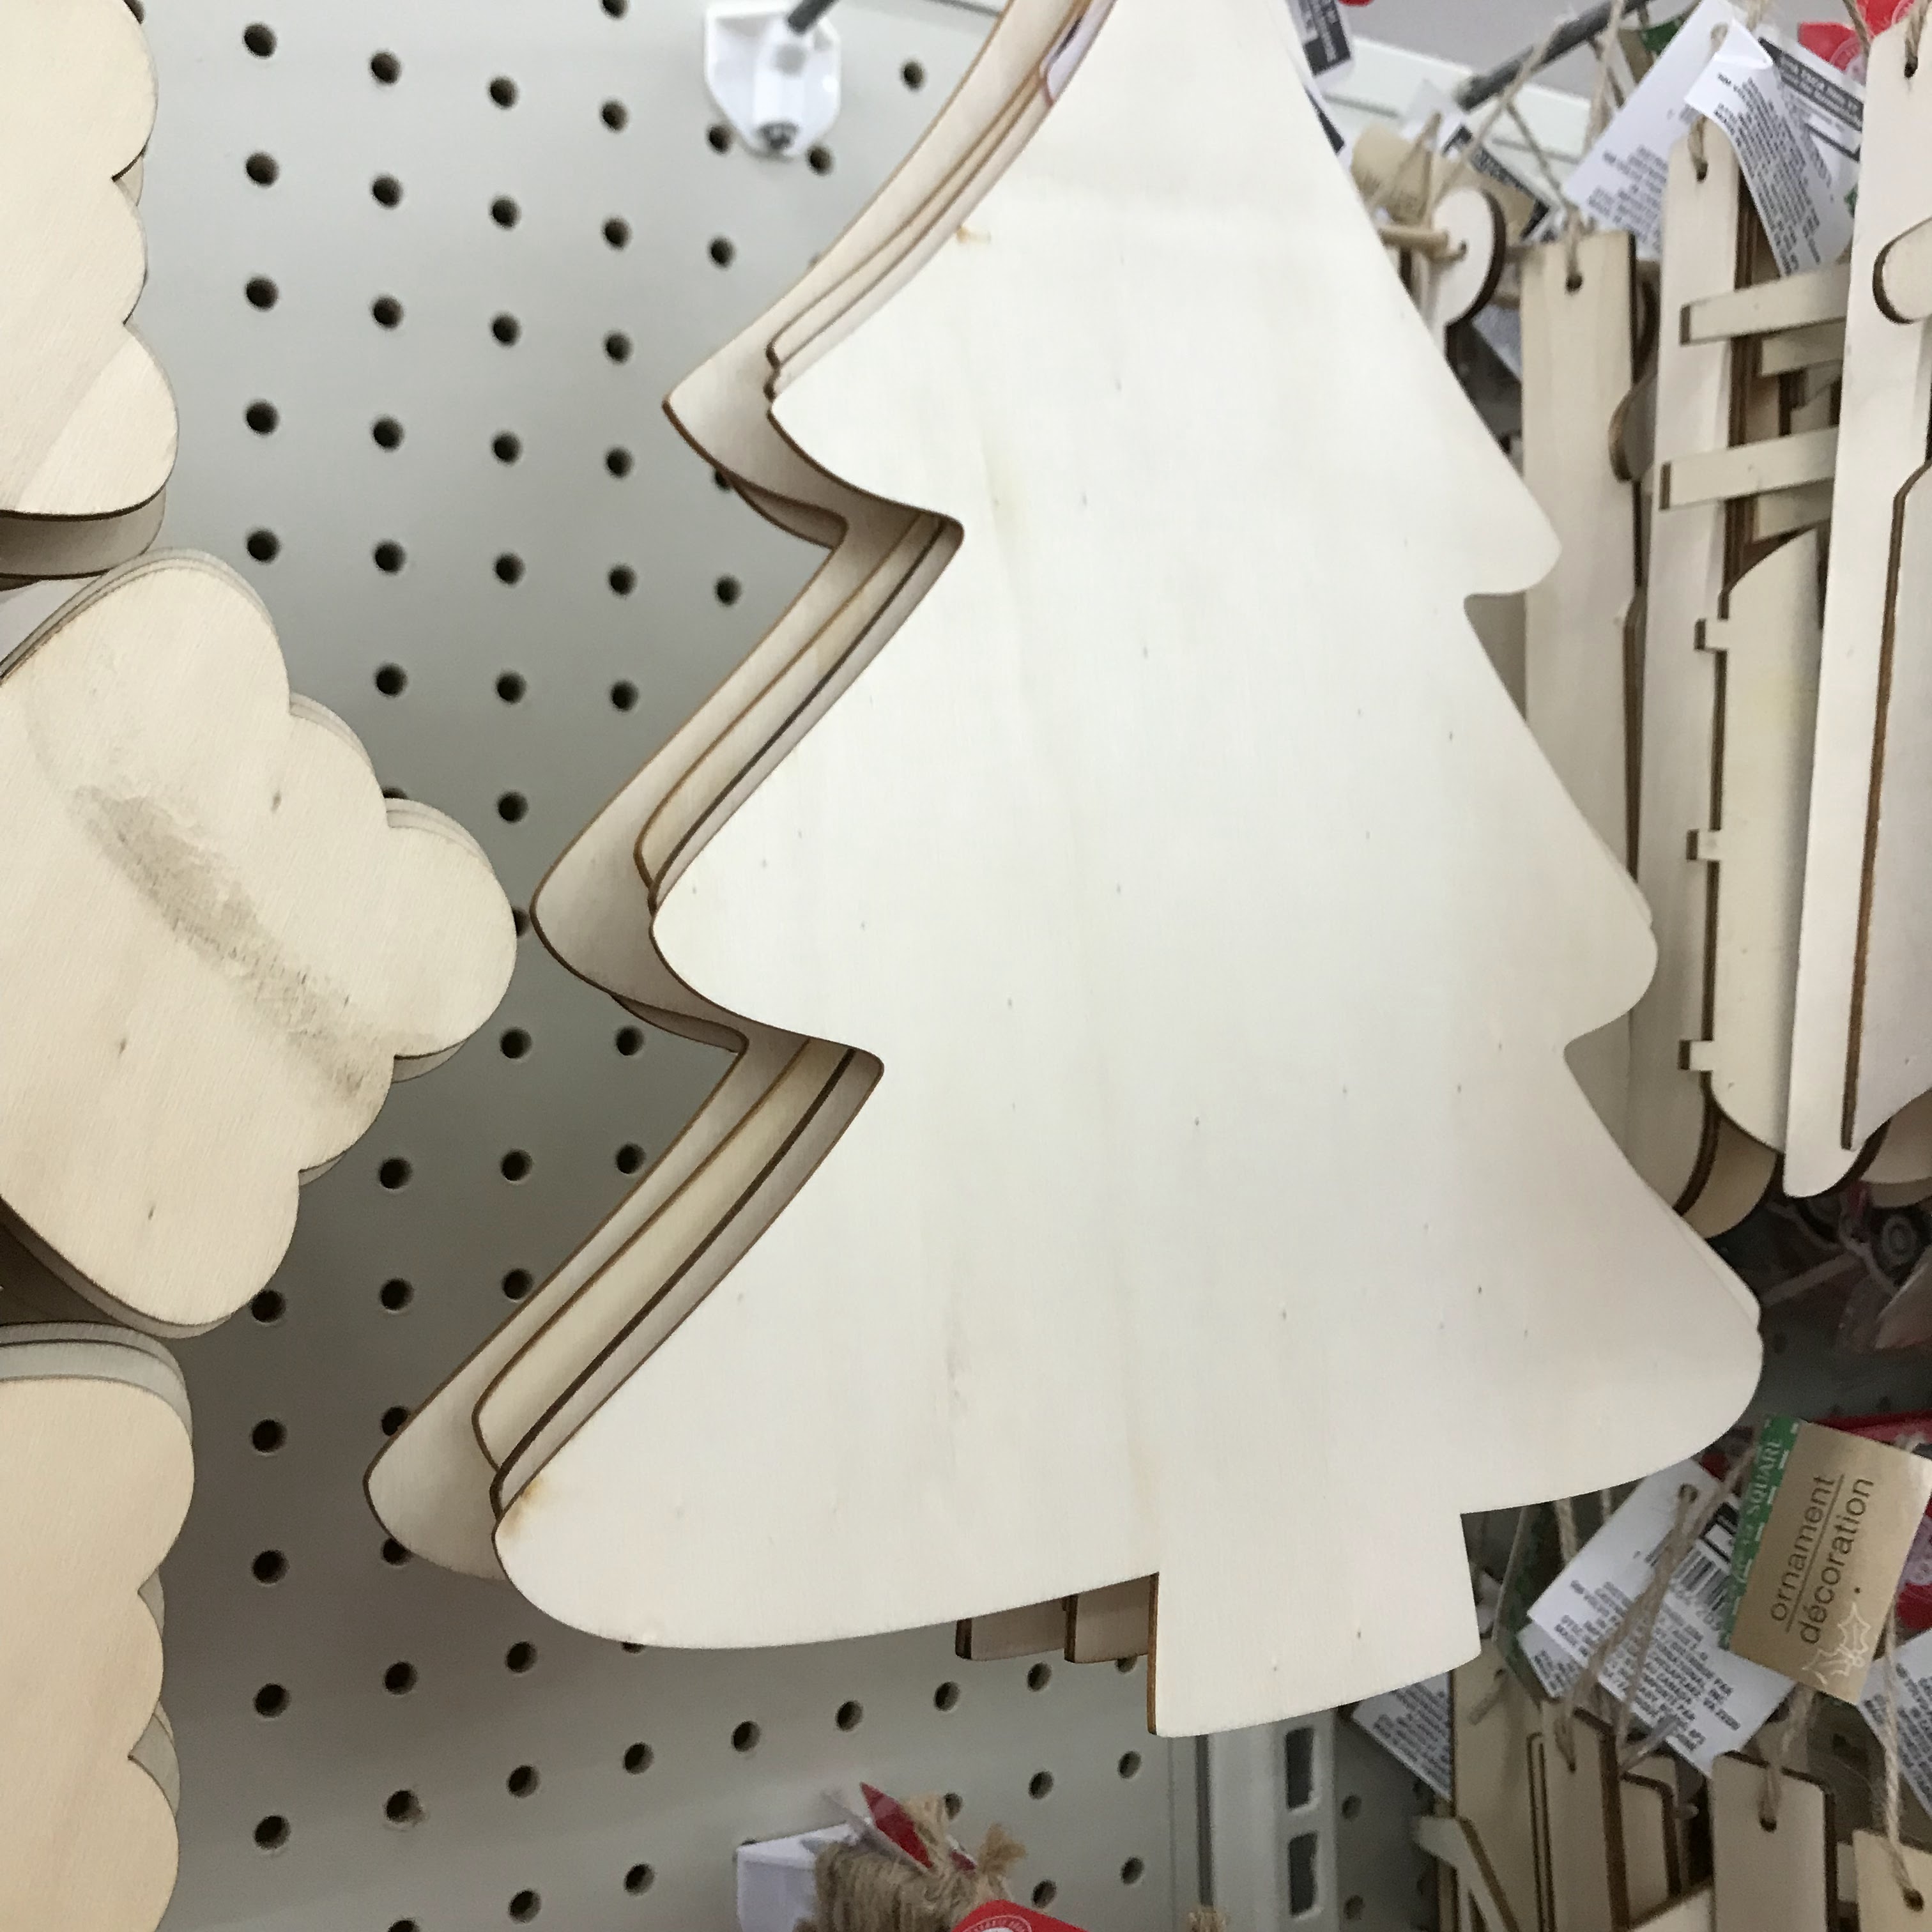
I used acrylic paint to cover the tree front and back.
The color I had on hand was English Moss.


Hi friends,
We were invited to a Chili Cook Off Potluck last weekend.
I decided to make one of our favorite side dishes.
It's something we always have for Thanksgiving so I thought
I'd share it with you now.
You might have most of these ingredients in your pantry.
Let's make it together and I'll give you the recipe again at the end.


Golden brown and creamy !


Transports well if you are driving to your family
Thanksgiving celebration.
We shared this dish at the potluck.
It went so fast I didn't even get a picture.
It can be served with a spoon. I like to use
an ice cream scoop because it
makes a pretty presentation.
Sweet Corn Casserole
1 box Jiffy Cornbread Mix
1- 14 oz. Creamed Corn
1 stick melted butter
1 cup sour cream
1/2 cup grated cheese
1/4 cup Diced Ortega Chilis
2 eggs, beaten
Combine all ingredients in a bowl.
Pour into a
buttered casserole dish
approx. 8'' x 8" or other deep dish
Bake 350 degrees
45 min. until golden and set
I hope you try our family favorite.
xo Lisa S
Hi my friend, It's July and I'm already making plans for Christmas. This year I want to make some homemade vanilla extract for my f...


