Hi friends-
Happy New Year!
I put away the Christmas decorations
and the house looks so empty
I jumped ahead thinking about Valentines Day-
Maybe you are like me-
When I brought out my box of goodies, I realized
I have a large amount of paper valentines that I need to organize.
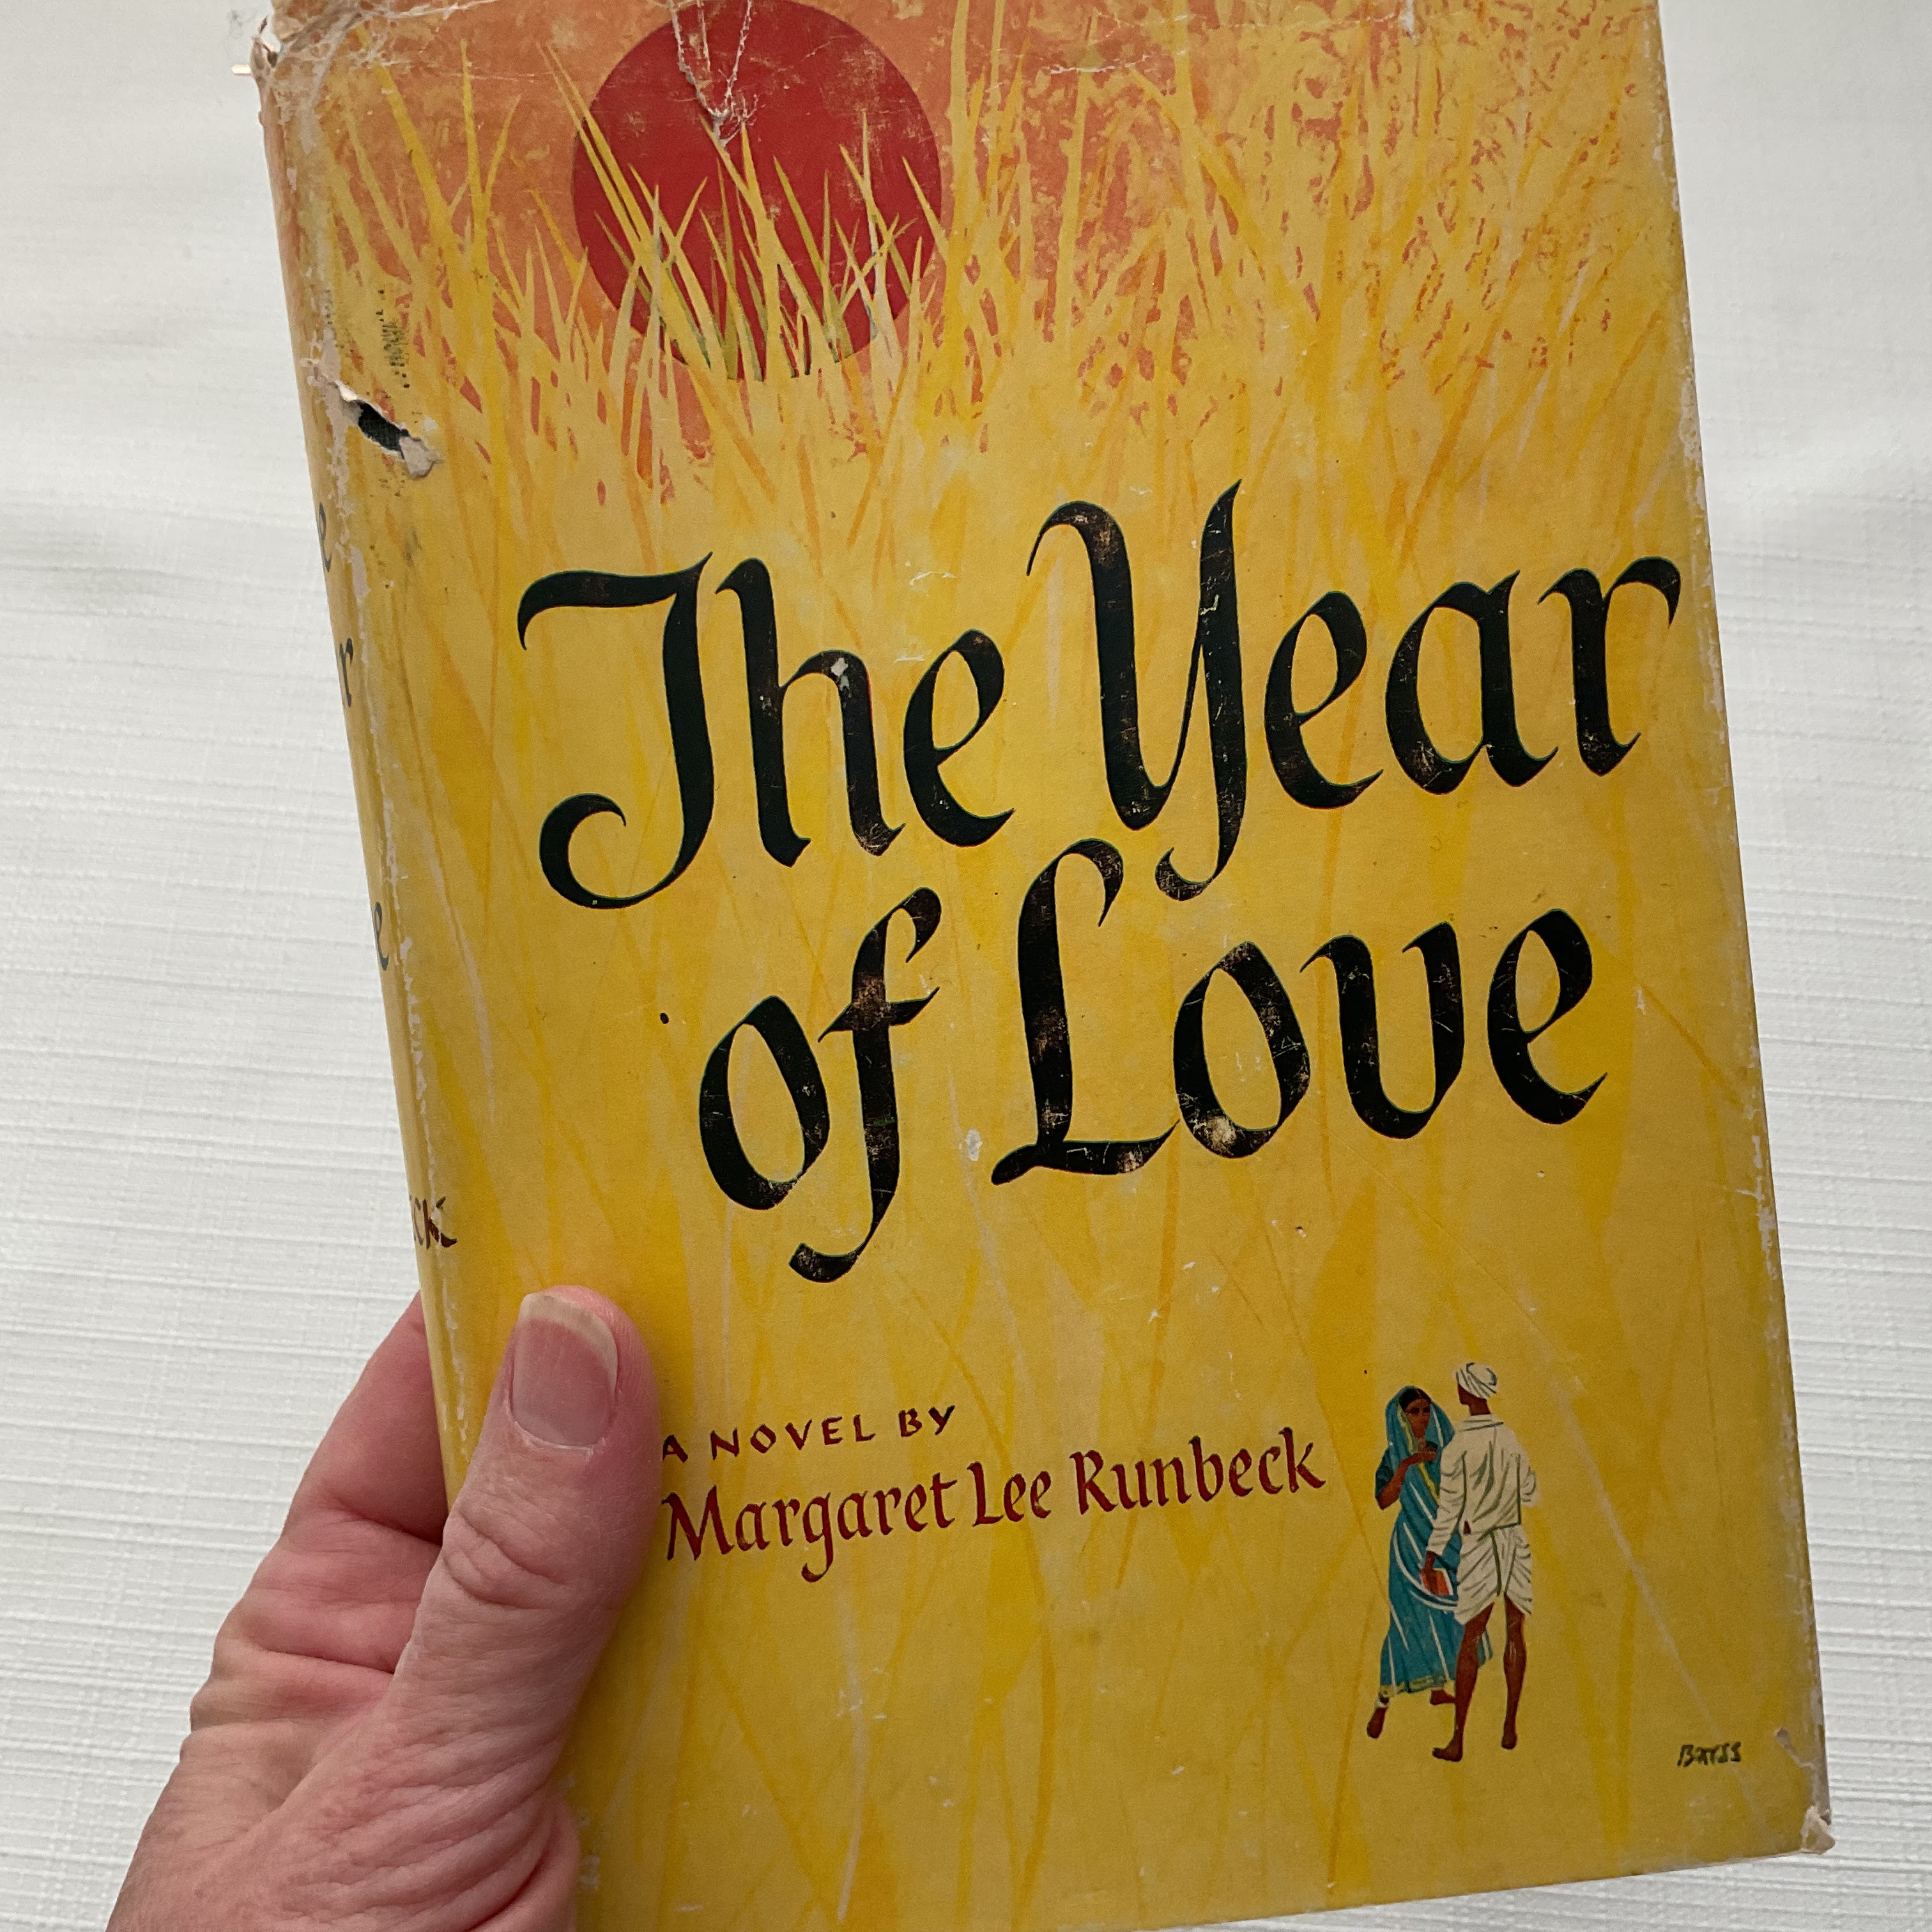
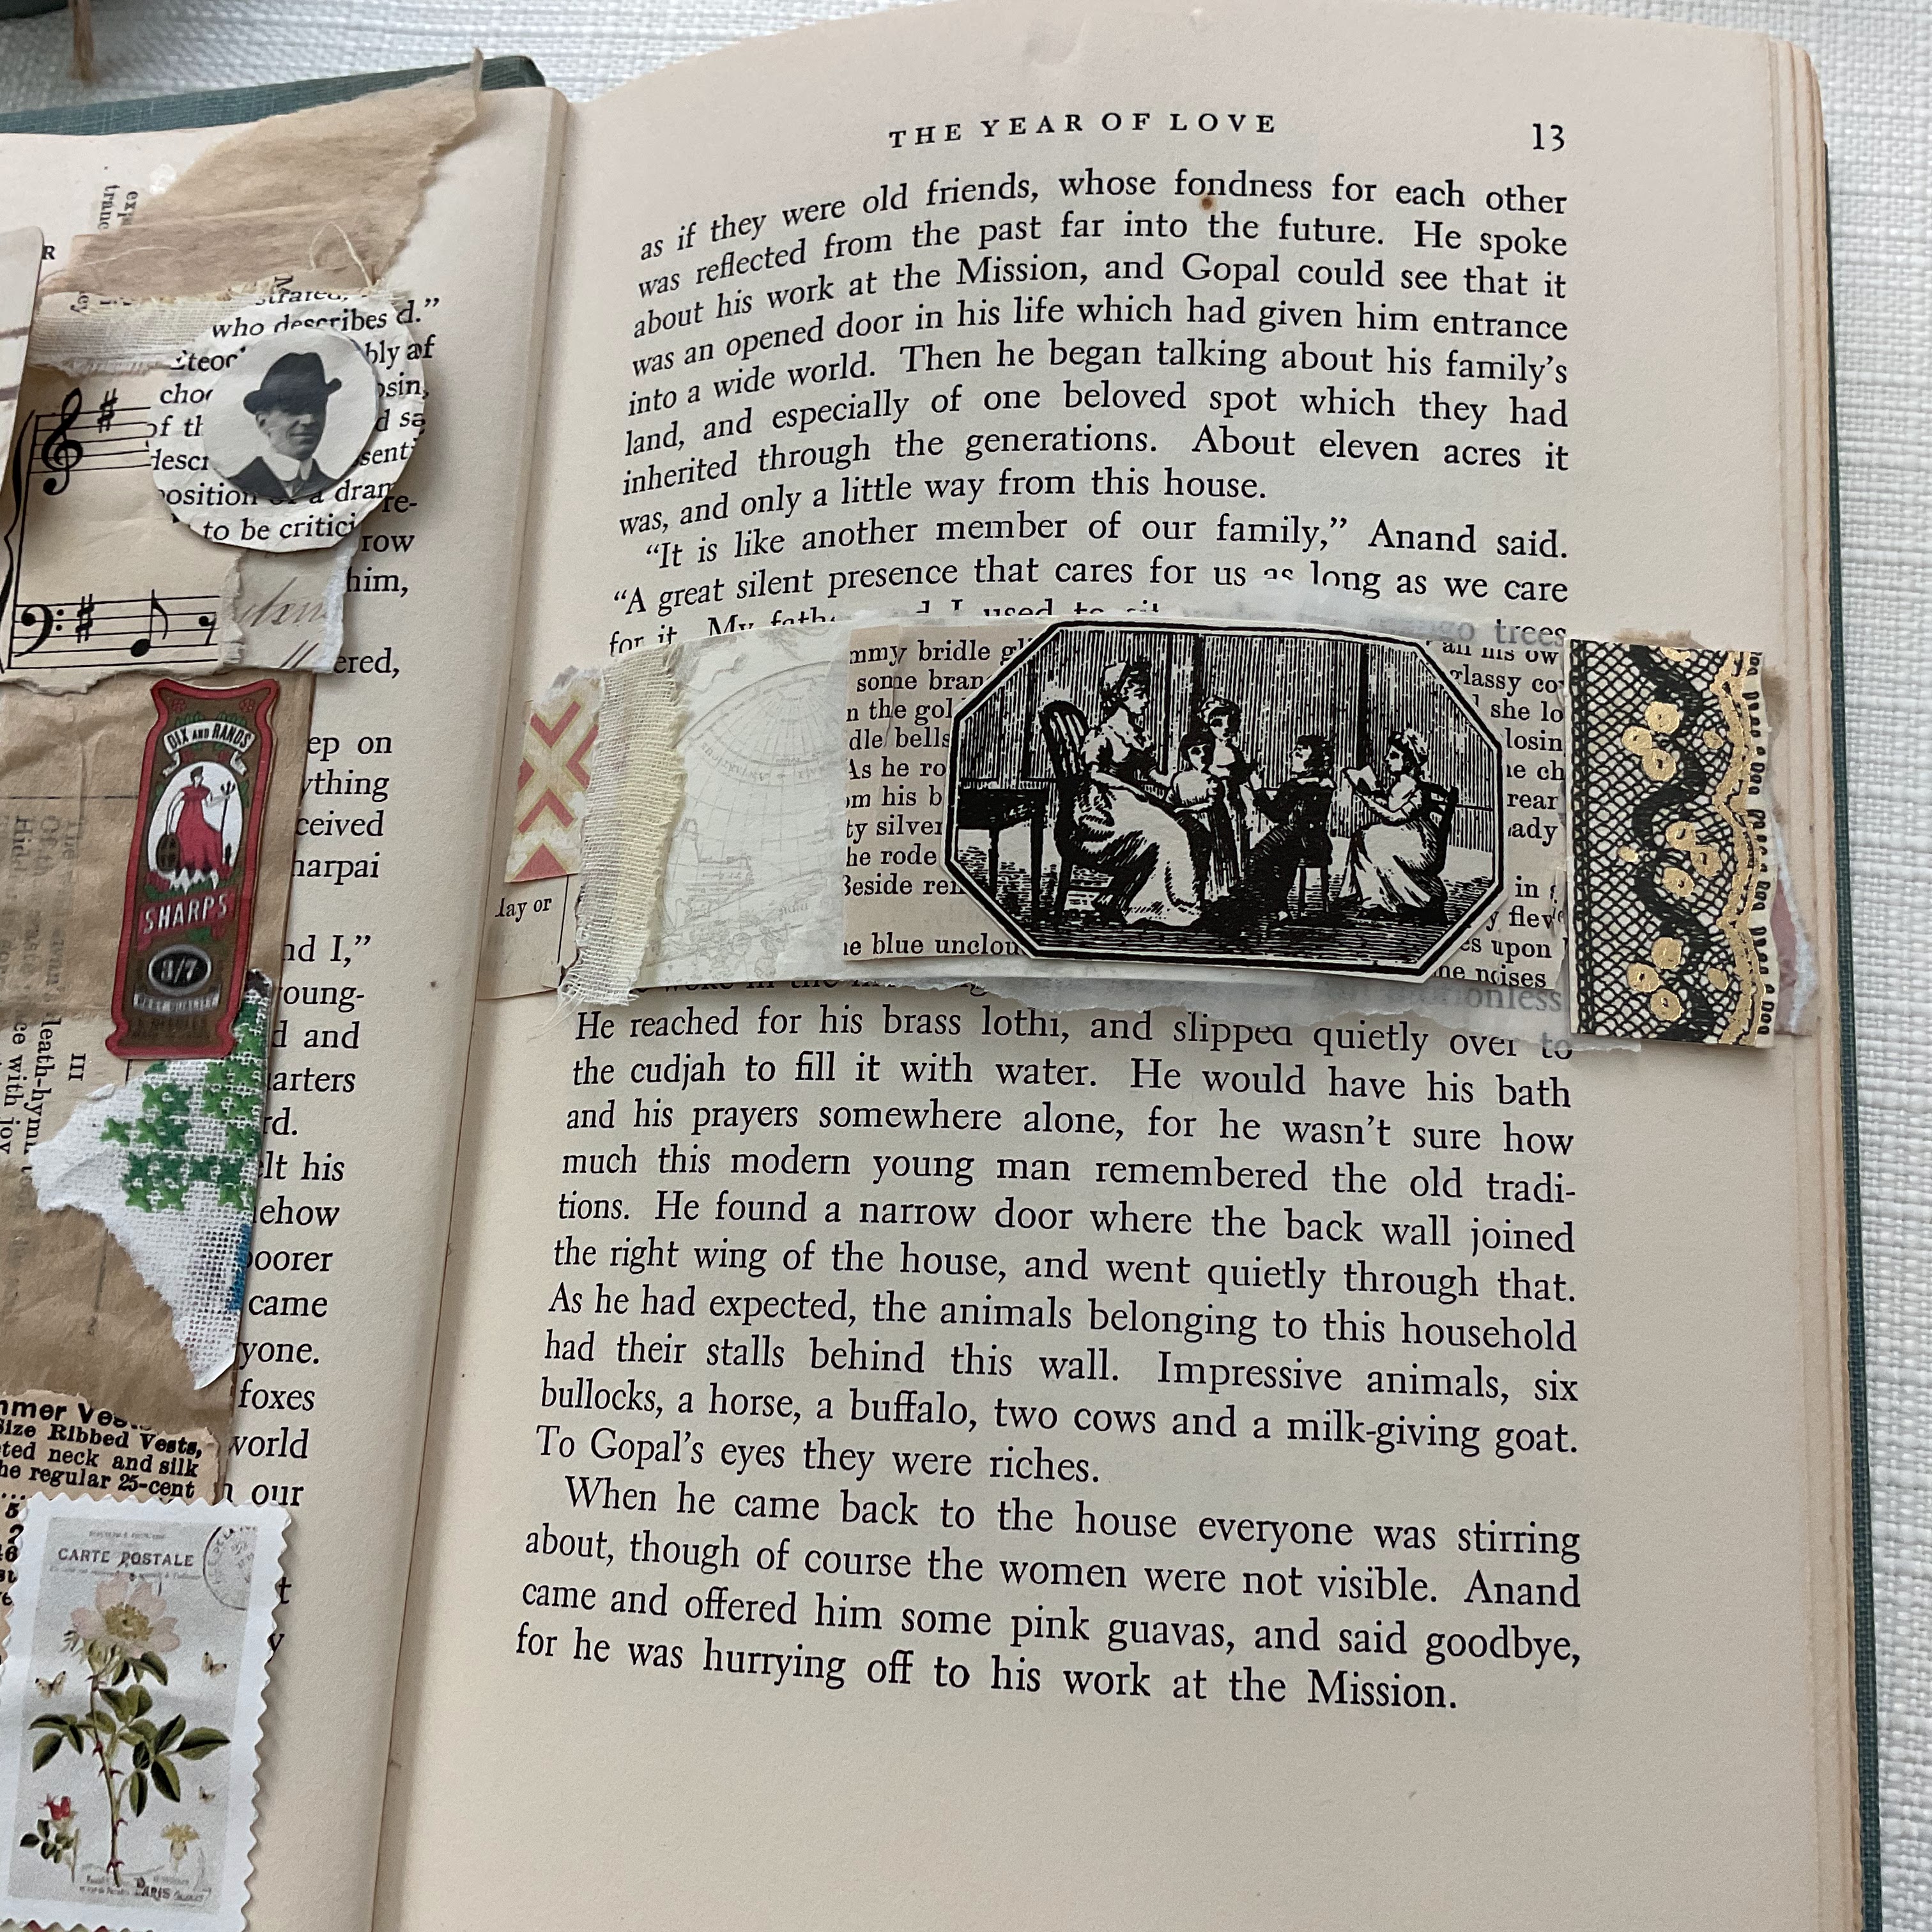
I thought of making a scrapbook from an old book.
I picked up this book a while ago- I liked the title!
I also liked the cover.
For this project you will need to find a book
with a GLUED spine, not a sewn spine.
We will be removing pages.
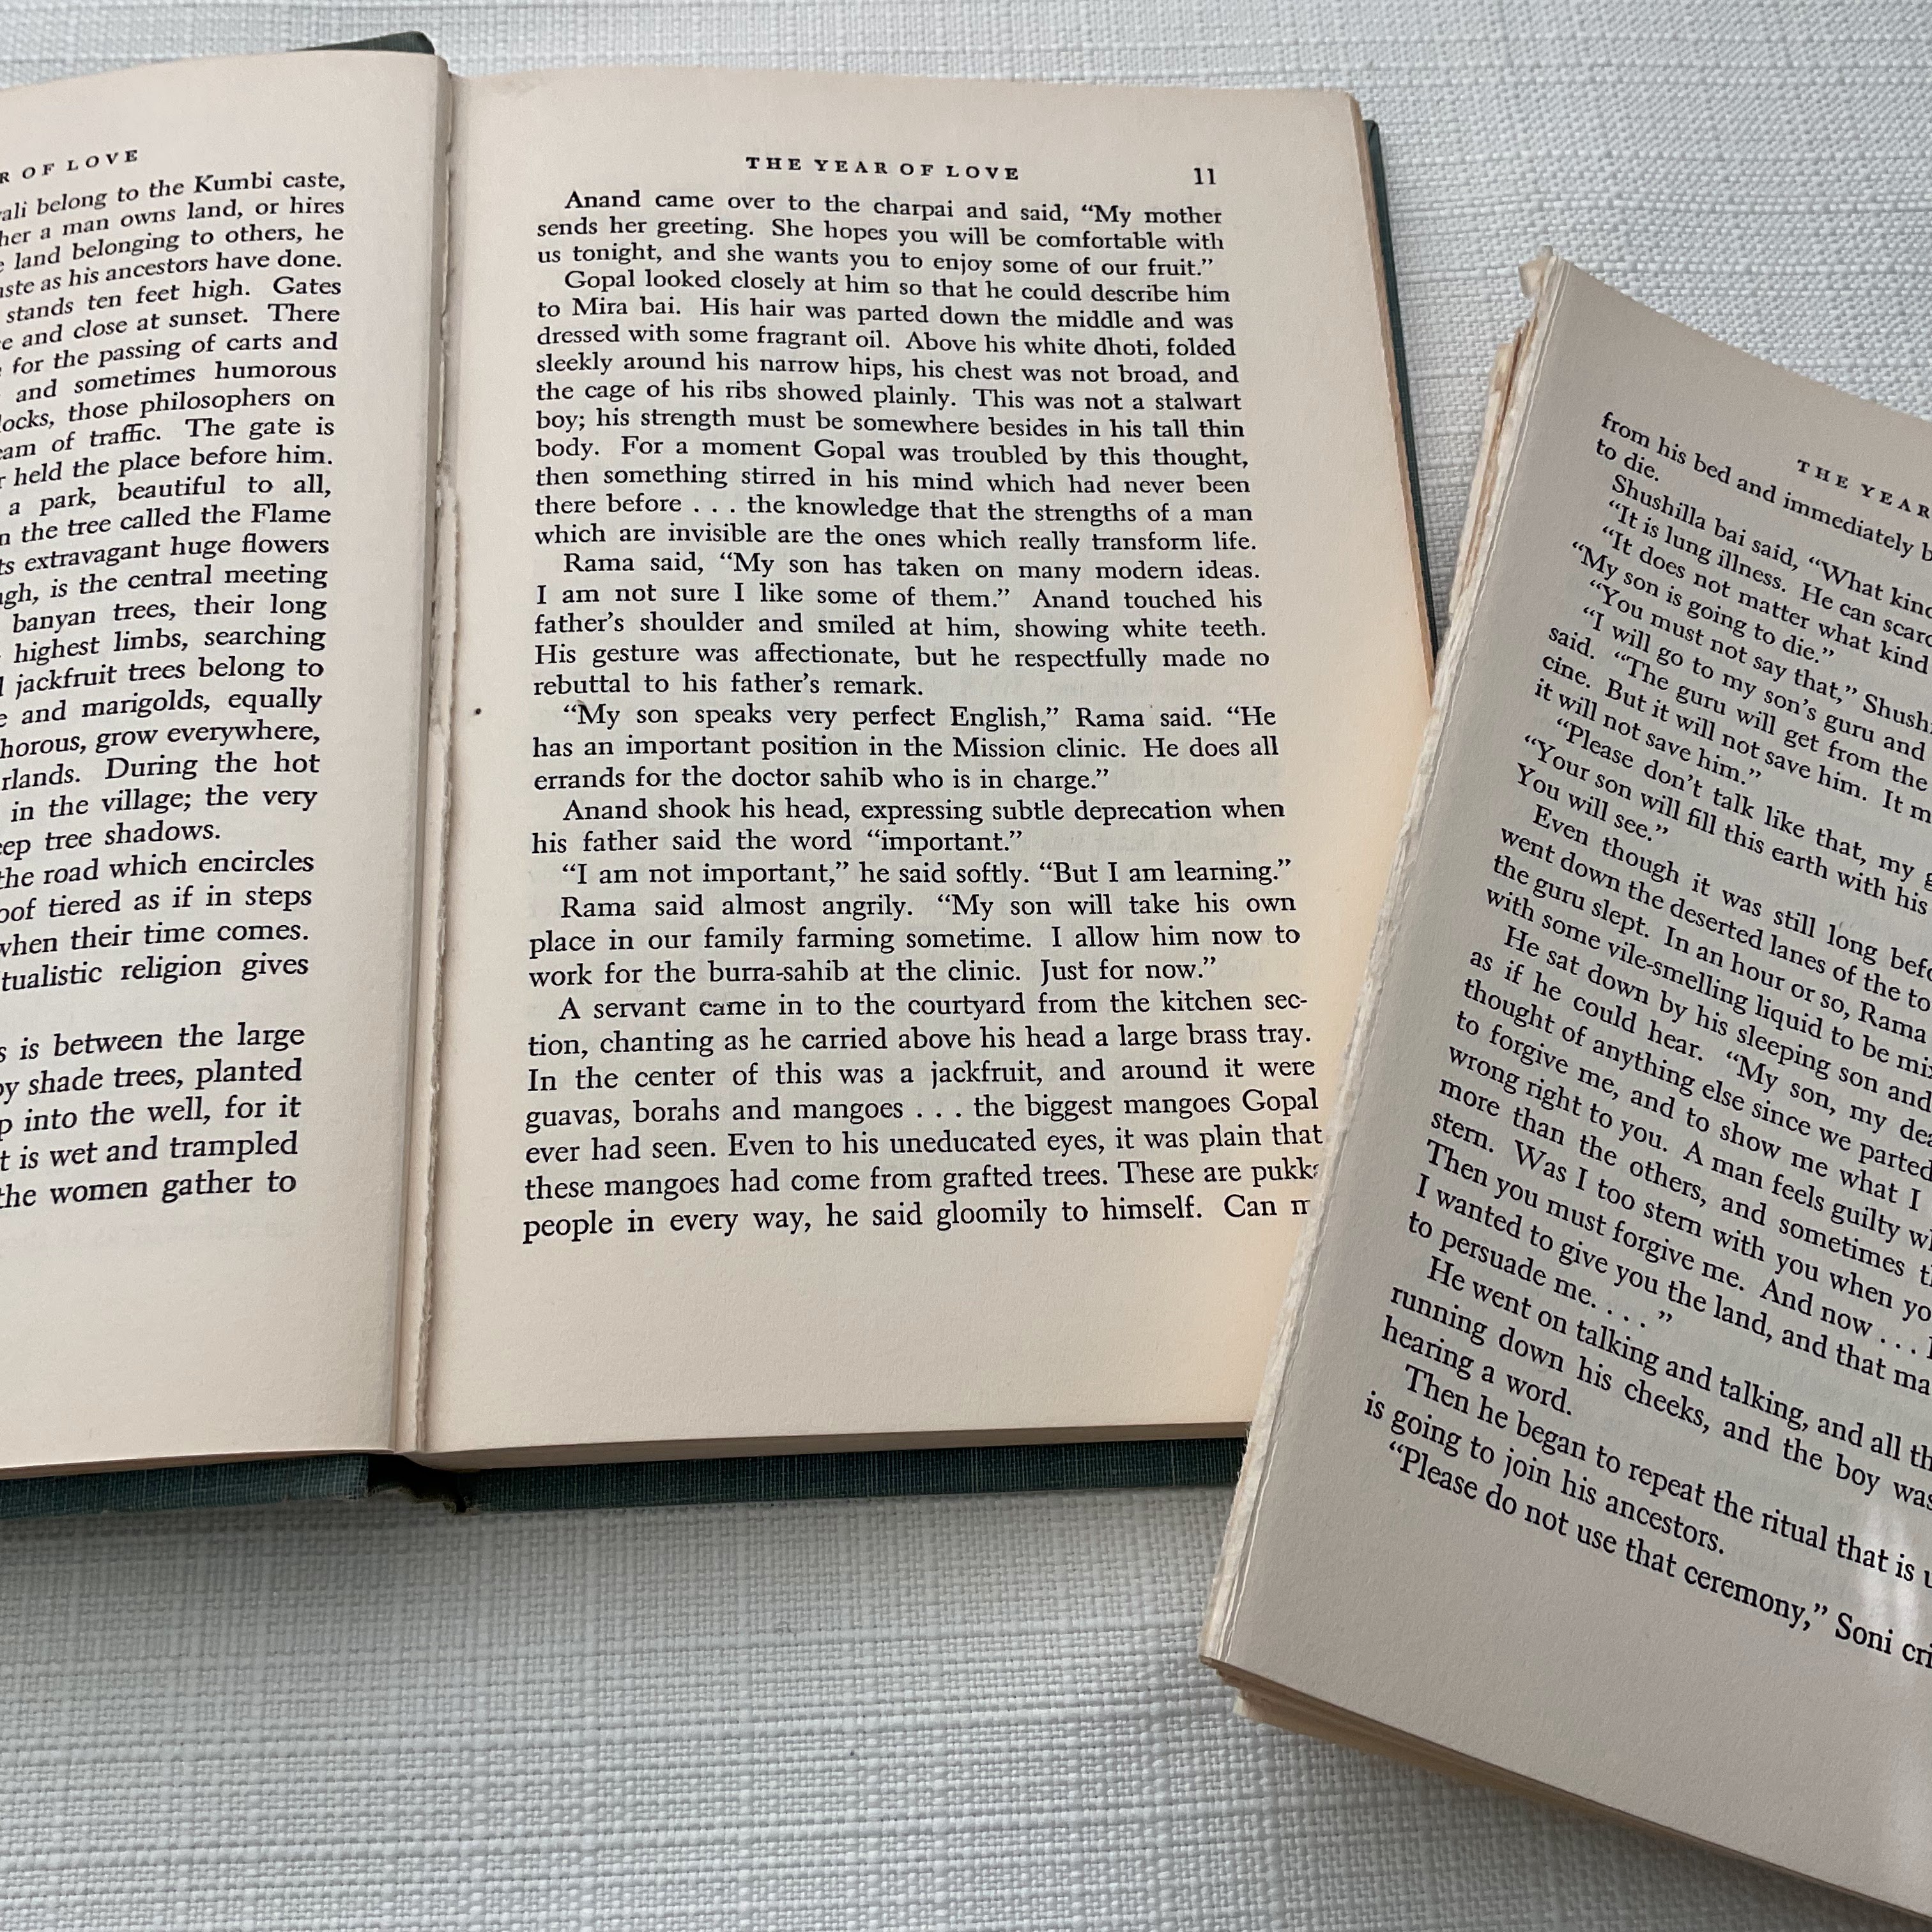
I loved the bookworm 1950's book plate so I left it!
It is easy to check, slide your finger along the page
fold to see if you find any threads.
For my book I counted 4 pages,
then tore out the next 4 pages and set them aside.
Your book will look something like this.
We need to create space for our valentines.
Now we are ready to make pockets.
The page opposite the tear is folded.
Then flipped over to cover up the tear.
The tear is covered by the pocket.
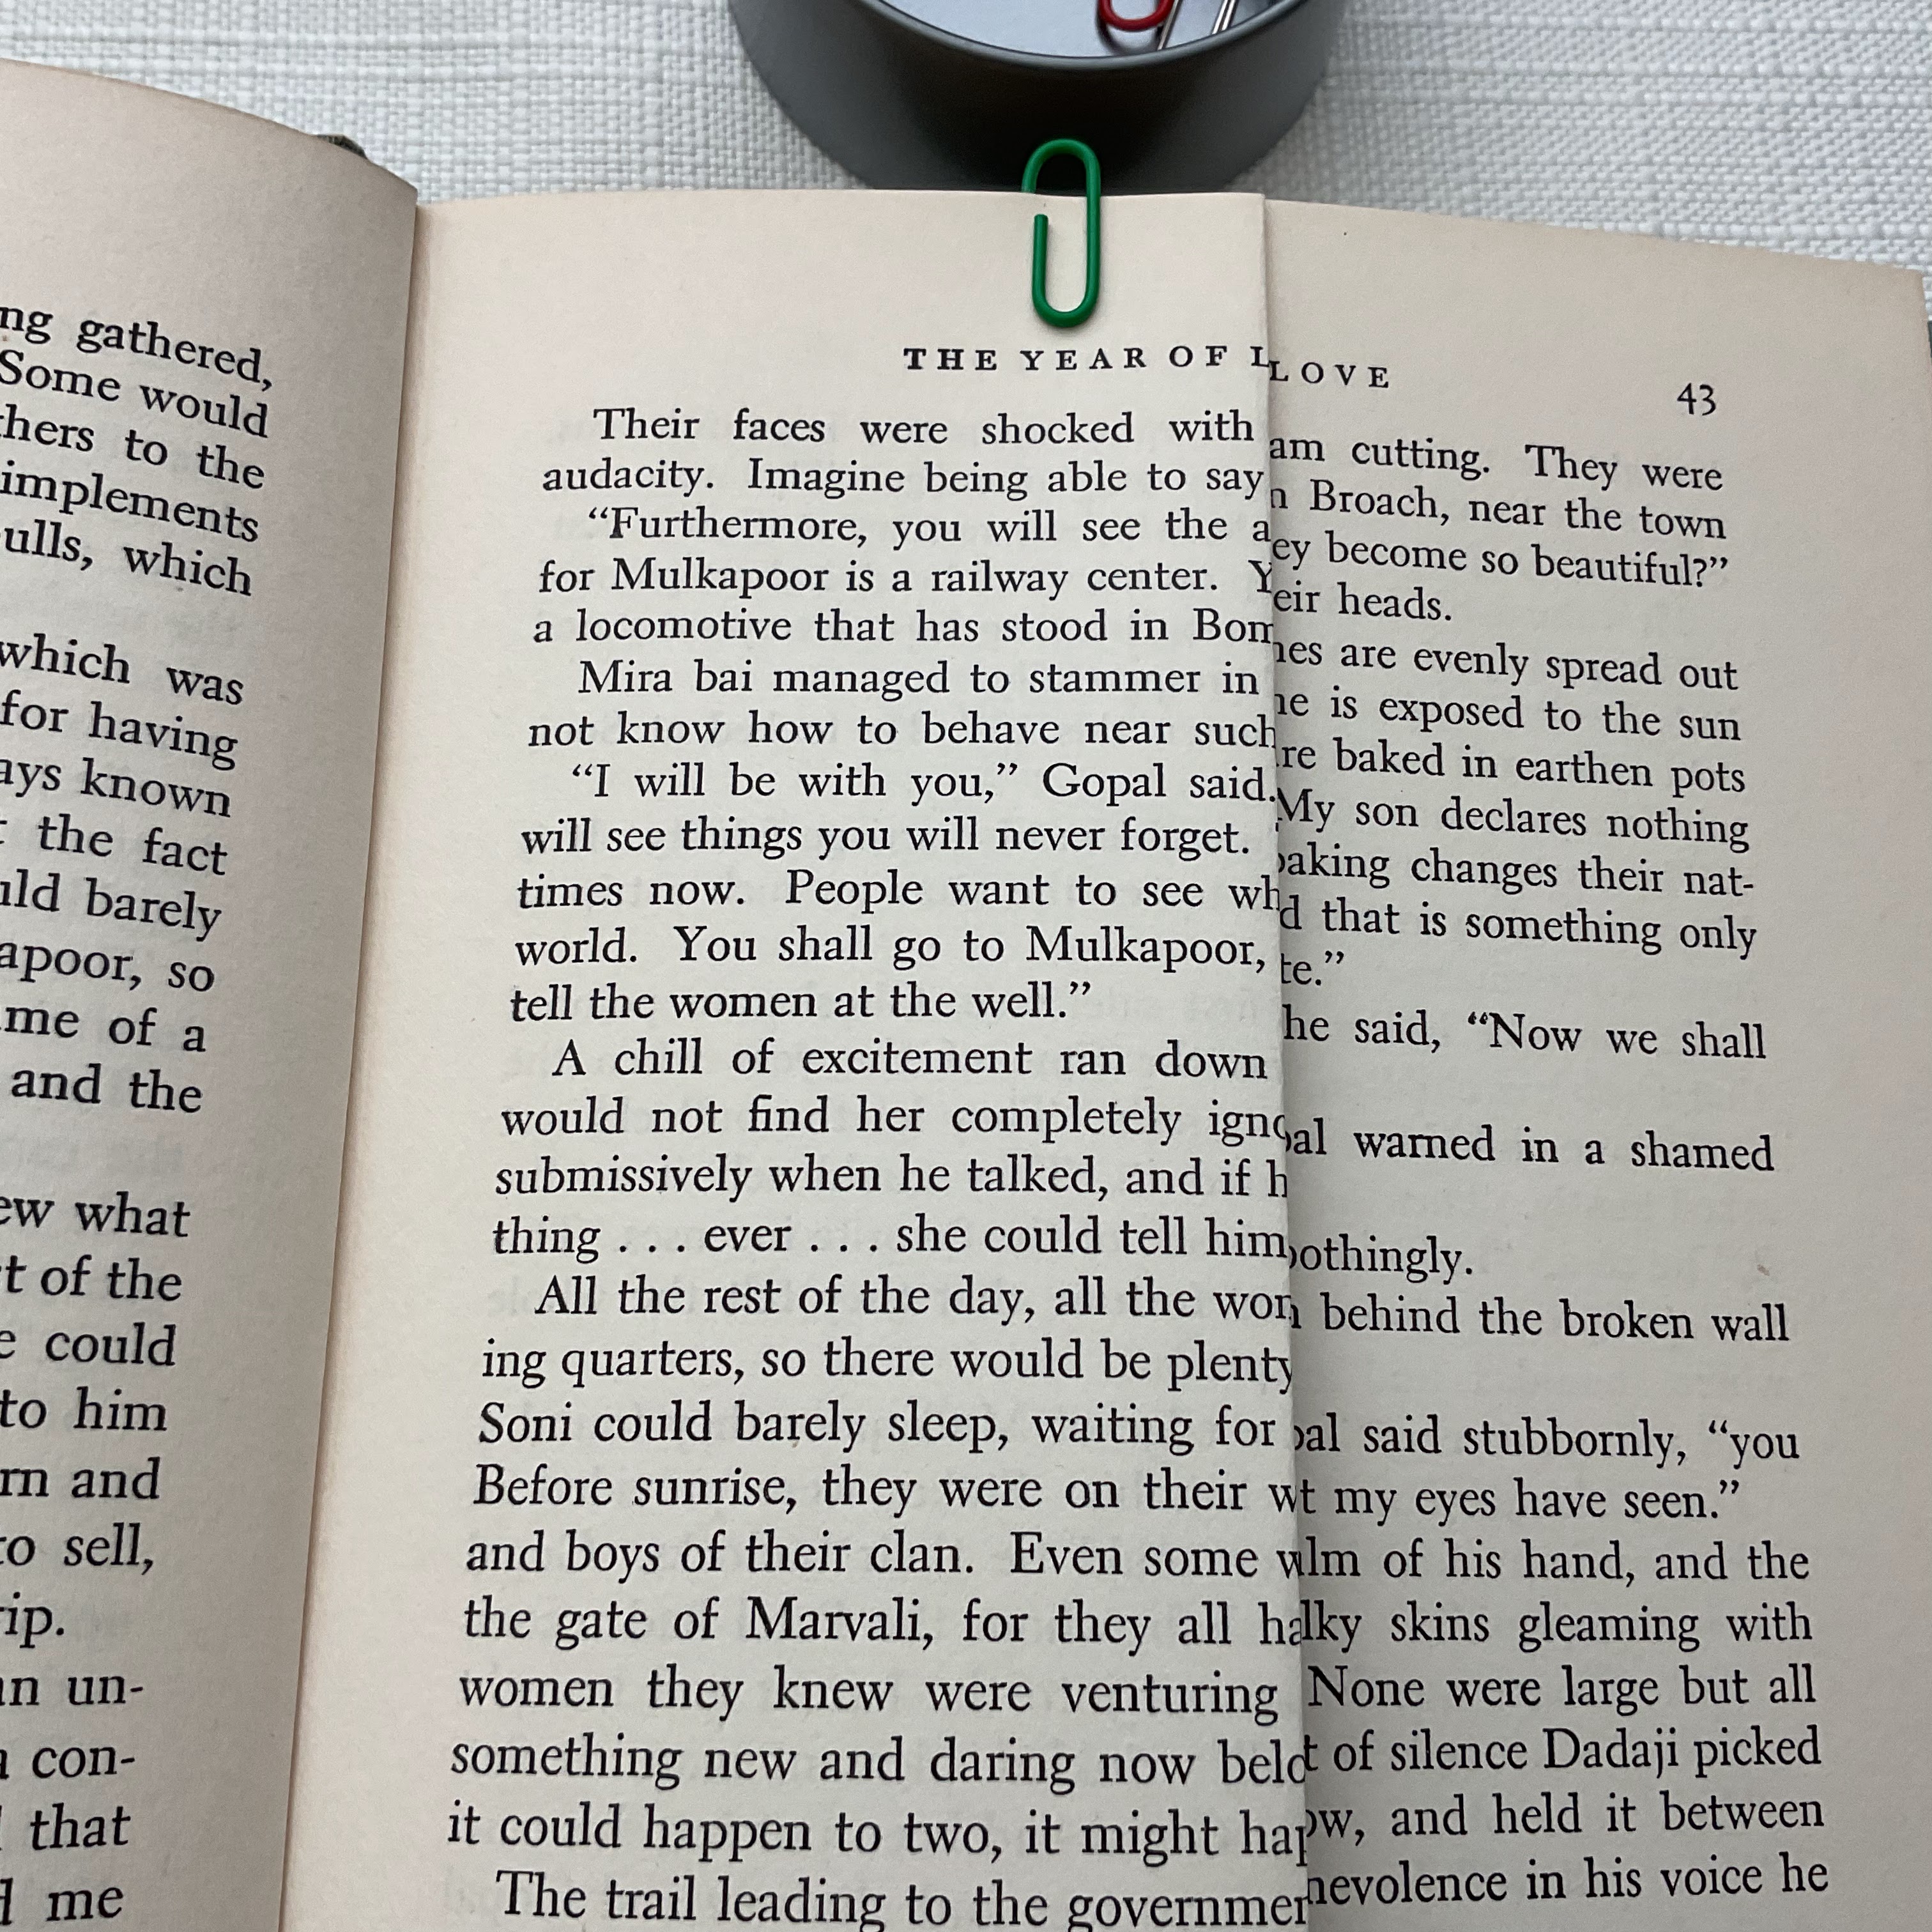
Do not glue yet-
use a paper clip to save the pocket.
Your pockets can go left to right
or
right to left
or even both directions.
or even double pockets!
Your book will look something like this!
Now is the time to decide if you want more or less pockets.
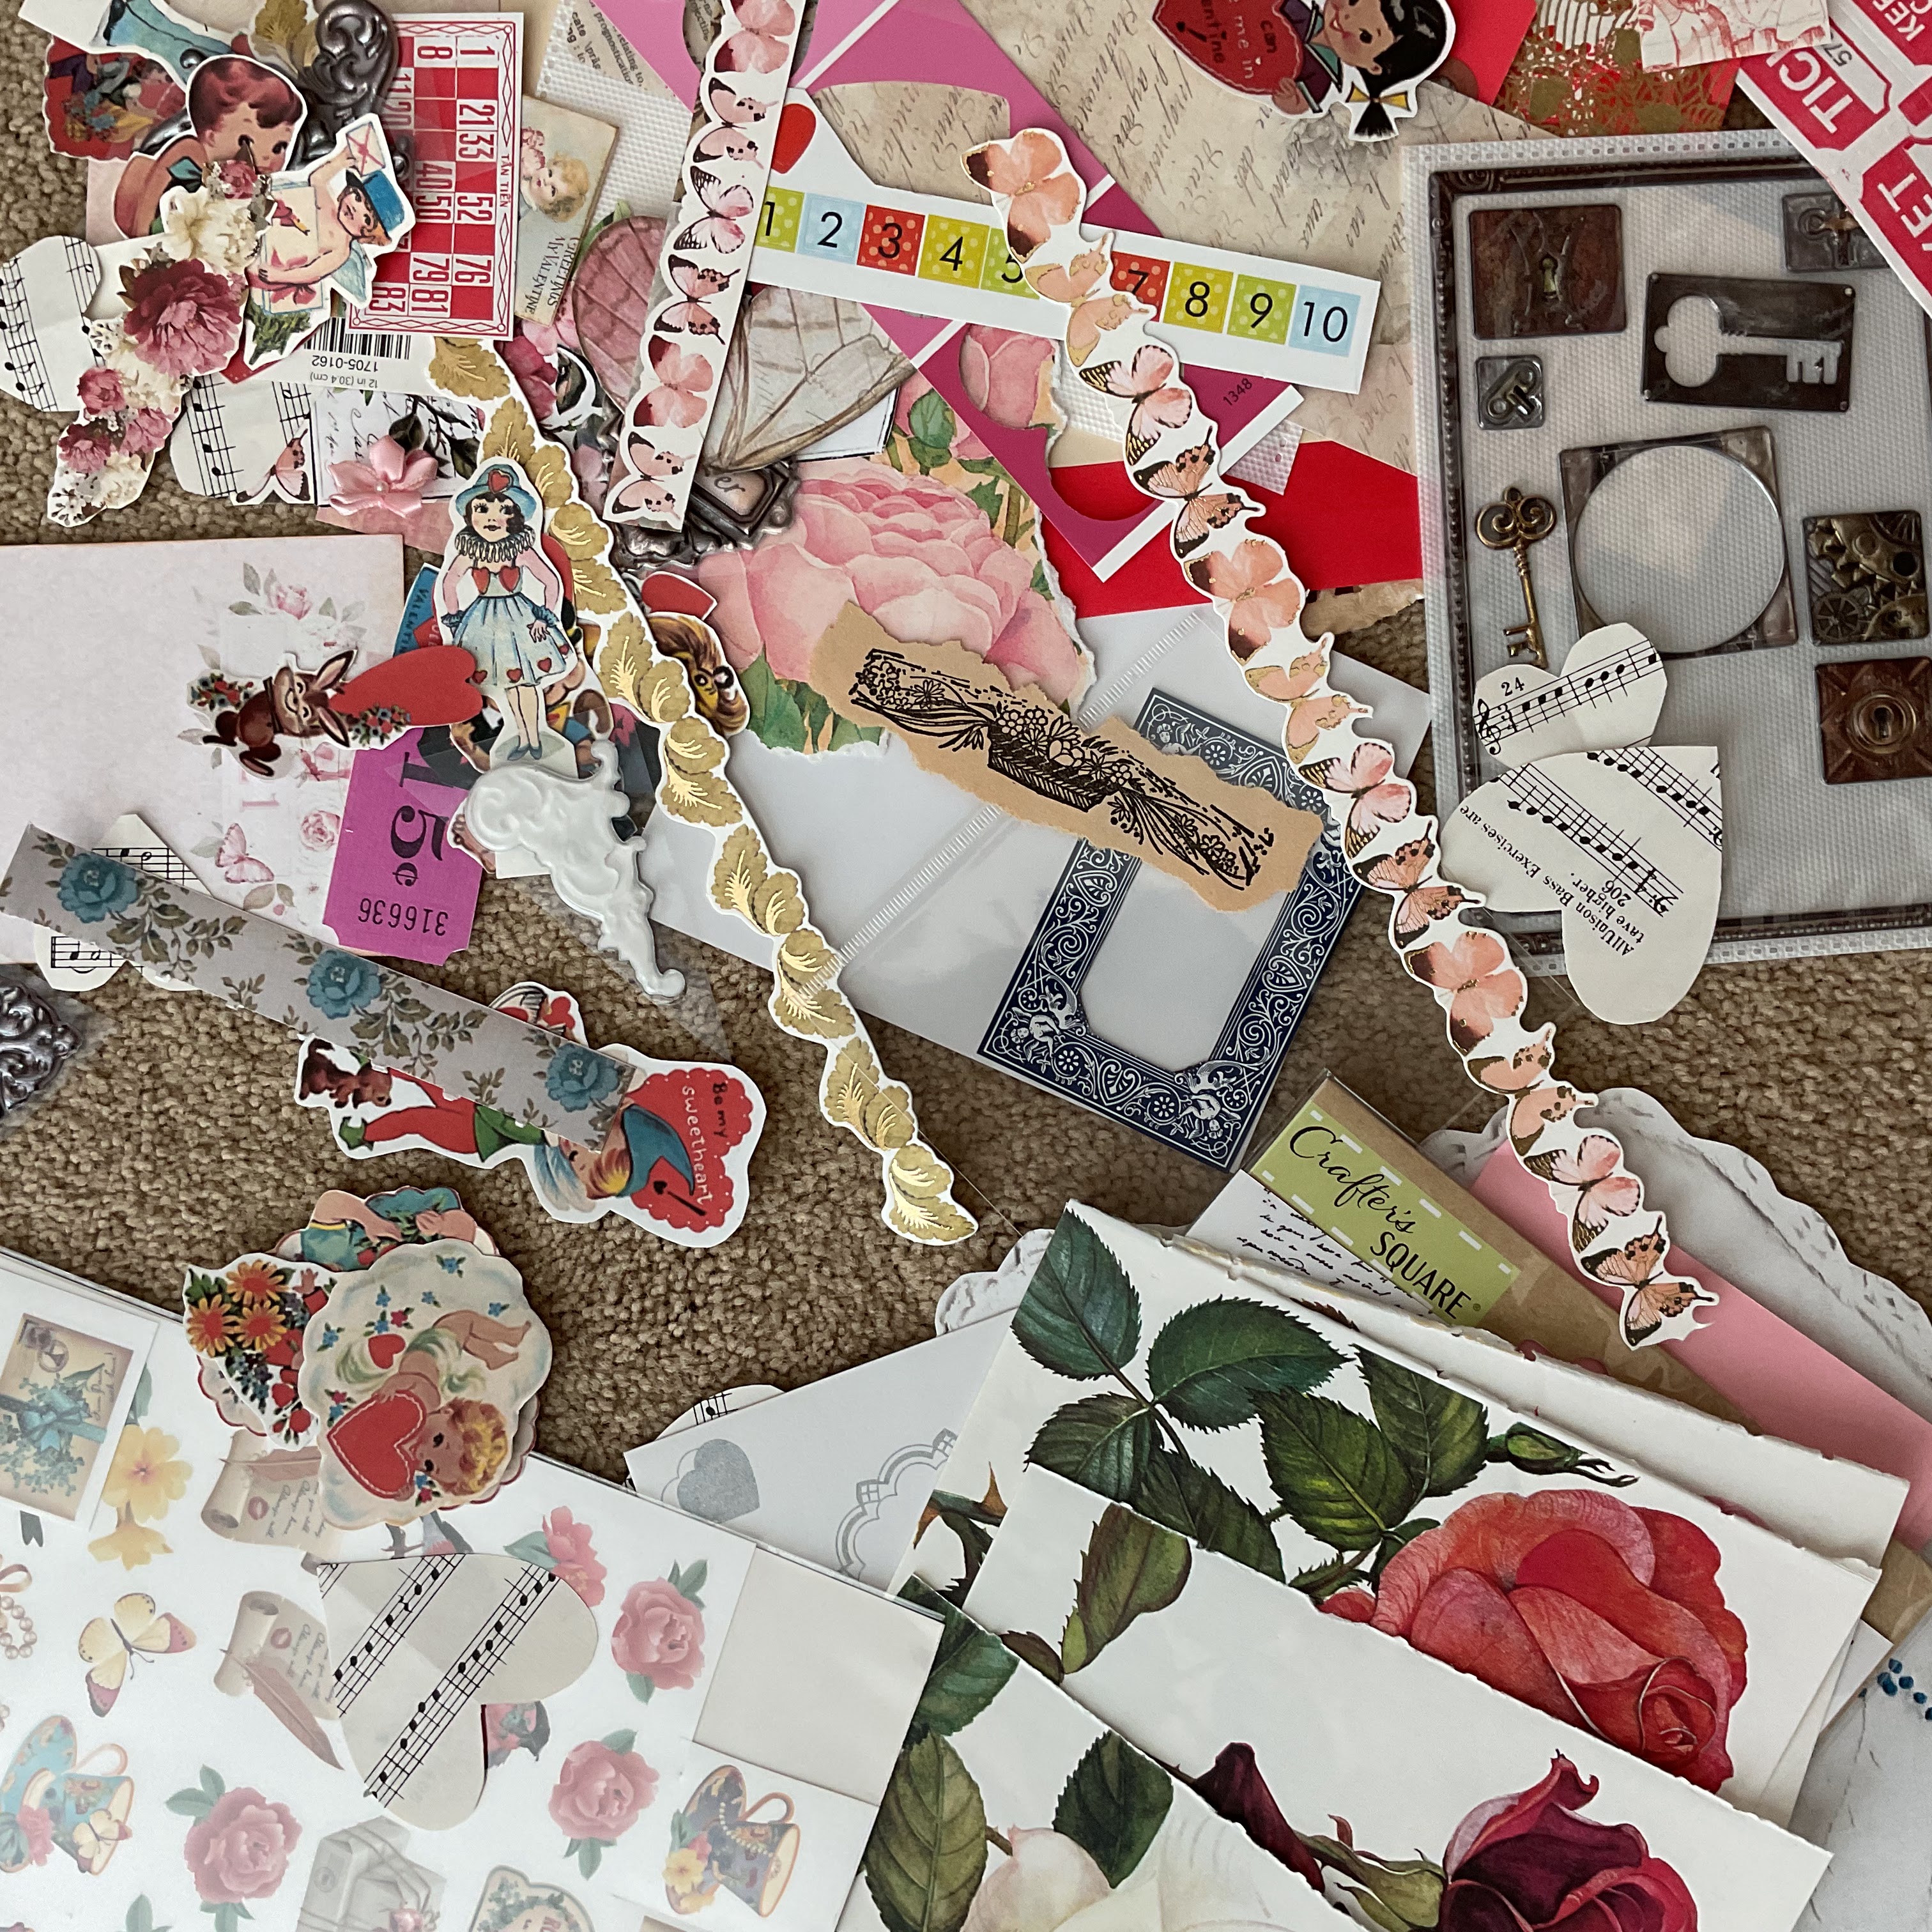
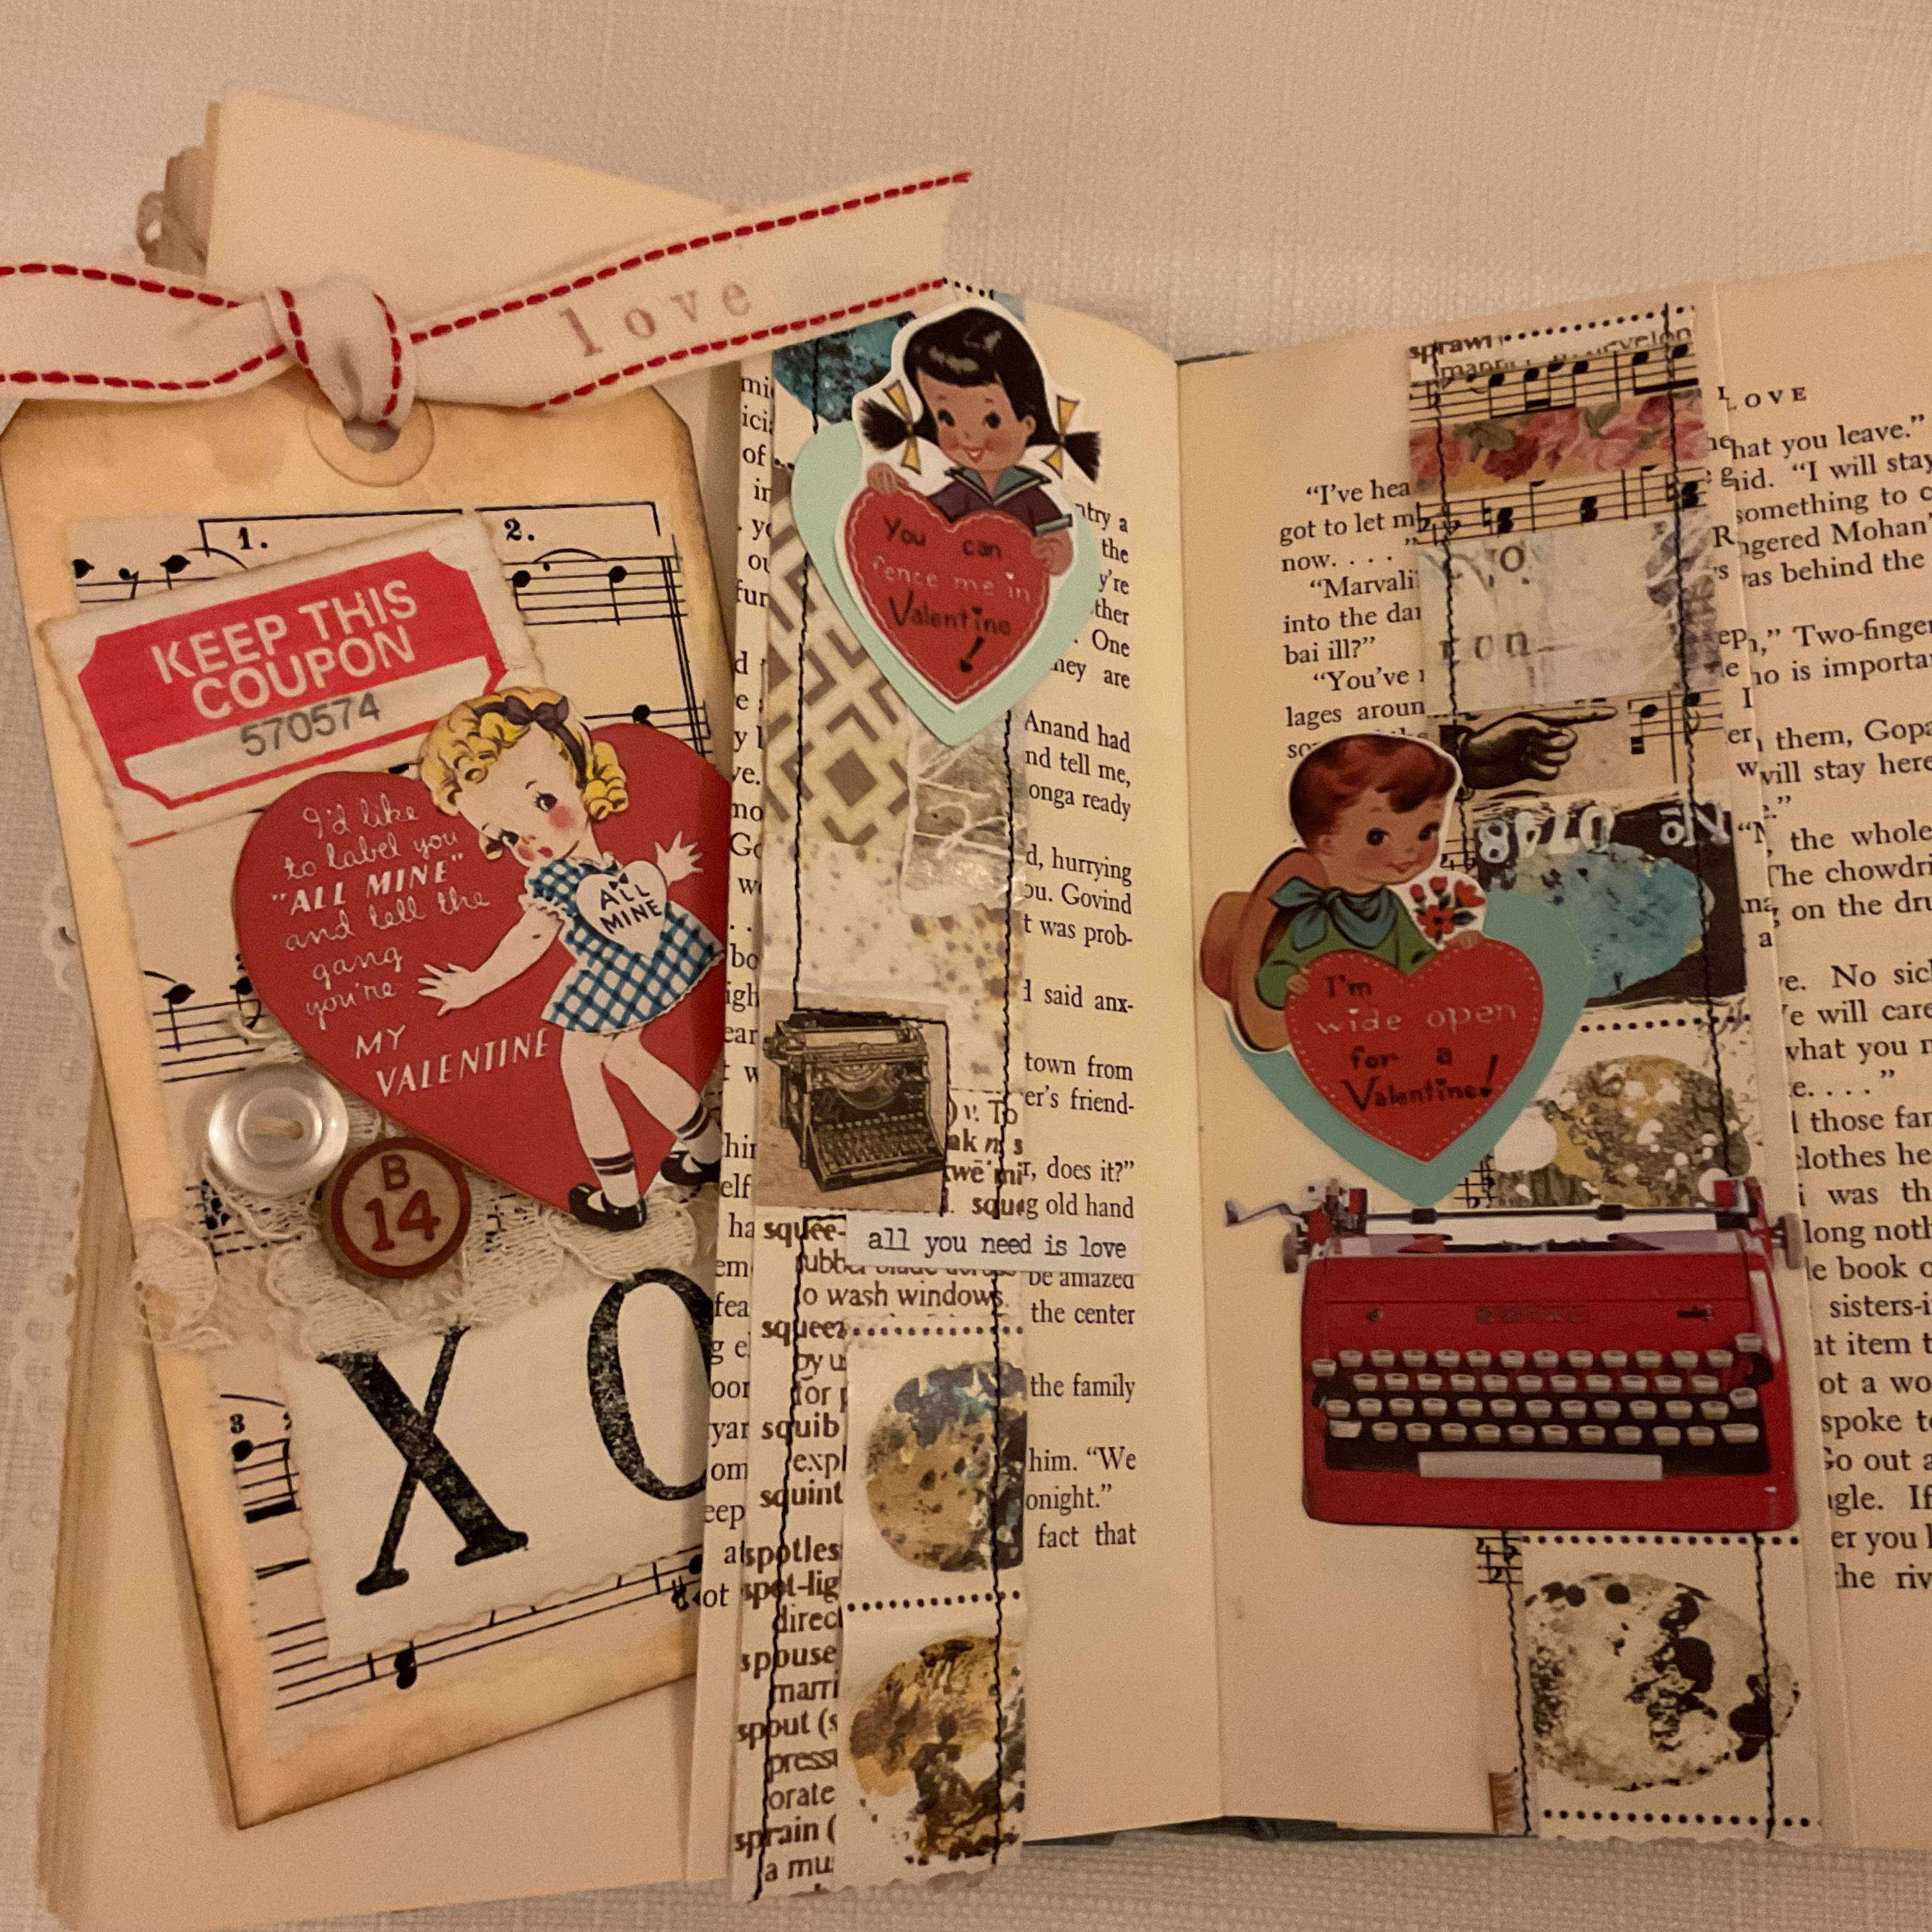
I pulled together some scraps that fit my
Valentine theme-

I also used these-
This is the perfect project for
No cutting, just tear off a piece and decorate!
I gathered some of my Valentines.
I glued down the sides of the pockets one at a time
start at the front of book.
Do not glue the pocket at the spine.
Then started to glue some strips
of scraps over the pockets
I like to use FABRI-TAC. It works great.
I made these tags. I shared the printable
Then tucked in the pocket!
This strip is like a belly band-
Glue the sides and leave the center open.
To tuck inside the center space.
More pockets-
Here is a double pocket.
The other side has a folded paper doily
and envelope
held in place with
a paper clip.
I tied a paper clip to a long ribbon
and dropped it down the inside spine.
Pulled through and tied in a bow
for another tuck spot.
I glued some paper lace to the edges.
Then glued down the pocket flap.
Some postcards are just held in place with
paper clips.
I embellished some of my scrap strips
with miniature photo copied valentines.
I shared this valentine tag here.
This chocolate box is now a pocket.
Chocolate goes with Valentines!
On the cover I glued a cardstock Valentine.
I like the lace edges showing.

I tied it closed with a scrap of red seam binding.
I left it on the book shelf-
Sorry about the length of my post-
I wanted to show step by step details.
Thank you for staying until the end.
You are the best!
xo Lisa S
I have many printable Valentines and Tags,
here are a few.
You can create and store them in your
new Junk Journal !
vintage-needle-envelope-valentines.html