Tuesday, December 31, 2019

Happy New Year!

Welcome 2020 !

We're so glad to meet you and with much anticipation,

 we are excited to see what 2020 will bring!


All the best to you!
xo Lisa S

Tuesday, December 24, 2019

December 25 Postcard


Merry Christmas !


Blessings to you this day!

May you be reminded of God's love for YOU through His son, Jesus!
Merry Christmas,
xo Lisa S

Thursday, December 19, 2019

Retro Snowmen to share with you!


Hi

Friends,


Merry Christmas!


I want to share with you some


retro snowmen that you can print and use


in your journal pockets, as gift tags or other crafting projects.


This  jolly guy is darling.


I love this snowman !


This chubby cheek couple is adorable!


Enjoy!
xo Lisa S


Monday, December 16, 2019

Vintage Christmas Shadowbox with Lights

Hi Friends,


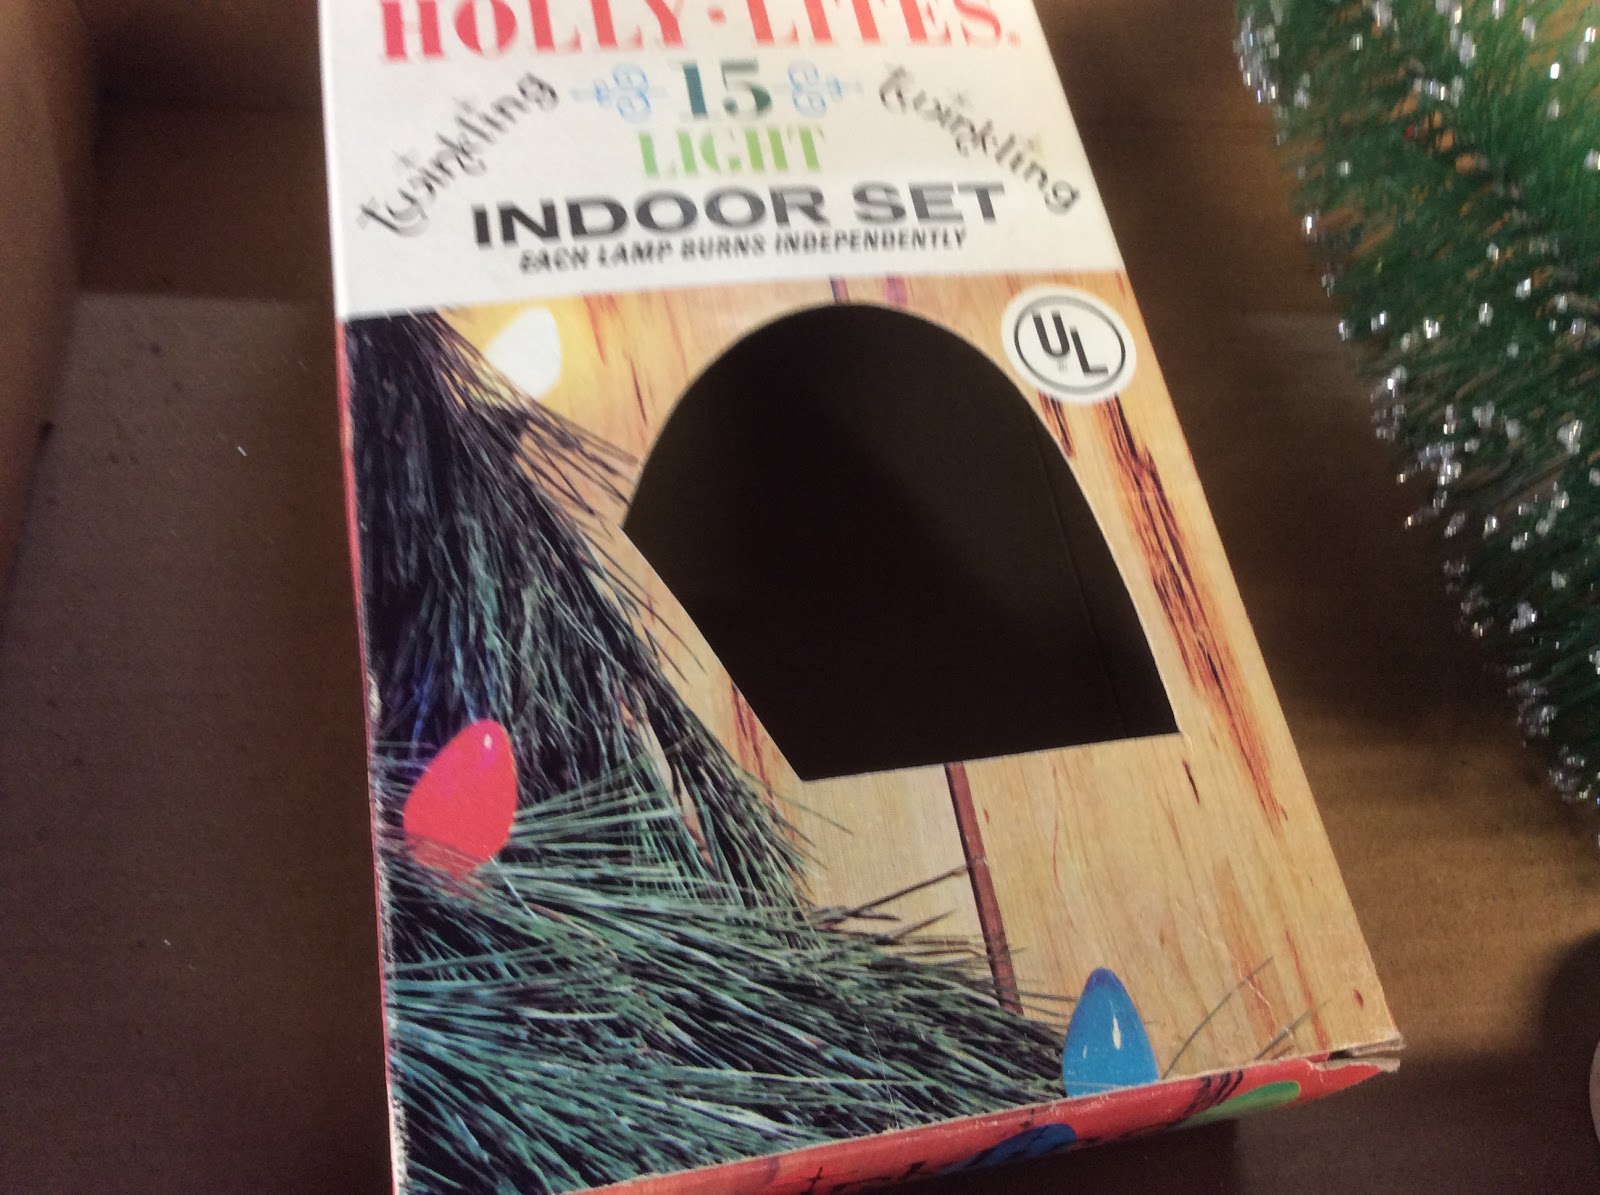
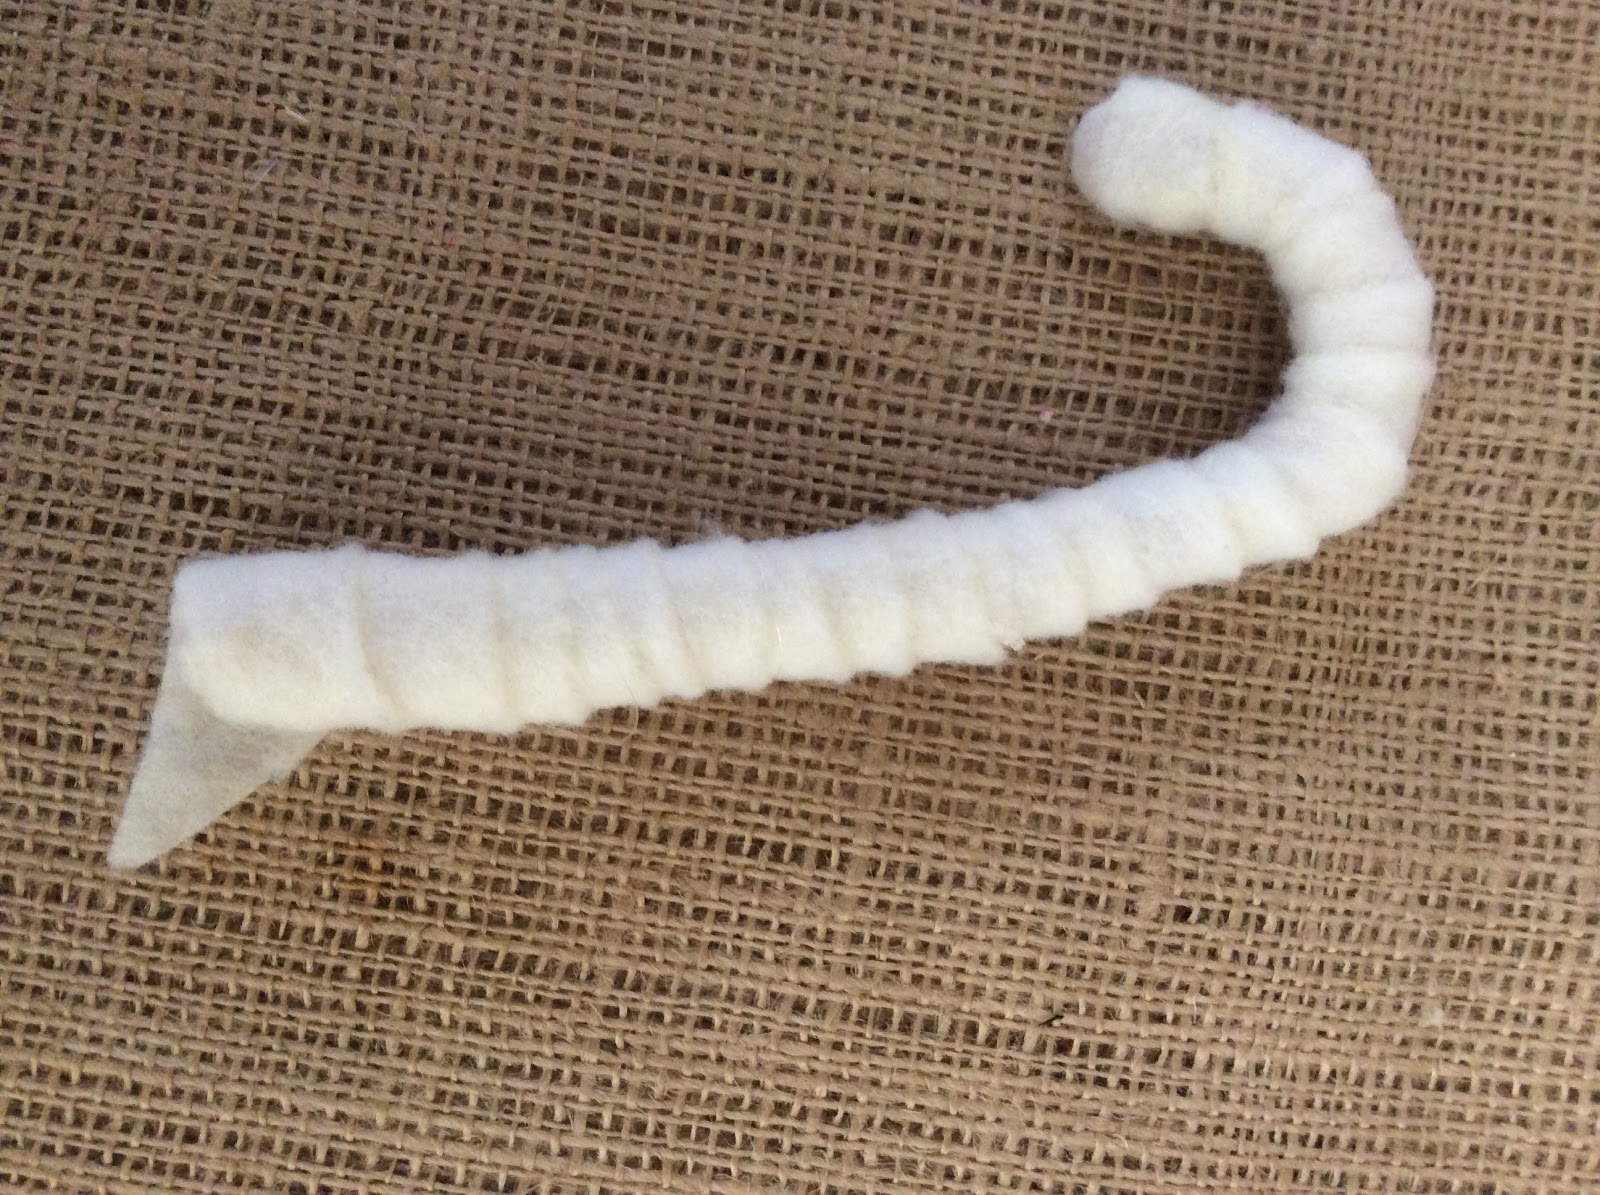
I had this old empty box and sad bottle brush just laying around and thought

I might be able to make something with them-


I cut the tree to the size of the box.


Then glued the tree back into the stand.


I looked through my paper stash to find something for the background.


Then measured the paper and cut to fit.

I also trimmed the box at the opening to enlarge the window.


The top flap needed to be re-enforced.


I had a set of battery powered fairy lights from Dollar Tree.

They worked!

I wrapped them around the tree from the bottom up-


I wanted the battery back to be at the top of the box.


The tree needed a trim, and the I used

hot glue to add some ornaments.


The tree was put inside and battery pack was attached to 


the side of the box.


I added a thrift-ed  singing Angel.


This is the top inside view.


It was hard to get a good picture because of the bright lights-

Here is a picture with the lights off


This is the back of the box.


The little Angel has such a cute face!


I moved the box to the kitchen-


Merry Christmas!

Thank you for visiting.

You are invited to stop by anytime and please say - hello!

I  appreciate and answer all comments.

xo Lisa S

Tuesday, December 10, 2019

DIY Winter White and Plaid Candy Canes

Hi Everyone,


This idea has been around for years and years.


You have probably made a few in your time.


I can remember using homespun fabrics for a primitive look.


These Candy Cane ornaments are easy to find, and


6 for $1.00 is a great deal.


I'm just going to show how I covered some this year for my craft show.


I used some batting scraps that I had been saving.


The batting was old and had an aged look....


....that's a nice way of saying discolored.


Cut strips about 1/2'' wide and about  30'' long and 2- 1'' squares for the ends.


 You may have extra to trim, it depends on how tight you wrap your candy cane.


You will need a glue gun.


I covered the ends with a small square about 1'' by 1''.


I like to wrap top to bottom.


I added a small scrap of garland and secured with twine.

The garland was getting shabby so I used wire cutters to dismantle it, now I have a

bag full of twistie-ties for crafting.

I have a large collection of vintage pins


and thought the pins would add at bit of shabby glam !


The pins were added by just putting the garland scrap through the pin back.


Then wrapping the wire garland piece to the candy cane.


In case I want to change or remove the pins.


If you like you can add a bit of white acrylic paint or glitter.


Then I added a crinkled tag-


Then I made a few more.. 

I had lots of scraps of plaid flannel.


Then  added a scrap of garland and jute.


I put them on the table.


Won't these make pretty ornaments?
  I plan to use them as part of  my gift wrapping .

Merry Christmas!
xo Lisa S


Faux Tin Tile Bunny

Hello My Friends!  Most of the Craft and Dollar Stores have some chunky cut outs for Spring! There are so many ways to decorate these. I use...