Showing posts with label Holiday Boutique. Show all posts

Saturday, April 6, 2024

Seed Packet Junk Journal


Hi friends!

Spring is here and I can't

wait to be in the garden!

After planting I saved the empty seed packets.

I made these mini journals for a Garden Party Boutique.

They can be used for garden notes and thoughts or artwork.


The fronts of the packets have beautiful photographs.

I just cut the packets open on 3 sides.

Then I glued paper to the back and trimmed with scissors.


These are very simple to make and don't have 

many steps.


I used my sewing machine to stitch around the outside.

I like the look and it gives a little strength to the cover.
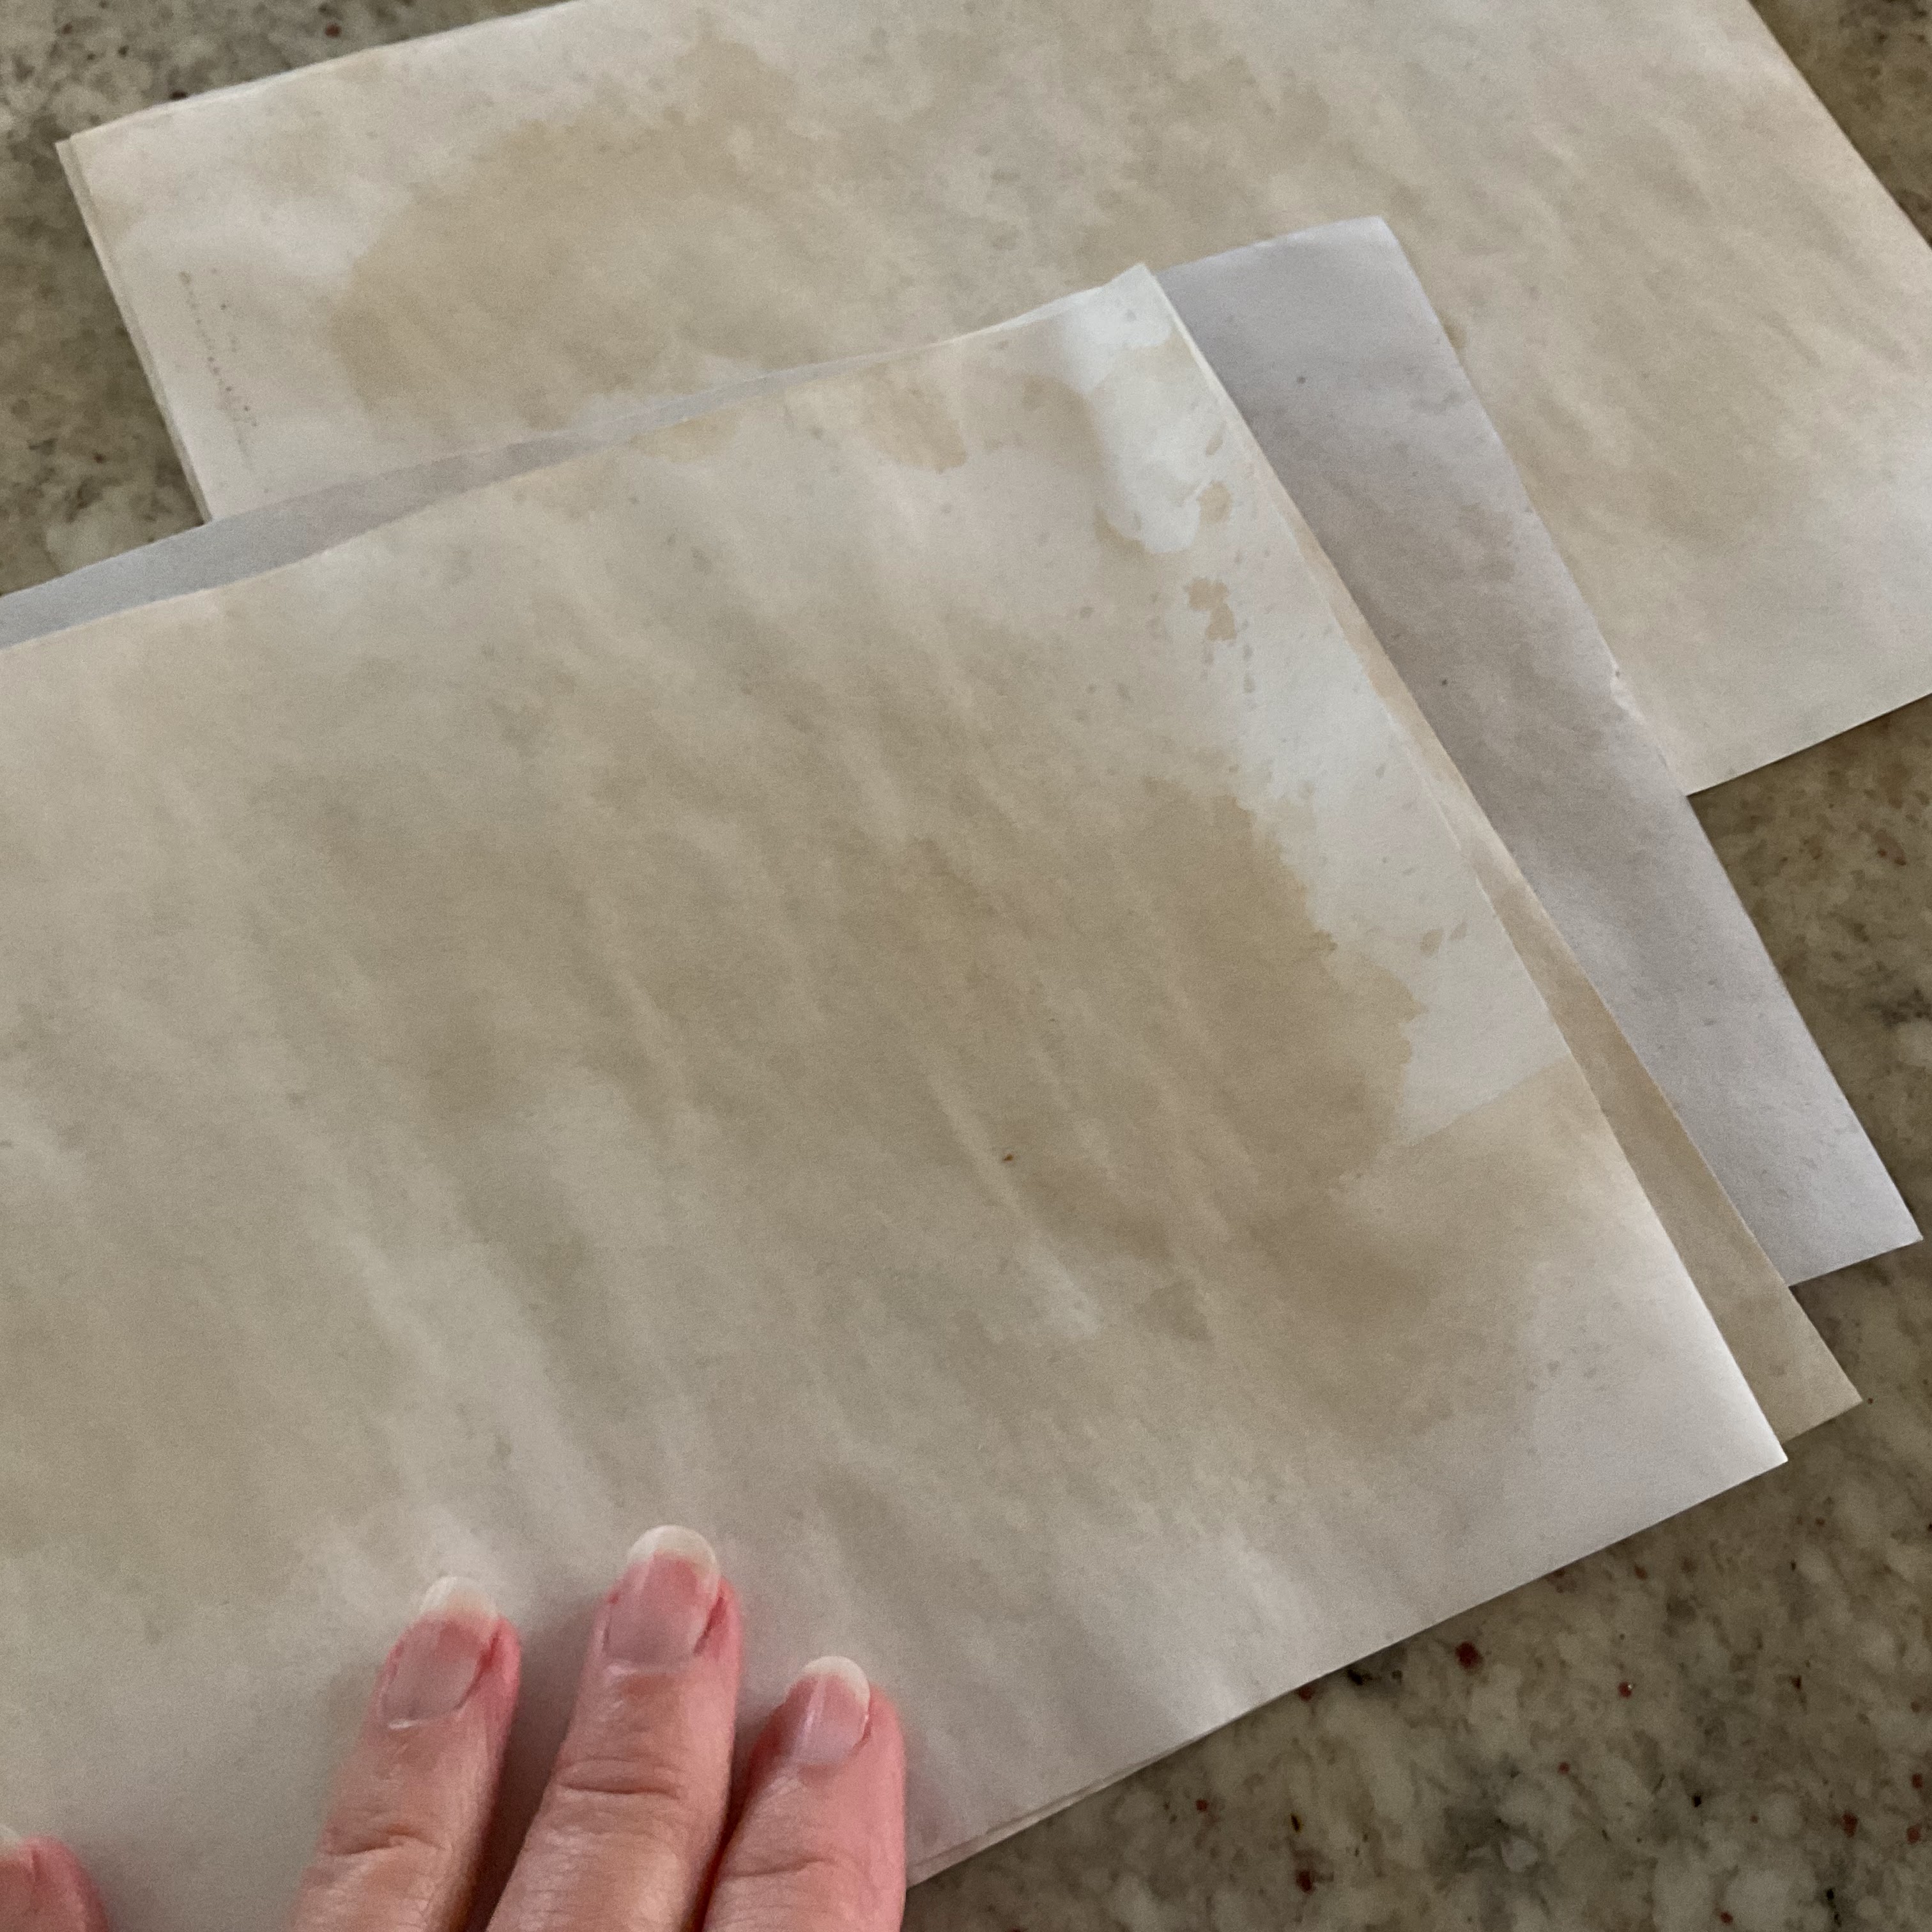
For the inside-

I save scrap paper- 

These half size sheets are the bottom half of my eBay labels.


I recycled this small spray bottle.

It worked so well that when it was empty

I saved it to fill with strong coffee to stain my paper!


I lay the paper out on a cookie sheet and spray each piece.

I leave them in the oven until the dry.

They dry with the heat from the pilot light in a gas oven.


I cut them in half and folded again.


This was just the right size for the seed packets.


I stacked 6 pages to make a single signature

 and sewed the stack to the cover.

Basic 3 hole method
.
 Start inside center hole, pull

thread outside, come back through top hole

go down to bottom hole go through

to the outside cover and back through

center and tie off.


Decorated some of the pages.


Tied closed with ribbon.


Stamped some pages-


Glued some 'belly bands'

inside to make a pocket.


Tucked some tiny glassine bags with seeds

in some pockets,


Then tied it closed with a scrap of ribbon.

I have a lot of old wrinkly seam binding.


I love the vintage look of this one-


I added a sunflower charm to the ribbon.


These have a Garden Fairy on the cover.


My sister gave me these large seed packets below from

a trip they took to Canada.

The packets were a thoughtful gift.

I planted the seeds and saved 

 the packaging.

They will make a special keepsake journal.


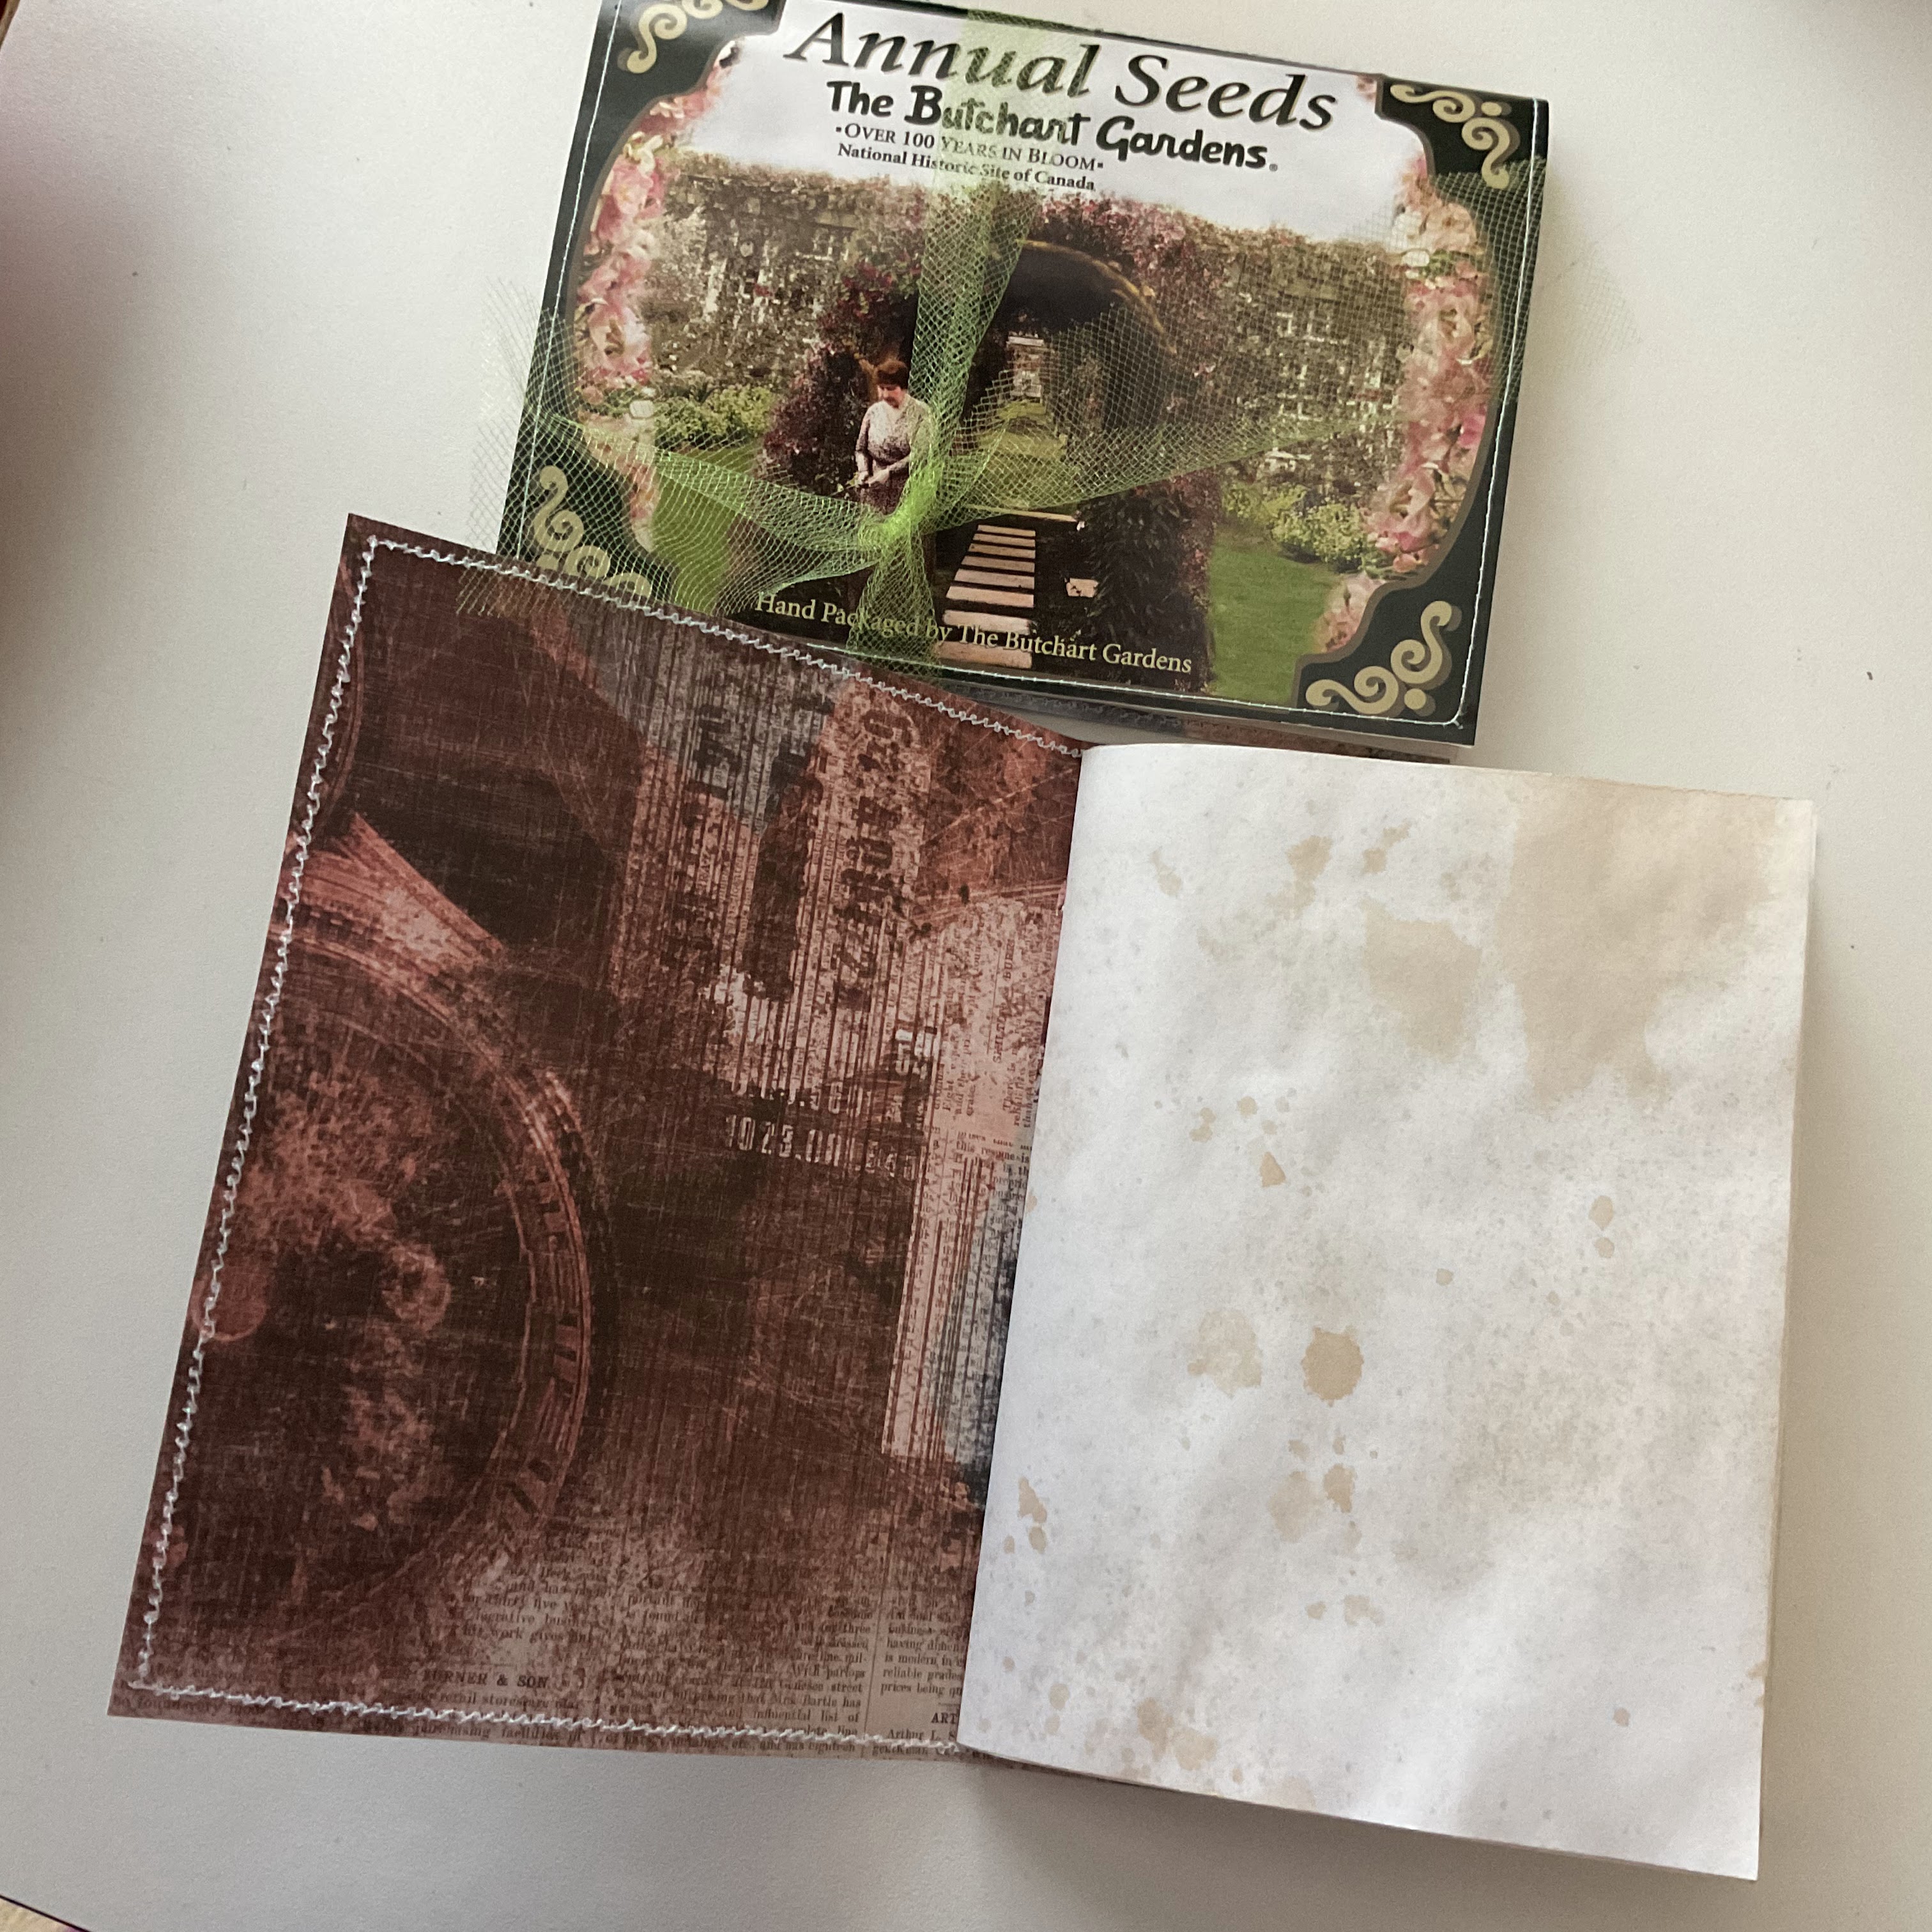
Here's a close up  of the garden

information.

The Butchart Gardens

My sister said it was a beautiful

 100+ year old

 English Garden.

Has anyone been there?


Thank you for being here today!

I appreciate the visit-

xo Lisa S

Tuesday, September 14, 2021

Using My IOD Stamps


......for the first time!

Hi my friend-


I was at one of my local Antique store and found these


IOD Stamps [ Iron Orchid Designs ]

Crock  Labels


There are 13 different stamps in the set and that seemed like

a pretty good value to me.

These stamps are big!

 The best part is they are flexible

for stamping on curved surfaces and clear for easy placement.


According to ironorchiddesigns.com 

there is a little prep work needed before you get started.

They suggest using a fine grit sand paper on the stamping

side area.

Sanding lightly one direction across all stamps

 then the opposite direction.

This will help with all mediums used.


It's up to you if you want to cut apart the stamps.

This works better for me-


I still have more yogurt jars and some pots to decorate.


I just painted the jars with chalk paint.


I wanted to try stamping on air dry clay and add

the label to the jars.

I love this MODEL MAGIC CLAY by Crayola !

It was about $5 at Joann's  Fabrics- less if you use a coupon.


It is so soft and no crumbling mess!

It didn't shrink or crack.

I highly recommend it!


I just rolled a small piece to 1/4'' thick


Just pressed stamp into clay


This method made the best impression in my opinion.

The stamp did not stick to the clay :)


I used a bit of Tacky Glue and attached the clay to the jar.


I used a knife to cut away some excess.


The jars and pots dried overnight.


I used a small amount of Burnt Umber acrylic paint and water

to make a 'WASH'


I painted the recessed parts with the wash and wiped

off extra as I went-

This took some time and it seemed to look better 

with more and more layers.


When I was happy with color,

I went over the high parts with another dry brush

coat of chalk paint.


On the left I used a Burnt Umber wash

on the right I used a black wash.


 I love how these Marmalade crocks look :)

These sunflowers dried this way and I'm going

to keep them !


Early fall mantle- with a reminder to my dear husband-

don't be sad about your brown lawn !


This one is my favorite!


Which do you like better-

the brown or the black ?


Let me know in the comments-

xo Lisa S


Easy PAPER WREATH for Fall

Hi Friend ! Fall is my favorite time of year and I can't wait to start decorating..... even though it's 90 degrees. Let's make a...