Thursday, August 23, 2018

Book Page Leaf Wreath and Garland

 Here is another easy and budget friendly décor item for FALL or year round.


I am sure everyone has seen these before but year after year I get
 
requests for these wreaths. I always sell out no matter how many I make !
 
I thought I would share them with you.
 
Note: I never use vintage books unless they are damaged beyond repair.


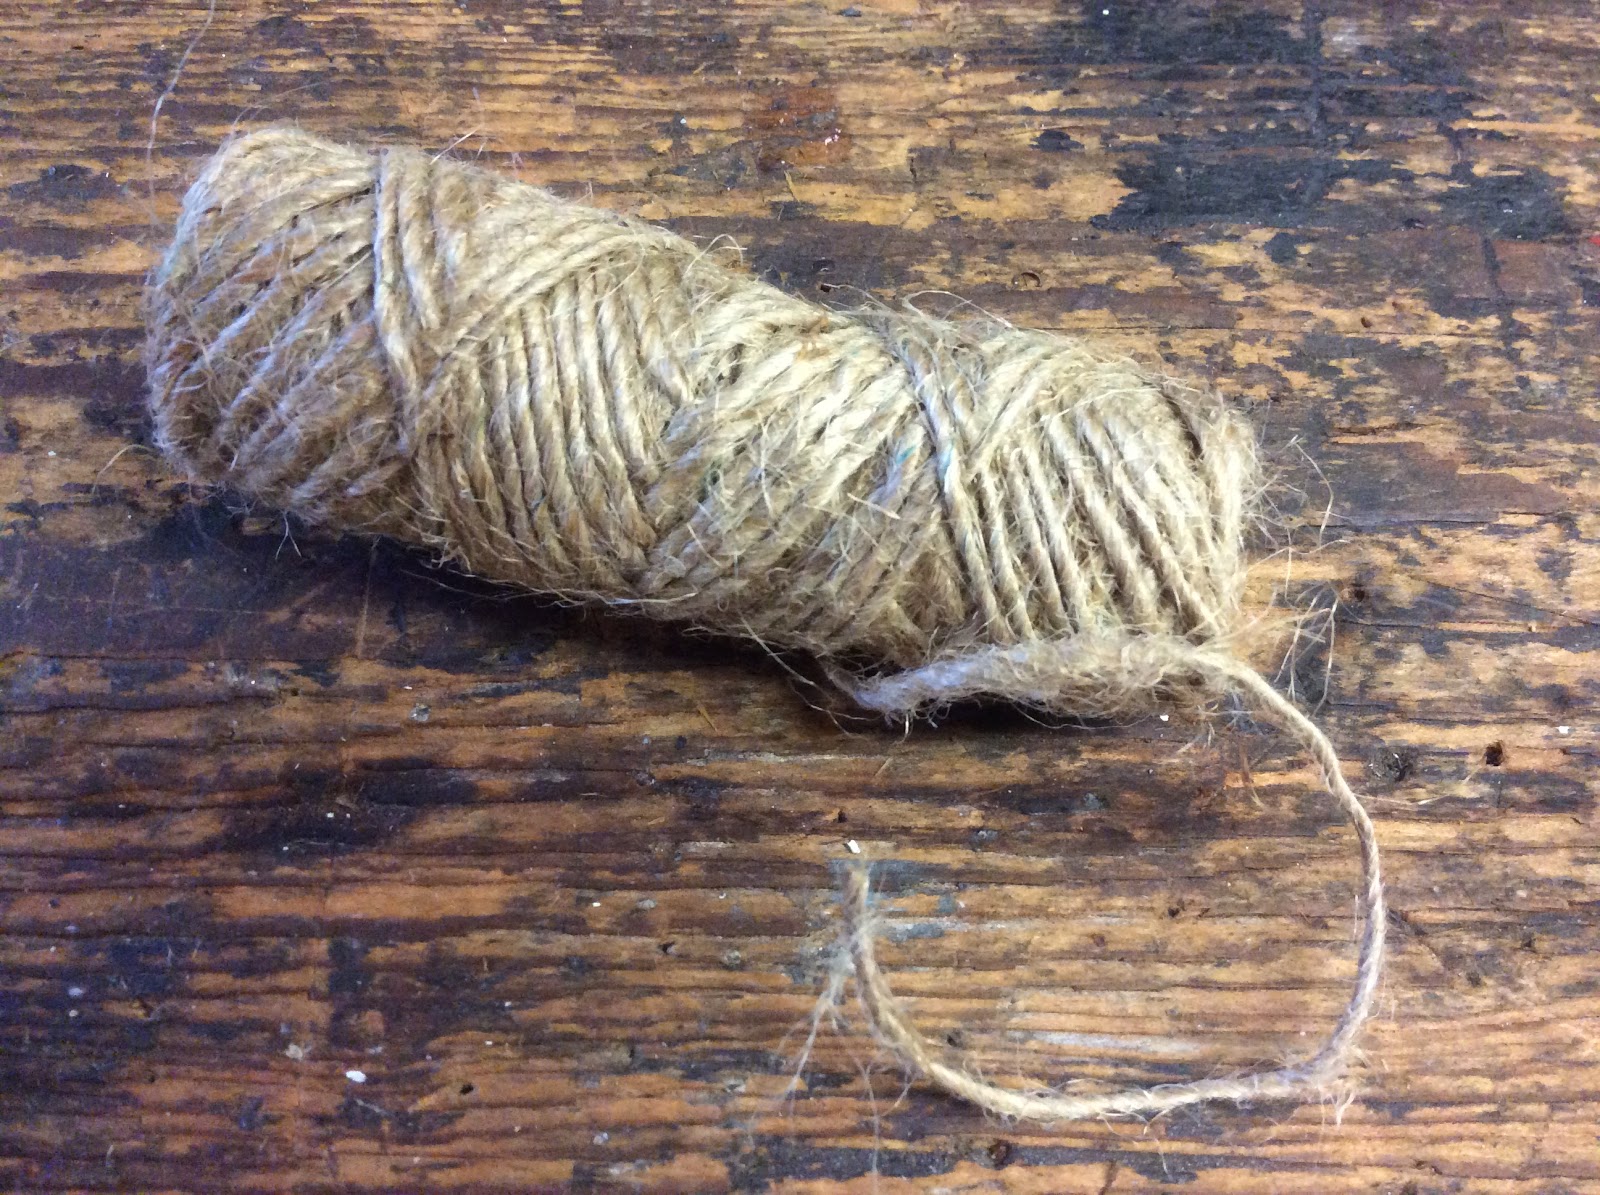
For a garland, you will need a roll of jute or other connecting string.
 
Decide the length and measure out a piece long enough
 
that you can add loops at the ends.
 
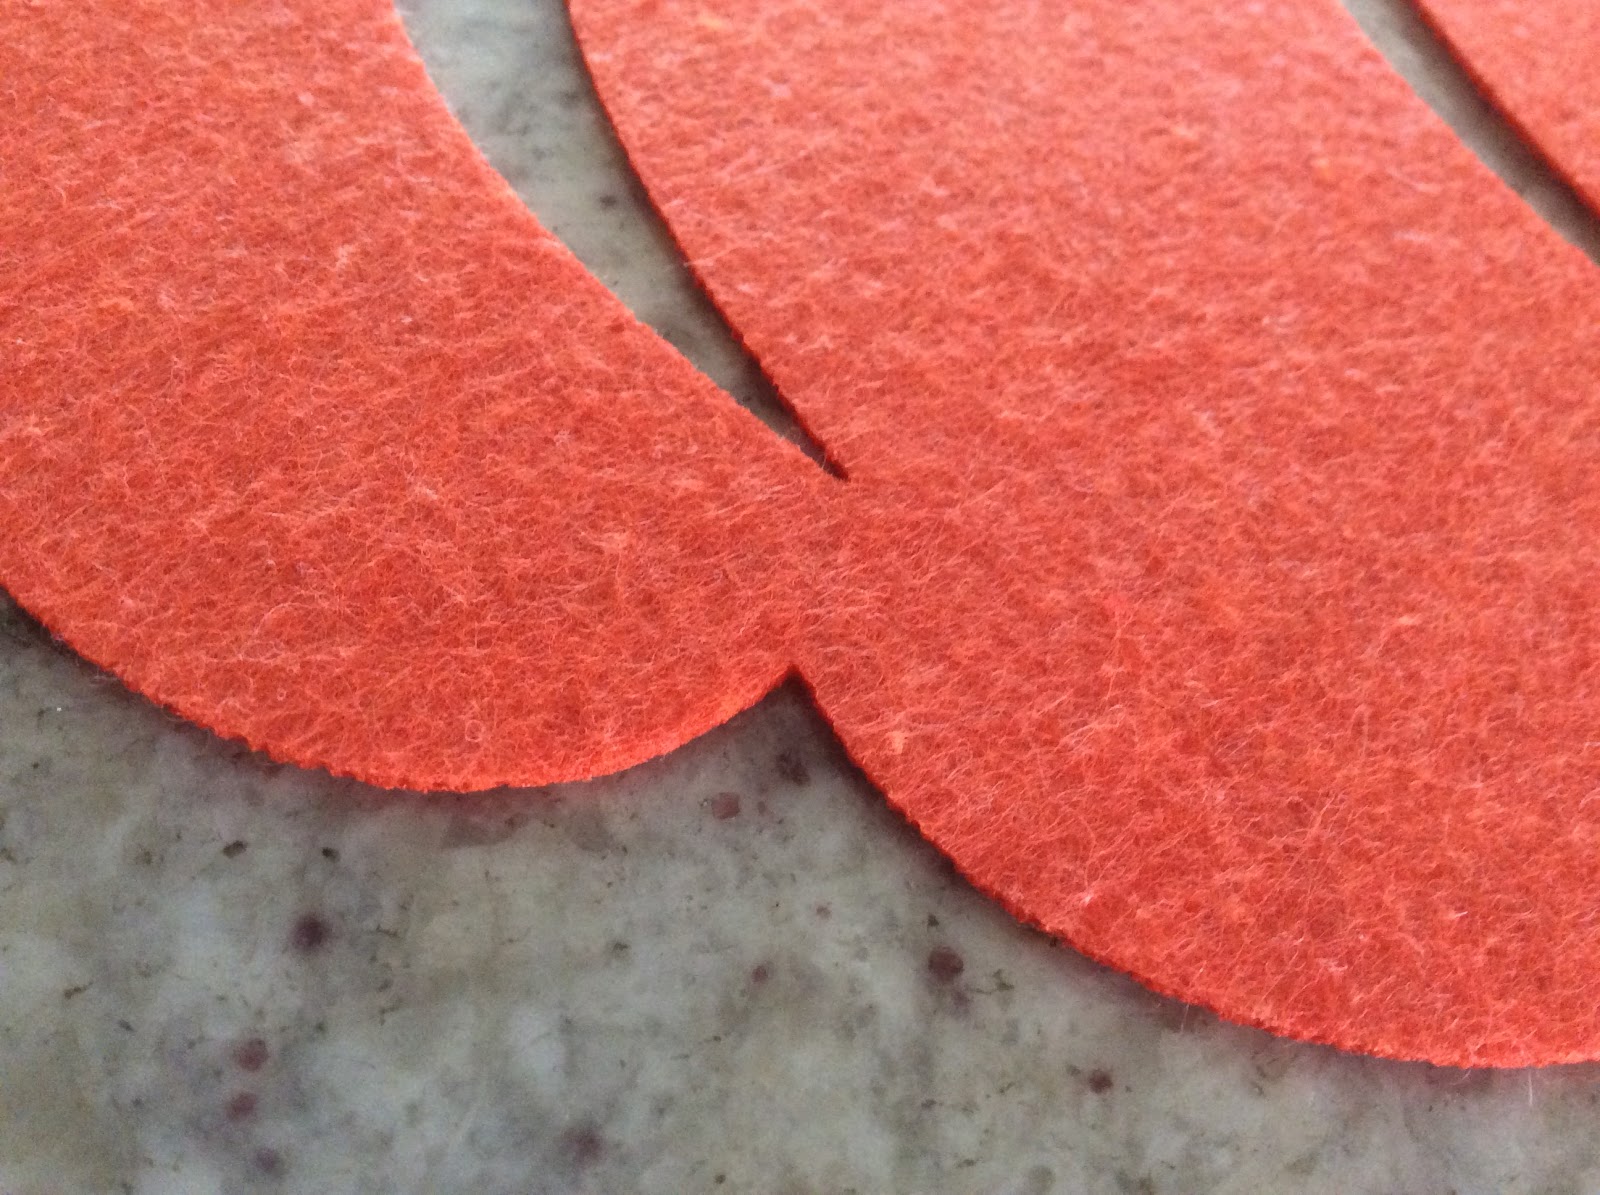
Start cutting out your leaves from your book pages.


You may use my pattern or save to your computer and change the size to what you prefer.


Glue your leaves back to back on your jute with Tacky glue.
 
Overlap as you go.


 For the wreath,


I use thrifted embroidery hoops and when you take them apart you have two!

I have a local Thrift Store that sells them for a quarter!

(I have even used broken Tomato cages )
 
I like to use 8''-12'' hoops.
 
Glue leaves continuing in the same direction. Starting with the inside edge,
 
then the outside edge. Then fill front or the top of the wreath.
 
These wreaths are so light weight that they can be hung by a push pin or lean above
 
a picture frame or mirror.


You can use a mix of different leaves or maybe just your favorite.


I like a variety of leaves.
 
 
I love the different textures, colors and thickness of the papers.
 
 I give them a bit of a fold for dimension and a natural look.


Here are some different leaf choices.


This wreath was made from a Dictionary.


A short garland on a book case.
 
 
I rolled up some brown paper and hot glued leaves to the ends.
 
 
I just love to use these around the home.
 
I hope you enjoy making a wreath or garland .
 
As a bonus any extra leaves can be used as table scatter.
 
Thanks again for stopping by!
 
xo Lisa S


Monday, August 20, 2018

Make a Pumpkin Sign with Pallet Wood

Fall is my favorite Season!


I love all things Pumpkin and I am ready to clean up summer and bring out the Fall Décor.

So far I have set out my pumpkin candle....is it too soon?

I do think it's time to start Fall crafting though.

Mr. Fresh Vintage brought me home some cut pallet boards. He is great that why.

He knew I would make something out of these scraps.

I decided to have them cut to 17" x 19". He cut them for me because

they were covered with nails and he is sweet!


Cut off the nail side. 
 
 
They fit nicely together. 


 I used 2 of the thinner pieces (that did not match the others) and
 
1" finishing nails to hold in place.
 
This is the back side.
 
Use 220 sandpaper to remove the rough spots.


You will need a felt pumpkin from DOLLAR TREE.
 
 They are in the décor section. I think they might be placemats.
 
We are going to use it as a stencil.


Felt Pumpkin $1.00
 
 
A close-up of the felt.


Flat or Chalk Spray Paint in White


I left the wood natural.

Center on pallet.

Since the wood is rough, I found that the felt stencil did not move.


Spray with flat paint.


Remove stencil.
 
 
You can sand edges again if you like.


I brought it inside and put it by the fireplace.
 
What do you think?
 
I had almost enough wood to make a second pallet. I was short

one piece of wood so you will probably notice

that the slats are going the other direction on the second pallet.

This one I decided to stain.
 
 
After the stain is dry you can stencil.


 I brought it outside for pictures...it's 100 degrees...ugh!


On my front porch


 Which one do you like ? The stained or the natural ?

Horizontal or vertical slats ?


Thank you for visiting!
xo Lisa S


Monday, August 13, 2018

Industrial Farmhouse Stenciled Bar Stools


I have had these two Bar Stools for a long time. We don't have a
 
place to put them in the house but they do fit as extra seating
 
in the GARAGE. If you know me, you know.... we are always in the Garage.

Neighbors know if the garage door is open come on in.

 That is were I work on my craft projects.

I have my Dad's antique Oak Drafting Table and I love it! It has plenty of room.

The stools are in good shape, but a bit plain. The tops an inset of Masonite.


I was doing another project when I noticed these stencils are the perfect size
 
for the top of the stools.  I wanted to use two different stencils on the stools.
 
 
I used this stencil on the first stool. 

 
Cathe Holden Inspired Barn Stencils 
CH 008-12 x 12


I used Black Acrylic paint and a stencil brush


Center stencil, measure and tape in place.


 Start center and work to the outside.


Double check that nothing was missed.
 
Remove stencil.


Love it ! 


 I used this stencil on the second stool.


CH005- 12 x 12 


Center stencil, measure and tape in place. 


 Dry brush Tip : Paint should look dull, if the paint has a shine it's too wet.


 Finished !

Remove stencil and clean stencil with warm water and soap.


I used a clear matte sealer to protect the stencil. 


I really LOVE how they turned out. 
 
 Thanks for stopping by !
 
I hope you are having a wonderful day.
 
xo Lisa S


Sunday, August 12, 2018

Valet from Thrifted Serving Set


Gentlemen's Valet, also called Clothes Valet, valet stand and suit stand,
 
 is an item of furniture on which clothes, particularly men's suits, may be hung.
 
 Also know as the bedroom treadmill.  Typical features
 
of valets include trouser hangers, jacket hangers, shoe bars, and a tray organizer for 
 
miscellaneous, day-to-day objects like wallets and keys. Some also feature jewelry boxes.


In the United States, the term is frequently used to refer to a non-freestanding cabinet or tray for
 
holding small personal items such as watches, cuff links, keys, or a cell phone.
 
In this sense, it is a place to ''dump your pockets''. 


Generally Men are hard to buy gifts for, but I think a tray is a practical way
 
 to keep organized.


I found these wood serving trays at the Thrift Shop.


The small one was .69


The large tray was .99


I decided to paint both dishes with white chalk paint.
 
 
Distressed with sandpaper, and wipe with a soft cloth.
 
 
I thought I would use this stencil
 
from istencil.com
 
Cathe Holden's Inspired Barn Stencils


The large monogram from the 12 x 12 stencil.
 
Tape in place and stencil with a dry brush using black acrylic paint.


 I used the 6 x 6 stencil on the small dish.

 
Tape in place.

The smaller stencil fit nicely in the tray.
 
 
Up and down motion and a dry brush. 


 Remove tape and gently wash stencil with soap and water.


Used clear wax on all sides to protect stencil and seal .


A place for keys or change on your side table.
 
 
 For the Bedroom or Bathroom.


I painted a wood Trouser Hanger to make a gift set!


Thank you so much for taking the time to read my post.
 
I hope you have a wonderful day!
 
xo Lisa S


Faux Tin Tile Bunny

Hello My Friends!  Most of the Craft and Dollar Stores have some chunky cut outs for Spring! There are so many ways to decorate these. I use...