Showing posts with label Thanksgiving. Show all posts

Thursday, October 30, 2025

Cranberry Walnut Bars

     Hello my friend !

Here is a simple and delicious dessert. 


Cranberry Walnut Bars

2 eggs,  beaten

1/3 cup melted butter

1 cup flour

3/4  cup sugar

1- 1/4 cup fresh or frozen cranberries

 ( no need to thaw )

1/2 cup chopped walnuts


Butter a round cake pan or 8" x 8"  square

Bake @350 degrees for 40-45 min.


Icing

1/2 cup powdered sugar

1Tbsp. lemon juice

Serve cake warm or cold

When cake cools a bit drizzle with icing


Directions:

To start melt butter


Add eggs to butter and beat.


Add sugar and flour, mix


Add chopped nuts and cranberries


Batter will be very thick,

spoon into baking pan


Bake@350 for 40-45 min.

Cool and cut into wedges or bars.


                                                                   Serves about 12 slices


Make the icing


Add lemon juice a little at a time.

If it's too thick add more juice, too thin add more sugar !


Drizzle on each slice before serving.


I give big pieces !


So good!


I hope you like this recipe-

Other options:

You could add some orange zest or white

chocolate chips to your bars.


Thank you for visiting!
xo Lisa S

Friday, November 1, 2024

Sweet Corn Casserole Recipe

 Hi friends,

We were invited to a Chili Cook Off Potluck last weekend.

I decided to make one of our favorite side dishes.

It's something we always have for Thanksgiving so I thought

I'd share it with you now.

You might have most of these ingredients in your pantry.

Let's make it together and I'll give you the recipe again at the end.


1 cup sour cream

1 stick of butter, melted

1 box JIFFY corn muffin mix


2 eggs, beaten

1/2 cup grated cheese-

( we like cheddar/Jack mix )


1- 14 oz. can creamed corn

1/4 cup Ortega chopped green chiles


Everything gets mixed together-

couldn't be any easier!

Pour into a buttered casserole dish.

Bake 350 degrees for  45  to 50 min.


Golden brown and creamy !


Check with a tooth pick.

Smells delicious!


Transports well if you are driving to your family 

Thanksgiving celebration.

We shared this dish at the potluck.

It went so fast I didn't even get a picture.

It can be served with a spoon. I like to use

 an ice cream scoop because it 

makes a pretty presentation.


Sweet Corn Casserole

1 box Jiffy Cornbread Mix

1- 14 oz. Creamed Corn

1 stick melted butter

1 cup sour cream

1/2 cup grated cheese

1/4 cup Diced Ortega Chilis

2 eggs, beaten


Combine all ingredients in a bowl.


Pour into a

  buttered casserole dish

approx. 8'' x  8" or other deep dish


Bake 350 degrees

 45 min. until golden and set


I hope you try our family favorite.

xo Lisa S

Sunday, September 29, 2024

Pumpkin Dump Cake

 Hello friend !

I just love a good fool-proof recipe, don't you ?

This one is a family favorite-

Of course as you know a dump cake is

quick, delicious and  easy to make.

You might even have all the ingredients in your pantry now!


Pumpkin Dump Cake


1 - 15oz. can Pumpkin

1- 12 oz. can Evaporated milk

1 cup granulated sugar

4 eggs, beaten

2 tsp. Pumpkin Pie Spice

1 tsp. salt


Mix first 6 ingredients together in a large bowl.

Pour into an ungreased 9 x 13 glass pan.

This is the base layer.


 Ingredients needed for topping :

1 -18 oz. box yellow cake mix- dry

1 cup chopped nuts( walnuts or pecans) optional

1 and 1/2 sticks , melted butter


Sprinkle dry cake mix over the base layer.

next add nuts, drizzle butter over the dry mix.

DO NOT STIR!


Next add nuts, drizzle butter over the dry mix.


Bake at 350 degrees for 45 mins.


Serve warm with whipped cream, vanilla ice cream

or plain.


Can be made ahead of time and rewarmed.

Travels well for a party-

We enjoy it served cold.

I make sure to have these ingredients

 on hand in case I'm invited over-

Let's have coffee,

xo Lisa S


Monday, September 23, 2024

Old Wood Spool PUMPKINS


Hi friends!

Happy First Week of Fall-

My very favorite time of year!

Just a super quick craft idea today.

A friend gave me some old empty spools last week .

She thought I could use them.

I decided to make some rustic

 place card markers for seating at Thanksgiving Dinner.

I had a roll of orange jute in my gift wrapping stash.


I just wrapped each spool, single layer with the jute.


Went in the yard to find a stick for a stem.

I found a pinch of Spanish Moss in my craft supplies'


I pushed some moss in the spool hole, then pushed in the twig.

These could be finished at this point if you want to make a 

small shelf sitter!

They can sit on a shelf throughout October and November.


I cut a 4'' piece of wire and made 2 loops on the end with 

needle nose pliers.


I poked the wire in the opening-


I cut small leaf shapes out of brown paper.


I wrote names on the leaves-

I need to make some more before Thanksgiving!


The wire is strong and will hold a thick card 

without falling over.


Here are more ideas for spools -


Thank you so much for letting me share with you!

xo Lisa S

Wednesday, November 23, 2022

Best Thanksgiving Wishes to you !


Hello My Friends,

I'm sharing another sweet postcard from artist Ellen Clapsaddle.

I love the fall colors in this card-

Feel free to save and share.


You mean so much to me!

I hope you have a wonderful Thanksgiving.
xo Lisa S


Wednesday, September 21, 2022

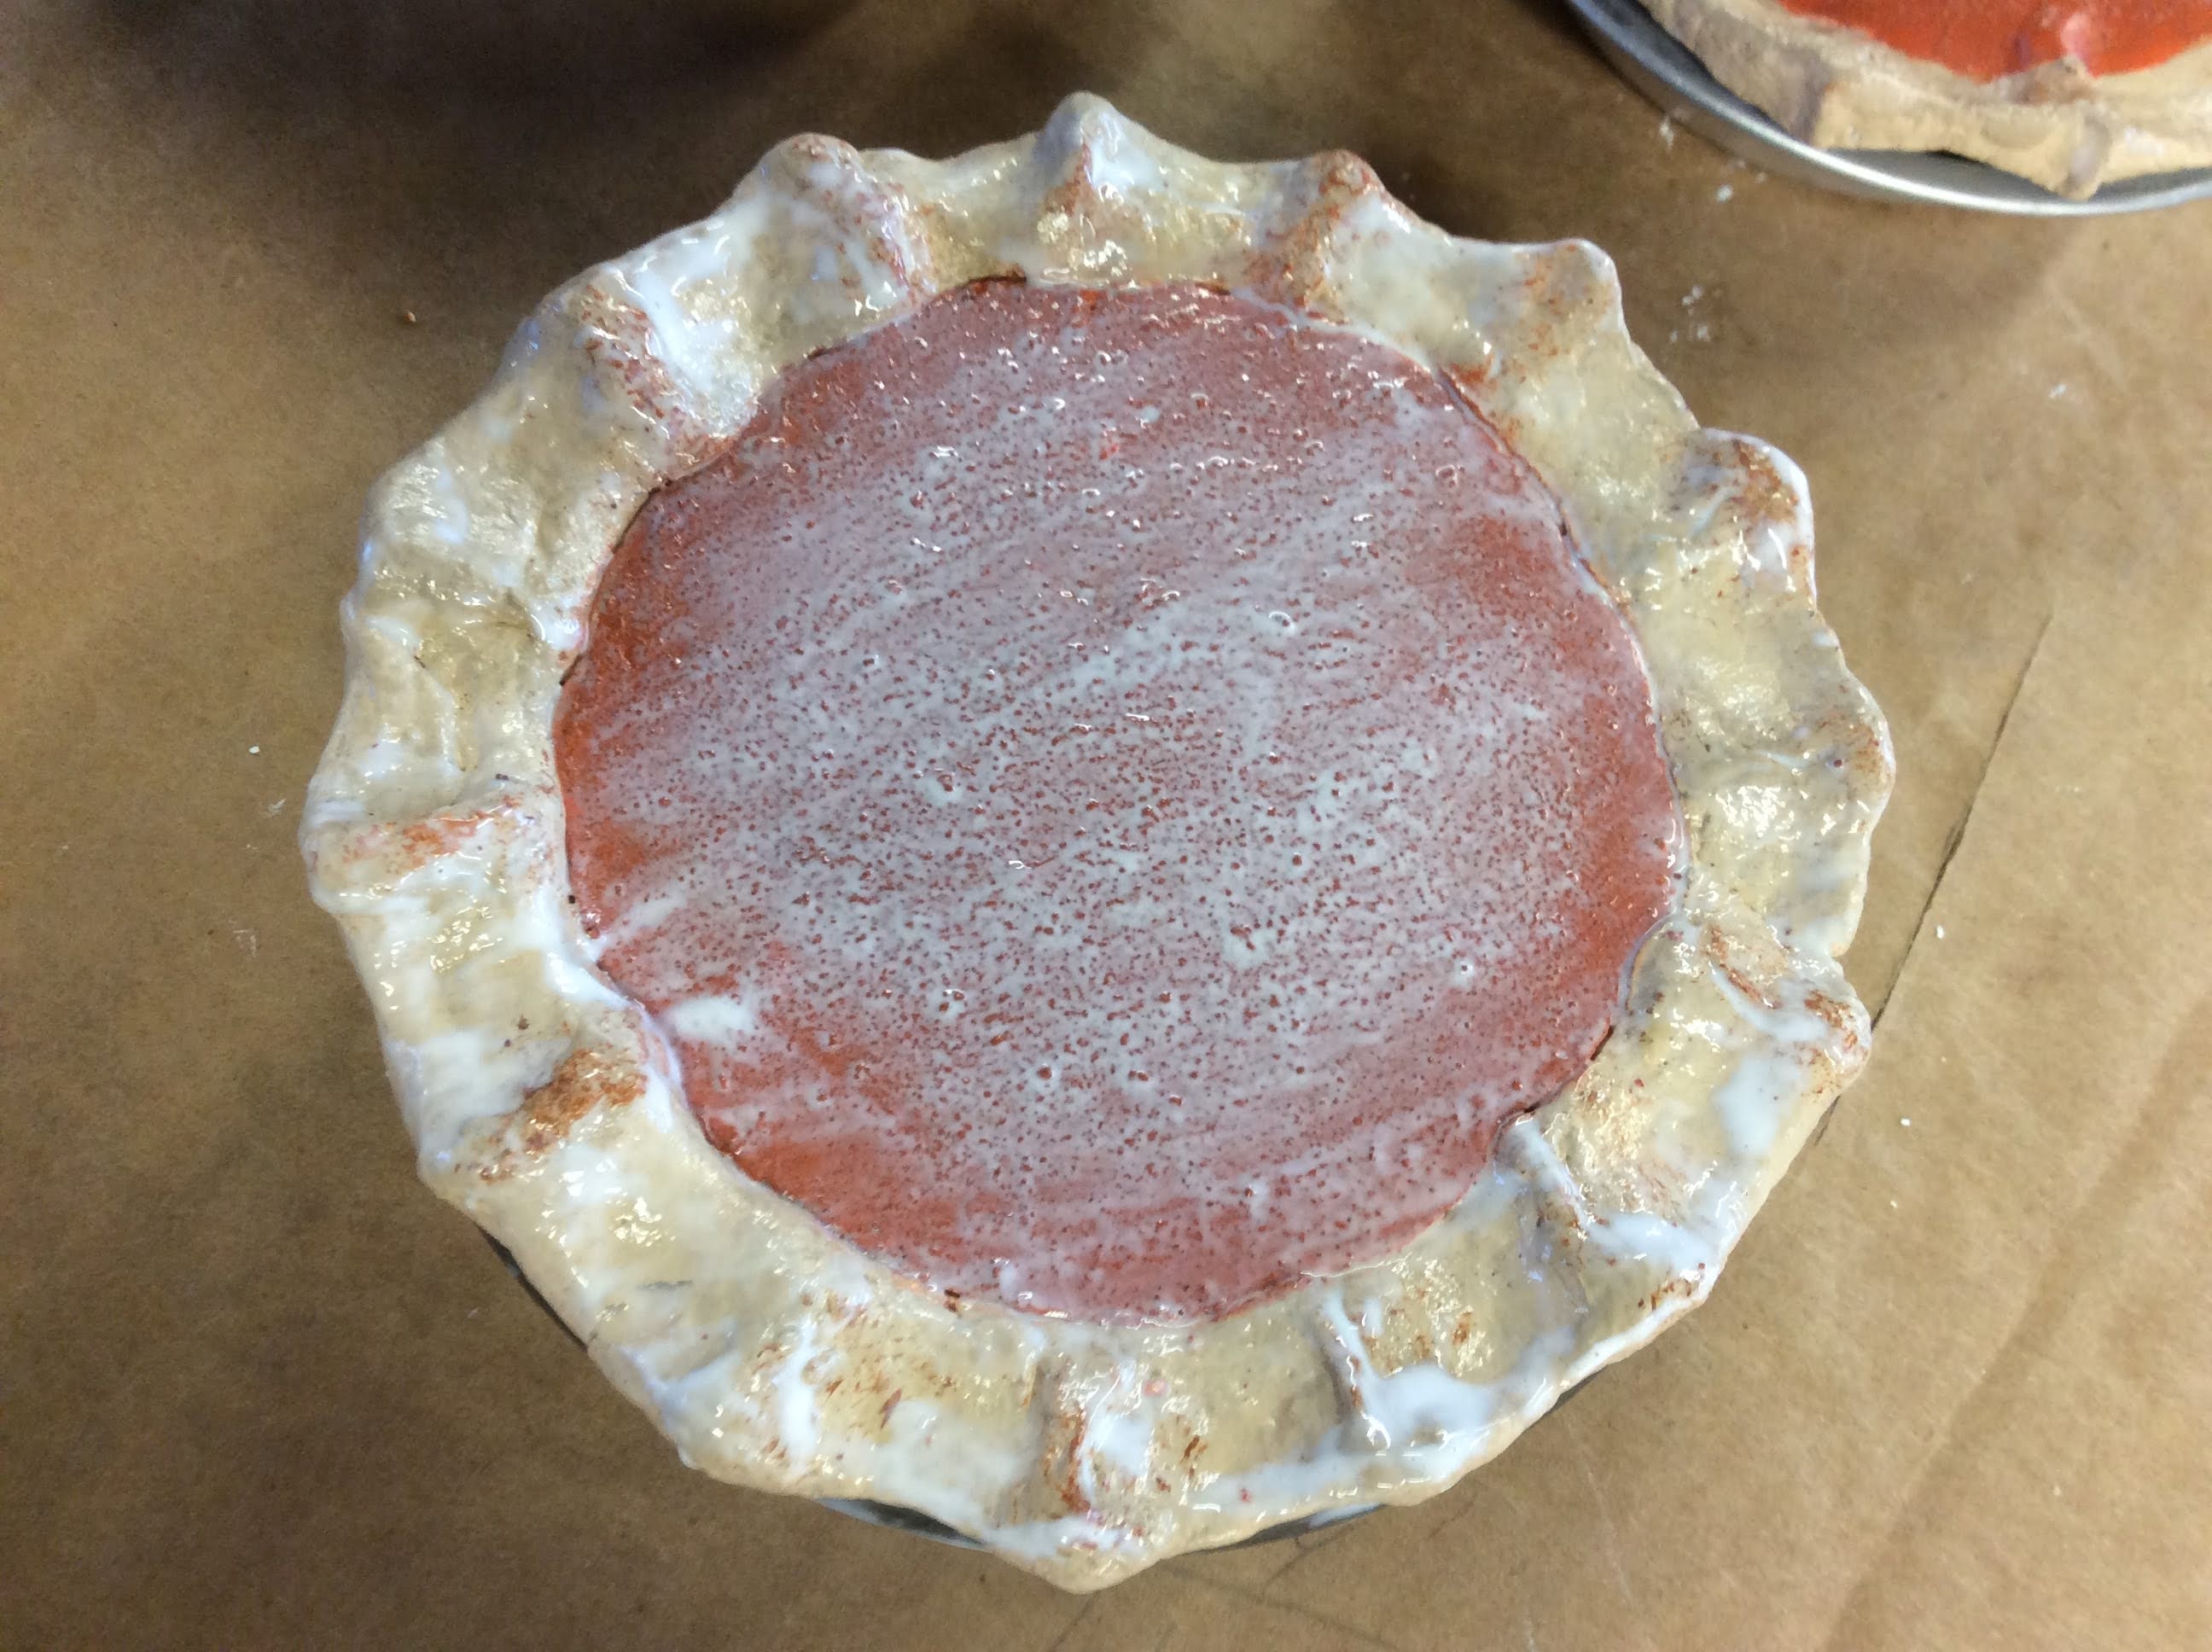
Faux Mini Pumpkin Pie


Hi Friends,


I love all things PUMPKIN- 

Sorry but these pies are just for your eyes.


Let's do some baking together!

I used some vintage tin children's toys I had.

You can use mini aluminum tart pans from the baking area of your store.


The recipe for the crust is simple.


FLOUR and SALT CLAY

1/2 cup all purpose flour

1/4 cup Salt

1/4 cup water

Mix together, Roll into a ball- if your clay is sticky add more flour.

If your clay is crumbly add water 1 tsp. at a time.

The consistency should be the same as pie crust dough.


This recipe will make 3 small pies or 1 standard size pie.

*Cheaper than paper clay


Divide into thirds, an roll out on flat surface.


Sit on top of pan edge.

I originally started with plastic but it's not necessary.


You can use your favorite pinch-style to create a fluted edge.

Pull a tiny bit down inside the pan.


Bake at  250 degrees 25 min.

You can let these air dry, like I did. It will take 48 hours or so depending

on how thick the crust is-


I looked through my acrylic paints to find a color for my crust.

I just used a combination of tan and flesh-


Started with a coat of the lighter color, than painted 

the darker color on the peaks of the crust.


For the filling I used

Plaster of Paris

I was given this box years ago from a retired teacher.

I am been saving it for some reason- well I found a reason.

It has been sealed and dry, so I'm sure it's still good.


I'm not sure about a recipe. I just followed the directions on the box.


I measured out the plaster in a disposable cup and stirred with a plastic fork.

I know that you know this, but I need to remind you anyway-

Do not let any plaster get down the drain !

Mixture should be pourable, like milk.

It thickens fast. Pour immediately  into pan.

Pour right to where you want it, the plaster does not shrink or expand.

Throw away the cup- easy clean up!


It dried quickly!


I mixed 'pumpkin orange' and a little brown with a teaspoon

of Pumpkin Spice seasoning.

Cinnamon will work just fine too !


The messy truth !


I added some brown paint to the ridges.


Paint up to the crust.


When dry, I brushed Matte Mod Podge over the entire pie

to seal and to give the pie a little sheen.


The cinnamon mixed with the paint gives a realistic look 

to the pumpkin filling!


Looks good enough to eat !


This sweet little pie even smells delicious.


Note: My first batch of pies were painted as I did each step.

The next batch I painted after the whole pie was dry and finished.

I don't think it made any difference.


My mom always tops our pumpkin pie with a little baked cookie

made from pastry scraps.


 I had to make my mom a special pie. She loves hearts.


xo Lisa S


If you like working with this clay recipe,

I have another project-

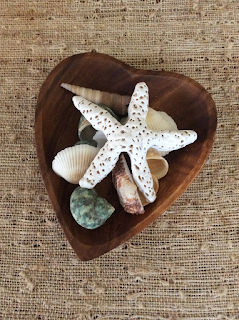
How to make a starfish / sea star


Just Getting Started- A little FALL Decor

Hi friends, I was at the Dollar tree  getting something else when I saw these Maple leaf stems. I know I could spend more and get better qua...