
Hi Friends,
I love all things PUMPKIN-
Sorry but these pies are just for your eyes.
Let's do some baking together!
I used some vintage tin children's toys I had.
You can use mini aluminum tart pans from the baking area of your store.

The recipe for the crust is simple.
FLOUR and SALT CLAY
1/2 cup all purpose flour
1/4 cup Salt
1/4 cup water
Mix together, Roll into a ball- if your clay is sticky add more flour.
If your clay is crumbly add water 1 tsp. at a time.
The consistency should be the same as pie crust dough.
This recipe will make 3 small pies or 1 standard size pie.
*Cheaper than paper clay

Divide into thirds, an roll out on flat surface.

Sit on top of pan edge.
I originally started with plastic but it's not necessary.

You can use your favorite pinch-style to create a fluted edge.
Pull a tiny bit down inside the pan.
Bake at 250 degrees 25 min.
You can let these air dry, like I did. It will take 48 hours or so depending
on how thick the crust is-

I looked through my acrylic paints to find a color for my crust.
I just used a combination of tan and flesh-

Started with a coat of the lighter color, than painted
the darker color on the peaks of the crust.


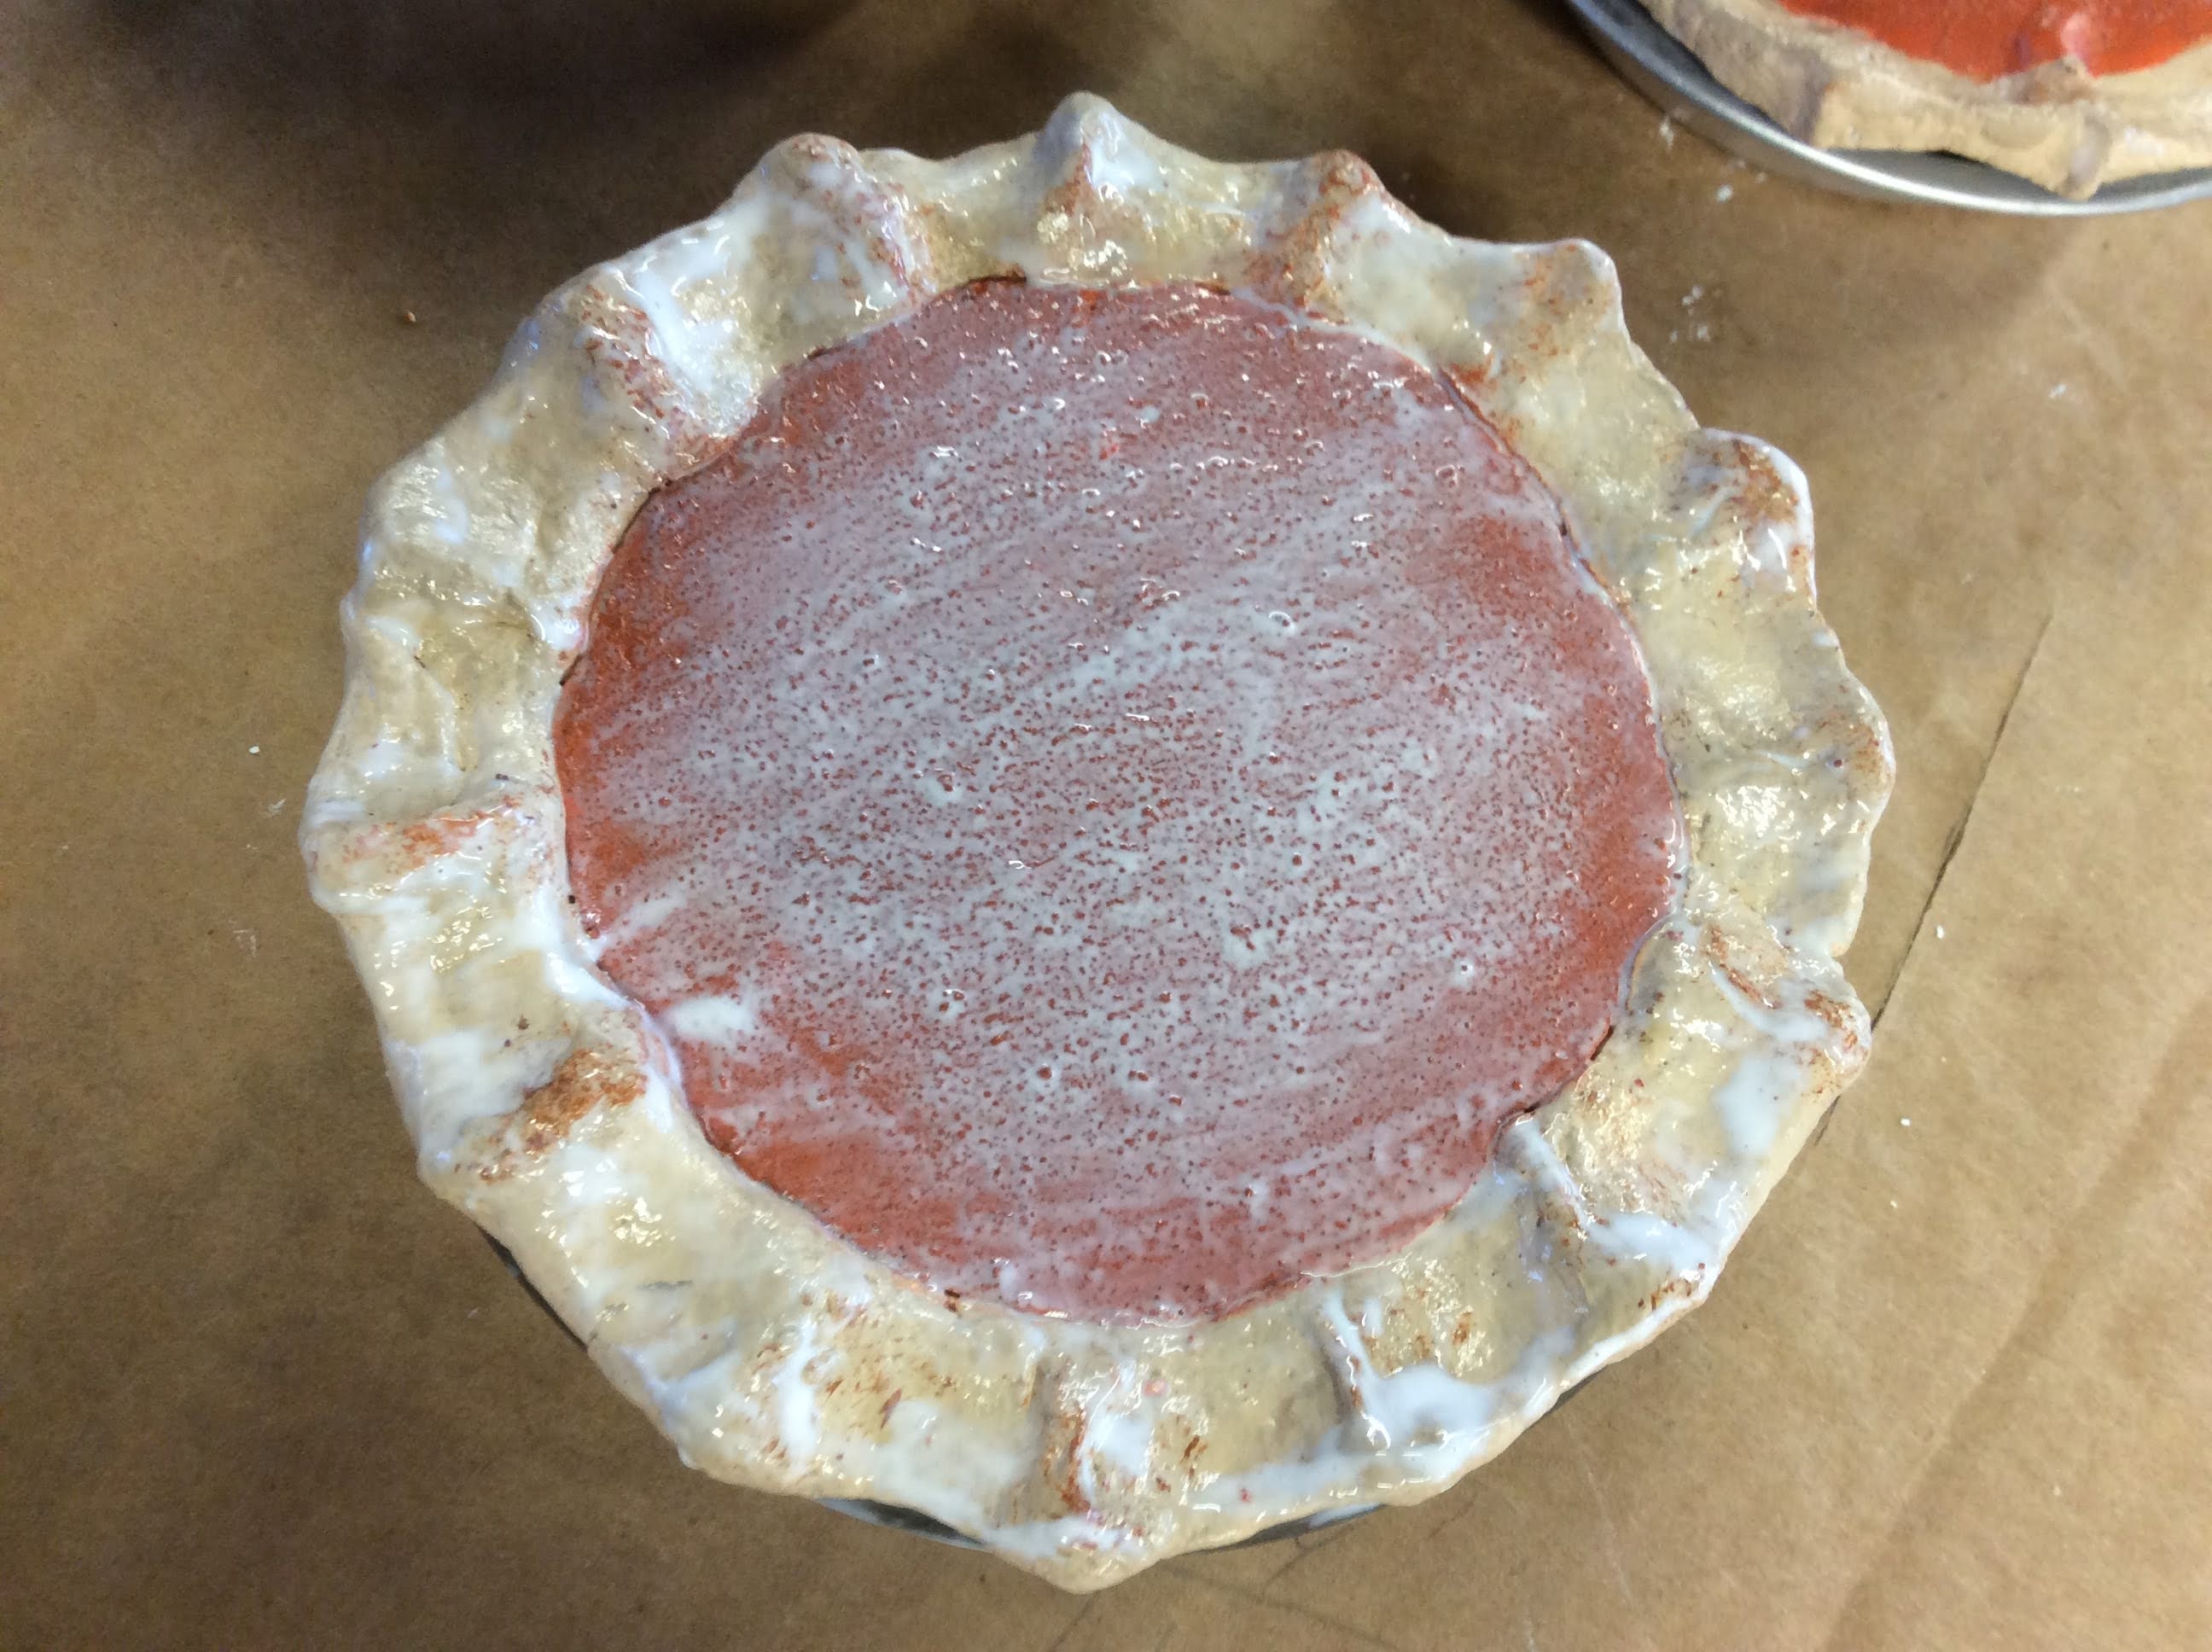
For the filling I used
Plaster of Paris
I was given this box years ago from a retired teacher.
I am been saving it for some reason- well I found a reason.
It has been sealed and dry, so I'm sure it's still good.

I'm not sure about a recipe. I just followed the directions on the box.

I measured out the plaster in a disposable cup and stirred with a plastic fork.
I know that you know this, but I need to remind you anyway-
Do not let any plaster get down the drain !
Mixture should be pourable, like milk.
It thickens fast. Pour immediately into pan.
Pour right to where you want it, the plaster does not shrink or expand.
Throw away the cup- easy clean up!


It dried quickly!
I mixed 'pumpkin orange' and a little brown with a teaspoon
of Pumpkin Spice seasoning.
Cinnamon will work just fine too !

The messy truth !


Paint up to the crust.


When dry, I brushed Matte Mod Podge over the entire pie
to seal and to give the pie a little sheen.
The cinnamon mixed with the paint gives a realistic look
to the pumpkin filling!

Looks good enough to eat !

This sweet little pie even smells delicious.

Note: My first batch of pies were painted as I did each step.
The next batch I painted after the whole pie was dry and finished.
I don't think it made any difference.

My mom always tops our pumpkin pie with a little baked cookie
made from pastry scraps.

I had to make my mom a special pie. She loves hearts.

xo Lisa S

If you like working with this clay recipe,
I have another project-
How to make a starfish / sea star
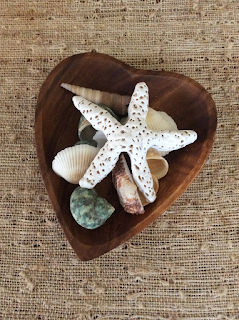


Oh what a cute idea. I love how realistic it looks.
ReplyDeleteLauren @ www.shootingstarsmag.net
Lisa,
ReplyDeleteI love this. It looks you you could just take a big bite out of it.
Congratulations, you are being featured on Thursday Favorite Things party. https://www.eclecticredbarn.com/2022/09/ian-and-thursday-favorite-things-party.html I hope you stop by.
Hugs,
Bev
Oh goodness Lisa, this little mini pumpkin pie creation is so darling! And the best part is the minimal storage room it takes until you bring it out next fall again! So cute!!
ReplyDeleteThis is so cute! I love that you added the pumpkin spice to the paint to make it smell delicious. Visiting from the Craftastic Monday Link Party.
ReplyDelete- Maria
www.kraftyplanner.com
So cute! Do you like to fake bake? There are a lot of groups on Facebook where you can get inspiration; Faux Ever Desserts Group, Fake Bake Craft Supplies and Feast With Your Eyes Fake Bakes And More are a few of my favorites. It's addicting! :D
ReplyDeleteLisa, I love the mini pies you've made! Pinned to my SYS and Yummy boards. I know you know that you know your post was featured this past week at Share Your Style #361, but I thought I'd just stop by and say "hey there!"
ReplyDeleteHappy fall to you,
Barb :)
Adorable! Looks real to me Lisa!
ReplyDeleteOh My!! These are adorable and I'm definitely gonna give them a try. Thank you so very much for sharing your beautiful work and a tutorial to go with it. xoxo
ReplyDeleteThank you! I 'm so glad you are going to give it a try. I think you will be pleased with the results.
Deletexo Lisa S