Tuesday, February 23, 2021

Easy Vintage Book Junk Journal

Hi Friends,

A long time ago....I saved this book from the trash at a Thrift Shop.

The cover was completely torn off and the pages were damaged.

I found it in my stash and decided to see what I could do with it.

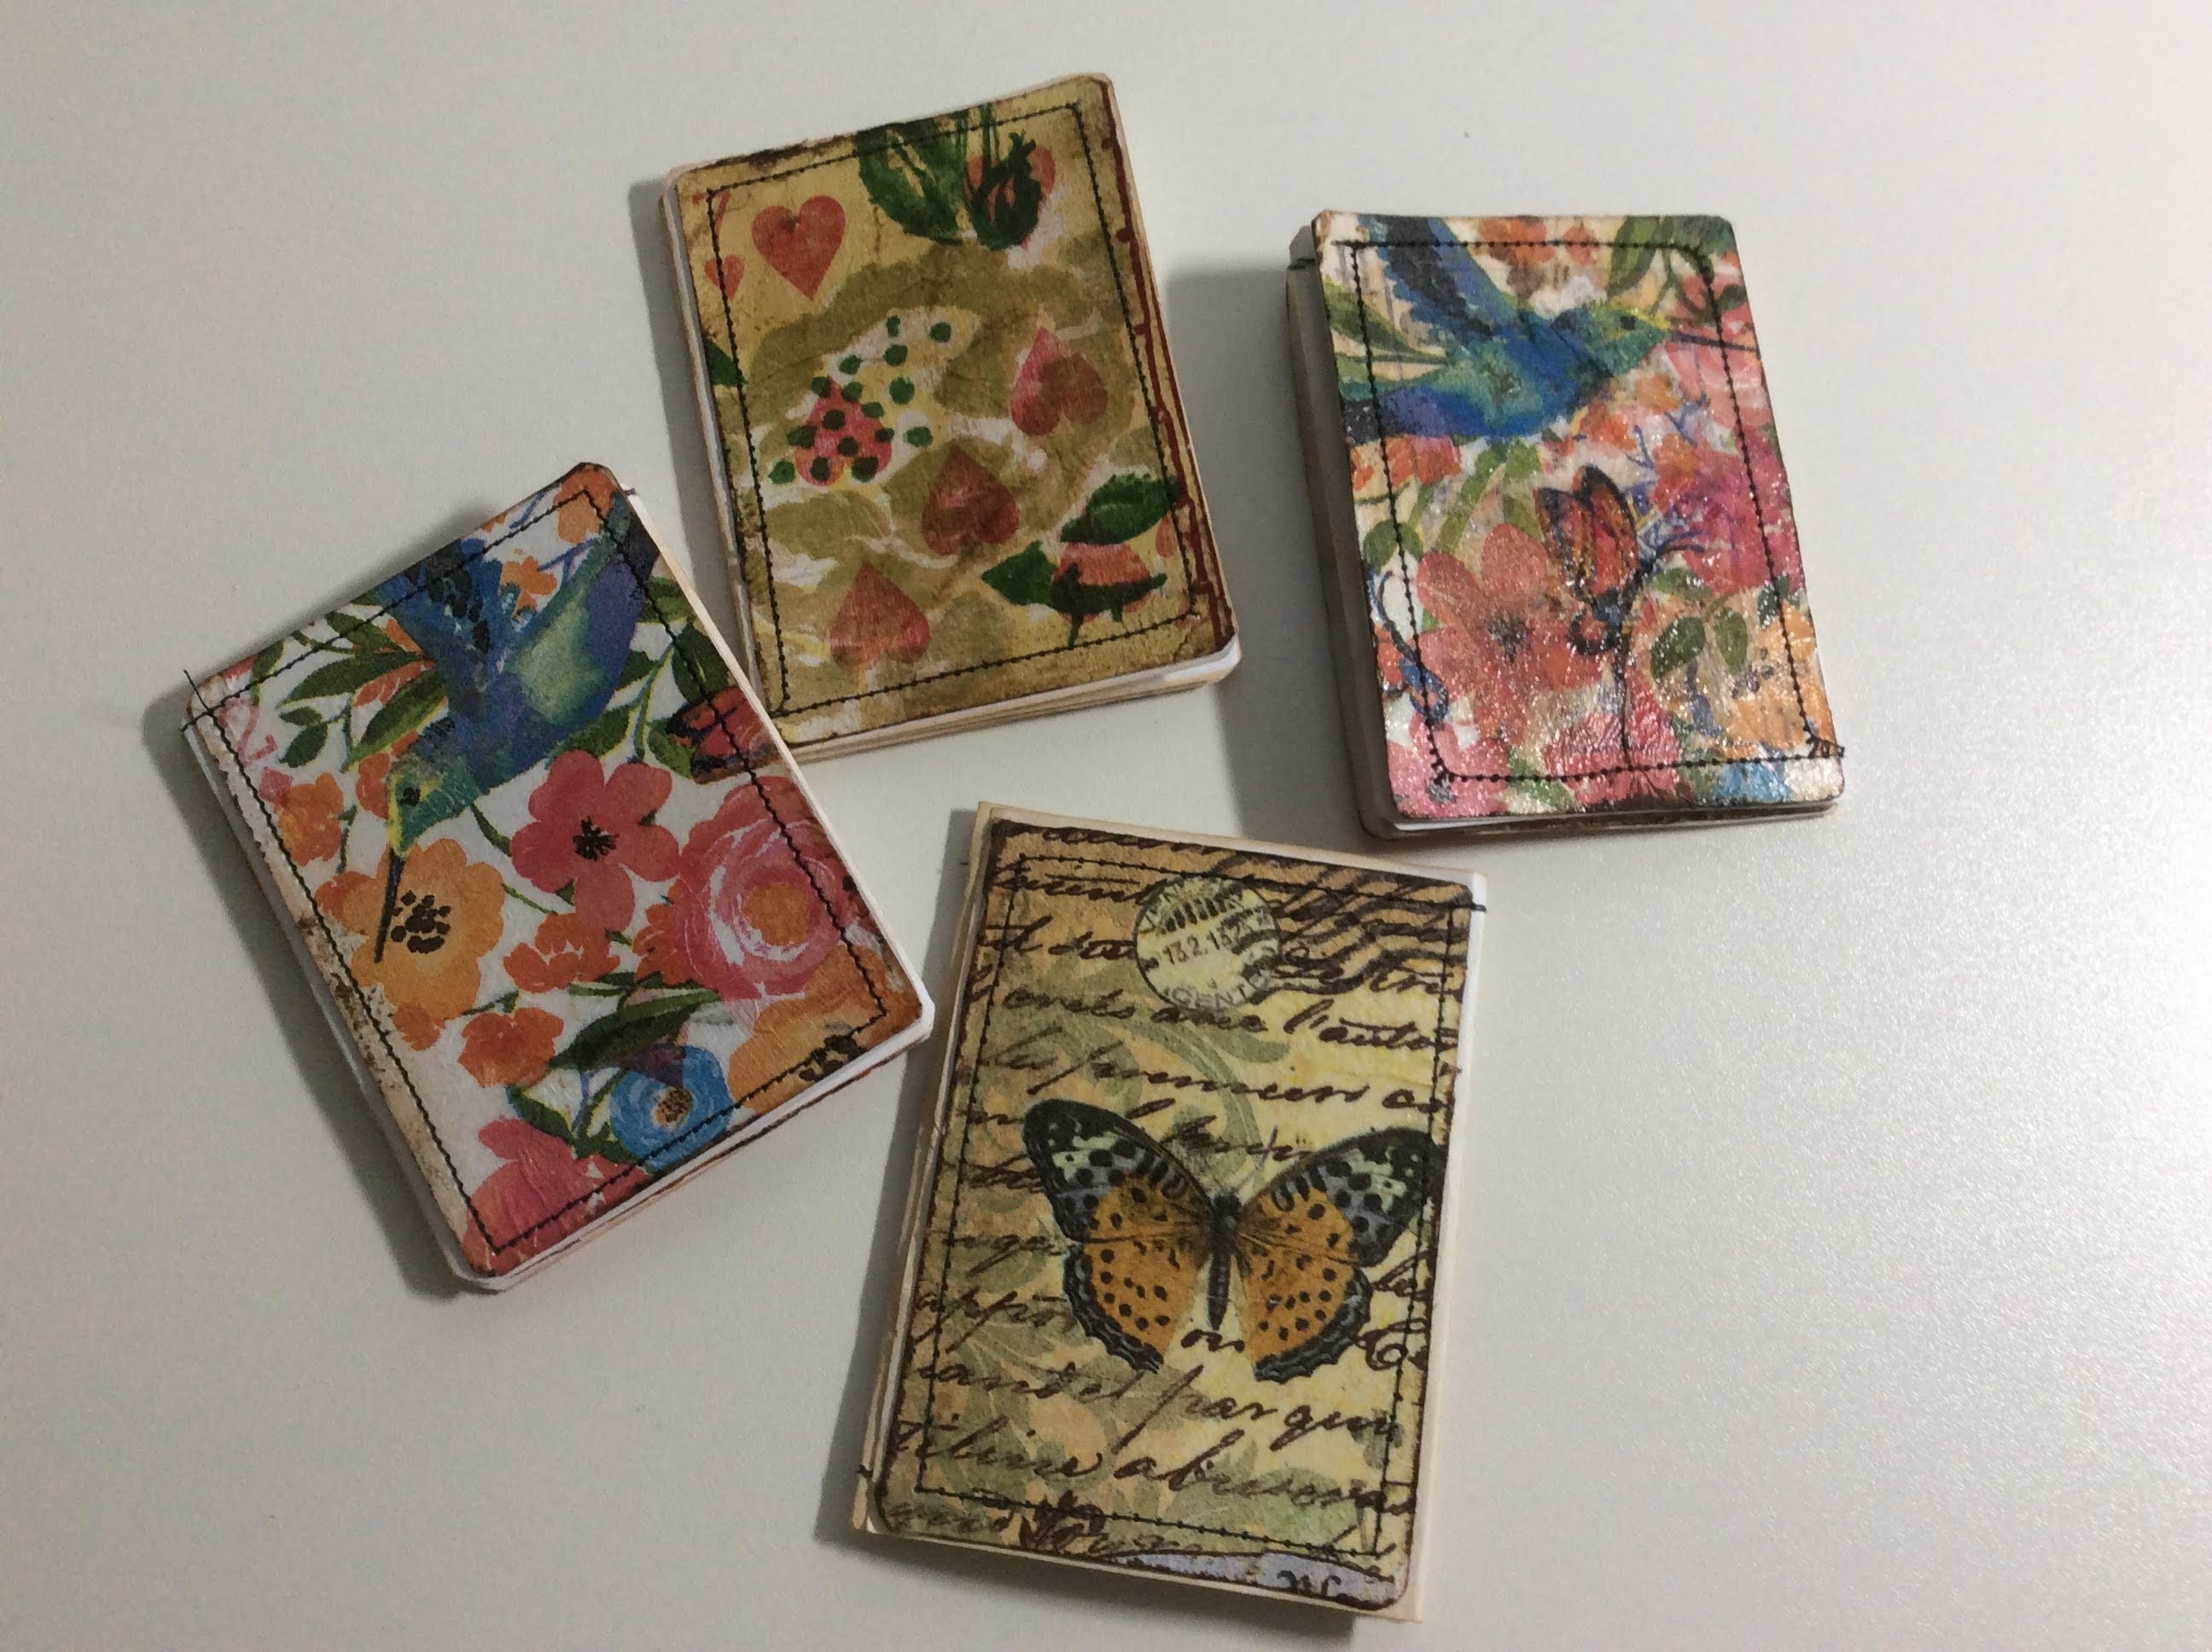
I loved the cover and the illustrations, they were good enough to use again.


I used my paper cutter to remove the torn spine.

I have some paper tape that I got at Dollar tree. It works great!


Once the spine was set, I needed to fix the inside.


Glue and more tape fixed the interior.

I covered the spine with cloth I had on hand.

It matched the shawl of the girl in the window.

I used Mod Podge to add the cloth.


I covered the inside with some blue cardstock.

From the outer edge, over the tape and to the edge of spine.

Measuring from the center to the edge, I started to but together

 folded stacked of 10 papers.

I plan to make 3 stacks called 'signatures' to sew into my book.


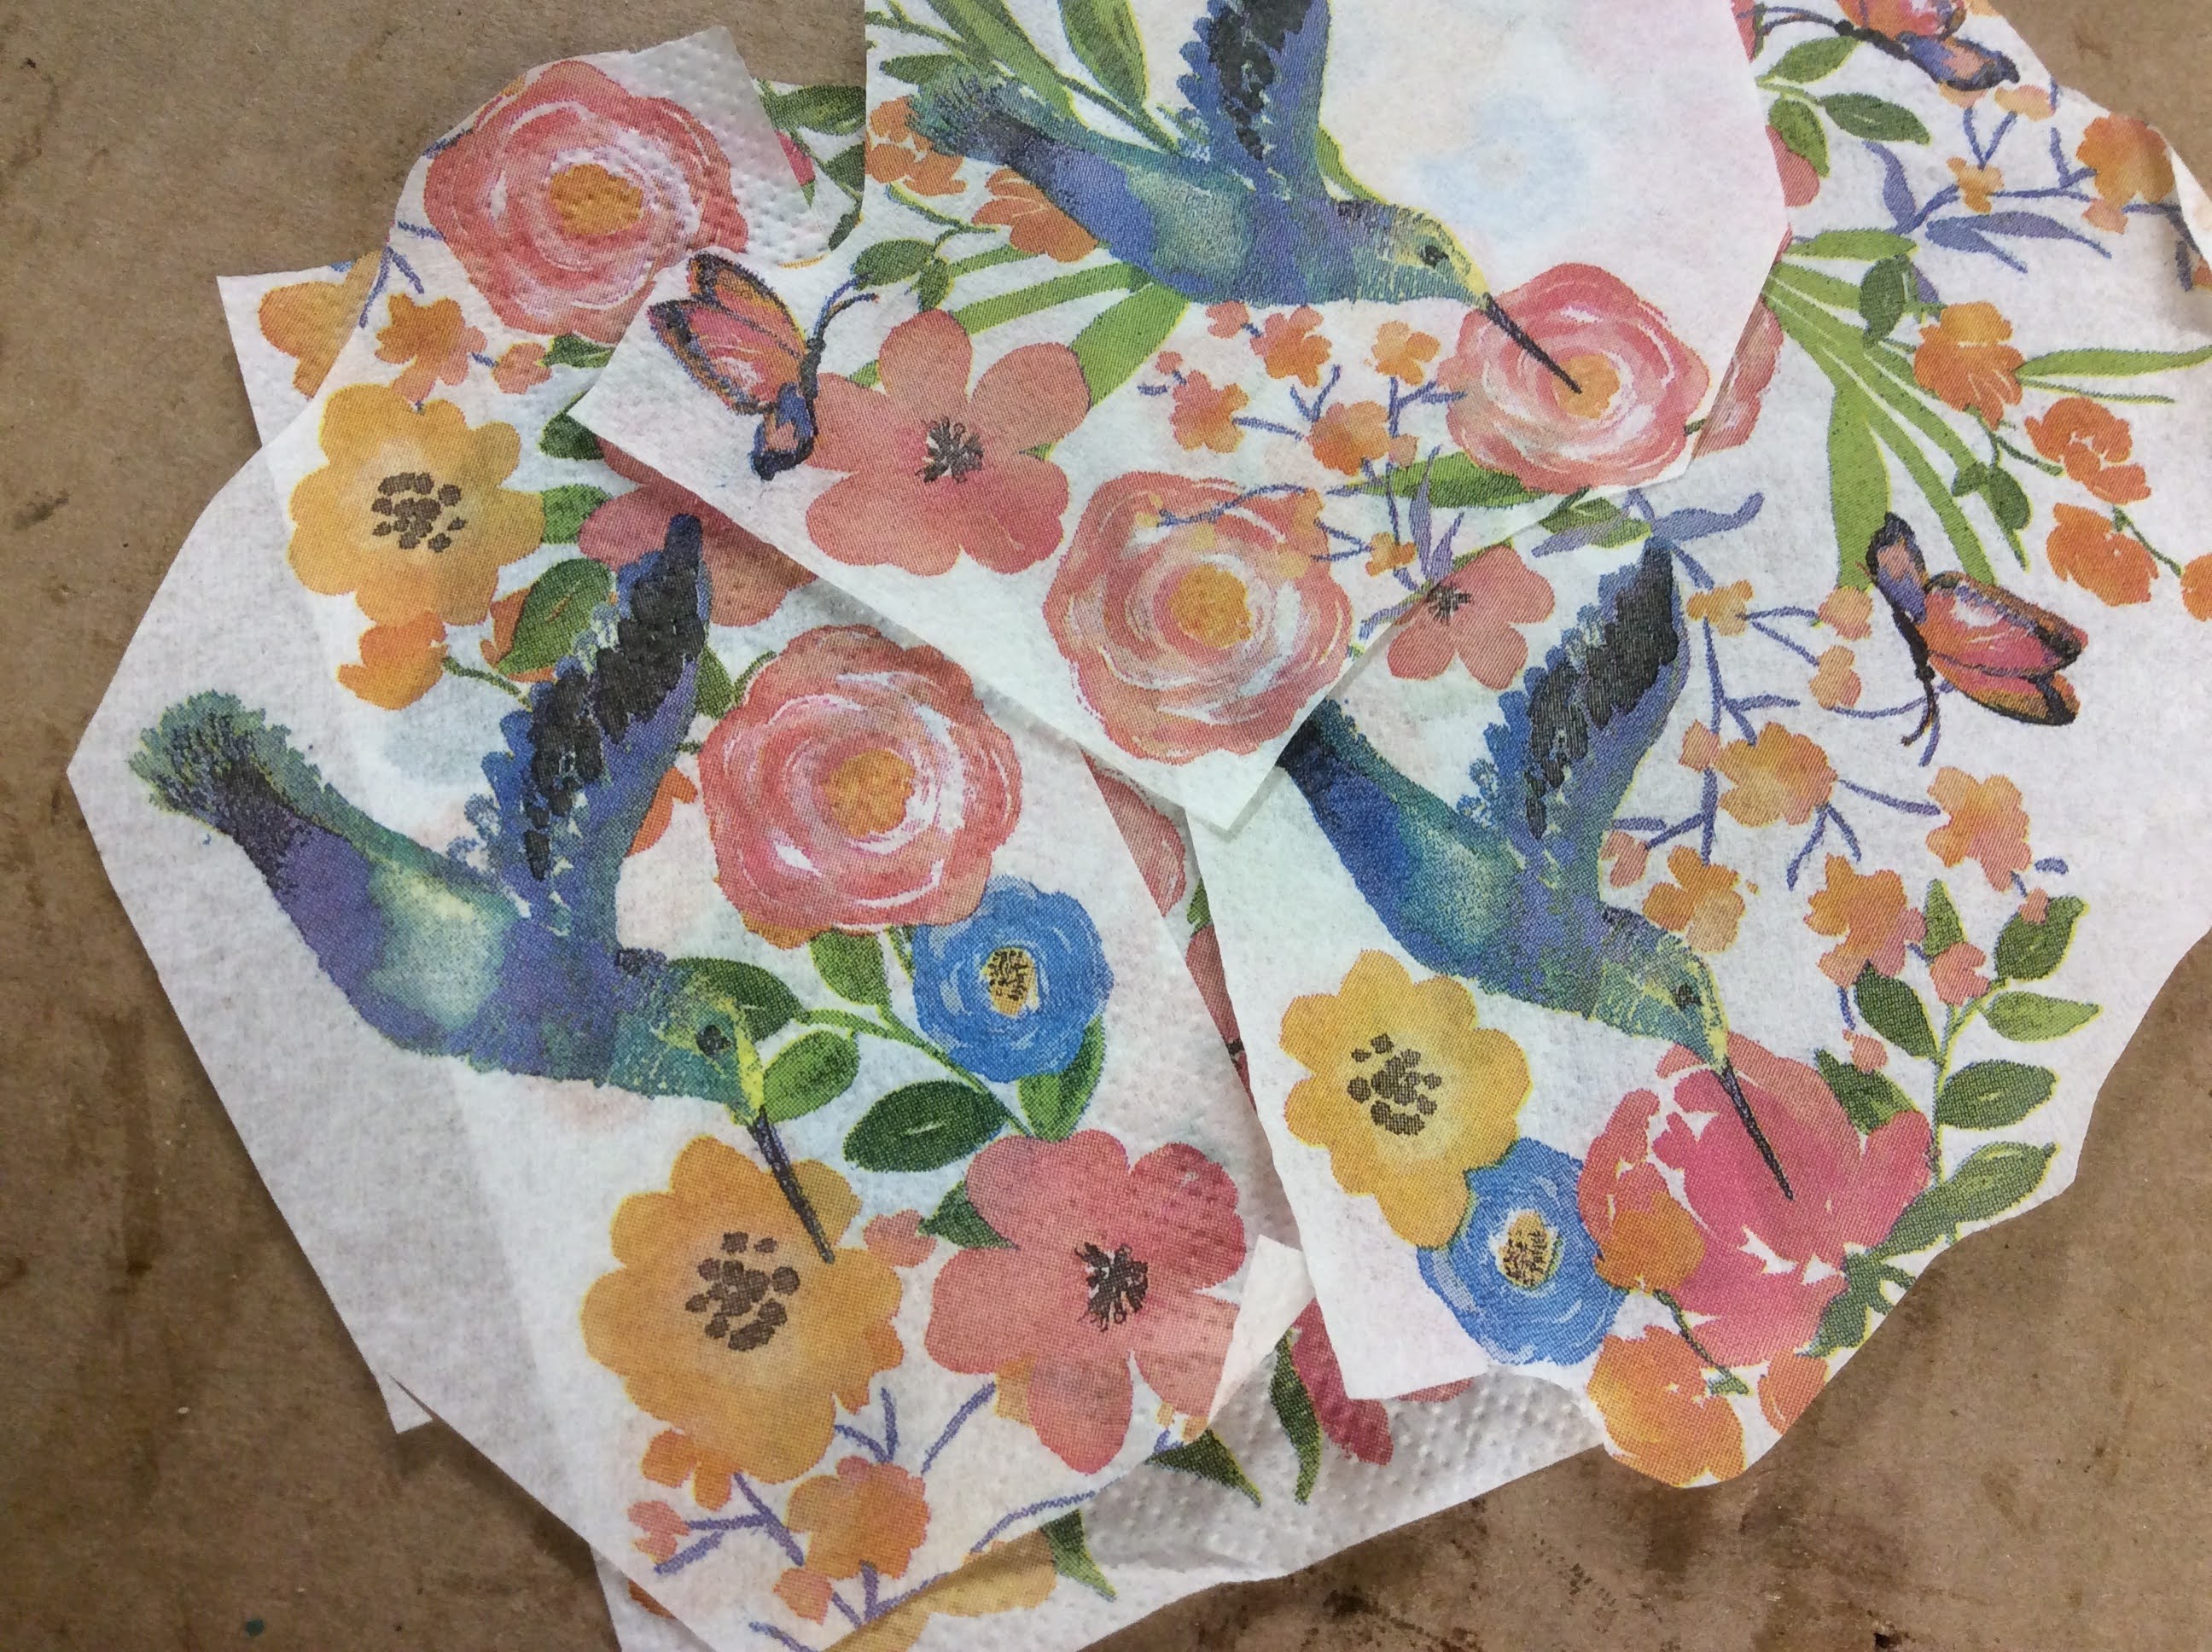
I used pages from the dictionary, sheet music, coffee stained paper,

illustrations from other books.

I folded the pages in half and cut to fit.

Sometimes I tear to size, I like the raw edges.


These are my 3 signatures ready to be sewn in the book.

I use clips to hold the pages in place.

I love the vibrant colors of these birds posters.


You will be sewing inside the center fold line.


I made a removable paper template to mark the holes in the spine

then into your folded paper.

I used an awl on a block of wood.


I use a tapestry needle a piece of embroidery thread.

The thread is measured to 3 times the height of the book.


Start center, go through the pages

 and the spine to the outside of the book,

 leaving a tail to tie a knot later-


Then go to outside hole and sew

 through to the inside, then all the way across

and repeat. You will be back to the center hole.

Tighten and tie a knot.


Tie your knot over the center cross thread.


One signature is sewn in, now add another. 


The spine will show your stitches.

If you don't like the look you can cover with another piece of cloth 

or add beads :)


Here's a quick look at the inside-


The last illustration and page says "Good Night"


It was fun to give this pretty book a new life.

I was able to put together a nice amount of scrap paper.

It cost nothing but my time :)

Thanks for being here today-

xo Lisa S


Tuesday, February 16, 2021

Altered Playing Cards- Mini Notebook / Tags

 Hi Friends!

Let's stay inside where it's warm and cozy.

I've been working on multiple paper projects this week,

 but they are not finished yet- so here's a quick and fun way

to make a mini notebook or tag using playing cards.


These cards were a recent 'Thrifty Find', unfortunately

they were an incomplete set so I put them to a better use!

The vintage cards were smaller and had a matte finish.


This newer set was a bit glossy, I used a bit of sand paper to

make them dull.


You will need to find a couple paper napkins for this project.

I found the birds recently at the Dollar Tree.


You can use Matte or Gloss Mod Podge.


You will want to use a single ply of the napkin.


Here is an easy trick to separate the layers of napkin.


Touch a piece of scotch tape to the back side,


the tape will pull apart the layers easily.


Cut your napkin into smaller pieces that have a design you like.


Use a thin layer of Mod Podge to attach your napkin to the card.

The cards may bow but they will straighten out later.

We are only covering one side.


The picture on the card will show through.

If you don't like that- you can paint the card first with gesso

or acrylic paint.


Trim edges with scissors.

You can use distressing ink on the sides.

Lay out your cards.


Glue your cards to a sheet of regular copy paper. 

Pretty side up!


Leave about a 1/4'' of space between the cards.

Let dry.

Trim background paper with scissors.


Fold like an accordion-


They have a wonderful texture,

almost like soft leather.


Now we can stitch around the cards

with the sewing machine.

This is optional, but it is so much fun.

I think you'll love it.

Do a quick test on another piece of paper first!

Just to make sure your bobbin is working properly.

Start at the top and go across, down, up and over.


You will end up back where you started.


I used some stamps on the back side.


I used Antique Linen Distress Ink.

You can use tea or coffee to stain your paper .


You will be able to fold these in a few different ways! 


The small size can fit inside a greeting card.


I like to give you some ideas on how to use these-

Here is one I used on the cover of a mini junk journal.


and I also tucked one inside a pocket.


They can be used as tags.

This is one side-


and this is the other.


It's nice to have a little handmade item ready 

when you may need it !


Thanks for hanging out with me-

xo Lisa S


Faux Tin Tile Bunny

Hello My Friends!  Most of the Craft and Dollar Stores have some chunky cut outs for Spring! There are so many ways to decorate these. I use...