......for the first time!

Hi my friend-
I was at one of my local Antique store and found these
IOD Stamps [ Iron Orchid Designs ]
Crock Labels

There are 13 different stamps in the set and that seemed like
a pretty good value to me.
These stamps are big!
The best part is they are flexible
for stamping on curved surfaces and clear for easy placement.


According to ironorchiddesigns.com
there is a little prep work needed before you get started.
They suggest using a fine grit sand paper on the stamping
side area.
Sanding lightly one direction across all stamps
then the opposite direction.
This will help with all mediums used.

It's up to you if you want to cut apart the stamps.
This works better for me-

I still have more yogurt jars and some pots to decorate.

I just painted the jars with chalk paint.

I wanted to try stamping on air dry clay and add
the label to the jars.
I love this MODEL MAGIC CLAY by Crayola !
It was about $5 at Joann's Fabrics- less if you use a coupon.

It is so soft and no crumbling mess!
It didn't shrink or crack.
I highly recommend it!

I just rolled a small piece to 1/4'' thick
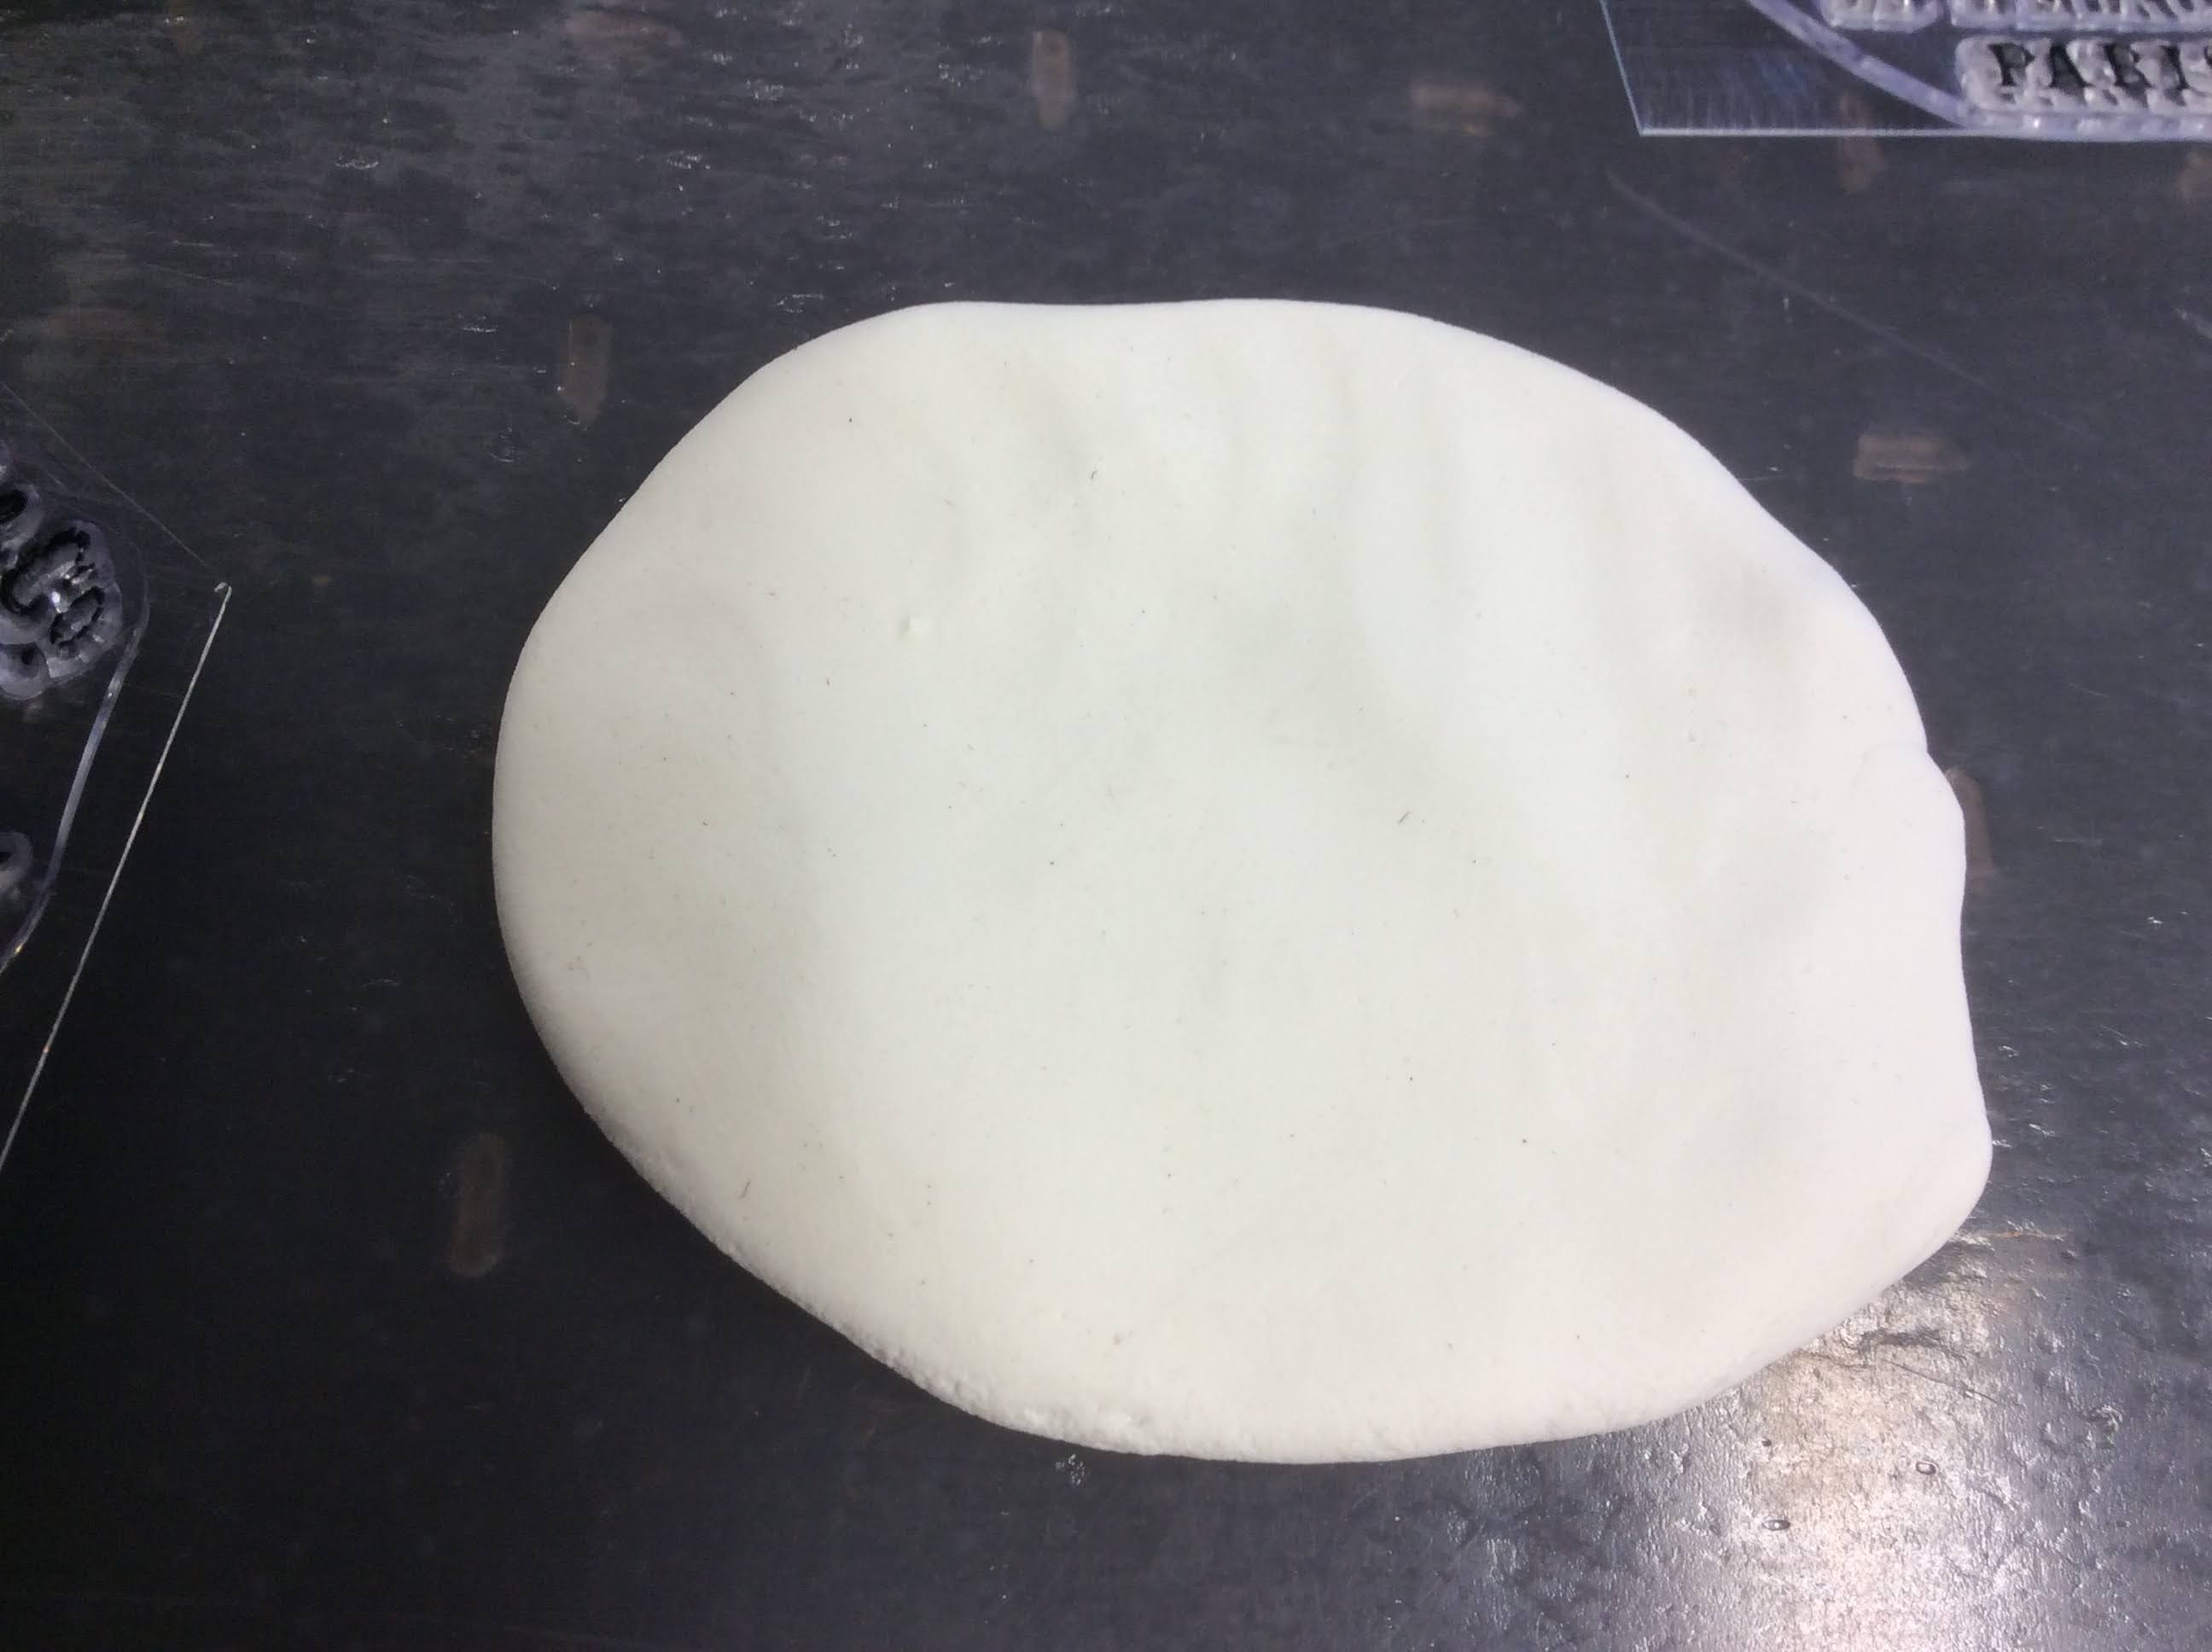
Just pressed stamp into clay
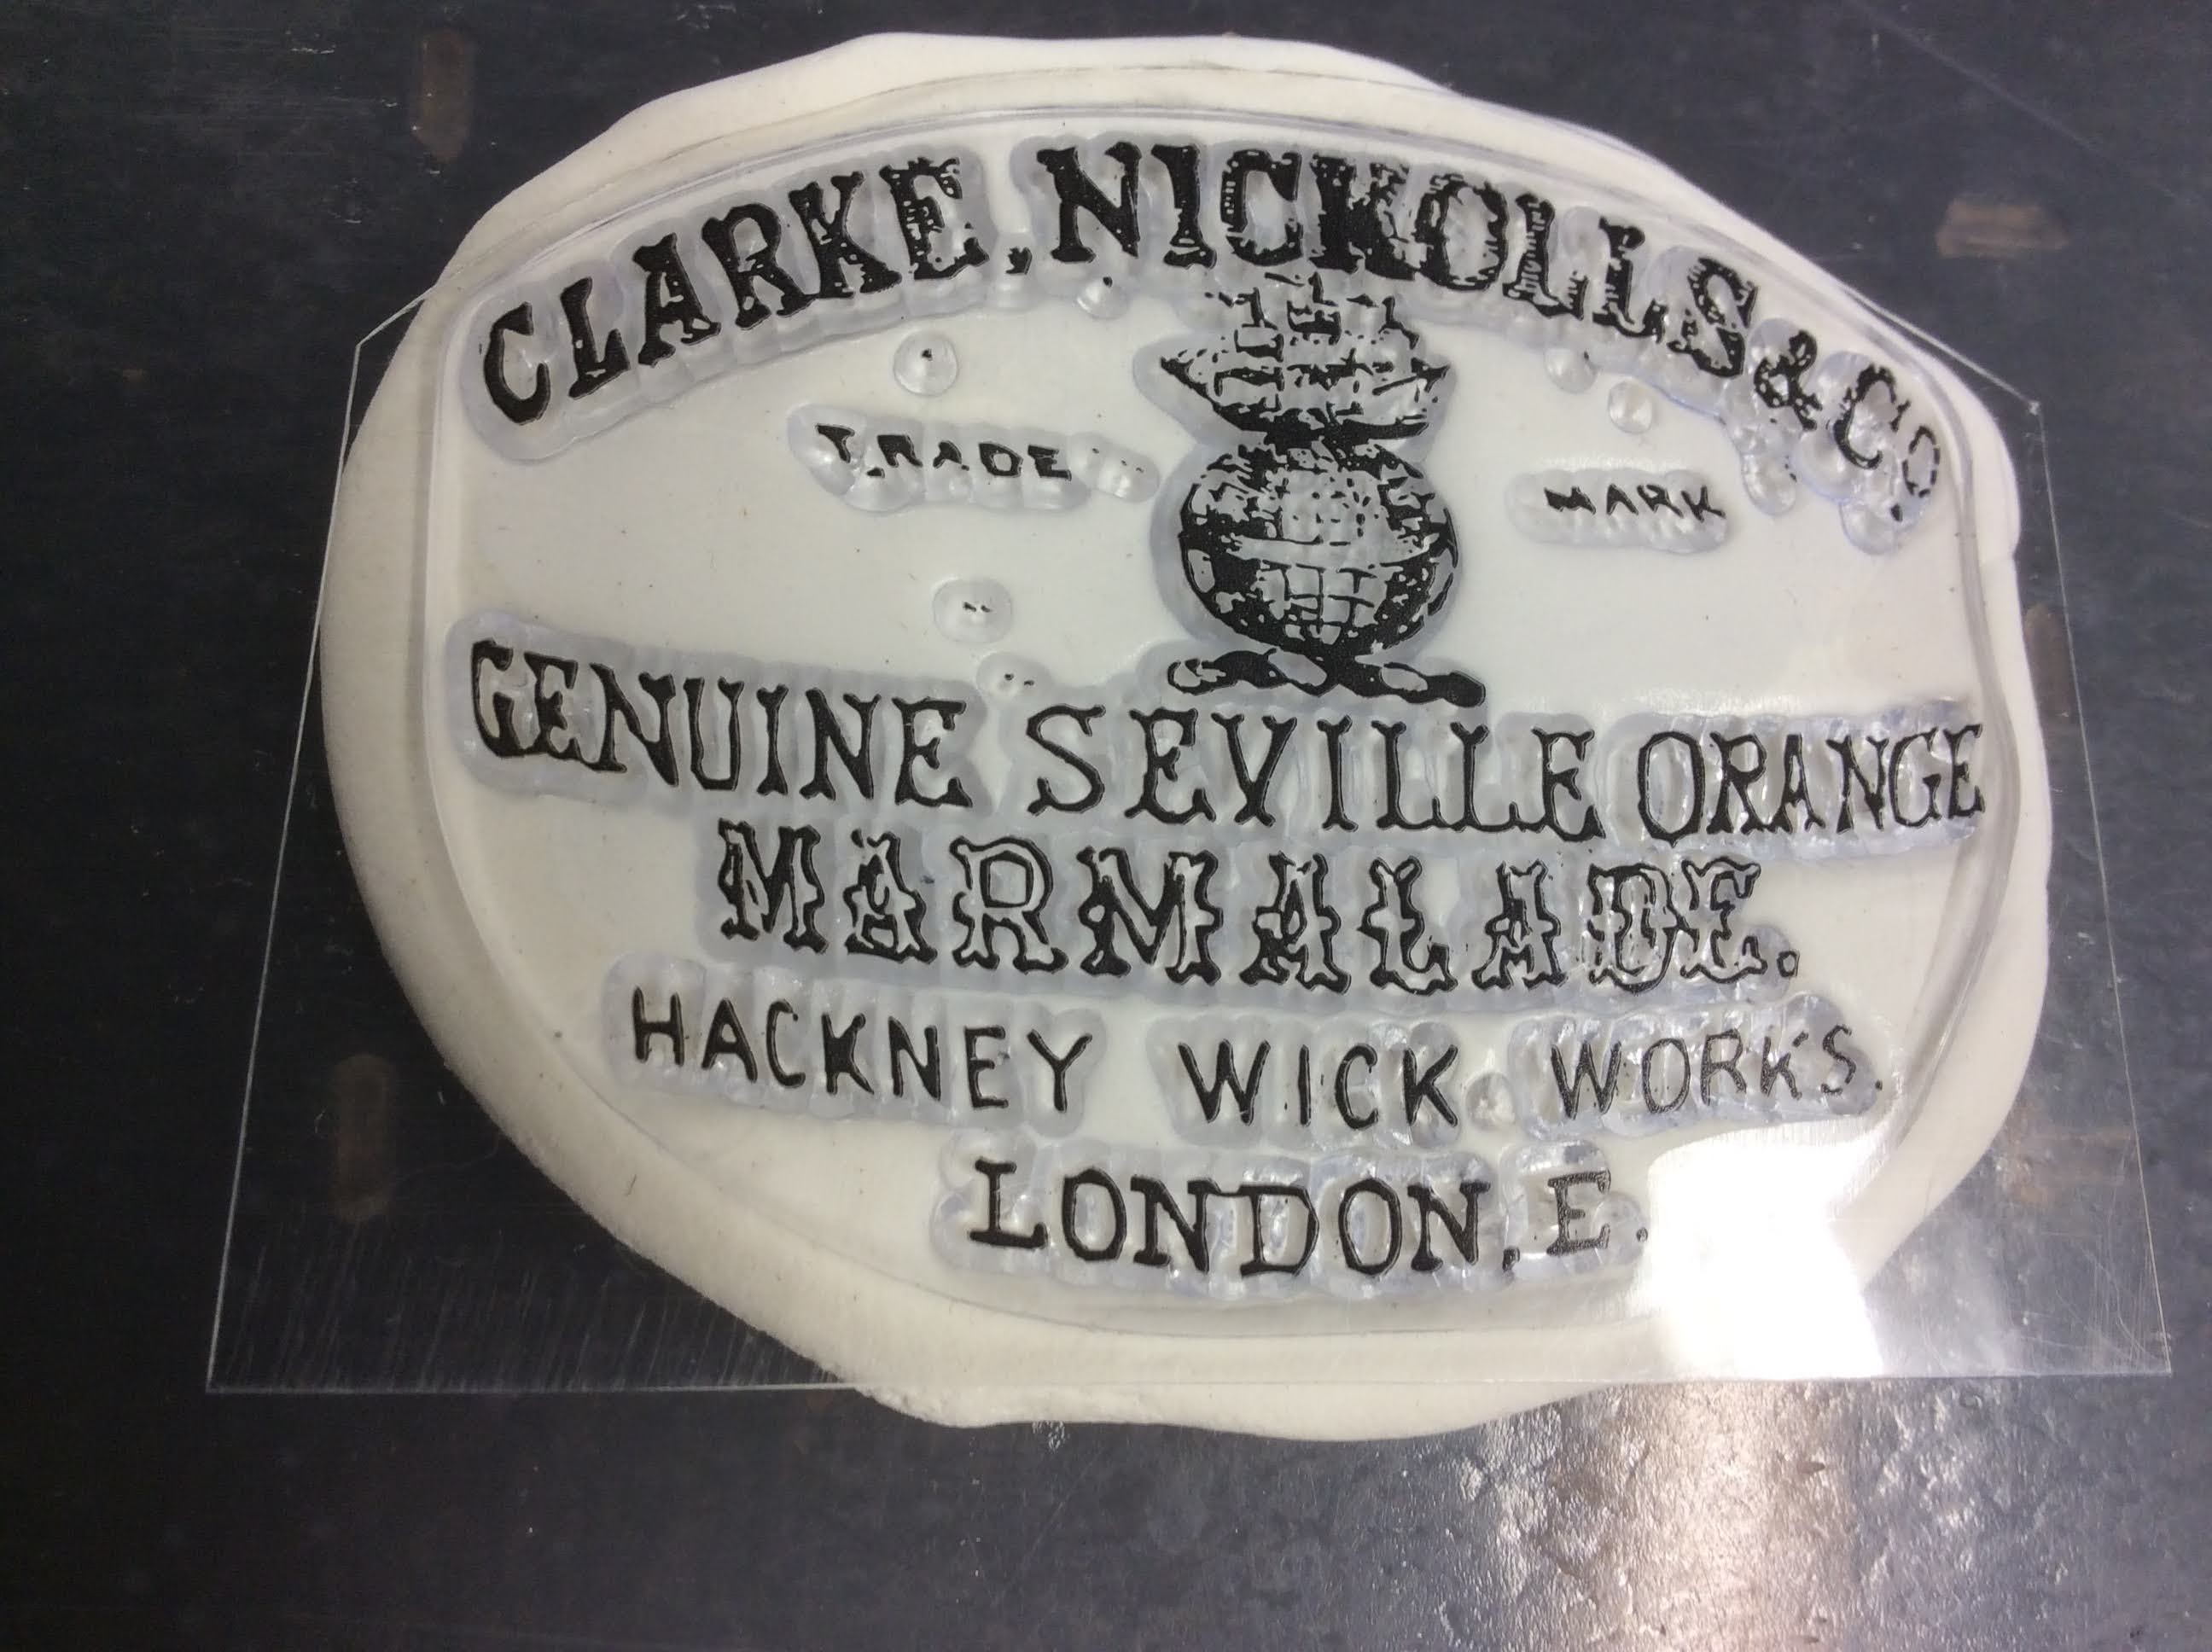
This method made the best impression in my opinion.
The stamp did not stick to the clay :)

I used a bit of Tacky Glue and attached the clay to the jar.

I used a knife to cut away some excess.

The jars and pots dried overnight.

I used a small amount of Burnt Umber acrylic paint and water
to make a 'WASH'

I painted the recessed parts with the wash and wiped
off extra as I went-
This took some time and it seemed to look better
with more and more layers.


When I was happy with color,
I went over the high parts with another dry brush
coat of chalk paint.

On the left I used a Burnt Umber wash
on the right I used a black wash.

I love how these Marmalade crocks look :)

These sunflowers dried this way and I'm going
to keep them !


Early fall mantle- with a reminder to my dear husband-
don't be sad about your brown lawn !

This one is my favorite!

Which do you like better-
the brown or the black ?
Let me know in the comments-
xo Lisa S


Absolutely gorgeous!!!
ReplyDeletewow Kim!
DeleteWhat a sweet comment to wake up to-
Thank you so much, you made my day ;)
xo Lisa S
Gorgeous! They had me fooled looking at the pictures!
ReplyDeleteThank you Kathy!
DeleteI think my next attempt will be even better.
It was easier to work with than I thought-
Have a great week!
xo Lisa S
I love these. Been wanting that stamp.
ReplyDeleteI am happy with my purchase. When you break down the price per stamp it's a good deal. All 13 stamps are so different from each other. The sizes and shapes are a nice variety too!
DeleteI can't wait to play around with some more ideas I have :0
xo Lisa S
WOW - these are great! I'd be so honored if you shared them at My Big Fat Menopausal Life's Share the Wealth party!
ReplyDeletehttp://bigfatmenopausallife.blogspot.com/2021/09/share-wealth-blog-party-3.html
Thank you so much for visiting. It's nice to meet you. I appreciate the invitation to join you.
DeleteI will add you to my Blog Hop Page!
xo Lisa S
Those turned out great!
ReplyDeleteJoanne,
DeleteThank you so much!
xo Lisa S
Great idea! I think I like the black - Thank you for sharing at Party In Your PJ's.
ReplyDeleteAnn,
DeleteThank you!
I think the black is my favorite too, it really sows the detail in the stamps.
xo Lisa S
I have this stamp set but haven't used it much. Your post makes me want to get them out and get busy. Love your projects.
ReplyDeleteDawn,
DeleteYou will have fun with these stamps! I was really surprised how easy it was to work with the clay.
Happy crafting!
xo Lisa S
Wonderful project. I haven't worked with that clay before but may have to try it out. Those stamps were a great find! You did a great job with these and I think I like the black the best. Thanks so much for sharing. #HomeMattersParty
ReplyDeleteDonna,
DeleteWorking with the clay was a pleasure. Not sticky or messy like I thought. The black paint really shows the stamp details.
I'm so glad I could join the party.
Thank you for hosting each week!
xo Lisa S
These are so cute. I recently received IOD stamps but I haven't used them yet. "Thanks for the tutorial. Thanks for sharing at #omhgww. Pinned and tweeted. See you next week.
ReplyDeleteClearissa,
DeleteYou will have so much fun with the stamps!
I'm looking around my house to stamp EVERYTHING:)
xo Lisa S
So cute! Unfortunate that these particular stamps cannot be ordered unless you are a retailer, but thanks for the idea. Very clever and innovative...and I just happen to have some paper clay that needs using.
ReplyDeleteTeddee Grace,
DeleteI was able to go online and locate a retailer near me.
I wish they were available in more stores! I am hooked on the paper clay now, it's so fun to use.
Thank you for your visit!
xo Lisa S
Such a beautiful upcycle, these lovely jars will be featured at handmade Monday this week :-)
ReplyDeleteThank you so much Julie!
Deletexo Lisa S
These are so cute! I am leaning toward the black as my favorite. I really had to take a double take on these - they look so real! Pinning!
ReplyDeleteCindy,
DeleteThank you so much!
I think I'll make another set of black for myself.
xo Lisa S
Oh wow, these turned out gorgeous, Lisa. I can't decide whether I like the brown or black ones more. They're both perfect and fortunately I have similar stamps somewhere in my craft cupboard to play with. Thanks for the idea
ReplyDeleteMichelle Leslie,
DeleteThanks for such a sweet comment!
xo Lisa S
Lisa,
ReplyDeleteWow, these are amzing. I love those stamps. You always come up with such incredible ideas.
Hugs,
Bev
Bev,
DeleteOOPS I missed your visit! I'm so sorry. Thank you for your sweet comment. This was such a fun craft. I'm doing my best to find more jars and crocks!
Hope you are doing well!
xo Lisa S
Un trabajo maravilloso!!
ReplyDeleteBESOS
I love these stamped jars. I may be able to try sometime this winter. I like the black paint effect on the stamps.
ReplyDeleteSusan,
DeleteThank you! It was so easy...I want to make even more. I like the black best also! I hope you can make some this winter.
xo Lisa S