Hi Friends,
This project was so simple it really doesn't
need any directions.
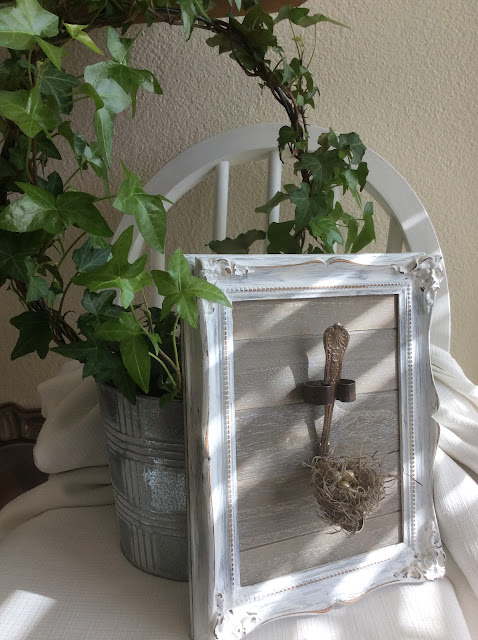
I found this ornate wood frame and went ahead
and used chalk paint to cover the gold.

Wiped off some areas with a damp cloth.


I had an idea but I wasn't sure it would work-
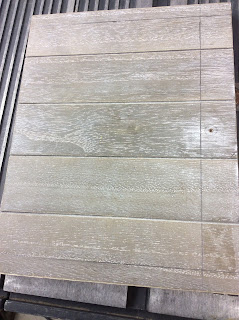
I bought this scrap or flooring for .25
I liked the grey color so I left it as is-

It was bigger than the frame and I was
hoping it could be cut to size.
My husband was happy to help!
I have a collection of metal odds and ends.
I found this old broom clip and
attached it to my board.


I had one spoon left from my jewelry making stash.
I thought it was interesting, It has an anchor insignia
from the U.S. Navy.

It was fairly easy to bend.
I wanted it to hold a nest.

I added a picture hook

I used wood glue to hold the 'flooring' in place.
It was nice and thick so the back is flush with the frame!

I pinched it with clips until dry.

To make the nest, I pinched together a bit of moss.
I strung 3 old pearls on a wire and twisted the end and left a long end
to wrap around the base of the spoon.

I used silver wire so it would not be seen.

The spoon sits easily in the clip.


The spoon can be changed if I like.
I may decide
to add a small bottle later-
I hope you have a blessed day!
xo Lisa S


I have some beautiful old silverware that I got form my mom. When I saw this, I thought some of it would look nice framed in this way with or without the nest. Thanks for the inspiration!
ReplyDeleteIt would be a great way to display sentimental silver.
DeleteThe flooring material filled in the frame and gave strength to hold a heavy object in needed.
Thanks for visiting!
xo Lisa S
Awww -- this is such a sweet decoration for spring. It reminds me of the birds building nests in my yard. I love projects with up-cycled, vintage materials.
ReplyDeleteCarol
www.scribblingboomer.com
Thanks Carol!
DeleteI love to upcycle too!
If you looked around my house you would think I'm obsessed with nests :)
Have a great week!
xo Lisa S
Great up cycle project for spring.
ReplyDeleteThanks so much!
DeleteIt so nice to have you visit. I really appreciate it.
xo Lisa S
honestly, the sweet simplicity of your project makes it so charming. such a fresh take on displaying nests for spring decor.... i love making nests, and now you've got me wanting to raid the family silver!!!
ReplyDelete(visiting via Creative Crafts Link Party!)
Deb,
DeleteI appreciate your kind words! I am a huge fan :)
Thanks for stopping by!
xo Lisa S
This is adorable! I love how unique it is. I hope I come across a frame like that. Thanks for sharing it on Crafty Creators. I'll be featuring it on tomorrow's party, so remember to come grab your "I was featured" button. If you're following me on social media, I'll share it across my platforms & tag you in it. Congrats!
ReplyDeleteXOXO,
Niki ~ Life as a LEO Wife
Niki,
DeleteThank you so much! I'm so grateful to you for sharing my project on your blog. Thank you for hosting!
xo Lisa S
Gorgeous!
ReplyDeleteHey Kristie!
DeleteIt's always nice to hear from you.
Have a great week.
xo Lisa S
You say simple and then process to show us something really beautiful and creative! This is SO pretty, I love it.
ReplyDeleteJulie,
DeleteYou made me laugh! I thought it was just a 'stick this here and your done' project ;) Thank you though- ha ha
xo Lisa S
Super charming Lisa! Love how the frame brought the entire darling project together!
ReplyDeleteThank you Donna!
Deletexo Lisa S