
Hello my friend !
I was invited to join a boutique on May 1st. ,
that will be part of a GARDEN TOUR.
I will be set up at one of the homes on the tour.
SO.....I have been going through my things looking for some to take with me.
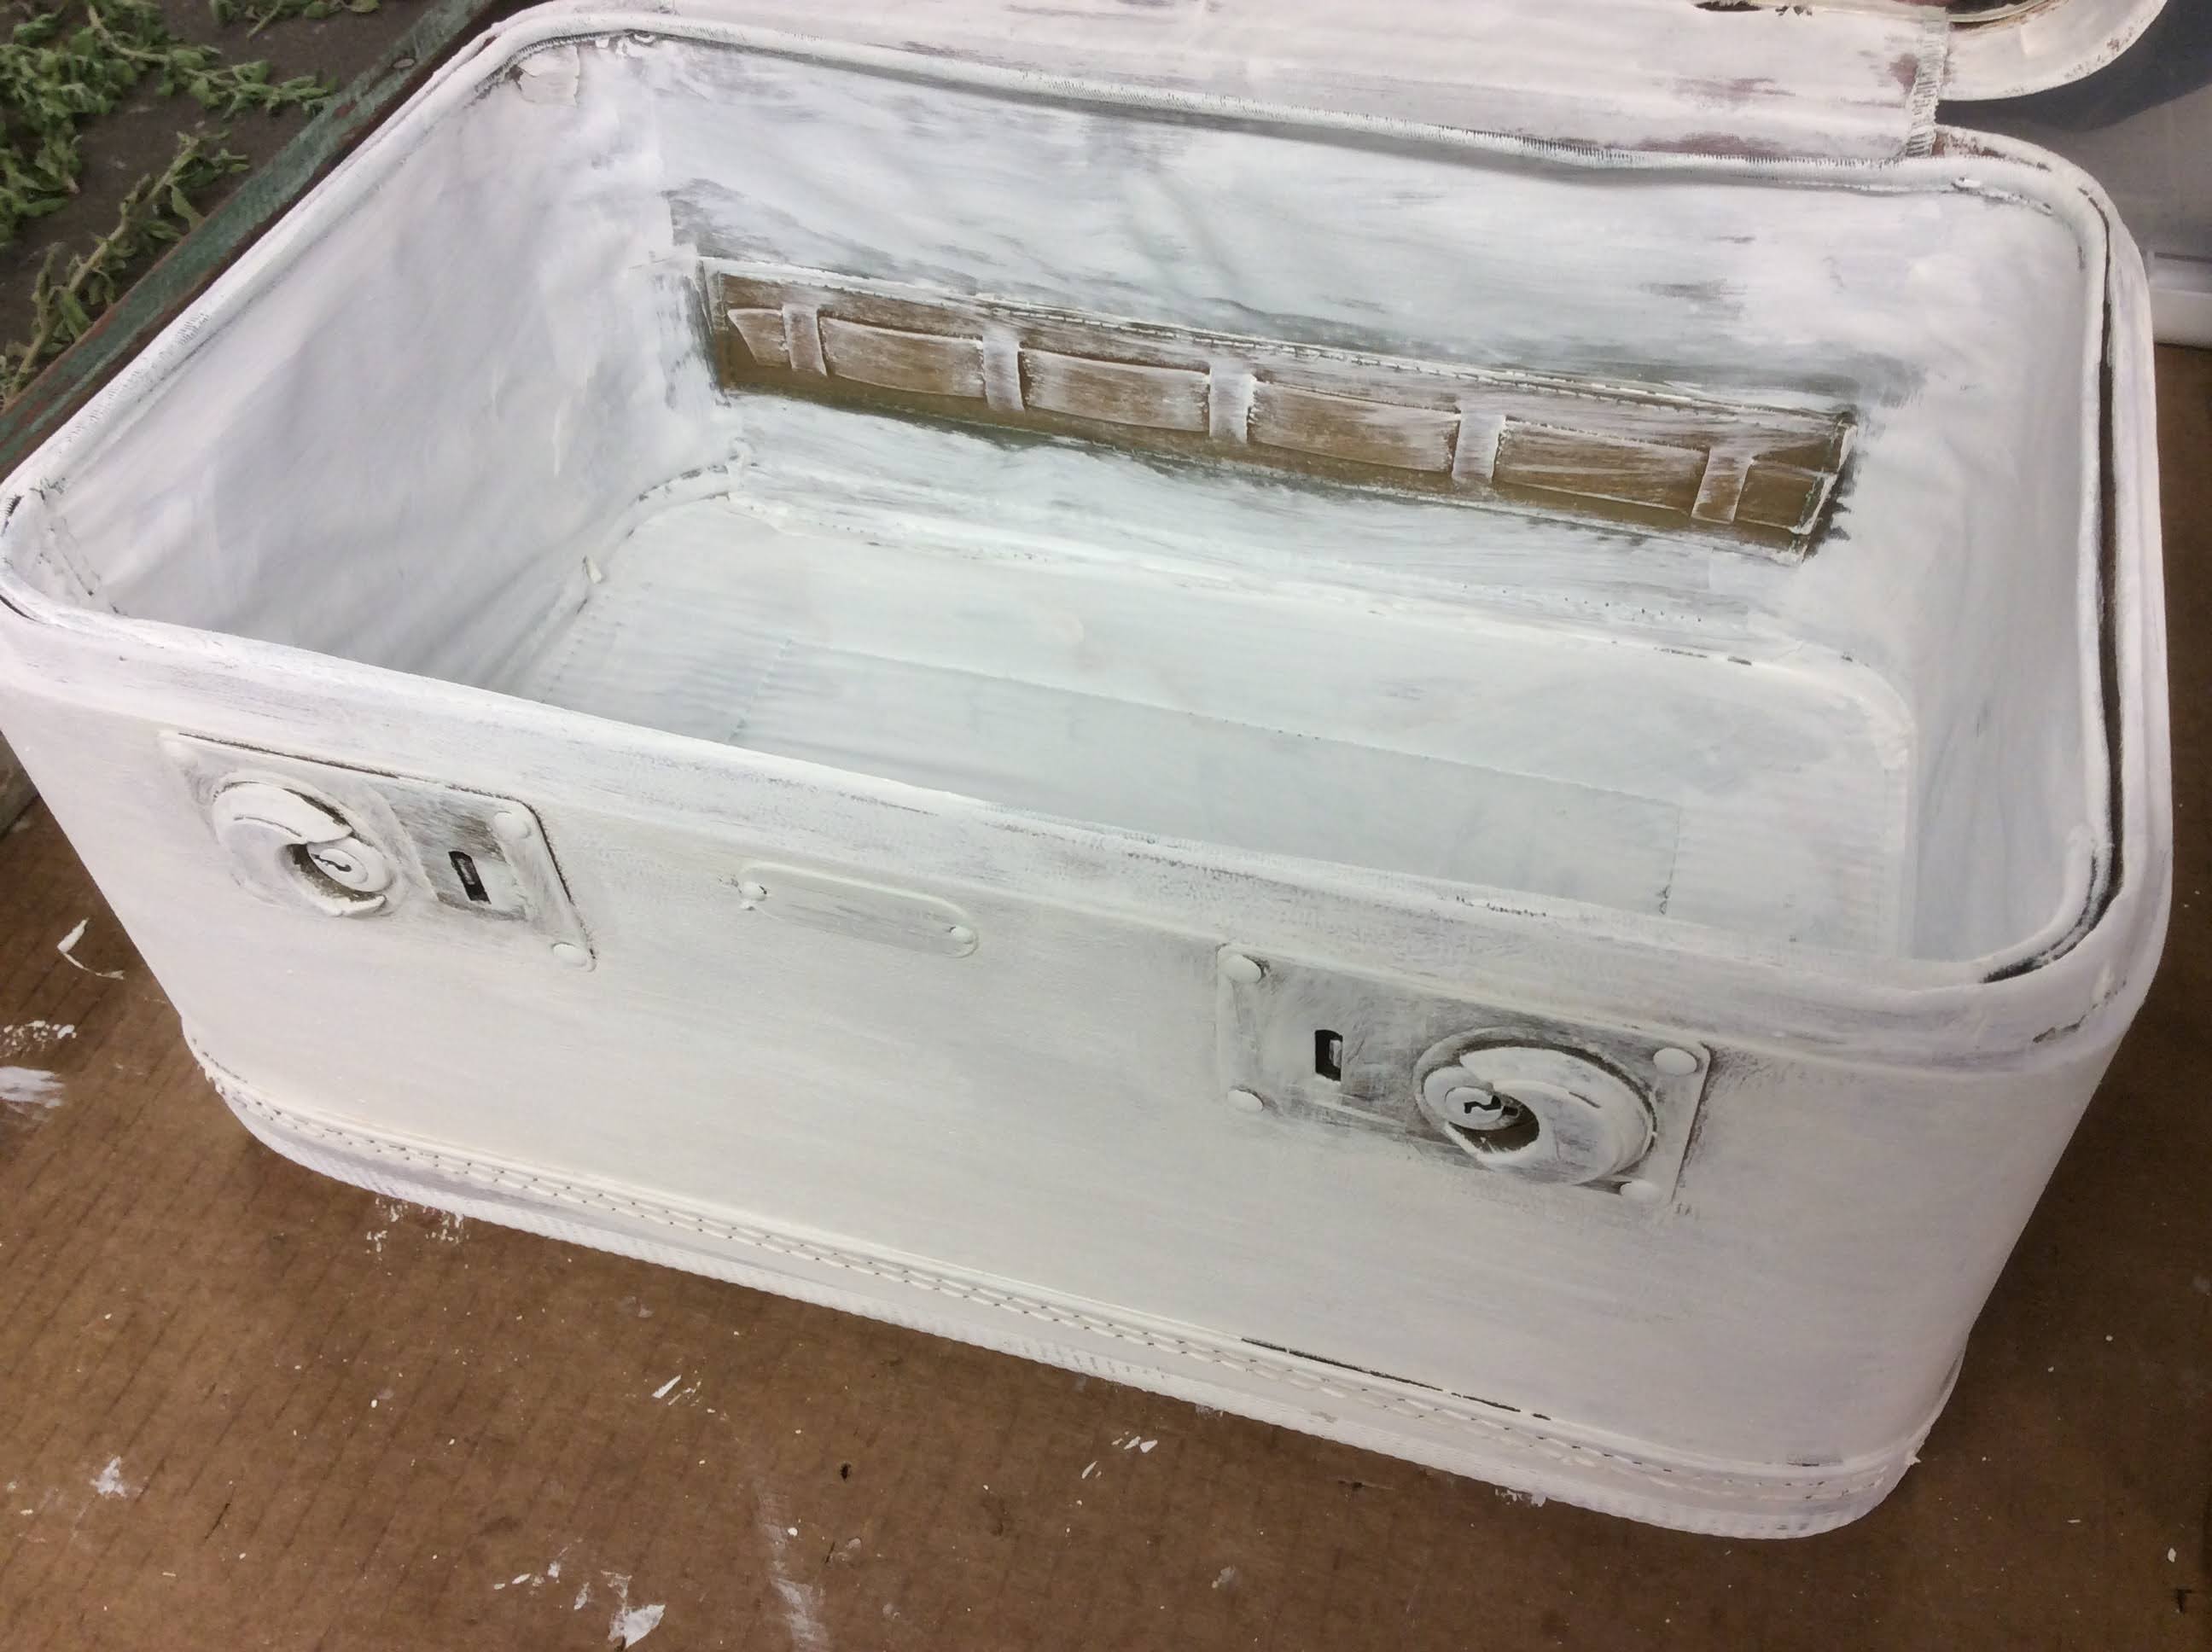
Last week I say this train case my favorite thrift shop
The inside looked so bad-
the lady told me ''We can't sell this just take it if you want it"
Yes, please!
No, I did not take a picture of the inside-
nasty stains from perfumes and lotions.
I should have taken the picture of my husbands face!!!
Priceless :)
Chalk Paint can fix it-


Press firmly and leave it alone overnight !


Start to gently rub off the paper with your fingers.


The other box was wood, plain and painted black.
I painted it white and added a label-
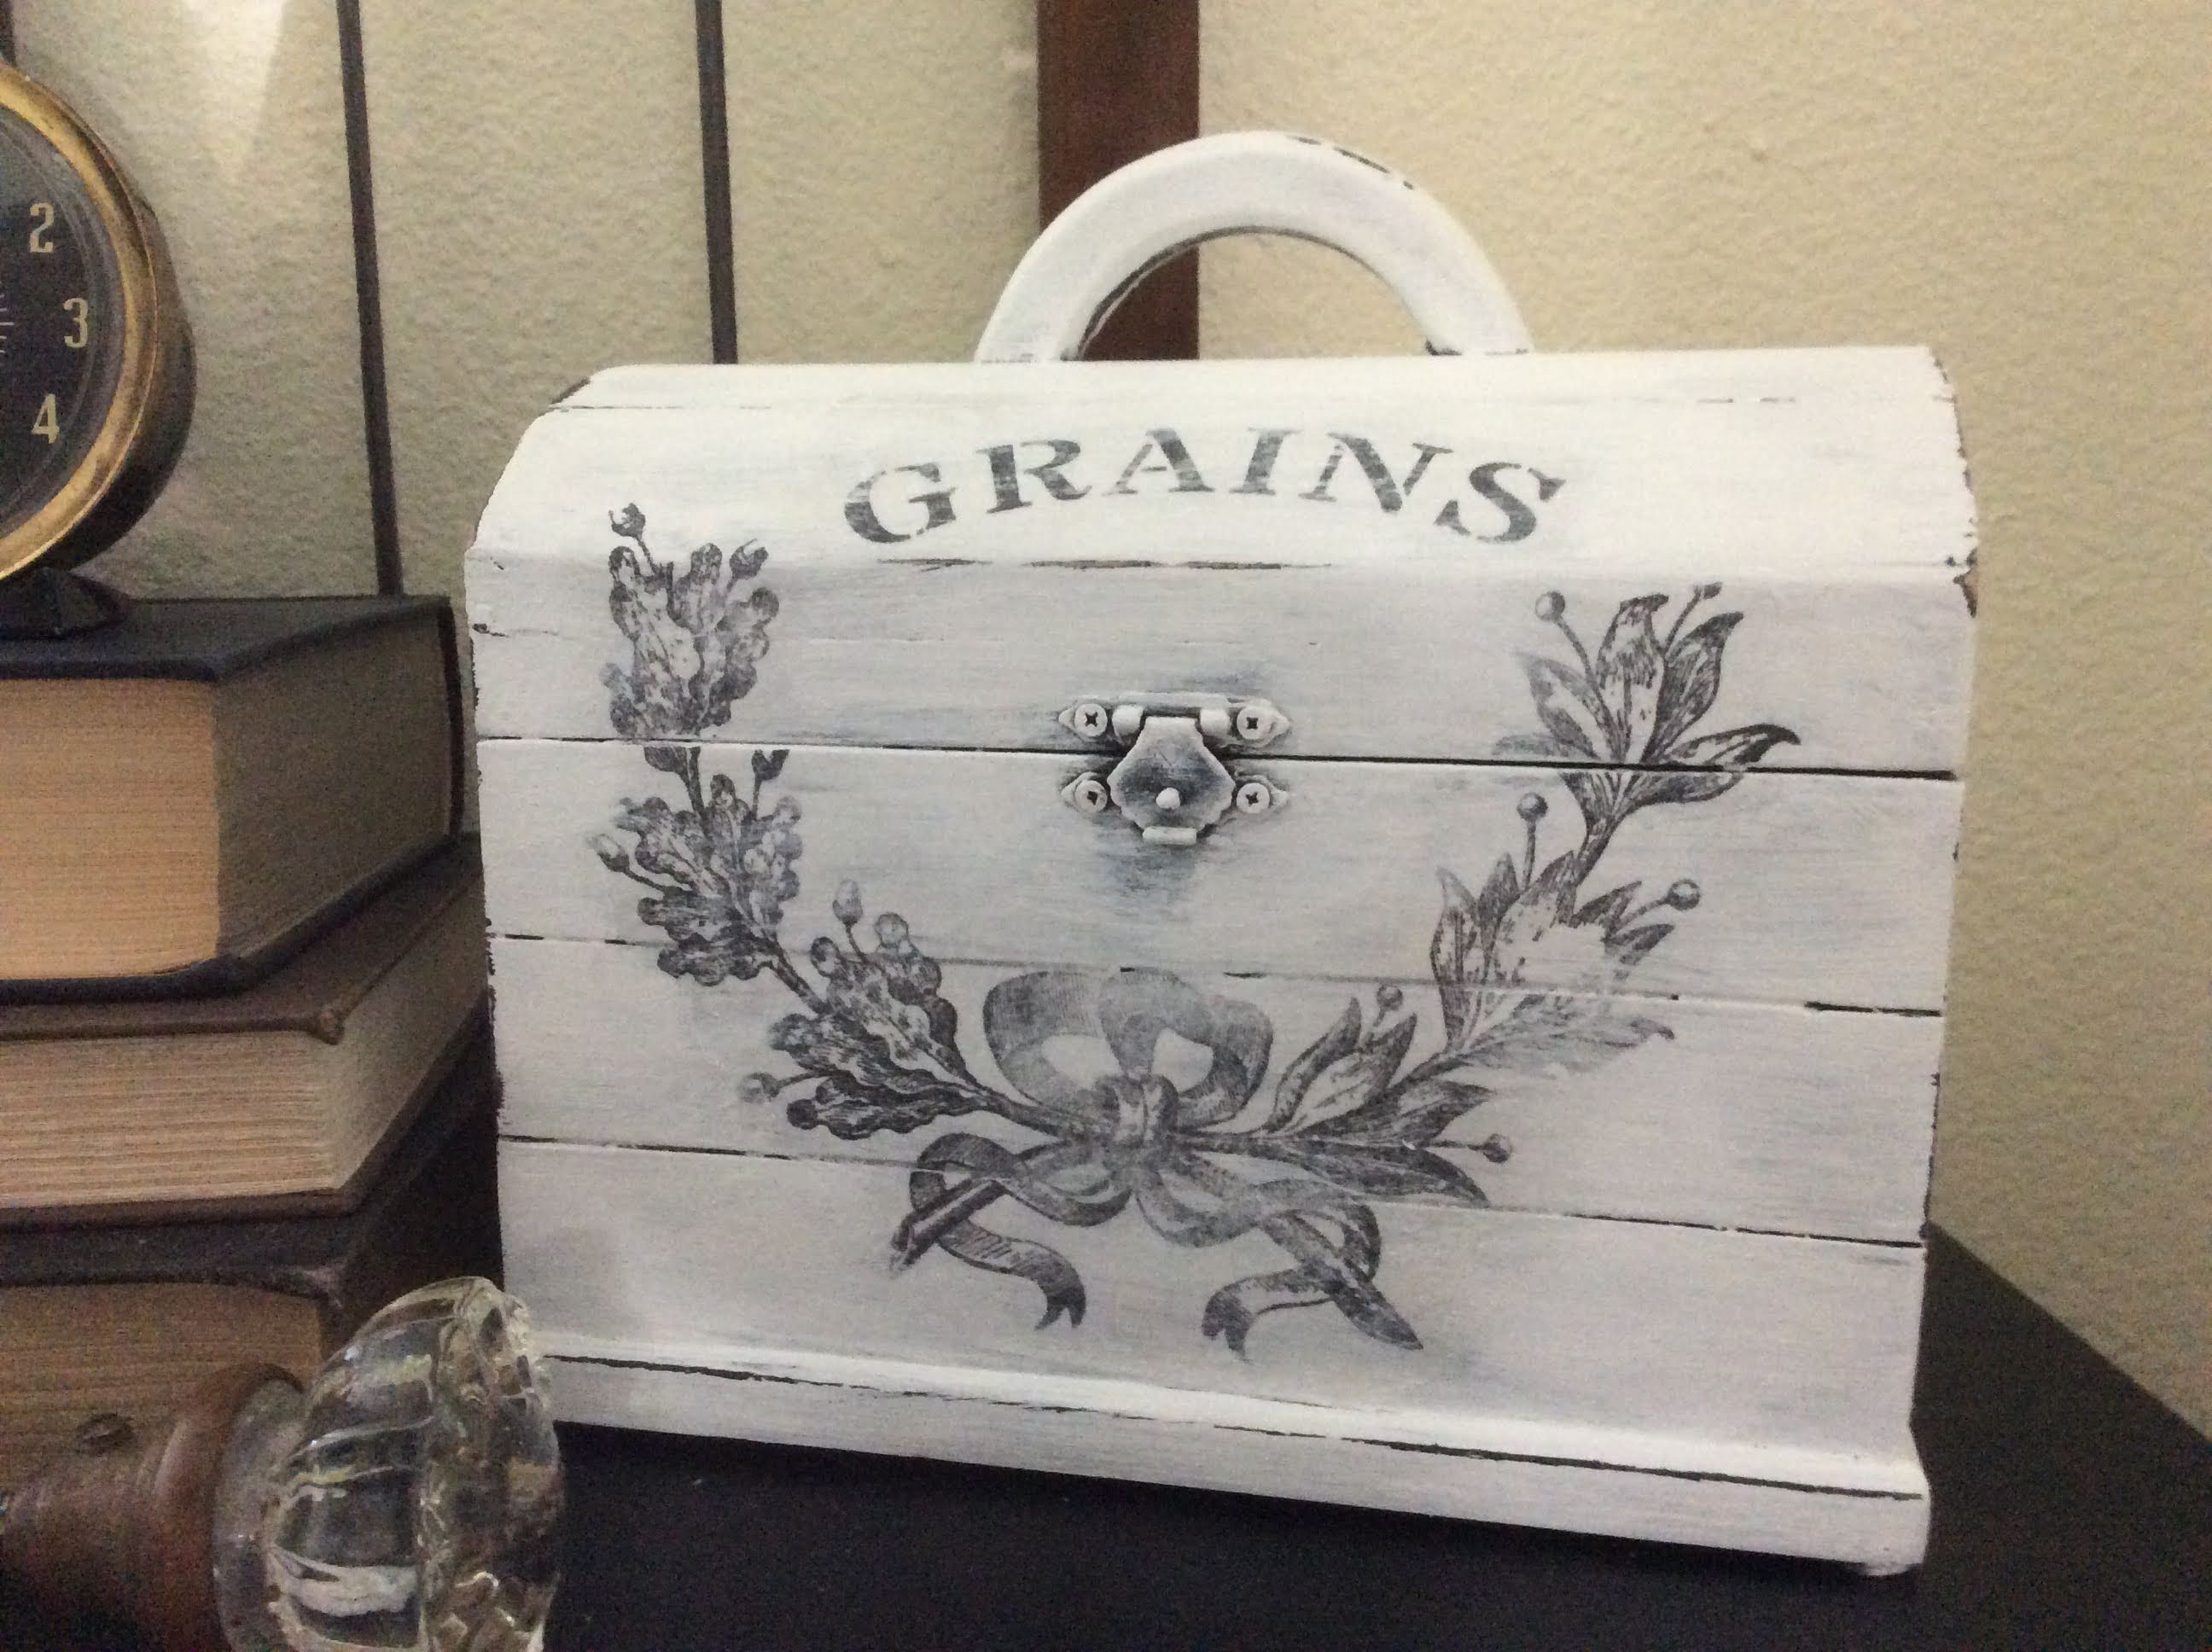

To protect and seal your transfer, use spray matte sealer or clear wax.
I have a few more upcycled suitcases here and here.
Thank you for your time!
I appreciate you so much, leave a comment and say hello-
xo Lisa S
Update: Sold / Sold

Beautiful, you did a great up-cycling job here :)
ReplyDeleteThank you so much! I can't believe how easy it is to make transfers.
DeleteSo nice to have you visit :)
xo Lisa S
This makeover is so cute. Great job!
ReplyDeleteRebecca,
DeleteYou are so kind! Thanks :)
Have a great week!
xo Lisa S
These came out so great. Super cute!
ReplyDeleteThank you Meagan!
Deletexo Lisa S
These are beautiful, What a gorgeous idea.
ReplyDeleteThank you. I can't believe how easy it easy it was to transfer!
Deletexo Lisa S
This is an incredible idea. Very pretty!
ReplyDeleteThanks for sharing at the Friday with Friends link party.
Rachelle
Thank you Rachelle!
DeleteI hope you have a wonderful Easter.
xo Lisa S
Super adorable Lisa! Love that this is a total DIY transfer, and you nailed the application execution!
ReplyDeleteDonna,
DeleteThank you so much. You always give the best encouragement.
It is definitely a technique I will do again. I put some transfers on galvanized buckets and loved it.
xo Lisa S