Hi Friends,
This may sound complicated but stay with me-
The salve is a two part process.
It is easy but it does take some waiting time.
The first step is making infused oil.
If you have Calendula -common name is Pot Marigold,
growing in your garden,
GREAT!
you are going to need the petals to make your oil.

What you need from start to finish:
1 cup any oil-
preferably organic,
olive, almond, coconut or jojoba
1 cup dried Calendula petals
( dried petals can be purchased if you prefer )
1 mason jar with lid
1 oz. beeswax
containers for your salve
( This recipe will fill 12 - 2 oz. tins )
a metal sieve
a double broiler
a drying rack -
but you can spread out the petals on newspaper
1 cup any oil-
preferably organic,
olive, almond, coconut or jojoba
1 cup dried Calendula petals
( dried petals can be purchased if you prefer )
1 mason jar with lid
1 oz. beeswax
containers for your salve
( This recipe will fill 12 - 2 oz. tins )
a metal sieve
a double broiler
a drying rack -
but you can spread out the petals on newspaper
Parchment paper or paper towel
My drying rack is a vintage screen door lying flat on a table.
It has great air flow for drying herbs and petals.
Pick your petals and set out to dry.
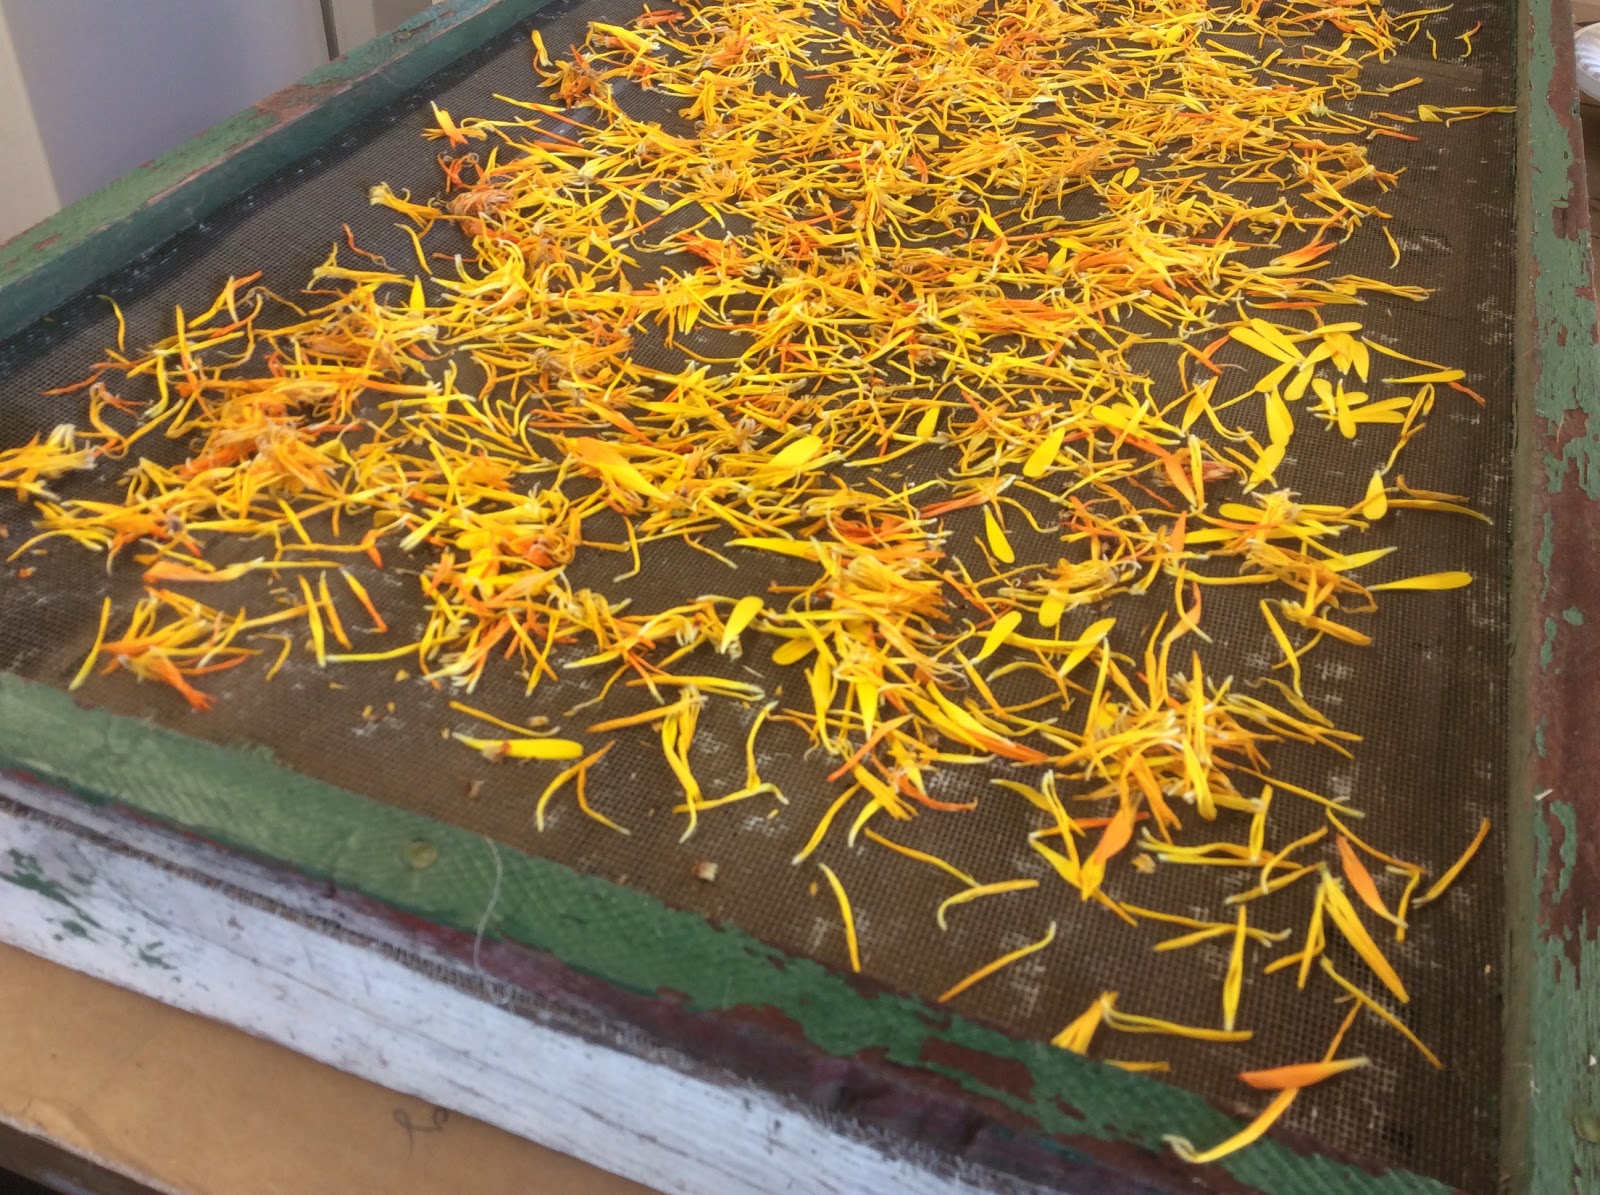
If the weather is warm it will only take a couple of days.

My flowers were yellow and orange, after they dried it seems like
they are all the same orange color.
I stored my dried petals in a bag.

I used Almond Oil

I liked the scent but you can make your own favorite combination.
The Calendula petals do not have a strong scent on their own.
Fill your jar with dried petals and cover with 1 cup oil.

You will need 1 cup infused oil to make the salve.
You will need about 1 cup of petals.
If you have space in the jar you may add more petals,
make sure the oil covers the petals.
Seal the jar with a canning lid and put away for approximately 2 to 4 weeks.
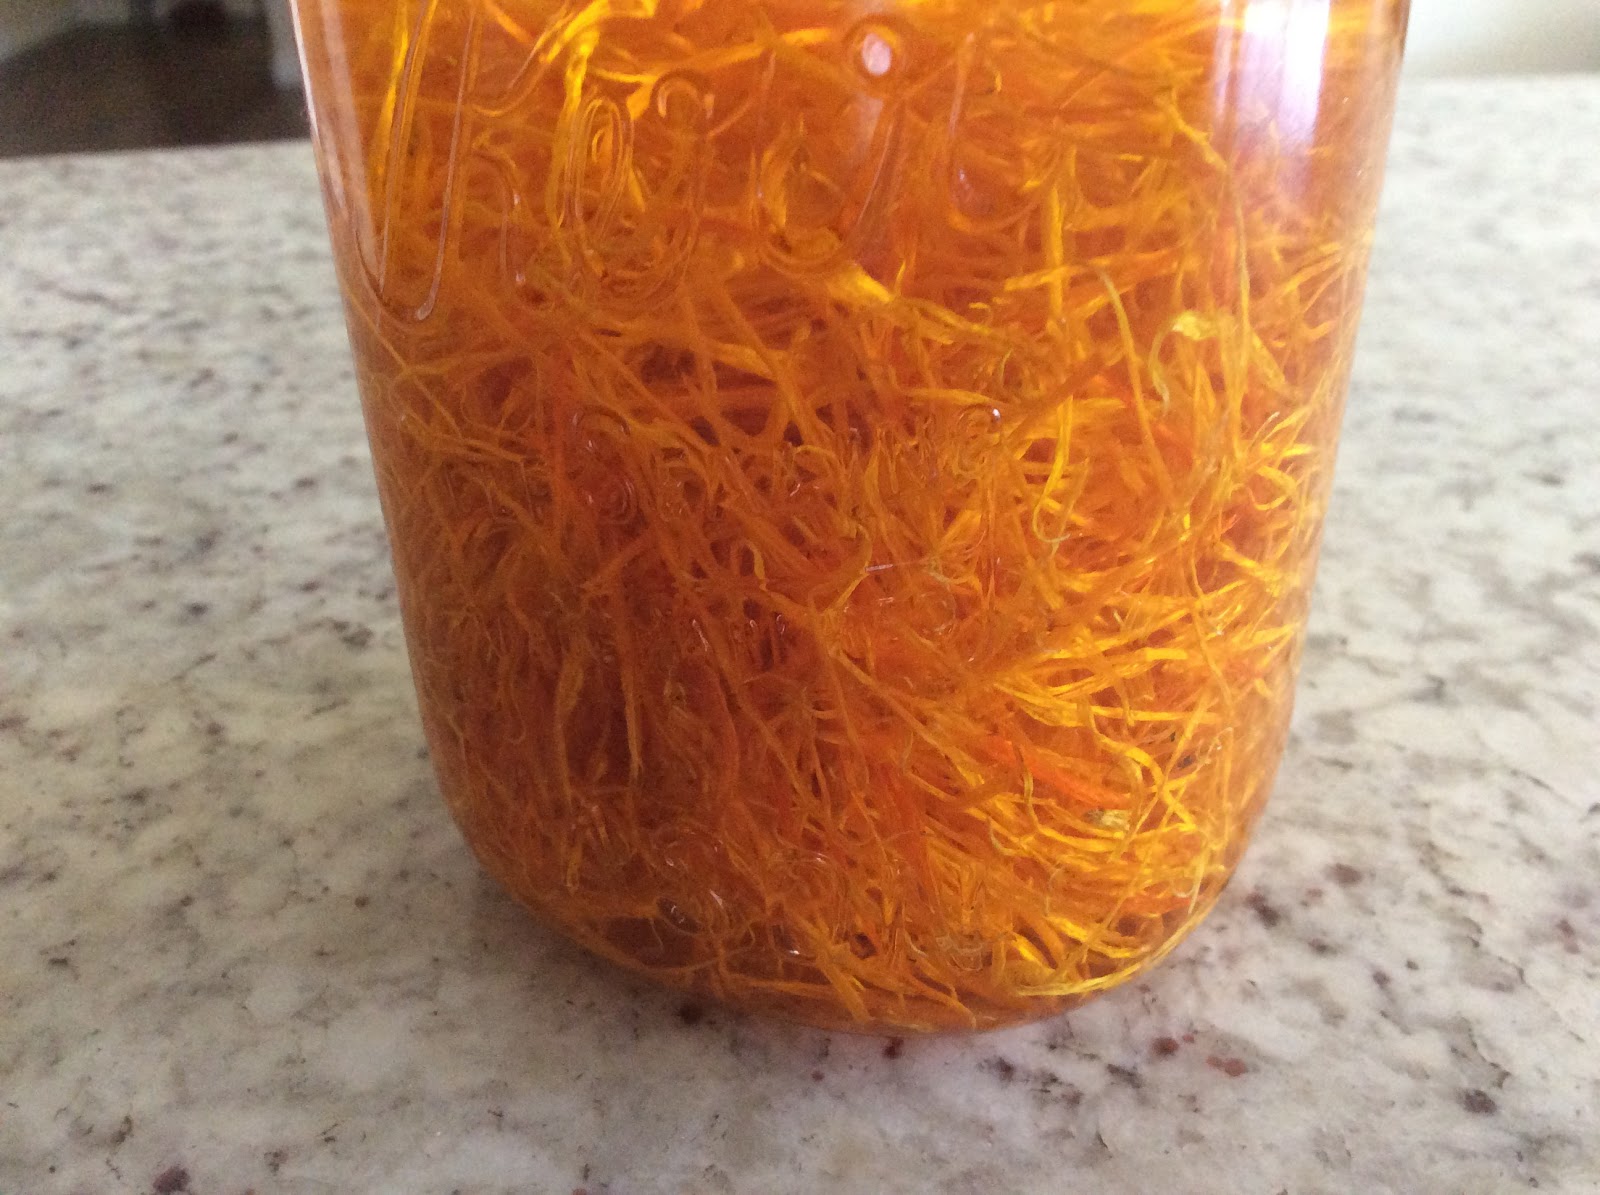
After a couple weeks, check to see if your oil has changed color.
Strain your oil with a metal sieve.
Cheese cloth will absorb too much oil.
You can discard the flower petals.

What a beautiful golden color !
I only had to strain once, my oil was clear.
Strain twice if you see a lot of impurities.

This beeswax is great!
It has bars already measured to 1 oz.

I bought these tins on Amazon. I like the screw top lids.
They hold 2 oz. each.
This recipe will fill 12 of the 2 oz. tins.
Remove the lids and set out your tins on a paper towel or parchment paper.
That's just in case you spill.


I used a small stainless bowl to make a double broiler,
set the temperature to low.
Add 1 oz. of beeswax

I measured 1 cup of the infused oil and added it to the beeswax.

It took a few minutes to melt.
I used a wood skewer to stir.

Remove from stove.
I used a small stainless measuring cup
as a scoop to fill the tins.
Fill to just below the screw top lines.
Let the tins cool, try not to move them.

After they have cooled, they will set up.
So pretty!


After the tins are cool to the touch you can replace the lids.

Some people say it helps with their eczema.
I love to use the salve on my nails and cuticles!
A little goes a long way-
A couple of thoughts-
I would be careful not to leave your salve in a hot car or purse, extreme heat may cause
the tin to leak.
If you give the salve as a gift, remember to
list your ingredients to protect those who may have allergies.
And an update:

I found some stickers but they can not go through the printer-
so I made each one by hand .

I am not an expert by any means, but if I can make it so can you :)
If you have any questions please ask me in the comments.
xo Lisa S