Friday, September 11, 2020

Quick and Easy Altered Book Junk Journal

 Hi Friends,

If you have ever thought of making a junk journal-

This is by far the easiest way to get started!

We will be using the existing book, cover,

the spine and the binding. 

We will be using the pages and removing some of the pages.


Start with a book that is in fairly good condition.


The spine looks good.


This story was about a boy and his dog- so

I decided to make this journal without flowers and lace !


This book had 175 pages.


I tried to leave most of the pages with illustrations.


Decide what you want to keep and which ones you will remove.


You can use a straight edge when you tear.


And fold pages over top to side or top to bottom.


Pages are folded to create pockets.

If you have jagged tear lines, hide them inside the pocket.

Glue sides together to form an opening.


This is my favorite glue. 

It really holds!


After I removed my pages and did my folding and gluing-

I ended up with 25 pages and pockets!

Removing pages will take away bulk, so you can add to your journal.

You can save these pages for another project.

On my side bar, I have a lot of projects using "book pages"


Now for the fun part-
We get to add bits of this and that-


The tabs that I used as a closure were scraps from an old piano roll.

I added bakers twine to tie closed.


The inside was in good shape so left it as is.

The library pocket was new.


In some places I added washi tape.


This will give you a tuck spot!
I had some vintage target paper.


I used washi tape to make a flap.

Added some stamps.


This paper clock face was used as a pocket.


Then tucked in some ephemera.


More pockets-


An envelope was added and


folded back.

I added some rub on transfers.


This advertisement from the 60's
was in the book so I kept it!


Lots of room to make it your own creation.


I used a pin through the spine to add a couple of trinkets.


I like the smell of old books.

If your book needs it

you can put dryer sheets inside your journal,


Then put your book inside a bag.


TIP:  Did you know a butter dish is a great way to organize

washi tape?


Thank you for visiting today!

On a personal note- 

My sweet Husband is having surgery this week.

I would really appreciate if you could pray for us.

Because of the Corona virus I can't even stay with him or visit-

Pray for me to continue to trust the Lord.

Thank you in advance :)

Hugs-

 Lisa S


UPDATE 9/18:

My husband is home now and doing well!

Thank you for your prayers, I REALLY appreciate you all so much.

It's so nice to be able to share my heart with you :)

SOLD- Thank you Dixie! :)


Tuesday, August 18, 2020

Pumpkin Blessings

Hi Friends.

I think I have shared before that I love gardening.

Though I tend to be a lazy gardener.

 I enjoy growing plants that don't need to be fussed over- 

Twice a year we spend time

dividing our perennials.

It's just like doubling your investment.


I get very excited when I see volunteers pop up!

This is a little Milkweed plant that the wind brought me.


Volunteer plants are those that come up in the garden with no effort on your part. 

They germinate from seeds dropped by flowers in previous years or the seeds can arrive

 stuck to the fur of small animals, dropped by birds like a tiny gift,

brought by the wind or in this case, spilled out from the compost bin.


If you find seeds sprouting, give them some time to establish

 and you can easily move them to a preferred location.


Plants with long tap roots 

such as Dill, Carrots and Hollyhocks do not transplant well- 

It's best to let them grow where they want to grow.


I found this volunteer peaking out of my compost bin.

Hiding under a tomato bush-


At first I wasn't sure what it was- I had to wait patiently

until I was sure it was a pumpkin of some kind.

I did not remember putting a pumpkin in the bin!


After waiting it was revealed...yes....it was a  pumpkin.

 Then they started to grow


and grow


and grow


and it's STILL GROWING!

I put some here...


and here...


and here....


The pumpkins are all over the house!


Would you believe ALL these pumpkins came from one little volunteer?


39 and counting!


                                              This verse from the Bible comes to mind-


O the praise of his glorious grace, which he has freely given us in the One he loves. In him 

we have redemption through his blood, the forgiveness of sins, in accordance with the riches 

of God’s grace that he lavished on us. With all wisdom and understanding, he  made

 known to us the mystery of his will according to his good pleasure,

 which he purposed in

 Christ.

                                                           Ephesians 1: 6-9


This little volunteer pumpkin reminds me how much God loves us.

Not because of anything we have done,

yet His grace, His goodness, His love is lavished upon us!

What a blessing !

God loves you-

xo Lisa S


Wednesday, August 12, 2020

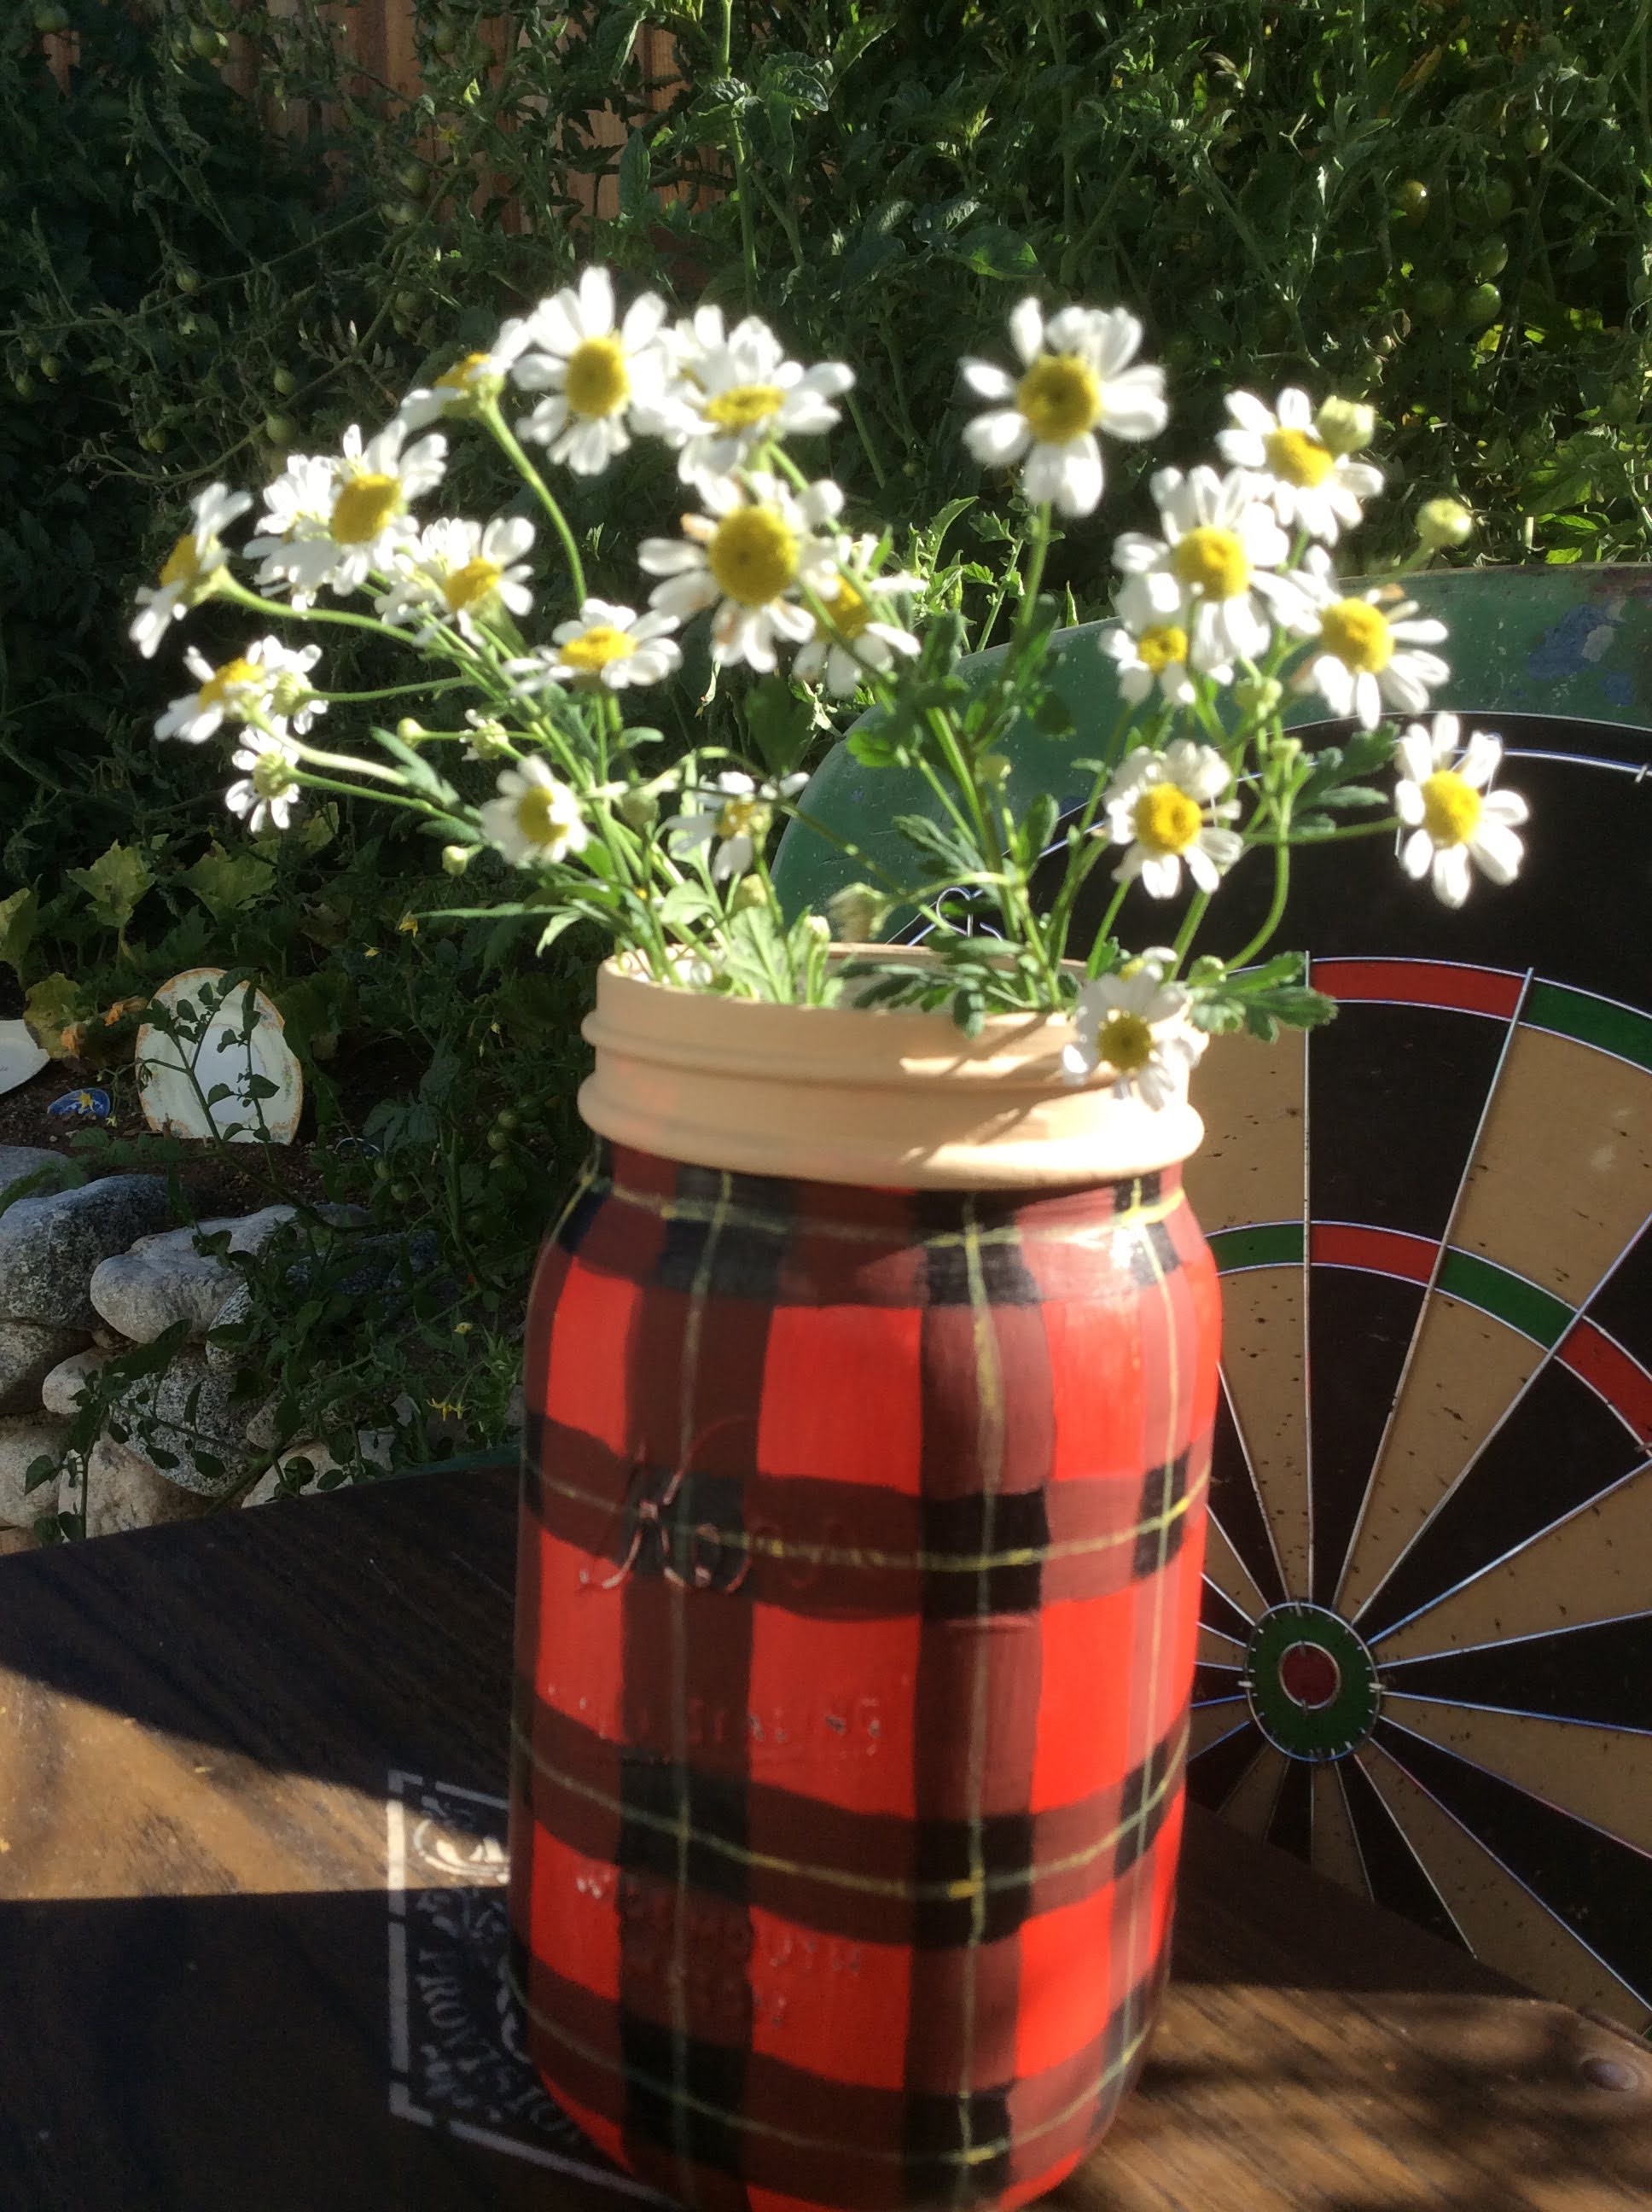
Faux Tartan Plaid Ball Mason Jar Thermos

Hi Friends!

This one is just for fun-

I have always love camp theme decor .


That includes a bit of plaid.

I thought I could try to paint a Mason Jar to copy cat

a thermos.


I started to paint the jar just like painting

buffalo check.


Here are the colors that I used...
 
 
Bright Red, Tuscan Red and Black
 
I'm showing the technic on a pint jar.
 
Paint the outside of your jar with  Bright Red


I used Tuscan Red to make my vertical stripes.
 
I don't like to use tape I think it looks better free hand. 


Then paint the horizontal stripes start under the lip of the jar.


 Then at the base.
 

 Paint center stripe centered evenly between the top and bottom stripe.


After your stripes have dried come back in with Black paint
 
at all the points were the stripes overlap.  Use a square tip brush so you can make
 
sharp squares.


That is basically how to paint buffalo check!


I used some old paint I had on hand.
The colors were Butter Yellow and Beige or Flesh Tone.


I used a quart jar for my thermos.


Then I came back and painted a thin  yellow vertical

 line over the stripes.


Then a thin horizontal line.


I used beige paint at the top.

Now it's starting to look like a thermos.


Thanks for visiting!

xo Lisa S


Saturday, August 1, 2020

Travelers Notebook Junk Journal


Hi Friends!

This week I was working on a small Junk Journal sometimes 

called a Travelers Notebook.

I saw a similar kit and realized I had many of the same pieces.


To start-


I cut a wood ruler to make a binding for my journal.

They will be attached with 2 ,  1 1/4 '' bolts, 2 washers and 2 winged nuts.


I brought out some things to decorate my pages.

I love Tim Holtz embellishments, travel themed trinkets,

bits of vintage ephemera, tiny paperclips, washi tape and stickers.


My card stock was 5  3/4'' by  3  1/4 ''


I cut my pages and punched the holes.


I threaded  the bolts through the back side of ruler piece.


Then added the pages starting from the back to the front.


I added index cards for travel notes and typed messages.


I found this cruise ship postcard with postmark from the 70's.


When you have all the pages added,

put the other piece of ruler on top.


Add washer and winged nut and tighten.


I scored the pages so they would fold easily.

I liked the way it looked standing on it's side.


I made pockets and fold outs with washi tape.


It would be easy to add more pages later if you like.


Are you making any plans ? Maybe a camping trip?

We plan to take a trip to the beach soon-


Happy Travels!

xo Lisa S


Preserving Leaves with Mod Podge

Hello! My friend was visiting Maine and sent some breathtaking photos of the changing leaves. We don't see such a beautiful  variety of ...