Hi Friends!
Welcome to my house!
We have been on lock-down for 10 weeks and still no end in sight
I've been spending a lot of time in the garden!
While we take a little tour of the garden, I will throw in some items
that I stenciled this past week.
Welcome to my house!
We have been on lock-down for 10 weeks and still no end in sight
I've been spending a lot of time in the garden!
While we take a little tour of the garden, I will throw in some items
that I stenciled this past week.


In the backyard my pomegranate bush is blooming.
The mexican sage grows well here.

This dustpan holds just enough soil to keep succulents happy!
I added a tiny bow and flower.

An old picnic basket is a great place to store garden tools!
I added a stencil of a vintage label to the lid.

Yes, it's a rusty saw.

Of course it needed to be stenciled!

My husband made a bunch of these boxes a couple years ago.
I found the last one and stenciled it.

This watering can needed a monogram!

This chicken water/ feeder is different than my other one.
I used just an old cover and attached it to a pan to look-like a feeder!

Oh good! Something else to stencil

Saved from the trash, with all it's rusty goodness!

I decided to stencil inside the lid and front below the lock.
I wiped the tool box, removing any loose dirt.
Taped down the stencil.

I went with black paint.


I used a coco liner and 4 plastic pots.
The plants came from my garden.


A matching seed box.

My stash of seeds!

Here is my Vegetable Garden-
I have string beans on the right and blackberries all along the back fence.
Squash and radishes in front.

There's some tomatoes hiding in the bush.

There are peas growing on this vertical fence scrap.
My husband made the heart out of barbed wire.


We are growing Calabacita Mexican squash this year instead of zucchini.
They grow smaller, and need less space.
They are delicious, tender with a smooth buttery taste.
We are in Zone 10-

And a couple more pictures of the backyard.

This is part of my herb garden.


Forget-me-nots, lambs' ear and nasturtiums

We have grapes growing on this arbor made from pallet wood.
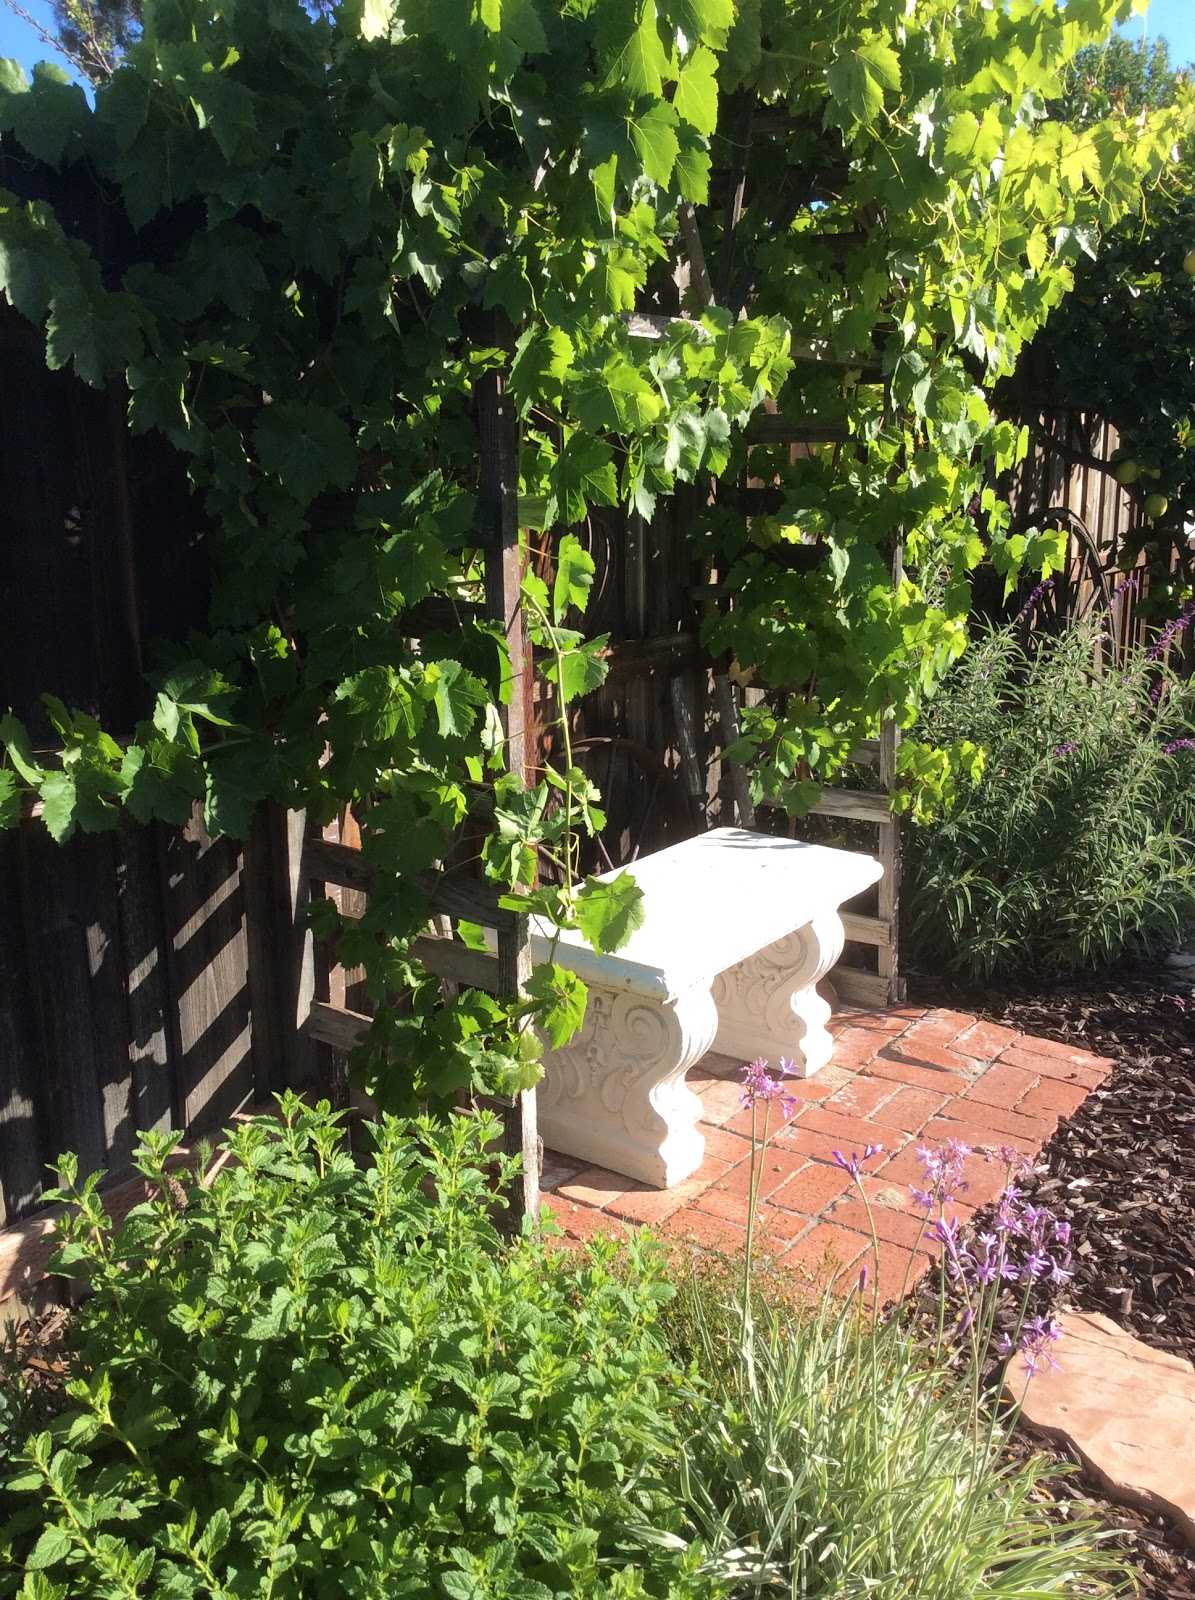
My chickens love to eat lemon balm :)

Thanks for taking that little tour with me!
It was my Mom's idea and
I want to thank my Mom for sharing her photos.
She takes great pictures and always makes
everything look so nice.
I hope you are able to get outside and enjoy the sunshine.
xo Lisa S


