Sunday, June 5, 2022

Beginner IRIS FOLDING Card

 Hi Friends!

I found a fun way to use

 scrapbook paper scraps.


The technique is called Iris Folding

because it resembles the iris of an eye or camera lens.

Iris folding is originally from Holland. 

It reminds me of flat Origami.

I'm going to make a card with a 2'' window.

I will give you a list of supplies along with the measurements.

1 tri-fold card

 To make your own-

 12 1/2'' long by 5 1/4'' high cardstock, folded into 3rds with

2'' by 2'' square cut in center of folded card.


I can always find extra envelops in my stationary stash.

It wound be easy to make your own if needed.


Print this pattern template at 2''

Tape the template to your work area and your card window over the pattern.

Tape in place.

We will be working in reverse.


Pick 4 different scrap papers about 3'' by 3''


Cut 4 strips of each color 3'' by 3/4'' wide


NOTE: This template has 5 strips- but the center

picture was so small I used only 4


Fold  all 4 strips of the 4 papers in half


Separate the 4 sets of paper, your strips will be A,B,C  and D.

Start with A, fold side in along the template line.

Use glue dot on ends of paper just to hold in place.


Working upward, then use 'B' strips.

Continue working around in a circle with 'C' and 'D'

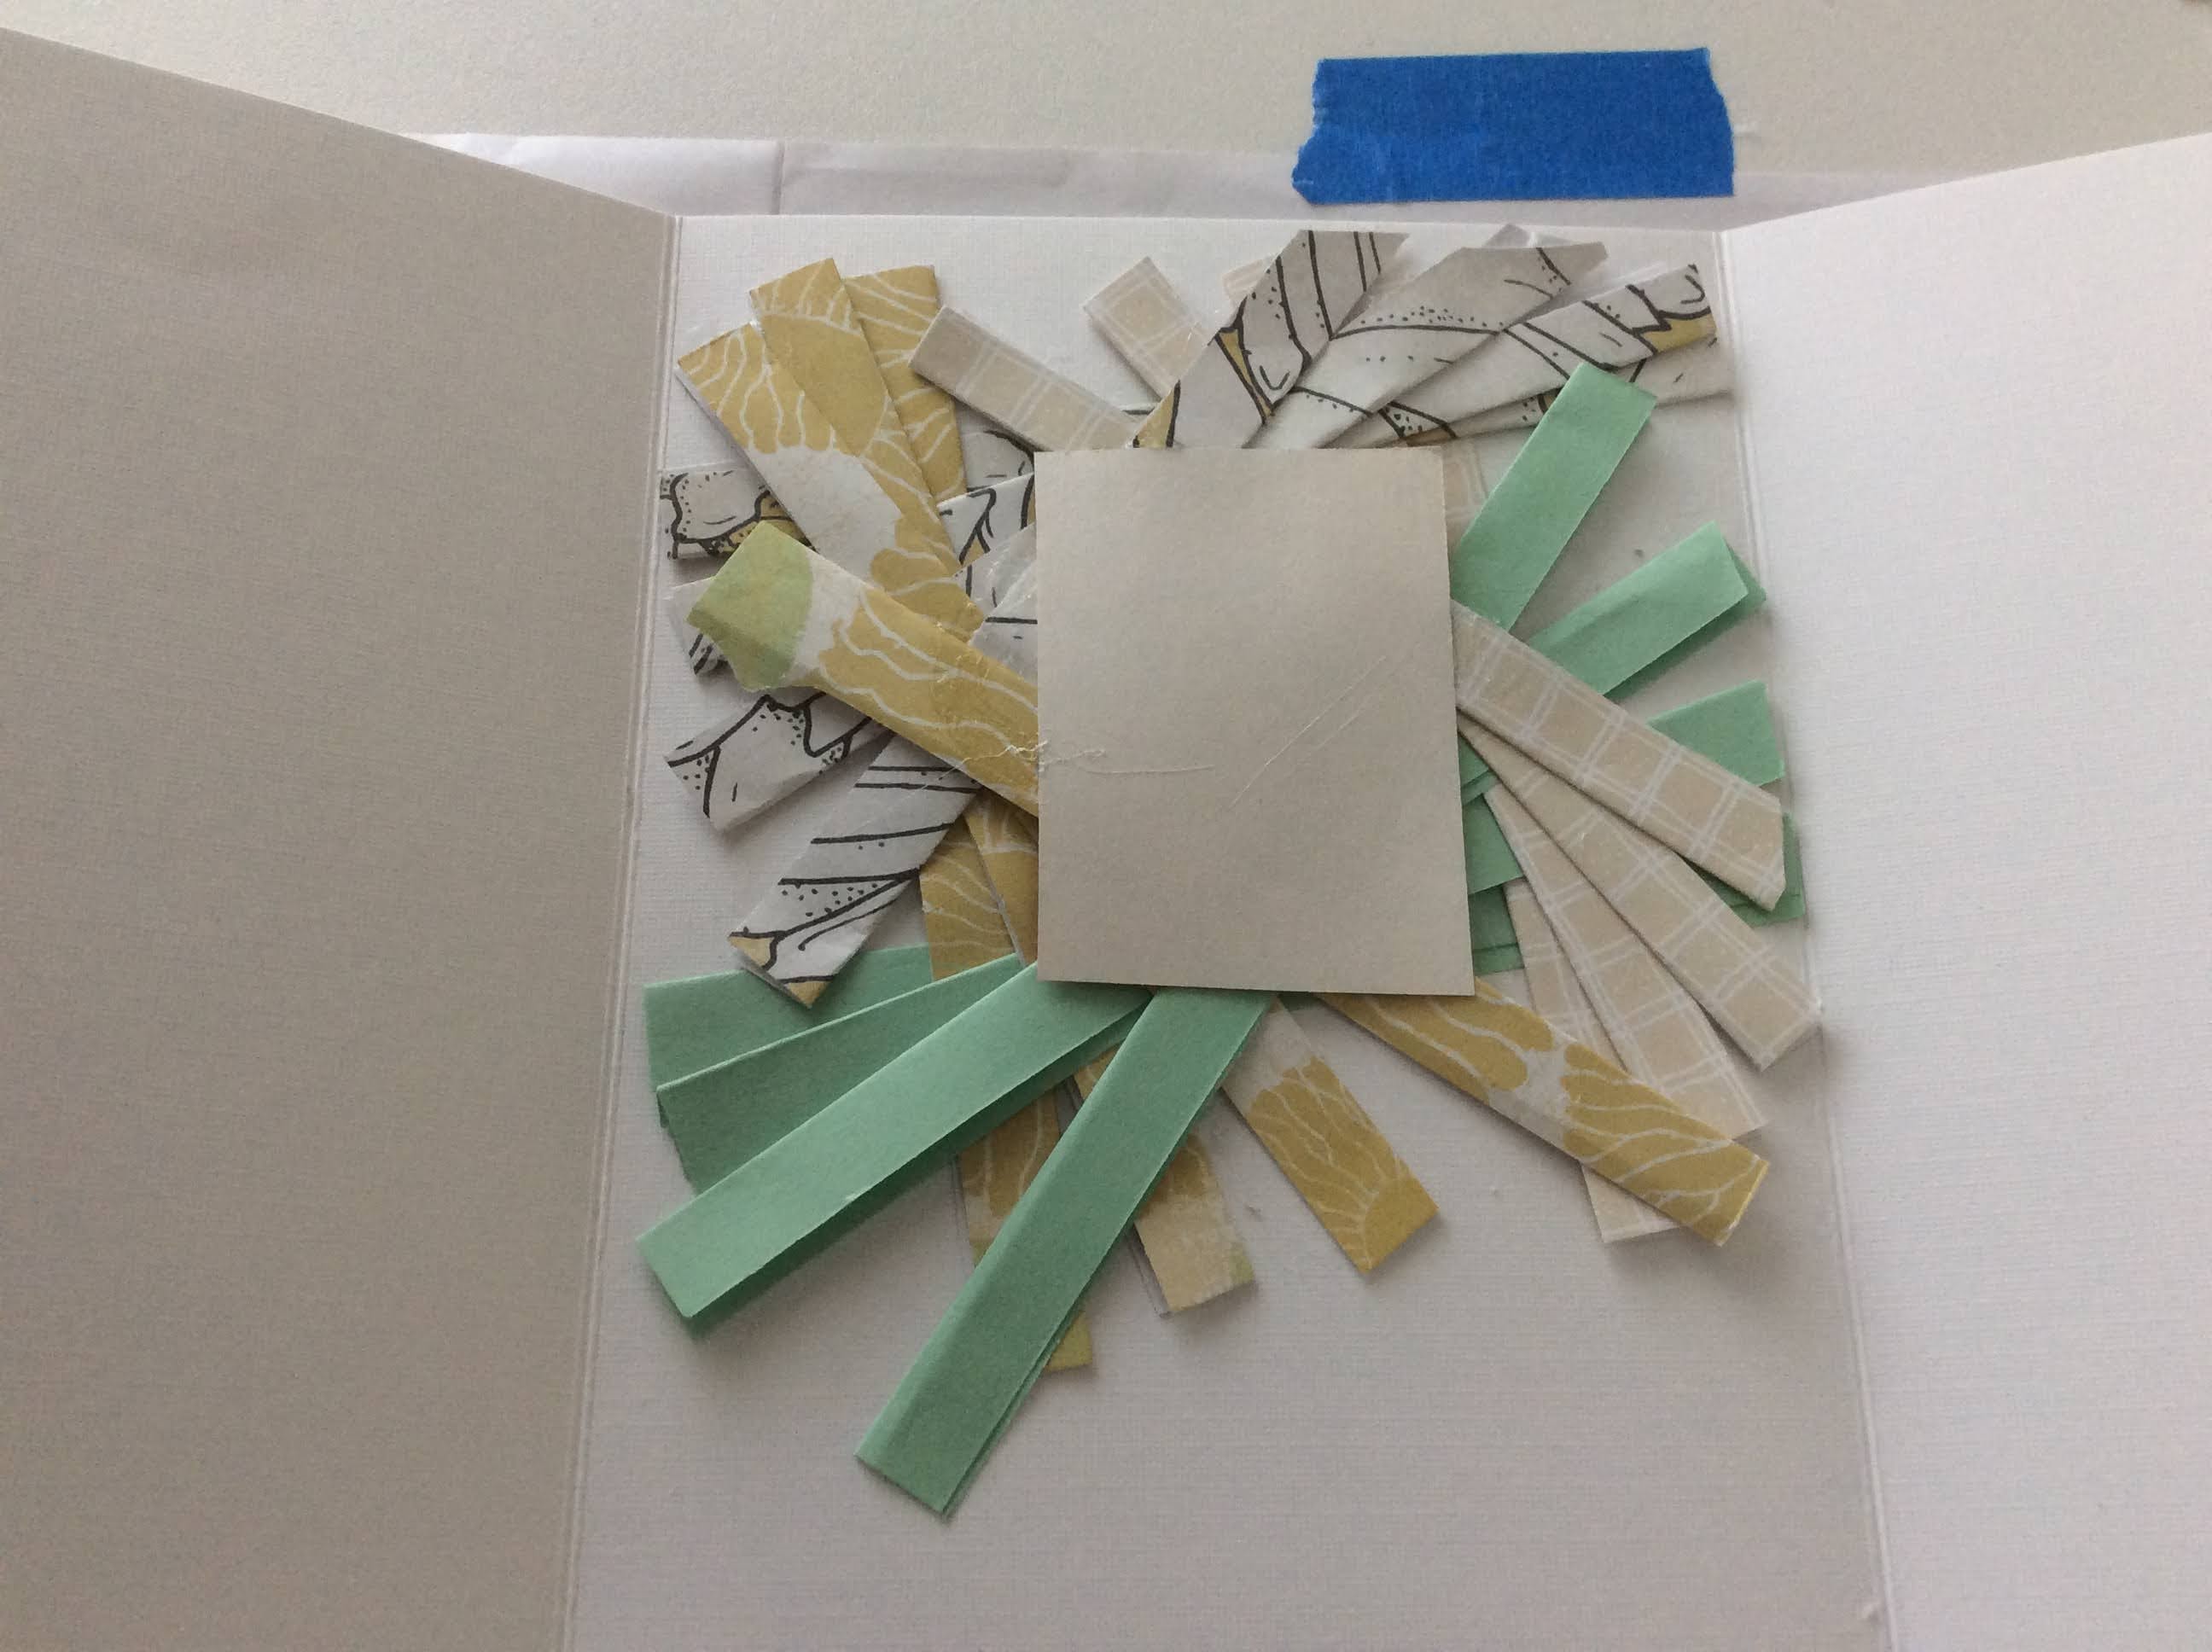
This is the back side.


Trim papers that may hang over the fold.

You can add a small picture or photo to the center.

I used a picture from a children's book.

Remove tape and flip over your card to see-

Flip to back side again.

Note: Add your 5th strip here if you want a smaller center.


Fold front left side down to cover your work-


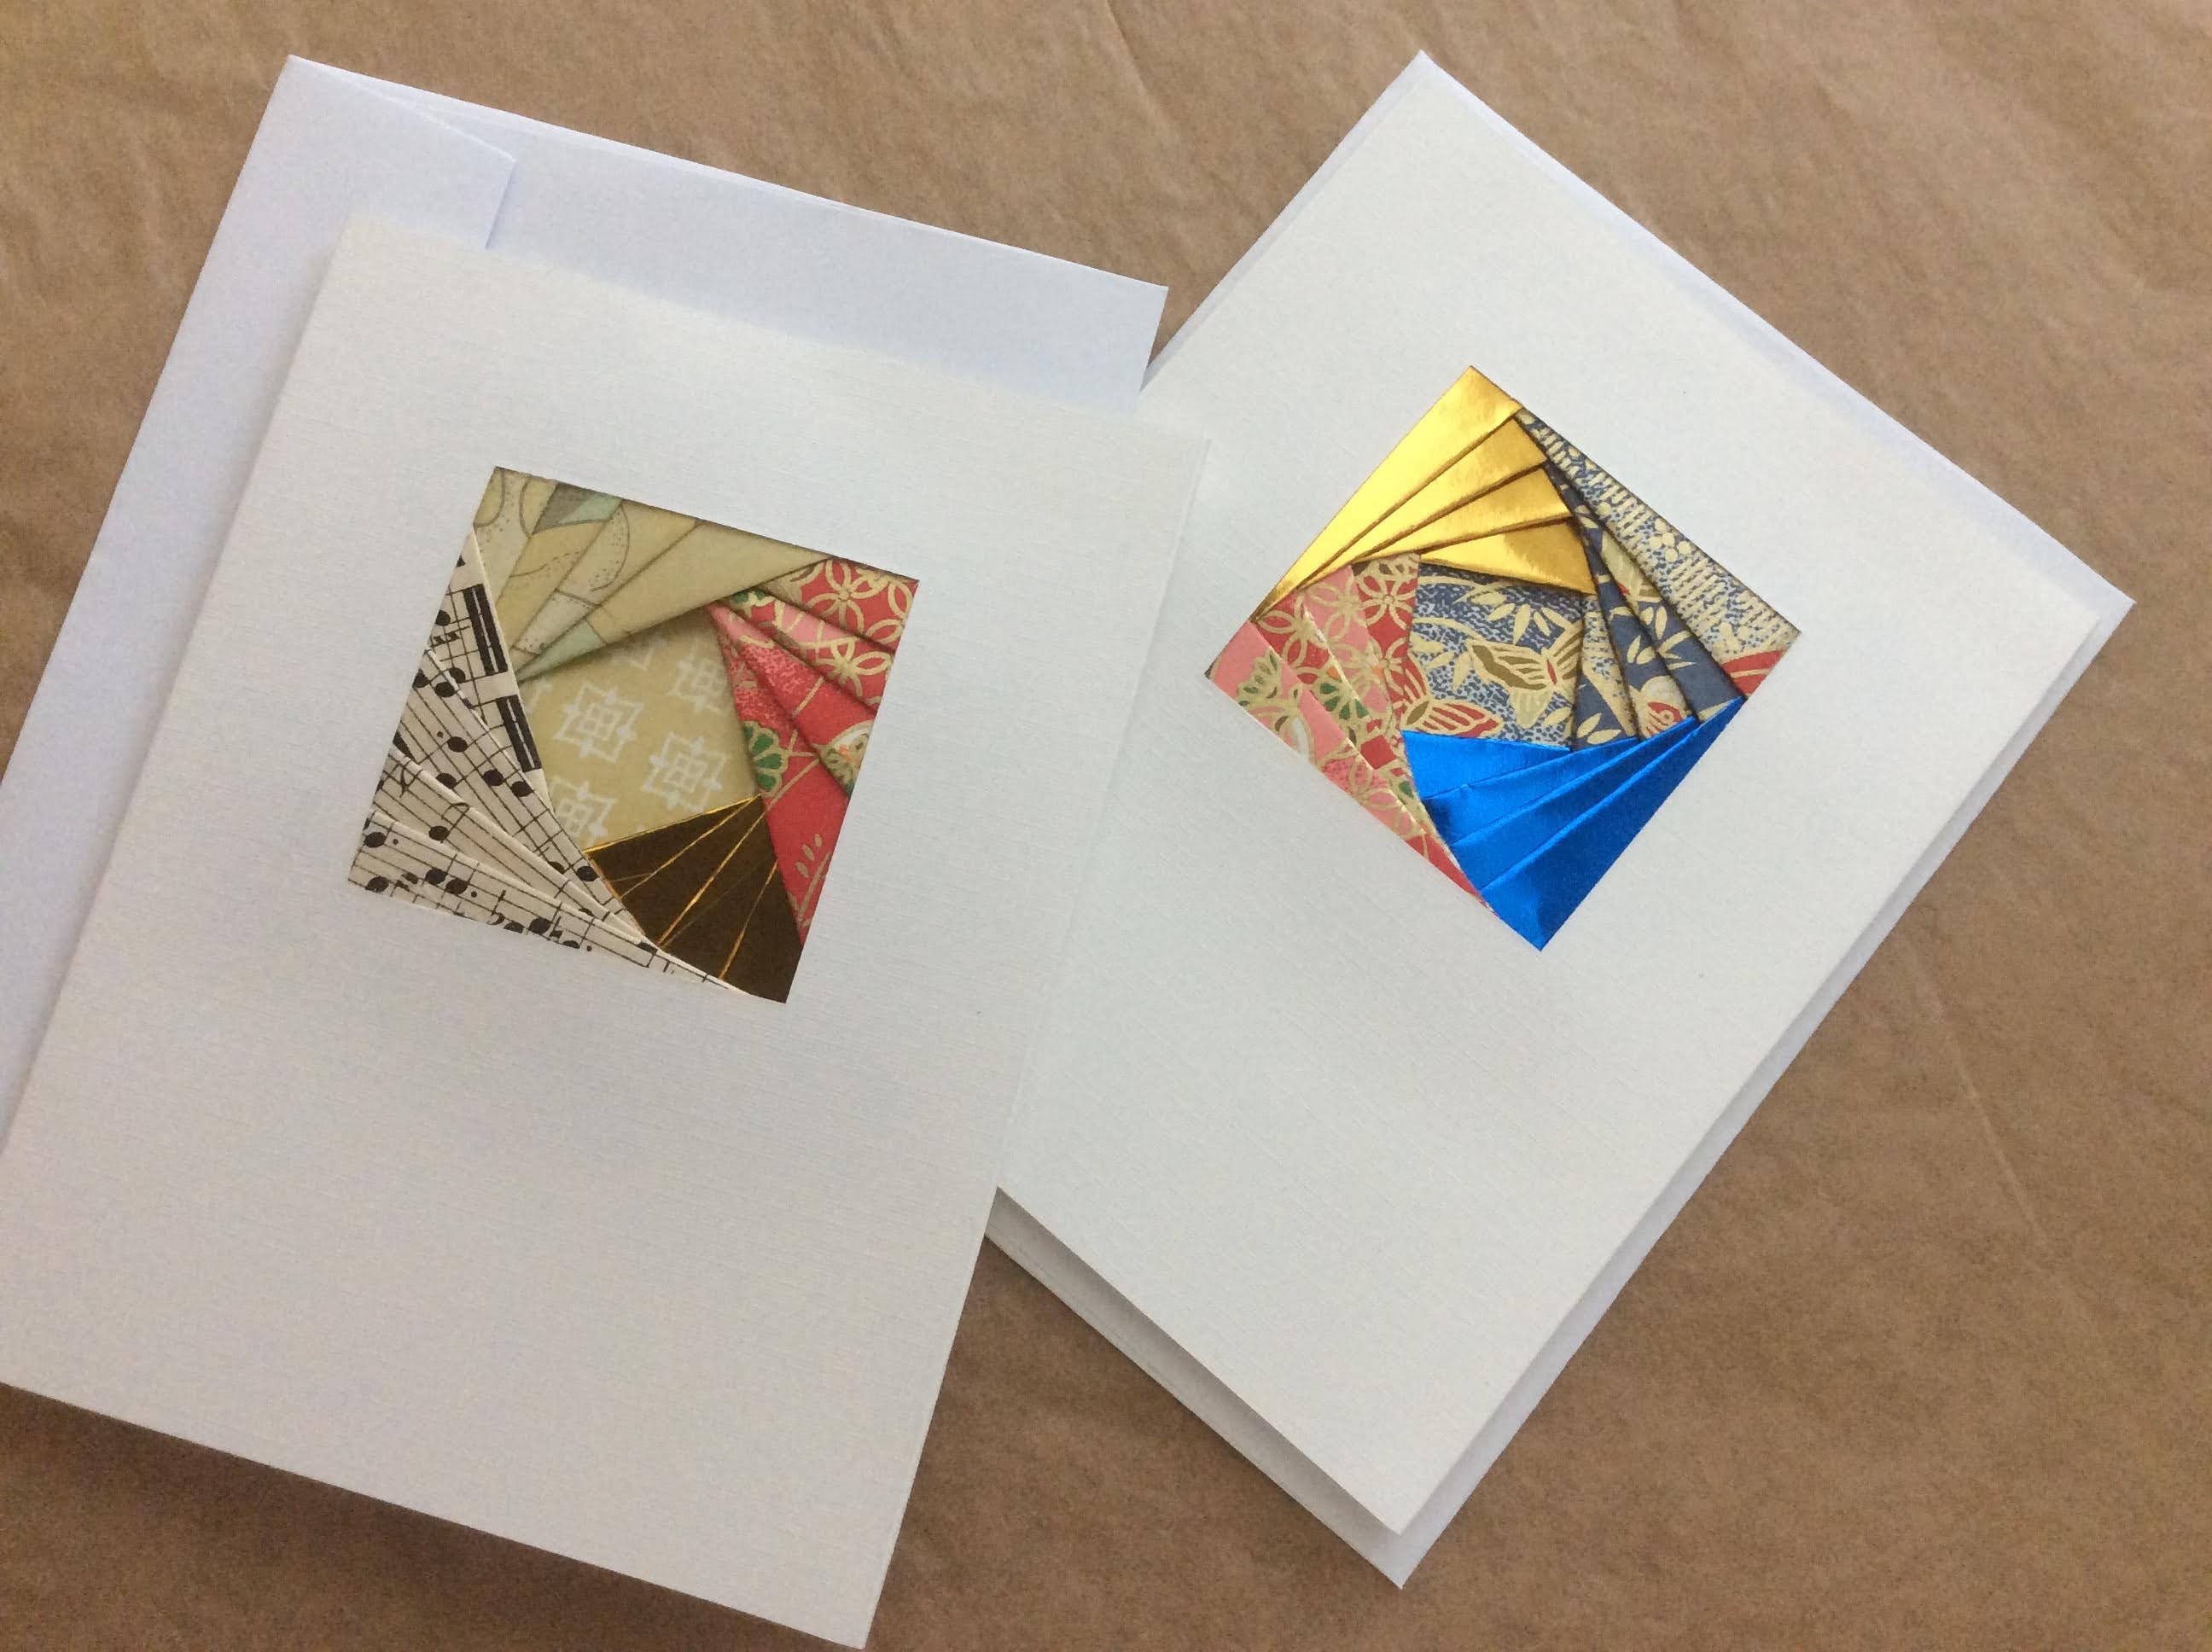
Flip to the front and see your card!

It should open and the inside is clean and blank.


Here is another version :

This time we will alternate our 4 papers- A,B,C,D and around again.


Layer on top of layer-


Then glue your center picture.


Glue down the left side.


Flip over-

I don't see any difference between the two versions.


Do you see any difference ?

Which ever one is easier for you

is the best one to choose.


I used my  postal scale to check the cards weight.

I was happy the cards were 1.5 oz.


If you don't have any paper scraps,

you could use old magazine pages,

 colored ribbon or fabric.


I tried some origami papers and music paper.


Have a blessed day!

xo Lisa S


Wednesday, May 25, 2022

A Birthday Shadowbox

Hello friend,

From time to time

I love to make little shadowboxes.


This idea came to me after thrifting

 some Birthday Candle boxes.

My newest collection!


I emptied one of the boxes and saved the candles 

for another time.


I cropped the picture below from a vintage Birthday card.

Most boxes are about 2.5'' by 3''


I glued the picture to the back of box interior.

Added a tiny wood bunny, some greenery and a ribbon rose.

Glitter for the cake and candle flames !


Looks like a 3D Birthday Card !


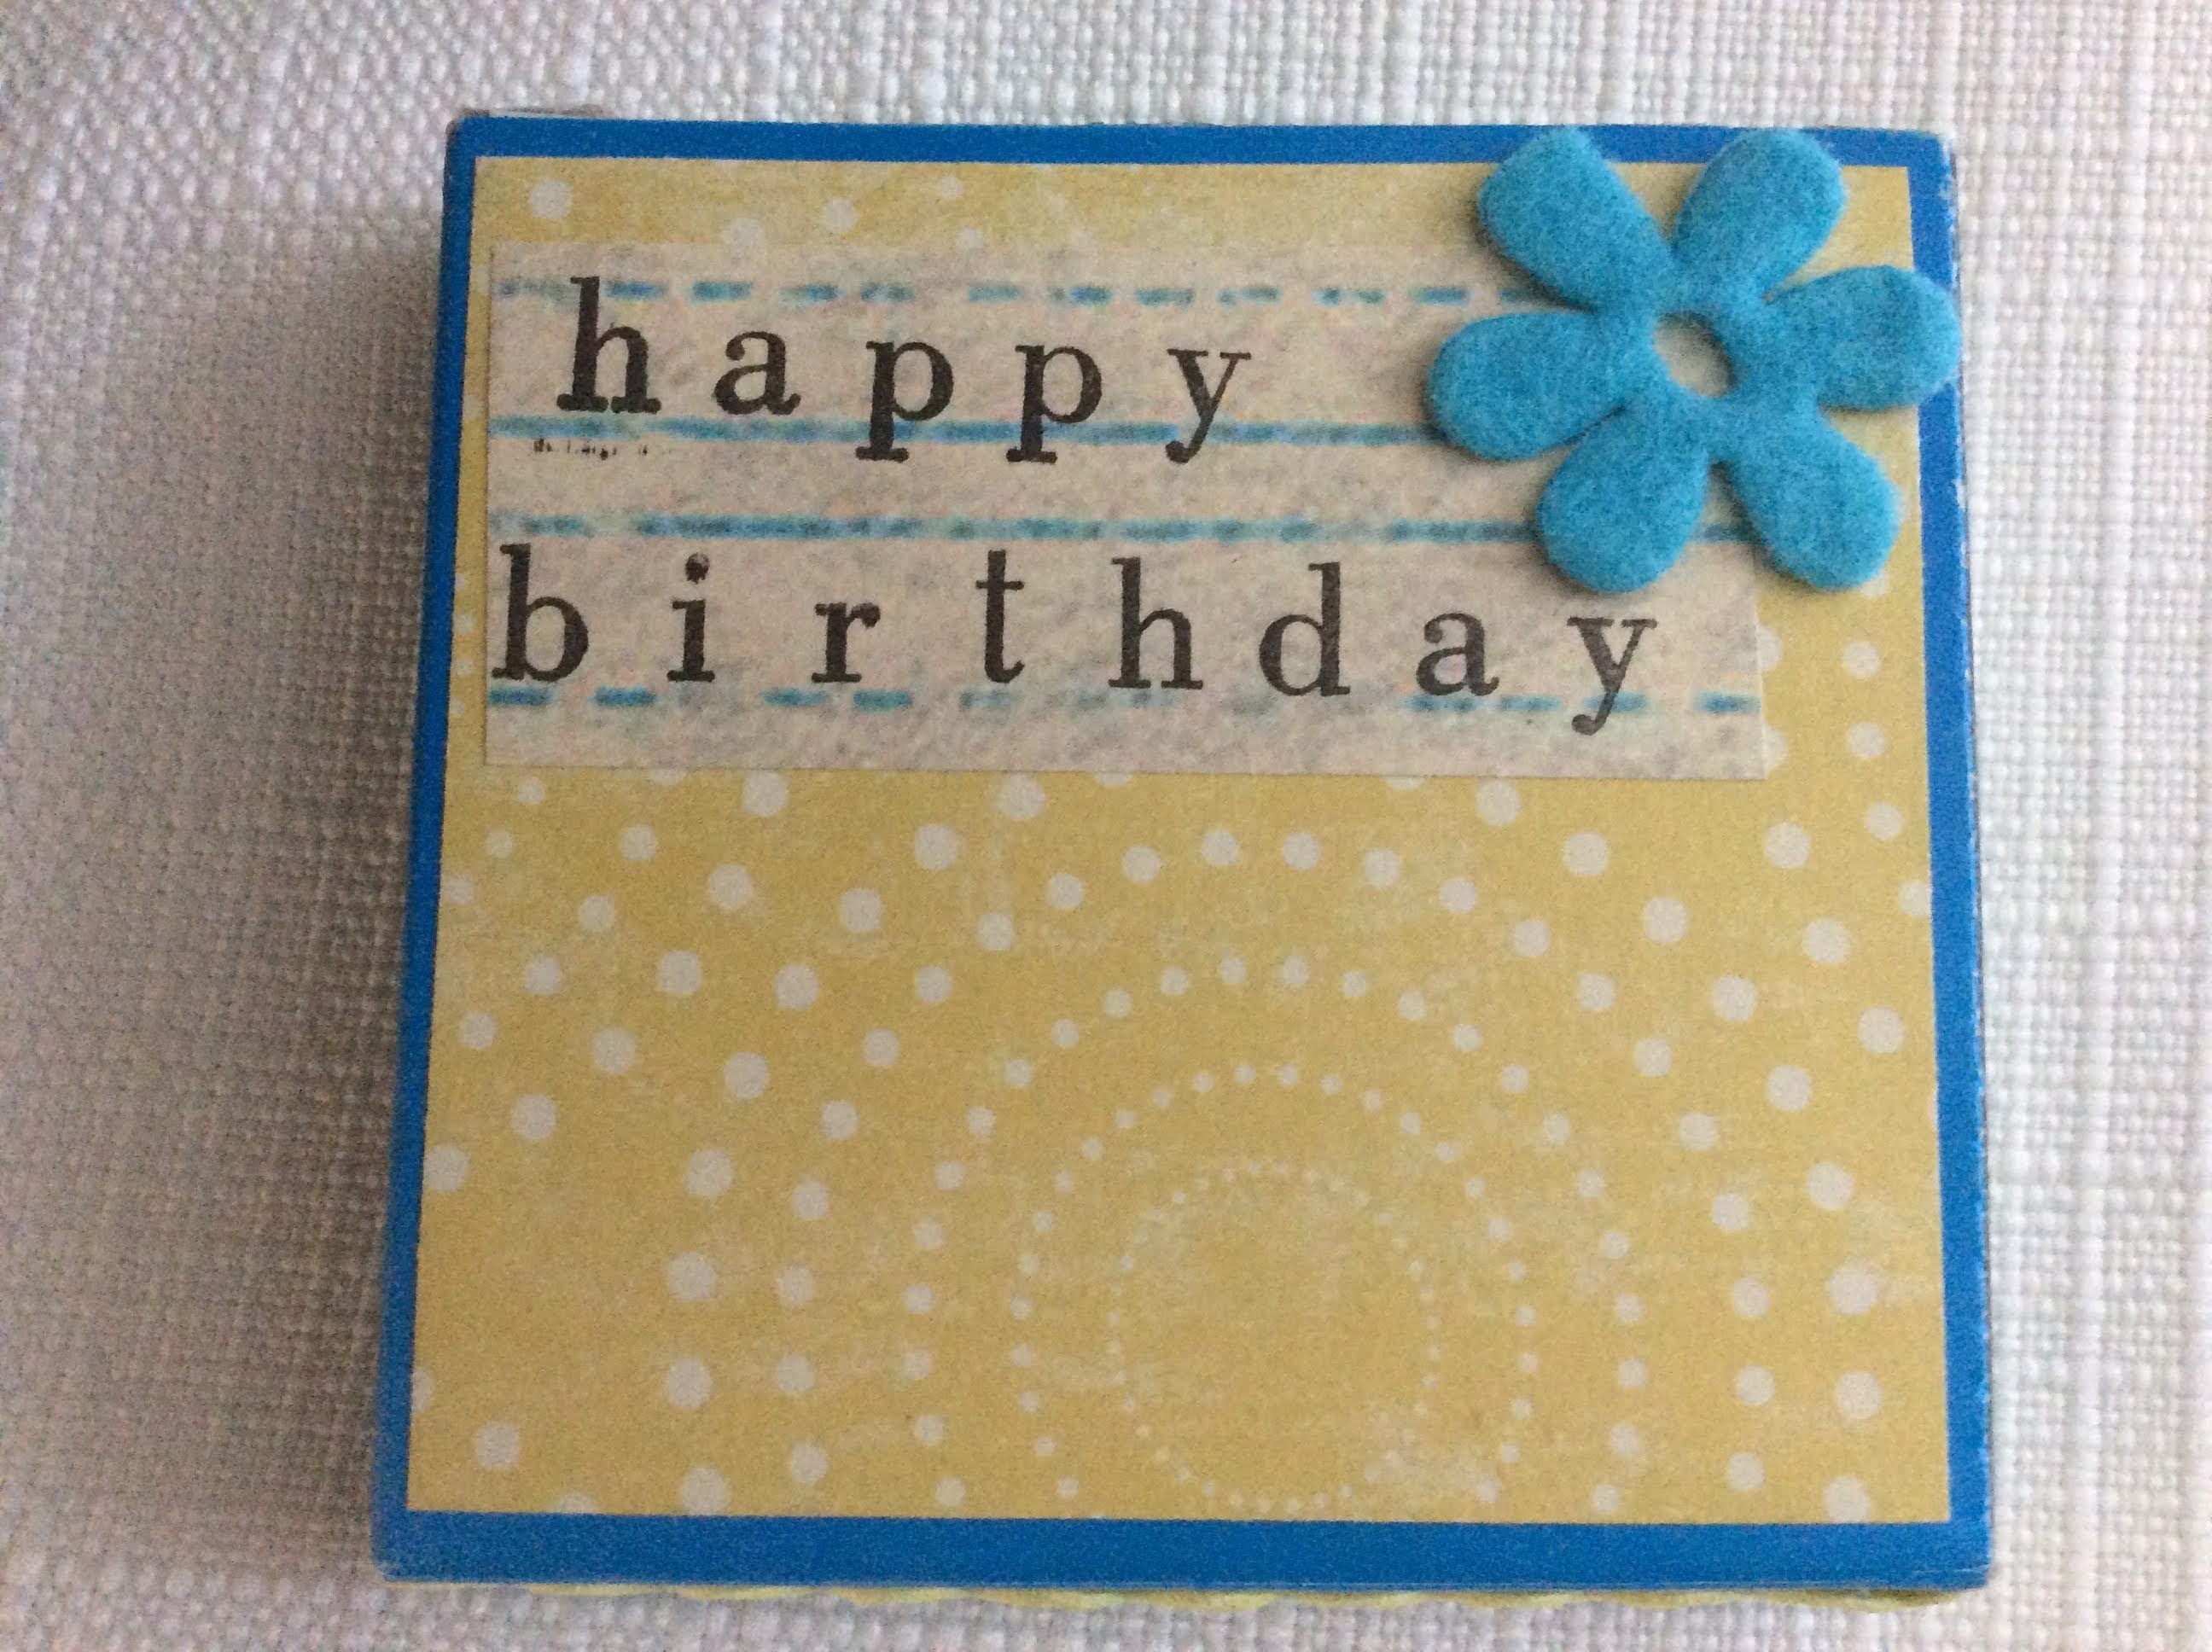
On the back, I used scrapbook paper and then stamped 'happy birthday'.

I left some room for a personal message.


I covered the edge with rick-rack.


The shadowbox is a unique gift.


Thank you!

xo Lisa S

Sunday, May 15, 2022

How I Made a Work Station


Hi friends!


Our Craft Show at the Garden Tour

last weekend was a great success !

My friend Jeanne was in the booth next to mine.

She makes beautiful jewelry.

We were both busy start to finish!

After we were cleaning up, we had a chance to talk.

She had a couple of great ideas I plan to use

for my next show.

I thought I would share with you.


She uses a Rubbermaid box with drawers-

on top of her table-as a riser for displays and to store things.


I just found this guy at the thrift shop!

It's made from mahogany.

An end table or sewing table.


The drawers are nice and deep.


I can store my phone, receipt book and pen, 


cash and my credit card reader inside.


So I don't have to disappear under the table cloth!


I flipped it over and found it would be vert easy to remove


the pedestal base.


The base was attached with 4 flat head screws.


I just used wood filler on the holes and sanded the area.


Some veneer needed to be fixed.

I used wood glue and some clamps.


We just love, CITRISTRIP- Stripping gel!

It works great on small or large projects.

It will remove all that old crackling finish without sanding.

It is so easy to use and has a pleasant smell.

 Brush on a small area, after a few moments

remove with a plastic scraper or credit card.


Wipe with clean cloth and stain!

I love one step Briwax! Dark Brown -my favorite.


I put the old hardware back for now!


I'm very happy with how it turned out!

This piece will make the perfect tabletop desk at my next

craft show!


I will be able to use the drawers for my receipt book

and all kinds of stuff.

The drawers will be facing me and the back will be seen by others.


For now, I have it on my craft table.


Thank you for stopping by!

I appreciate you so much :)

xo Lisa S

Wednesday, April 27, 2022

Vintage Bottle Stoppers

 Hi Friends,

This past week I was slowed down by an

extreme case of VERTIGO !

If you have experienced it , you know what I mean.

Now I can get back on the computer-

I'm trying to get ready for a craft show in a couple days.


So last minute I put together some 

Bottle Stoppers and I thought I would share

them with you!


I get so excited, sometimes I forget to take pictures.

It started with this stopper -

The top was easy to remove.

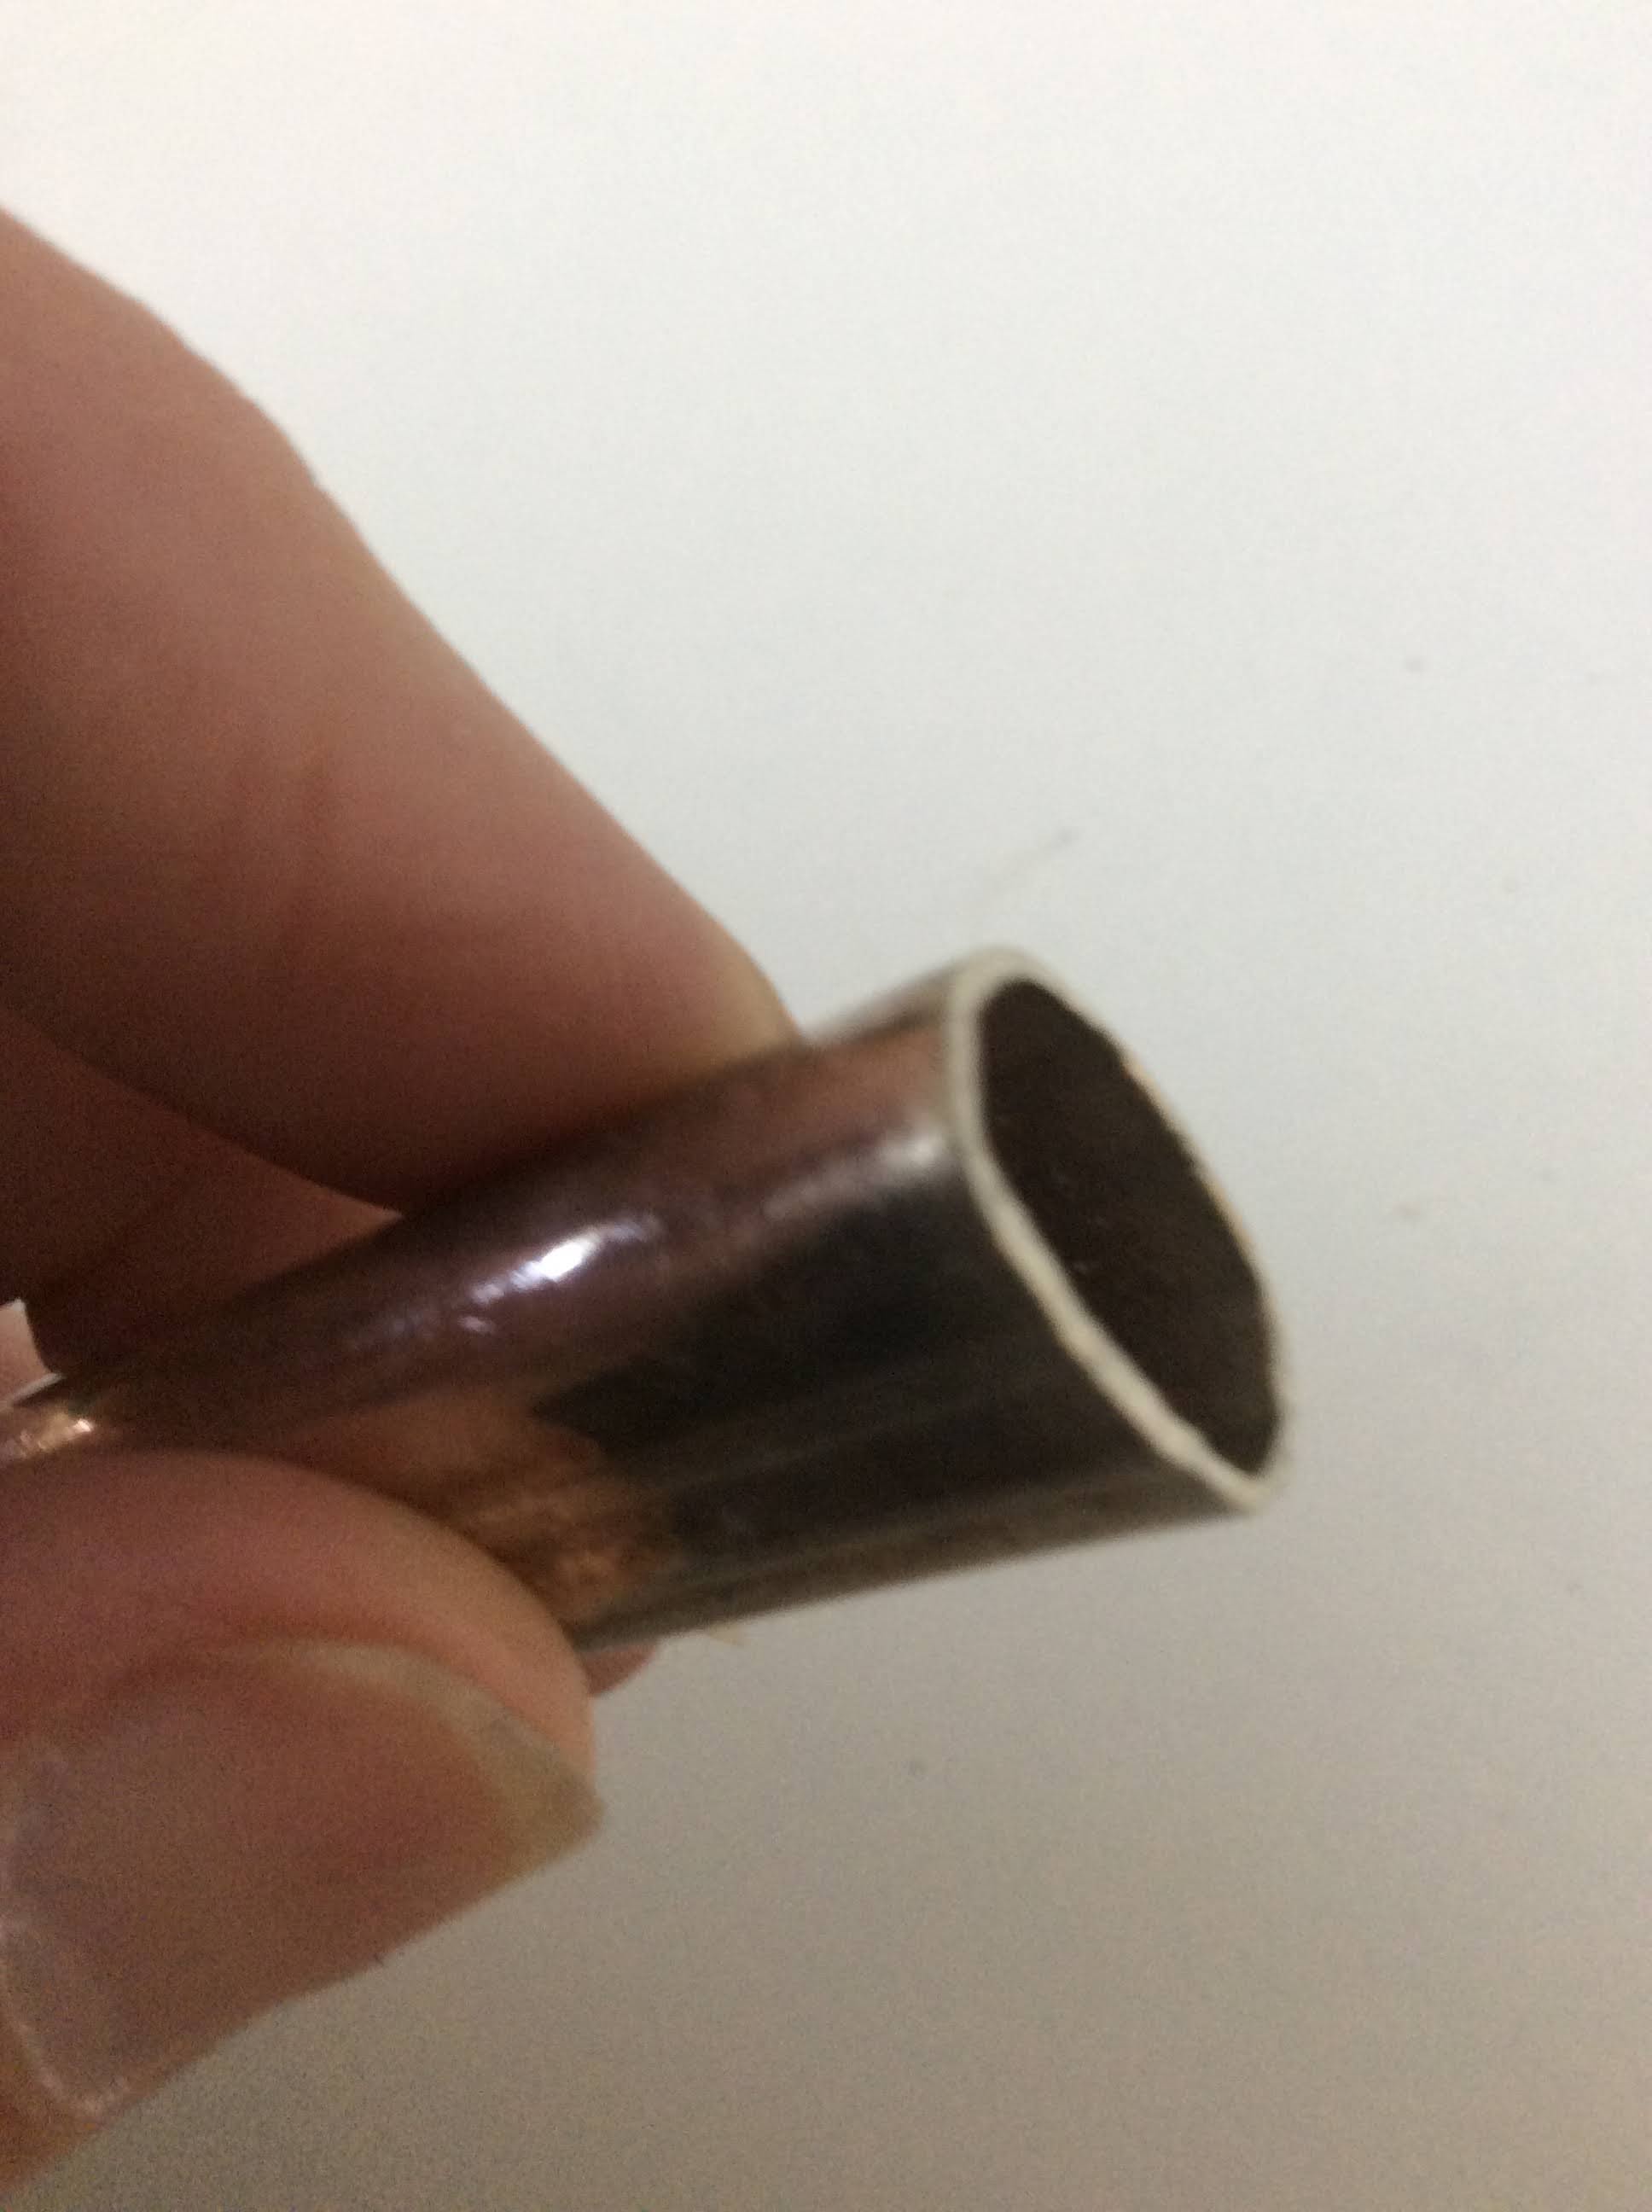
Some needed to have a screw cut to attach the knife handle

and some stoppers have a post.

I prefer the stoppers with a post.


and a knife


It is easy to find knives at thrift shops.

The knives are usually inexpensive.

I use a vise and a soft cloth to hold in place while I cut.

I used a Dremel tool to cut and sand the ruff edges.


Making sure the top is level.


The handles were a tight fit on the screw and the post,  no other

fixative was needed.


Then I polished the handles.


The stoppers can be used on an  olive oil bottle-


They can fit a wine bottle or in my case sparkling cider!

Just pretty for a party or wedding.


I think these would make a nice gift.


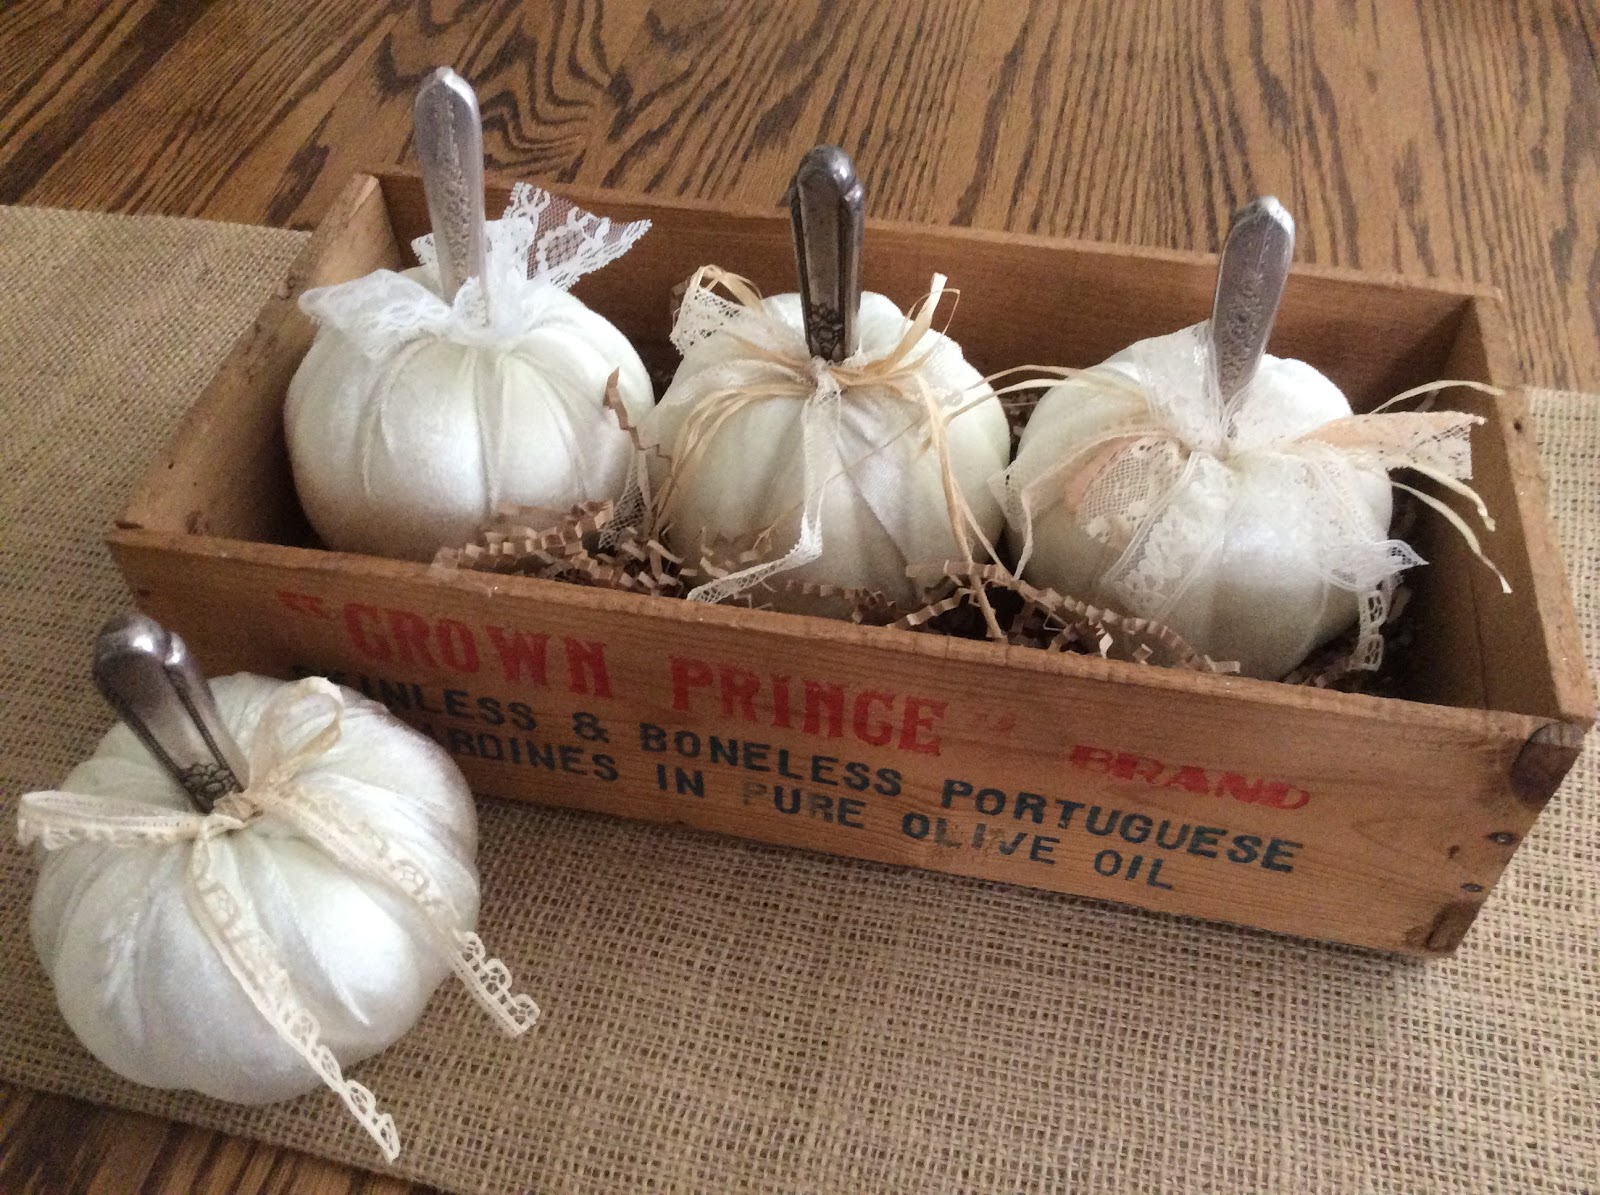
I used more knife handles on this blog post-

Pumpkins


Have a great day!

Thanks for the visit.
xo Lisa S


Monday, April 11, 2022

Add -On for a Wood Bead Garland


Hello Friend!

A couple years ago, I shared

 how I made a Bead Garland with tassels.

I recently started attaching other wood pieces. By tying them on to 

the same bead garland , it can be changed over and over

for different holidays and occasions.


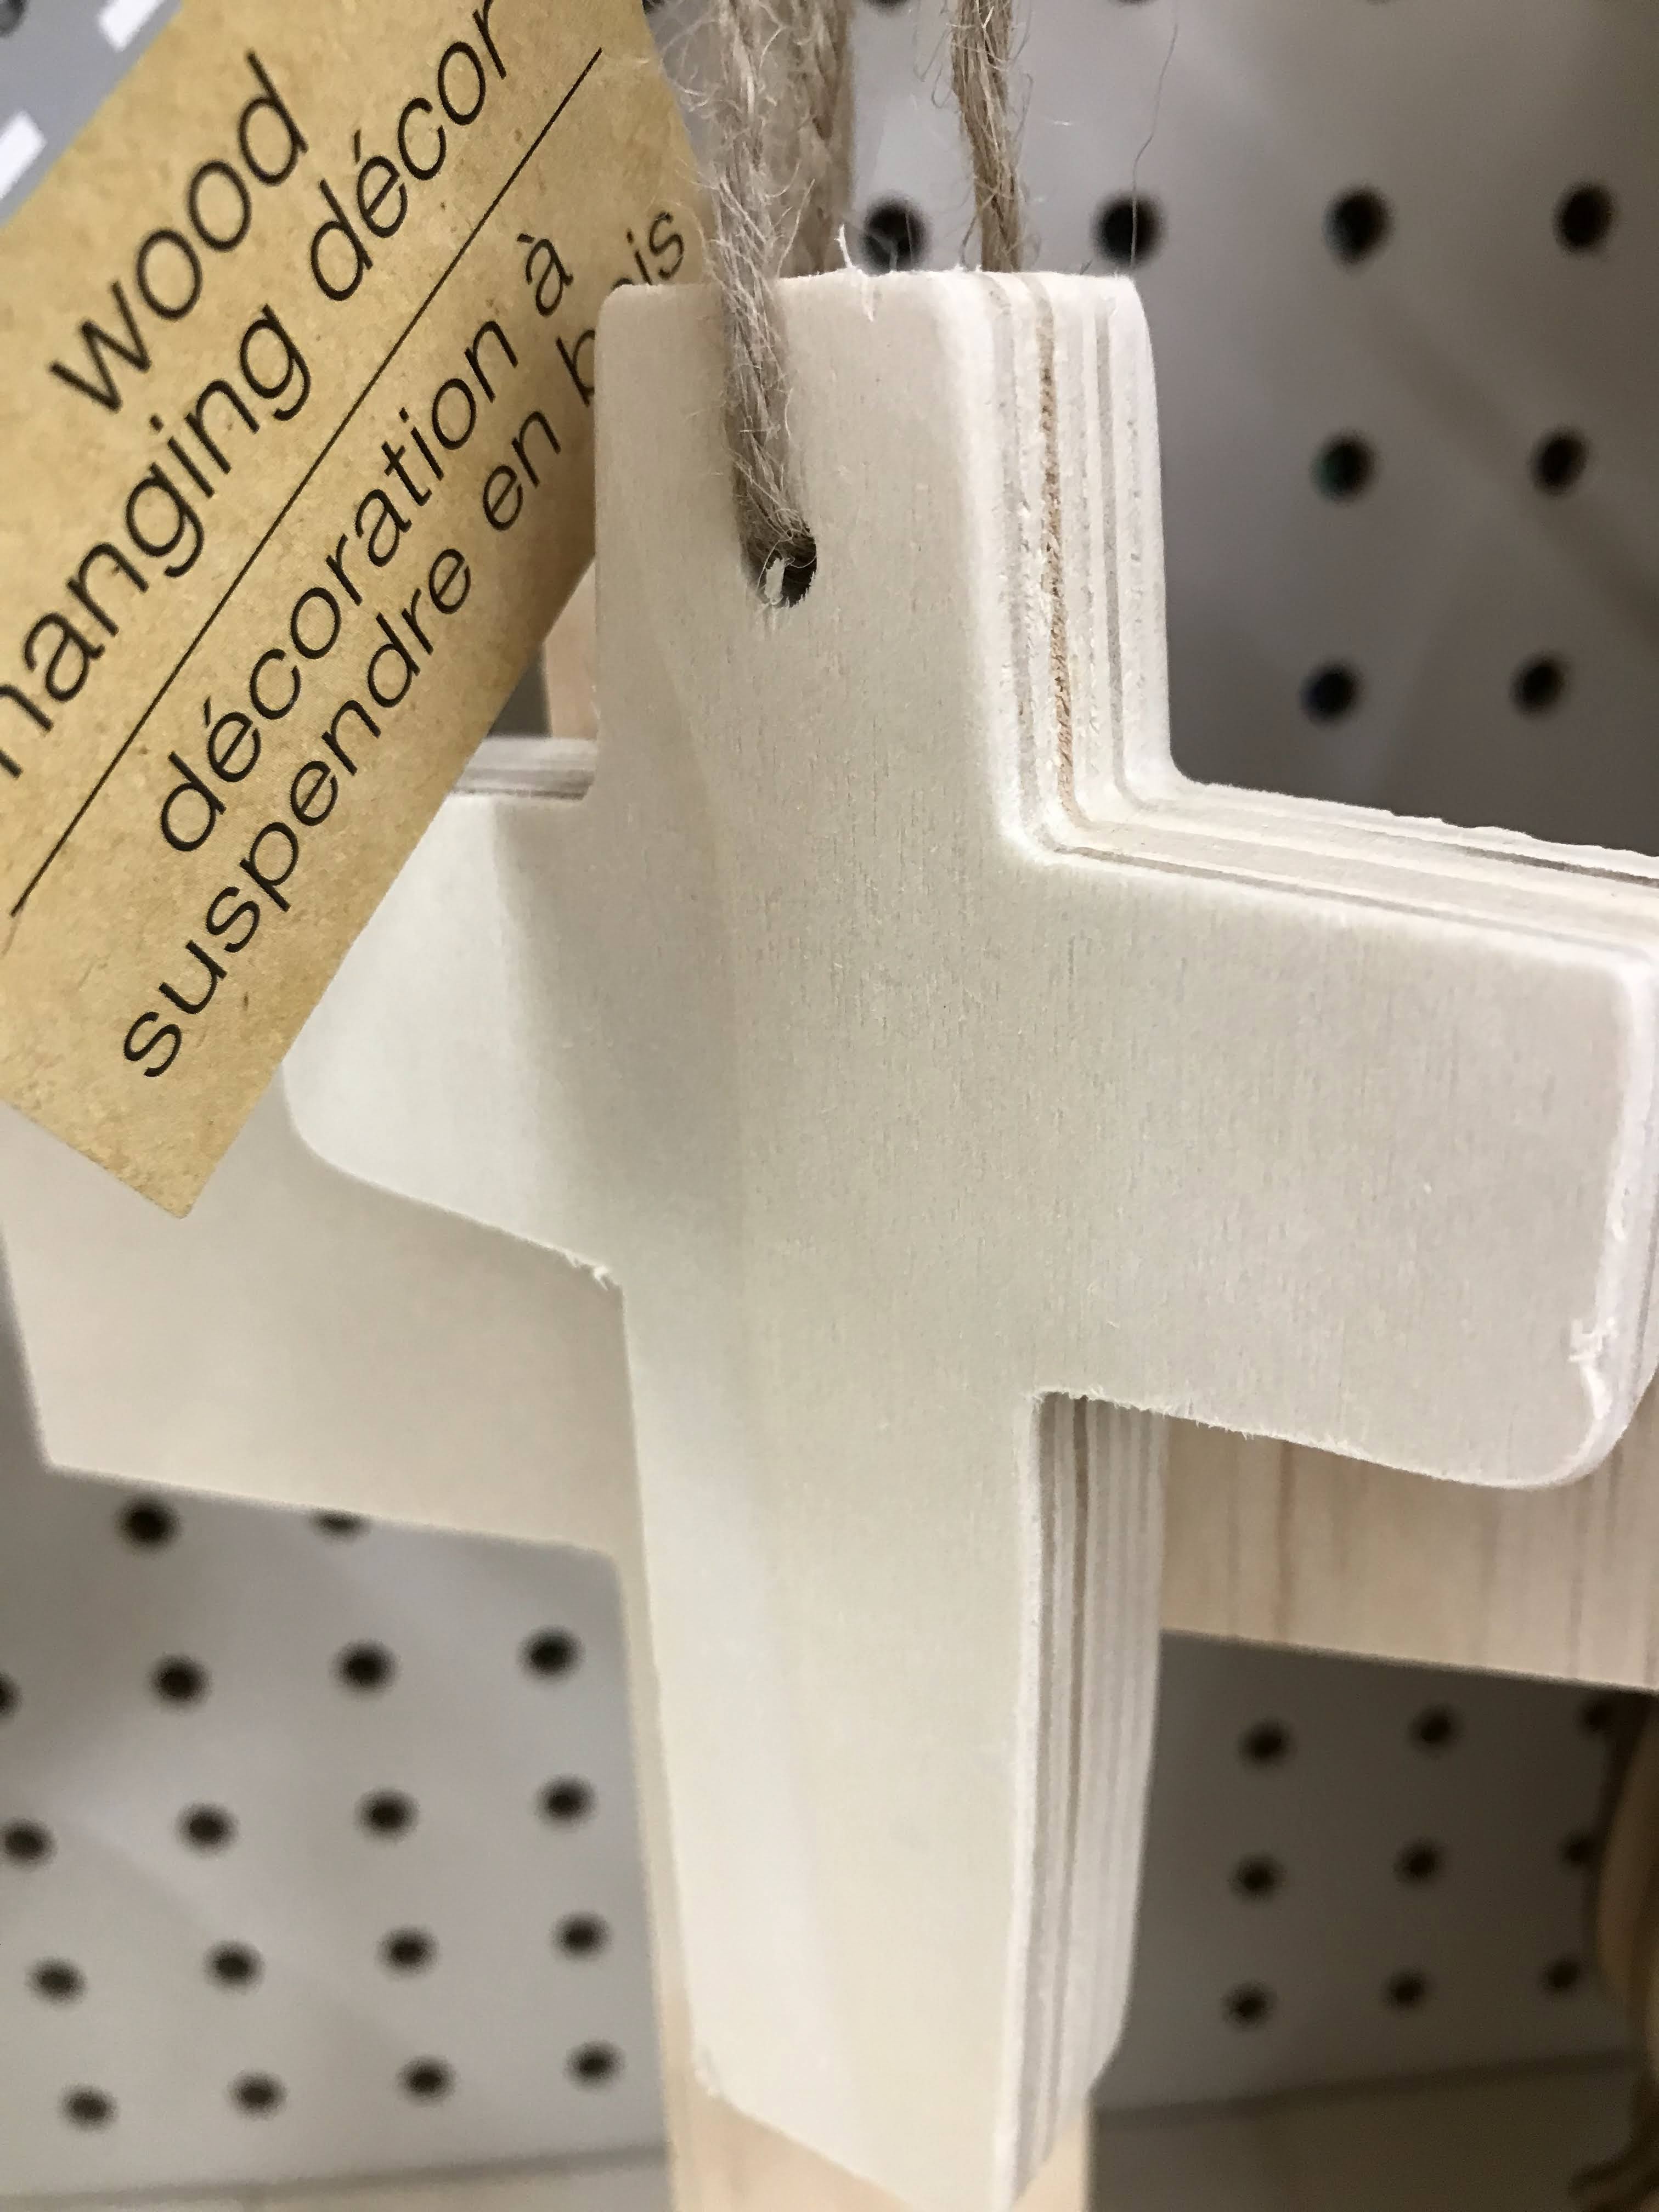
I found this chunky wooden cross at the Dollar Tree.


I painted the cross with white chalk paint

 and sanded the edges.

Acrylic paint would work just fine.

I tied a long piece of jute at the top.


I traced around the cross and free-handed my verse.


I just used a find point Sharpie


Find the center-


Tied with a bow, if I want to change it again.


I collect old, tattered and brittle small Bibles :)


I have to admit,

I made this for Valentines'....and I'm leaving it out for

EASTER and sharing it with you now.


Blessings to you!
xo Lisa S


Just Getting Started- A little FALL Decor

Hi friends, I was at the Dollar tree  getting something else when I saw these Maple leaf stems. I know I could spend more and get better qua...