Monday, April 19, 2021

A Fresh Lavender Wreath

 Hi friends,

This week went so fast!

My garden is in full bloom and I really needed

to trim my Lavender to keep it in shape.

Every time I planned to trim the plants,

 the bees had

their own idea. 

I'm going to have to wait until

sundown  when the bees go home!


Ok, I was able to cut my lavender.


I cut it in the dark!

Here's my cuttings before I trimmed them- what a mess.


I always save the rings from my broken

tomato cages.

They make a great base for a wreath!


I used a small gauge floral wire and one ring.


I cut the stems to about 4''.

I pinched together about 5 or 6 stems

and attached to the ring using wire.


Then add another small cluster on top of the previous stems.


Continue all the way around the ring.


Trim the stems. and tuck behind the starting point.


Wrap wire and finish off with a loop if you like.


This is the back side-


Oh it smells so good!

I will sleep good tonight :)


The wreath will look and smell wonderful

for a while.

I think this would be a nice gift for a Mom or a friend on Mother's Day.


xo Lisa S


Thursday, April 8, 2021

Thrifty Find- Milking Stool

 Hello my friends!

I found this cute little stool last weekend.

It was half-price on furniture day

at one of my favorite thrift stores.


At first I thought I just wanted the legs-


but they were nice and tight.

For now it's a keeper-


I stained the stool with 

WATCO Danish Oil Finish in Dark Walnut and a soft cloth.

I was thinking about painting the stool-

I usually have to stencil everything, but for some reason 

I wasn't in the mood.


I liked the way it looked, just with the stain.


For SPRING, I placed some of my vintage tablecloths

on my blanket ladder.

I put the stool in front for now.


My daisies are just beginning

to bloom!


Since it's a milking stool, 

I put some daisies in a few glass cream bottles.


These small stools make great risers for vignettes.

That's about all I have been up to this week-


I hope you have a great week!

xo Lisa S


Saturday, April 3, 2021

Happy Easter!


Rejoice! 


He is not here:

for He is RISEN,

as He said.


Matthew 28:6


Blessings to you,

Lisa S

Thursday, April 1, 2021

Recycled Bunny into Moss Topiary


Hi My Friends,

This guy got a makeover that took maybe 10 mins.

He  looks like he's trying to get away!

I almost forgot to take  a before picture- oops!

He's hollow and made of paper.

I wanted to turn him into a topiary.

I used English Ivy to paint the bunny.

Sorry, he looks sickly! 


This bag of moss came from the Dollar Tree.


I found a stick from my yard, poked a hole it the under belly.

I used hot glue to attach the moss.


Cover, pat down and trim if necessary.

I made a tiny wreath with floral wire and ribbon.


I did not have a pot so I used the next best option.


Thank you for your time !

xo Lisa S


If you like this bunny, you may like these other projects

using moss.

Here and also Here.


Sunday, March 28, 2021

How to Make a File Folder Pocket Junk Journal


Hi My Friends!

This is how I made these easy File Folder Pocket Junk Journals-

It only looks complicated, but you can trust me.

It's going to be quick and easy!

Oh and inexpensive...or free.


These are the things I used.

Scissors,  my favorite glue- '3 in 1', binder clips,

optional distress ink and rubber stamp,

Mod Podge and a brush,

sheet music and a paper napkin.


My sweet Husband found these at Osh Hardware Store!

He said "I thought you might like these"

Yes, Thank you!-

When I opened them, I was thrilled to see 4 useable sides!


I used one legal size folder per set.

If you have letter size folders , you will need two.


The cut along the fold to the left is the journal.

The dimensions are 8 1/2'' by 4 1/2''

The folder dimensions are 5 3/5'' wide by 9'' high.


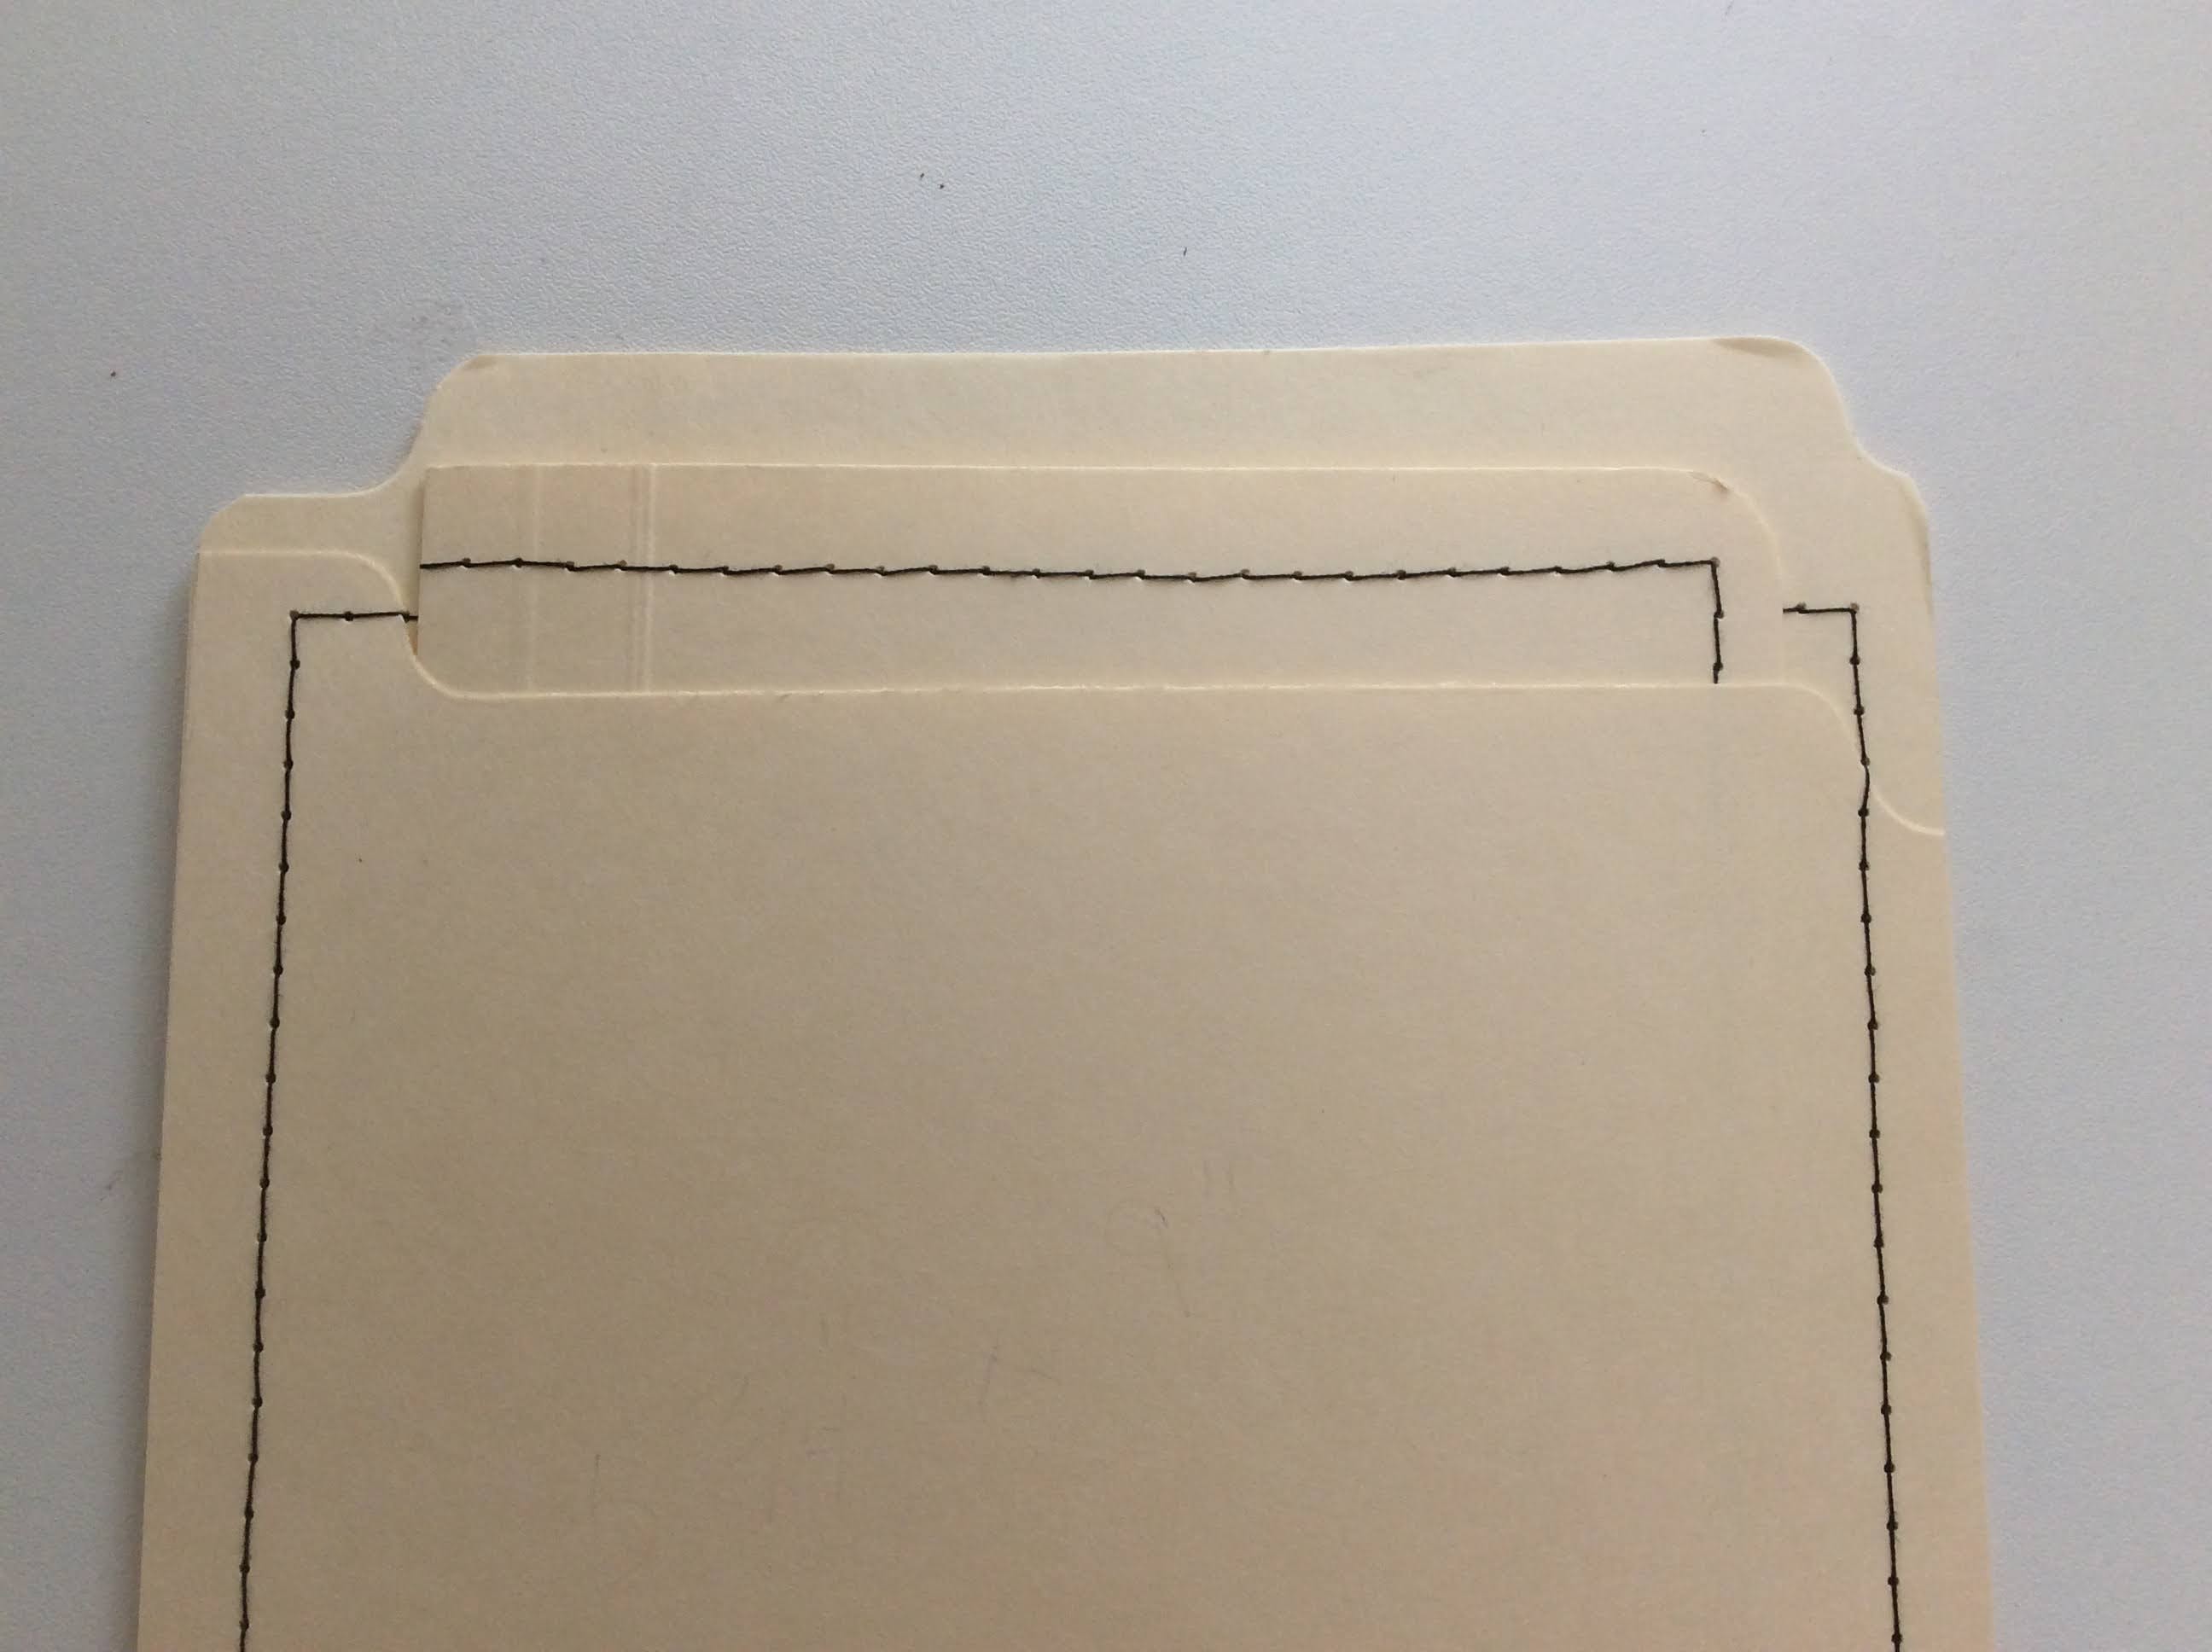
I like to use black thread. Sew on the top side

your stitches will look nicer.


Notice the stitching goes behind the pocket!


Check for fit  ;)


I used 8 pieces of different papers, folded in half

on top of one another.


Put them in the journal cover and hold with clips.


Trim your papers at bit,

 no need to be exact we can trim again at the end.


Binder clips work great to hold your paper in place.


Your stitch should be right down the center.


Oh good it's centered!


Before you decorate check your fit.

You may need to trim.


Now we can decorate the covers.

I used a paper napkin, a piece of sheet music and some matte

Mod Podge.


I started with sheet music as the background,

then added the napkin.

The music notes will show through the napkin.

Just layer and collage until you like your composition.


I wanted the stitching to show.


I didn't decorate the back of the folder.


I just used some distressing ink.


You could coffee stain or tea dye your folder.


 Here's the French Rooster


I also made a Hummingbird set-


Purple and Blue Flowers


And a set with Butterflies and Script


See, I told you it would be easy!

A great way to use up scraps-


I will be putting these aside for future gift giving-


XO, Lisa S


Just Getting Started- A little FALL Decor

Hi friends, I was at the Dollar tree  getting something else when I saw these Maple leaf stems. I know I could spend more and get better qua...