Sunday, October 15, 2023

Oyster Shell Christmas Ornaments

Hello my friend,


We had a wonderful vacation at the beach 

a couple weeks ago.

While eating at one of of favorite seafood restaurants, 

I wondered what  they did with all those shells at the oyster bar.

I mentioned to my Dad, I'd like a few to paint.

He went to ask and came back with a bunch!

They just throw the shells away-


The restaurant put them in a 'to-go' container.

We left them sealed up tight in the back

 of our truck until we came home.

After we were home, we washed and soaked the shells in

a bleach and water mixture.


Then left out in the sun for a day.

They were so pretty and iridescent-

I noticed their similarities.

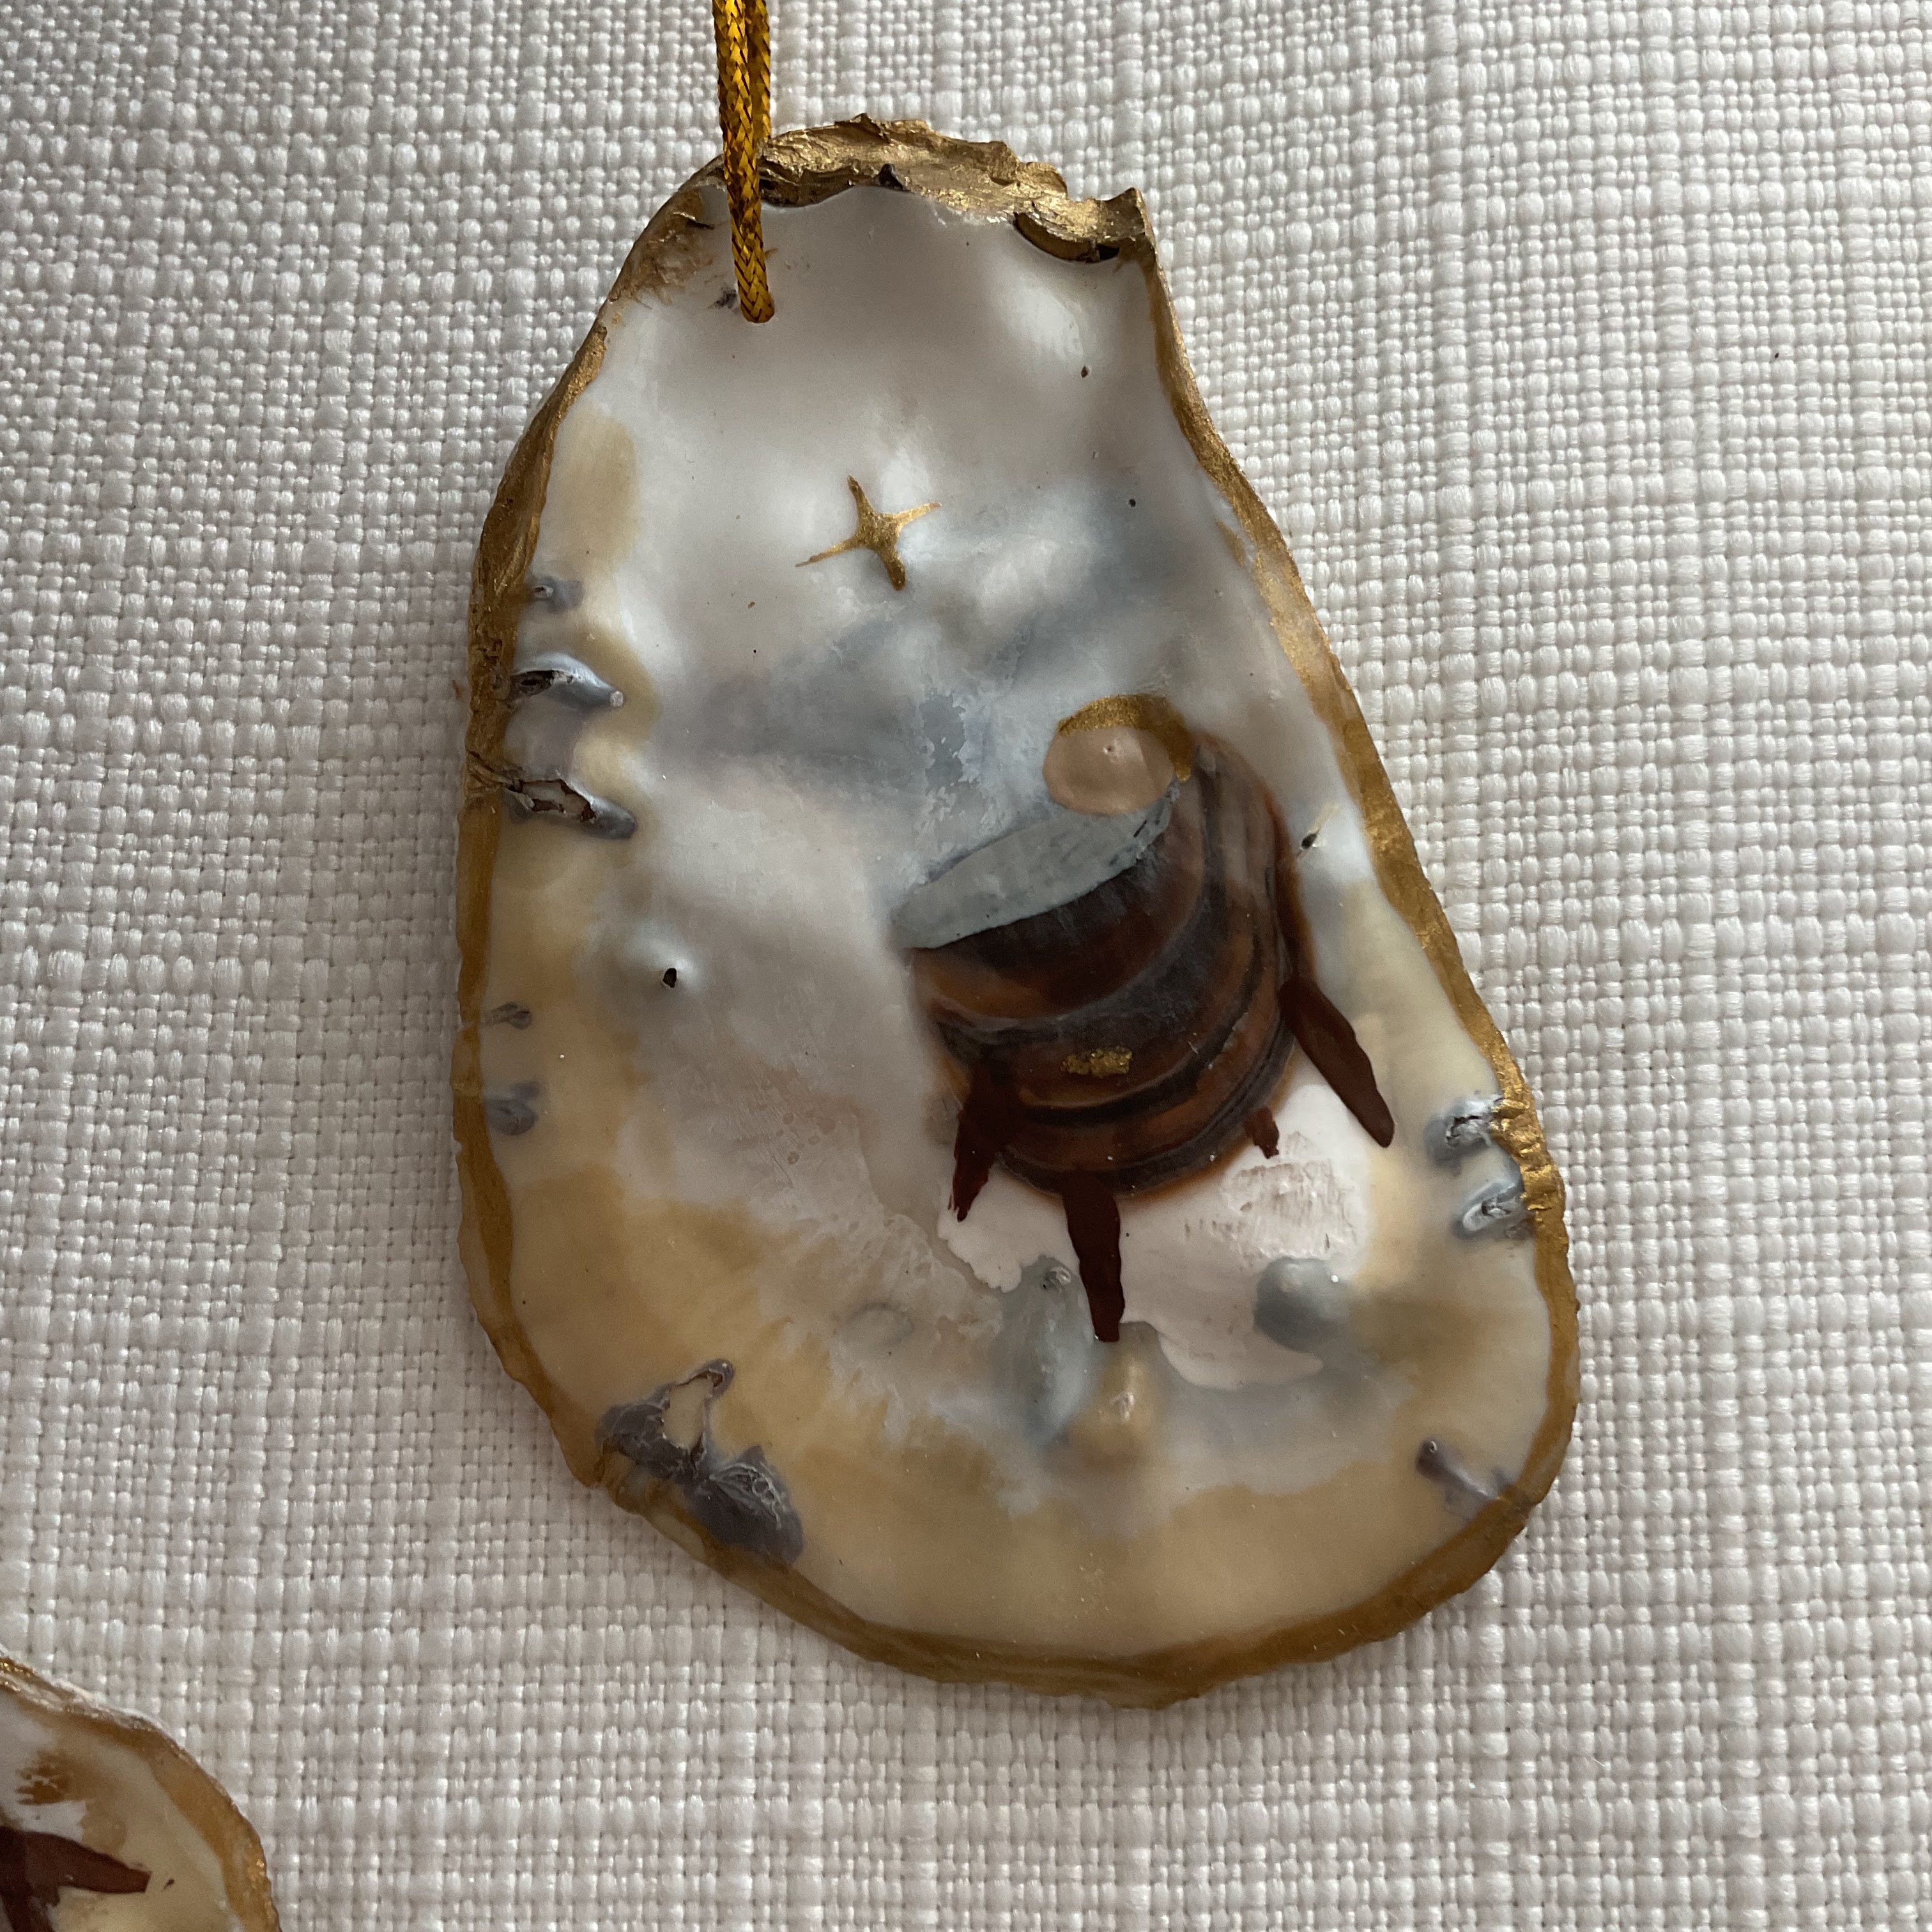
To me, each one had a spot that resembled

a nativity manger.


Do you see it ?


I used gold paint along the edges.

Painted legs on the manger.

Drilled a small hole at top of shell

 to hang as an ornament.

I used some gold twine.


I painted a small star shape in gold.

A small circle on top of manger became

the head of baby Jesus.

I painted a halo when the face was dry.


Each one was a little different.


The small shells were slightly flat and

surprisingly lightweight.


                                                 All the other beautiful colors you see are natural!


I painted a thin coat of Mod Podge 

over the painted areas.


The back side is pretty too!


I love how each one is different.

Each has it's own unique color and shape.


I live in an area fairly close to the ocean

 and people love beach theme

Christmas ornaments.

Have a wonderful day!

xo Lisa S


P.S. Two of the shells were too big 

to make into an ornament.

They were a perfect dish shape.

So I decided to decoupage them-

First paint the front side white.


After the paint is dry. Brush some Mod Podge

over the area and cover with

 a single ply napkin or tissue paper.

Press down the tissue and push out any bubbles.


Let dry thoroughly.

Edges are painted gold.


A couple of trinket dishes


A beautiful gift for a friend-


 Thanks for visiting XO !


Saturday, October 7, 2023

Upcycled Cement Cube Desk Lamp

Hello my friend!

One of my neighbors is moving and asked if I

wanted this desk lamp.


You know me I always say yes-

I really didn't like it as is but

I thought it had potential.


The lamp had a nice clear cord with a switch.


I removed the lampshade.


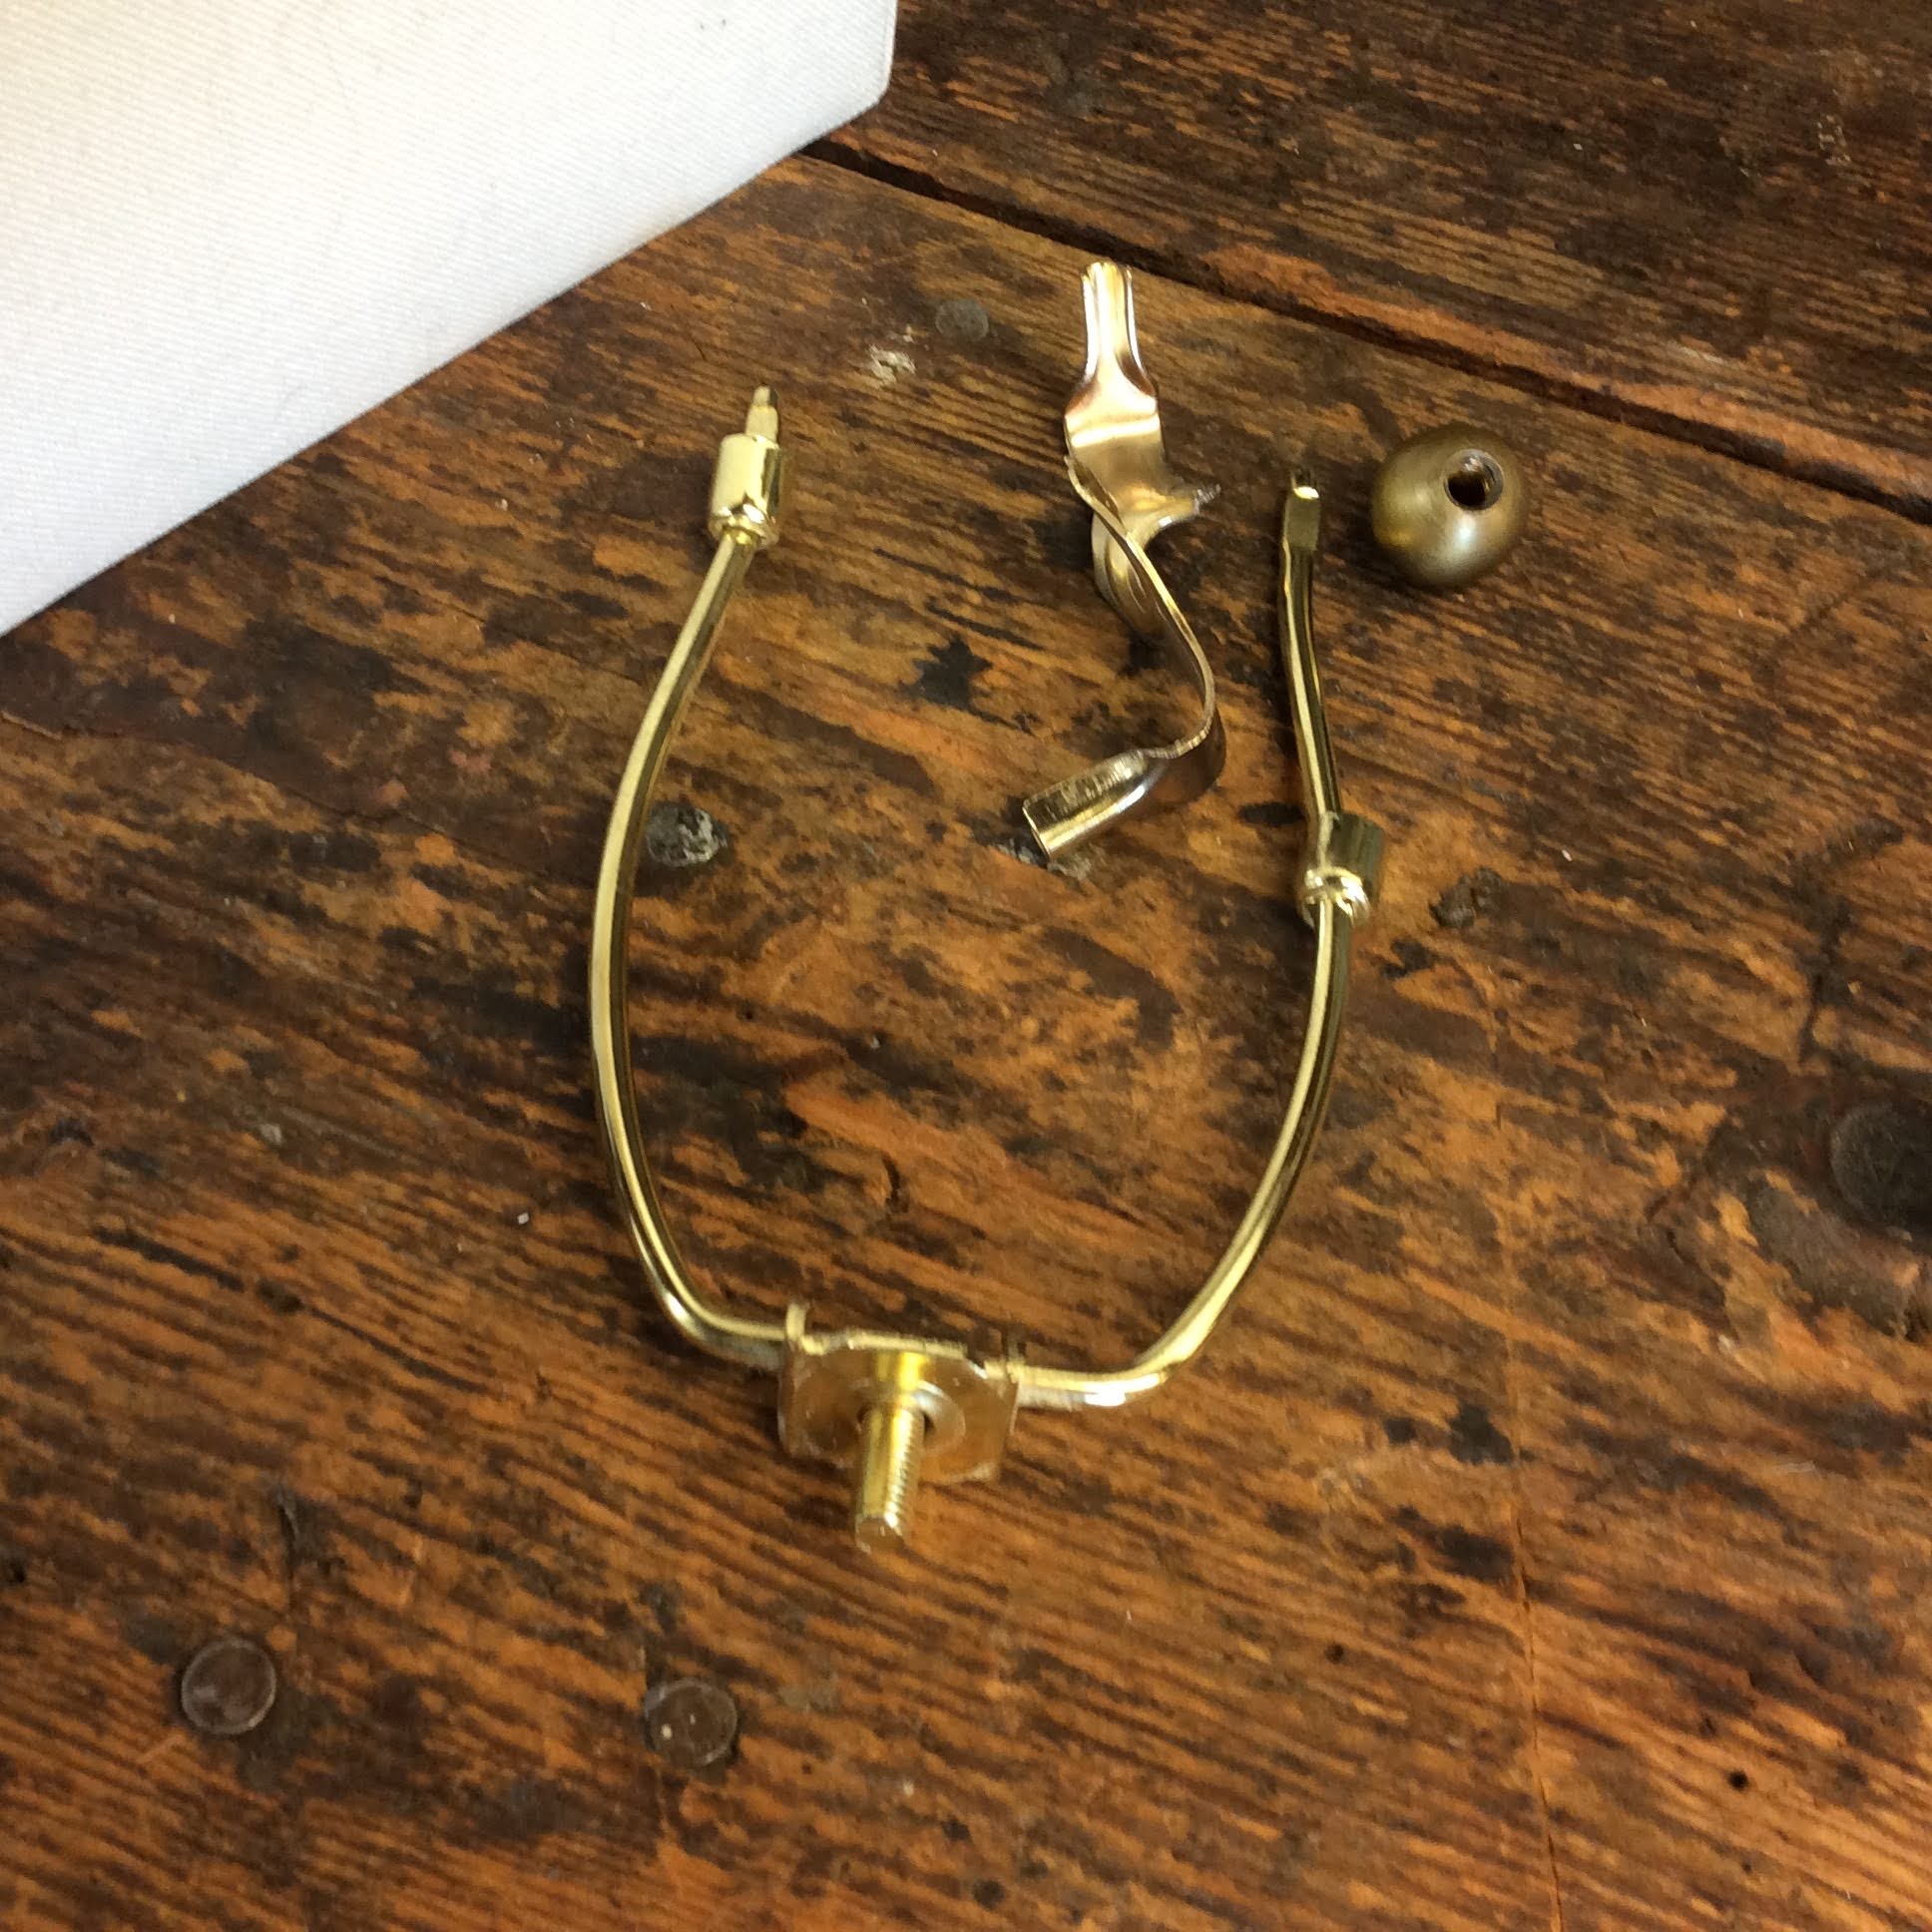
I removed the harp piece...

it did not want to come off at first.


The light bulb has got to go!


I removed the sticker on the lamp stem

because it will show-


The sticker did not leave any residue.


To tighten all the components

I needed to remove the felt on the base.


Tightened everything up with an open end wrench.


The felt stretched and tore a bit when removed,

I saved the original felt to use as a pattern.

The stickers can be transferred to the new felt if needed.


There were a few nicks and scratches on the base.

A very easy fix with a little acrylic paint mixed with water.

The color I used was-Cobblestone.


I wanted to get a retro style Edison Bulb-


I needed a bulb with a smaller base

 so I brought the old one with me to the store.

I found this replacement bulb at our DIY Home Center.


It fit and I really liked the amber colored glass.


I re-attached the felt on the base.


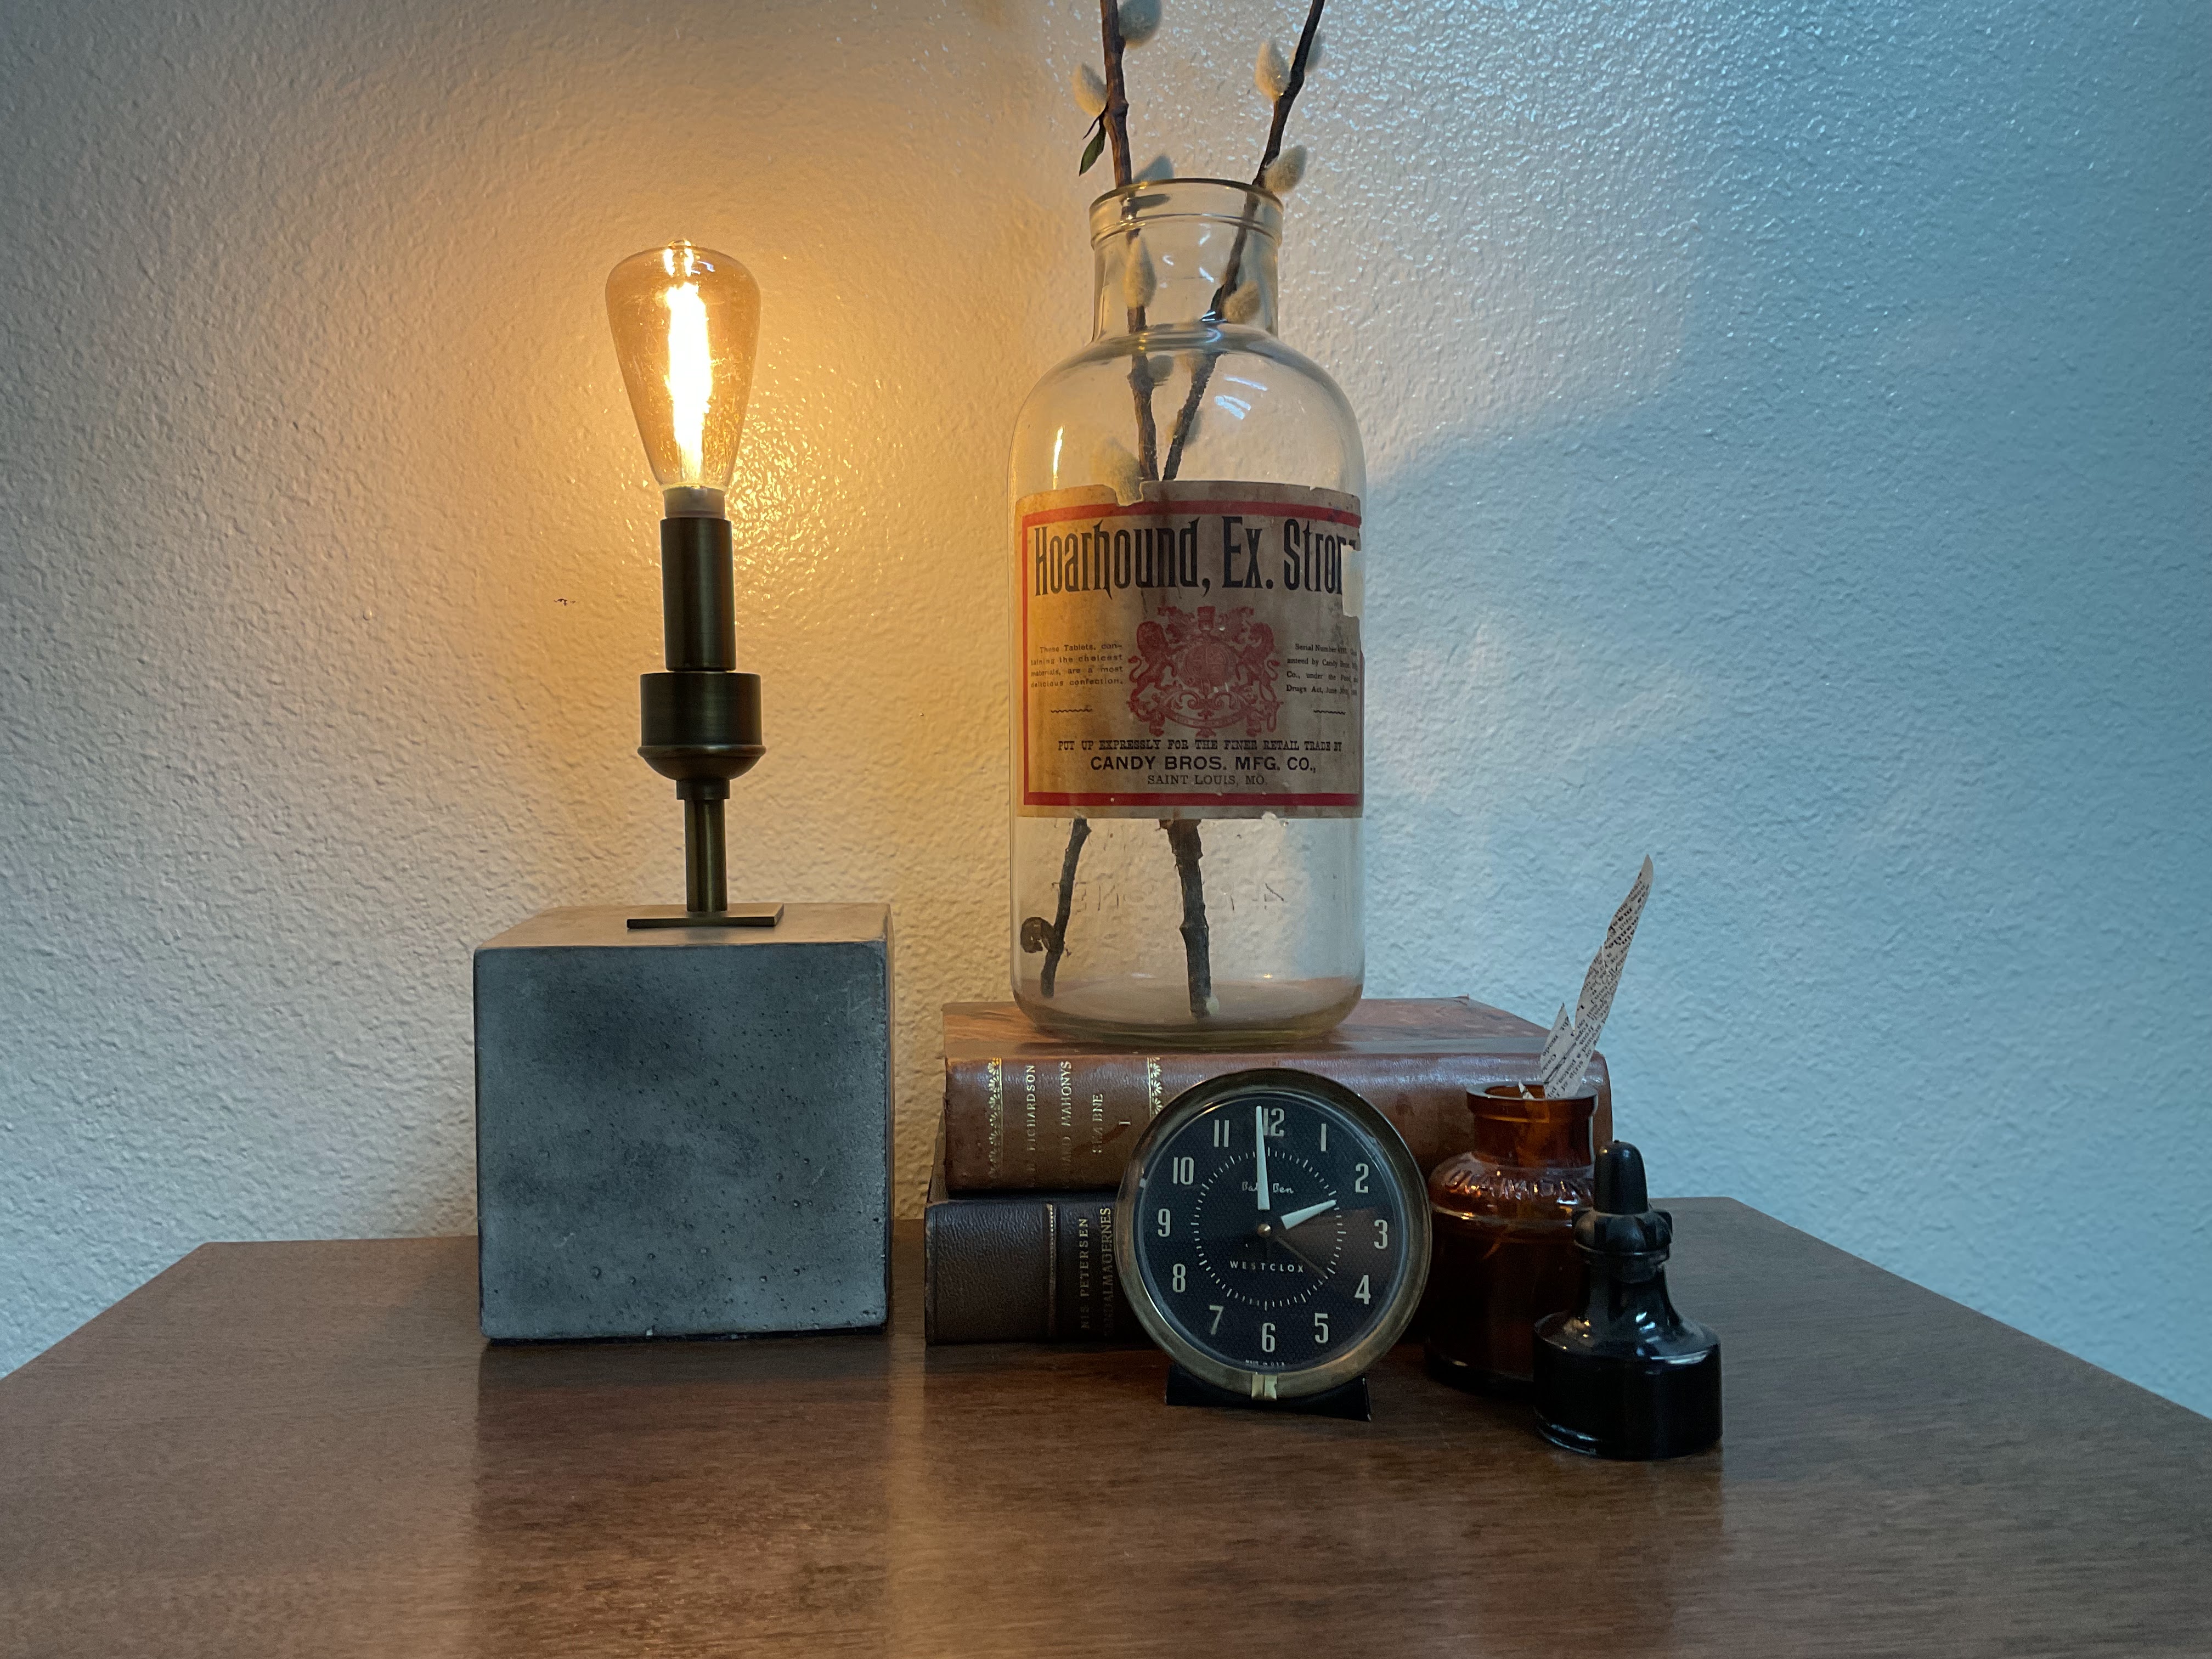
Here is the finished lamp!


I had a hard time getting a good picture.


It puts off a nice warm glow, easy on the eyes.

I like the Retro Industrial vibe-

What do you think?

xo Lisa S


Sunday, October 1, 2023

Baking Pan Pumpkins


Hi friends,

I see these painted pan pumpkins everywhere!

The first time was probably 5-6 years ago

on Lora B's blog Create and Ponder

I didn't have any pans

at the time but I kept the idea

in the back of my head.

I really wanted to make some for myself!

Finally I came across some perfect pans this summer.


I was happy to find these!


This paint was in my cupboard- I thought it would

be a great color, even though 

the color is Sun Dried Tomato.


Painted the outside of the pans.

Found a stick in the yard to use as stems.


I pulled a small amount of sphagnum moss 

and wrapped it around my finger.

I used hot glue to attach the moss and stick piece

to the pan.


I collect old T.V. trays and change them up

 with the new season-

This one below is a favorite. I love the black background

with the fall leaves and scattered acorns.

I like how they came out-

I stamped some gift tags for place cards.


We use our FIESTAWARE for the holidays-

I just move the colors I want to use up front

 and the others to the back!

I put away the pastels and bring out the orange, marigold,

cobalt blue and some green.

It's a fun change.


When I put my pumpkin on a plate-

like a cake dome-


Just lift cover to reveal treats!


I love this little hiding place-


or use as individual place settings


and hide a treat.


So cute- I can hide some cookies for now

and only you will know.... so don't tell.


Thank you !

I really appreciate the visit.

I hope you have a wonderful day.

xo Lisa S


Just Getting Started- A little FALL Decor

Hi friends, I was at the Dollar tree  getting something else when I saw these Maple leaf stems. I know I could spend more and get better qua...