Wednesday, January 1, 2020

Top 10 MOST VIEWED 2019

Hi Friends,
Happy New Year!


Beginnings are a great time to reflect !
I have had such a wonderful time sharing with you,
  some of the things I work on throughout the year.
I truly appreciate you! Yes You! You take the time to visit, follow, Pin,
share, subscribe, comment and encourage.
Wow, that's a lot!
I could not do it without you!
I would just be hear talking to myself .....with crickets chirping!
I was just looking back to see what the top 10 most viewed posts were on my blog.

So you have probably seen these already.
Starting at the top!

Top 10 MOST VIEWED


Most of the comments  could not believe I made this from wood and painted the lock

to look like rusty metal.

I invite you to re-visit this post, I think it would be a sweet gift for your

Valentine!


 One of my favorites too!


I liked this project, it sold quickly at the flea market to a nice young couple.


They planned to hang it over their  wall mounted flat screen T.V.


Thank you so much for visiting today!

I'm really looking forward to the new year.

I have NO project plans for now.....My projects find me, and that's how I work best.

I invite you to come back to see what's new!

xo Lisa S


Tuesday, December 31, 2019

Happy New Year!

Welcome 2020 !

We're so glad to meet you and with much anticipation,

 we are excited to see what 2020 will bring!


All the best to you!
xo Lisa S

Tuesday, December 24, 2019

December 25 Postcard


Merry Christmas !


Blessings to you this day!

May you be reminded of God's love for YOU through His son, Jesus!
Merry Christmas,
xo Lisa S
Thursday, December 19, 2019

Retro Snowmen to share with you!


Hi

Friends,


Merry Christmas!


I want to share with you some


retro snowmen that you can print and use


in your journal pockets, as gift tags or other crafting projects.


This  jolly guy is darling.


I love this snowman !


This chubby cheek couple is adorable!


Enjoy!
xo Lisa S


Monday, December 16, 2019

Vintage Christmas Shadowbox with Lights

Hi Friends,


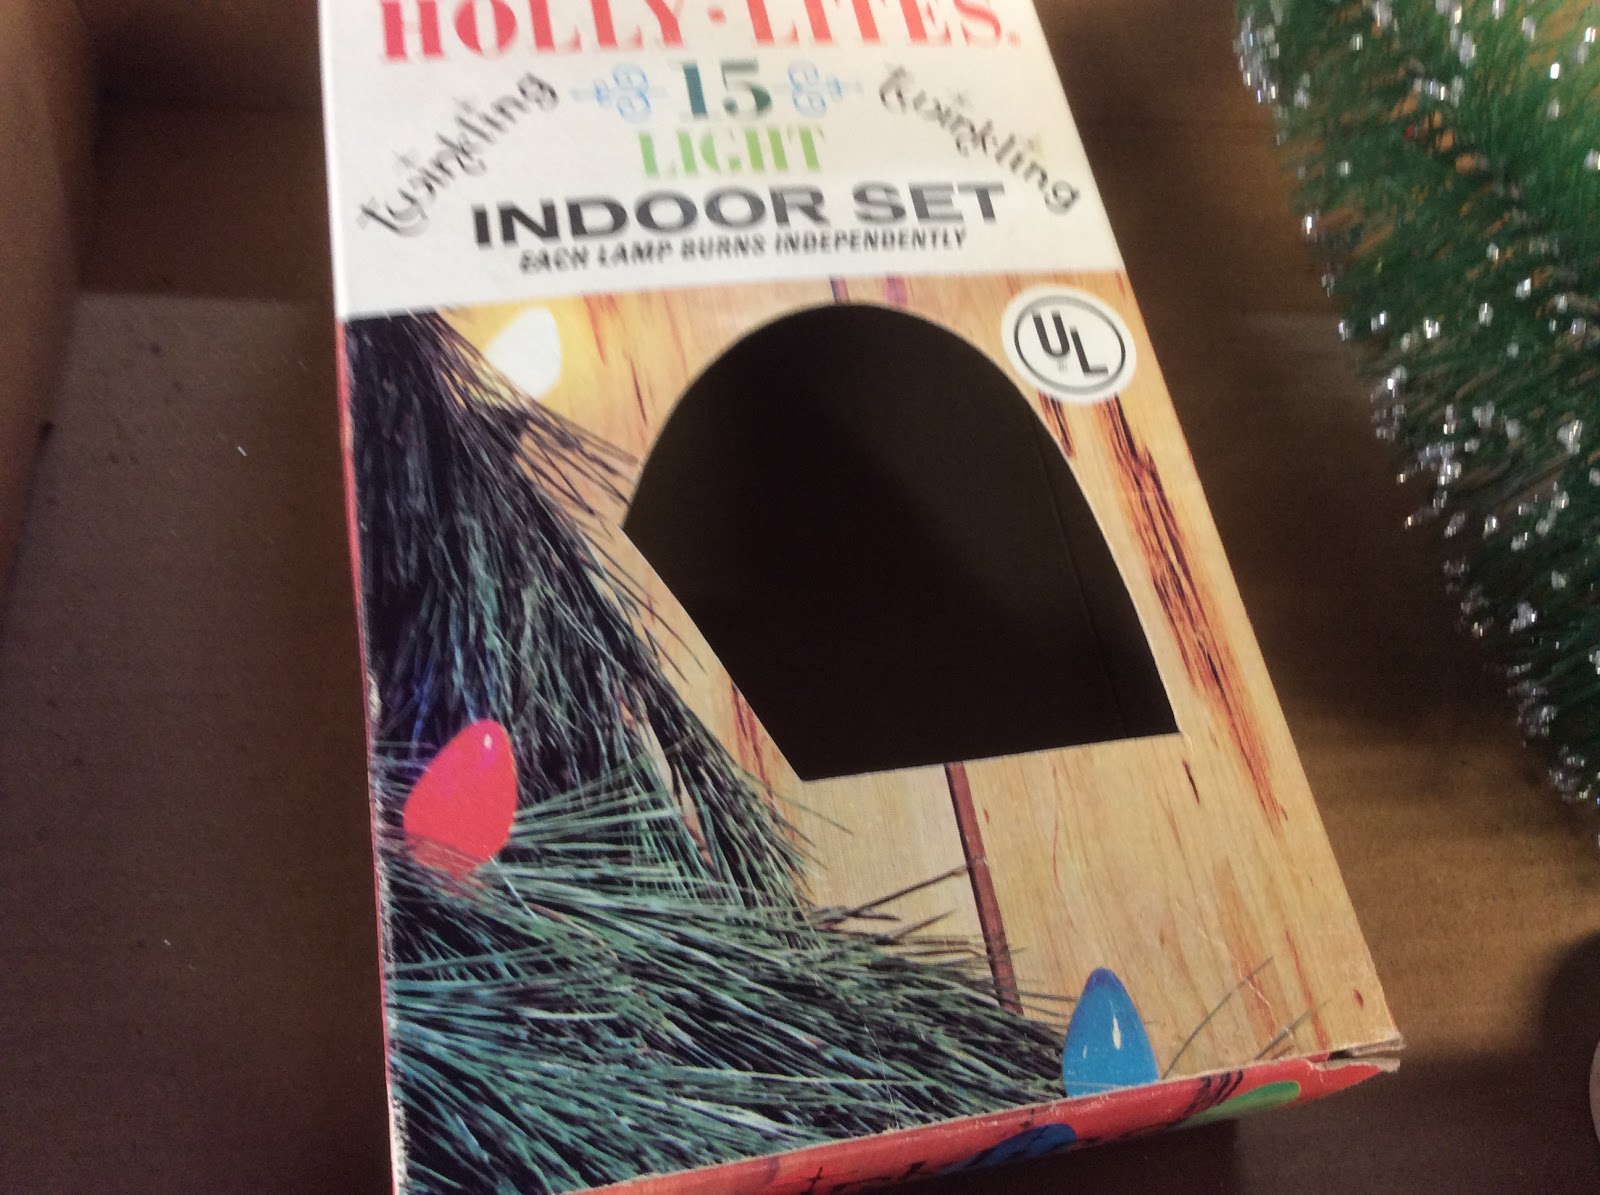
I had this old empty box and sad bottle brush just laying around and thought

I might be able to make something with them-


I cut the tree to the size of the box.


Then glued the tree back into the stand.


I looked through my paper stash to find something for the background.


Then measured the paper and cut to fit.

I also trimmed the box at the opening to enlarge the window.


The top flap needed to be re-enforced.


I had a set of battery powered fairy lights from Dollar Tree.

They worked!

I wrapped them around the tree from the bottom up-


I wanted the battery back to be at the top of the box.


The tree needed a trim, and the I used

hot glue to add some ornaments.


The tree was put inside and battery pack was attached to 


the side of the box.


I added a thrift-ed  singing Angel.


This is the top inside view.


It was hard to get a good picture because of the bright lights-

Here is a picture with the lights off


This is the back of the box.


The little Angel has such a cute face!


I moved the box to the kitchen-


Merry Christmas!

Thank you for visiting.

You are invited to stop by anytime and please say - hello!

I  appreciate and answer all comments.

xo Lisa S

Tuesday, December 10, 2019

DIY Winter White and Plaid Candy Canes

Hi Everyone,


This idea has been around for years and years.


You have probably made a few in your time.


I can remember using homespun fabrics for a primitive look.


These Candy Cane ornaments are easy to find, and


6 for $1.00 is a great deal.


I'm just going to show how I covered some this year for my craft show.


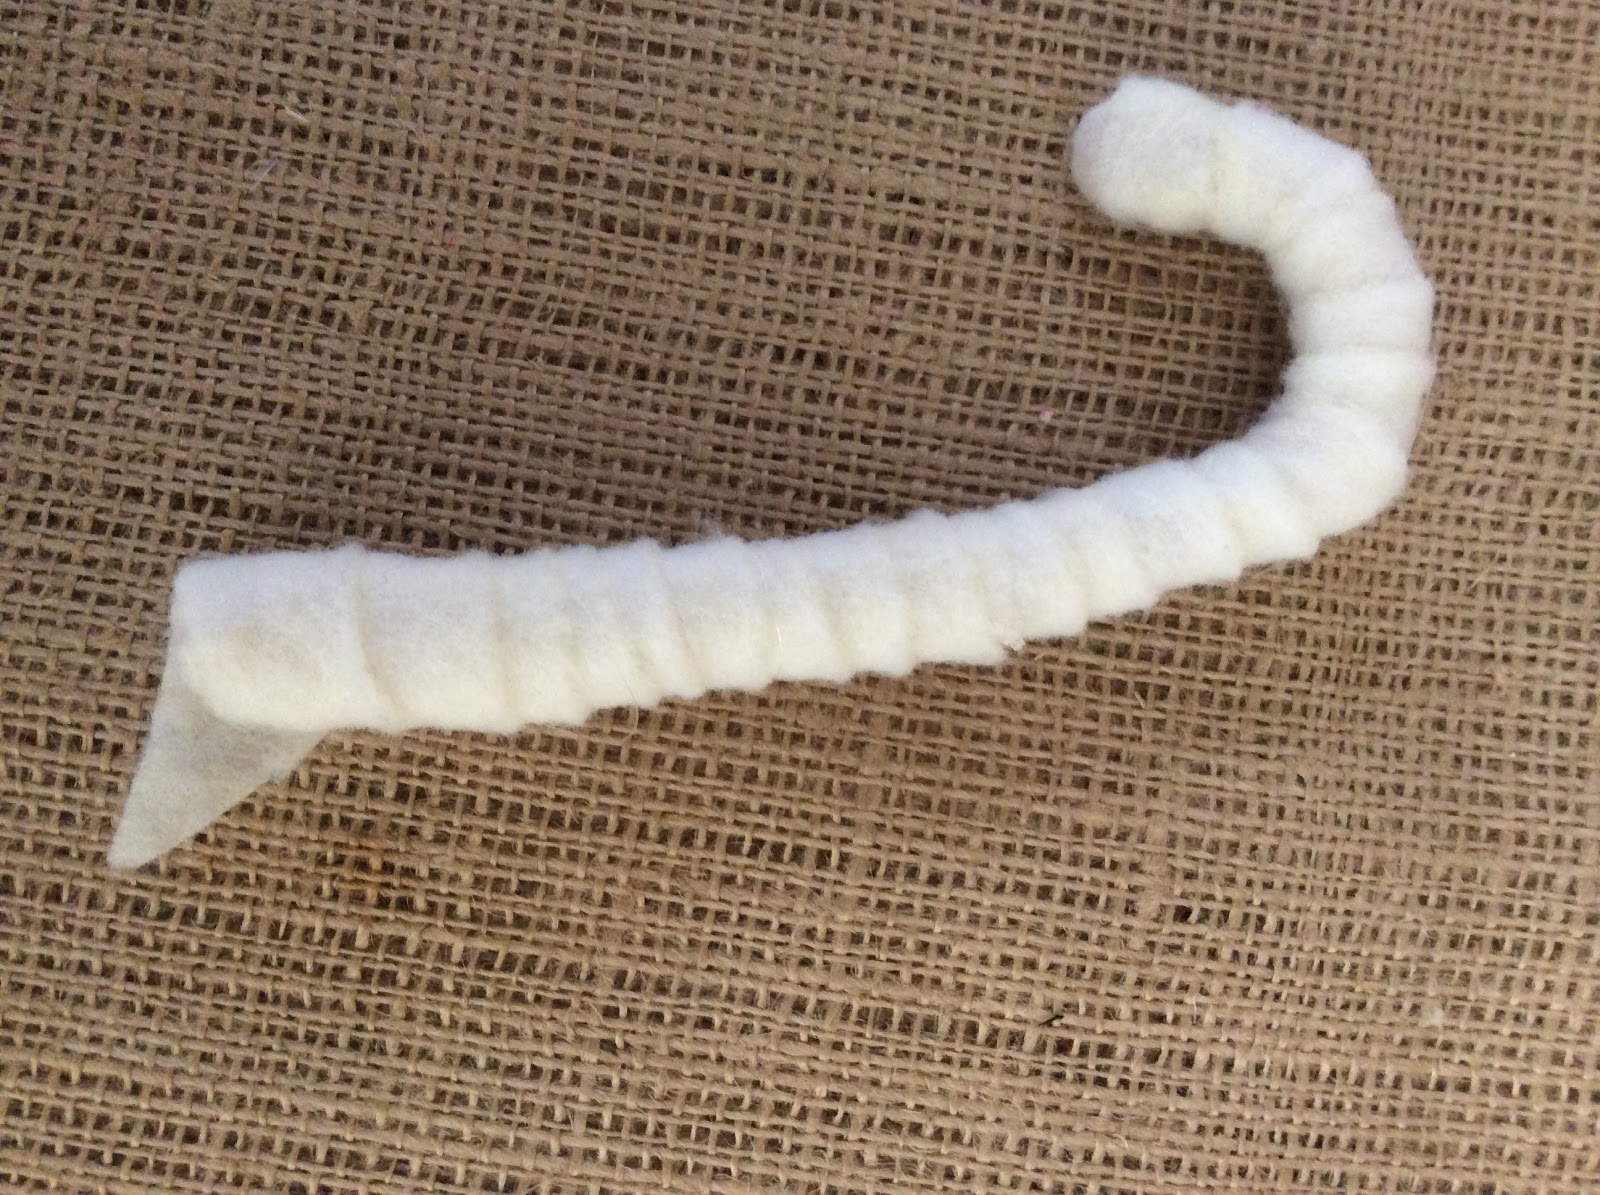
I used some batting scraps that I had been saving.


The batting was old and had an aged look....


....that's a nice way of saying discolored.


Cut strips about 1/2'' wide and about  30'' long and 2- 1'' squares for the ends.


 You may have extra to trim, it depends on how tight you wrap your candy cane.


You will need a glue gun.


I covered the ends with a small square about 1'' by 1''.


I like to wrap top to bottom.


I added a small scrap of garland and secured with twine.

The garland was getting shabby so I used wire cutters to dismantle it, now I have a

bag full of twistie-ties for crafting.

I have a large collection of vintage pins


and thought the pins would add at bit of shabby glam !


The pins were added by just putting the garland scrap through the pin back.


Then wrapping the wire garland piece to the candy cane.


In case I want to change or remove the pins.


If you like you can add a bit of white acrylic paint or glitter.


Then I added a crinkled tag-


Then I made a few more.. 

I had lots of scraps of plaid flannel.


Then  added a scrap of garland and jute.


I put them on the table.


Won't these make pretty ornaments?
  I plan to use them as part of  my gift wrapping .

Merry Christmas!
xo Lisa S


Just Getting Started- A little FALL Decor

Hi friends, I was at the Dollar tree  getting something else when I saw these Maple leaf stems. I know I could spend more and get better qua...